

How to Can Chicken Broth or Beef Broth; A Step by Step guide to show you how to have a healthy, easy to grab meal base or ingredient.
Looking in my pantry at canned broth, vegetables, jams, etc. makes me feel so good! I feel prepared but also linked to a time long ago that we are so far removed from today. When I look at them, I know we have healthy food ready to eat. That just makes me happy! 🙂 Now I would love to show you how to can chicken broth.
Several years ago, I decided I wanted to learn how to can more things. The water bath canner for jams and pickles had been used many times but I wanted to do broth, soups and vegetables that need the pressure canner to do it right.
I started my research and even turned down my husband’s offer of a smooth, glass top stove. I did a ton of reading and even though some said they used their glass stove to can, I was not going to chance it breaking.
Now I have an old(er) fashion coil top stove and honestly, I love it. It is great that I can use my cast iron or canners on it with no worries.
Before you can begin the process of canning broth, you need to make some. I know, duh! I made a post just about that and it includes having chicken ready in the freezer too so it is a double win. Here is How to Make Chicken Broth and Have Cooked Chicken for the Freezer.
SO! Do you want to learn how to can chicken or beef broth? I say beef broth too because it is done exactly the same way; vegetable or fish broth would be too.
Other Canning Posts
First some cautions!
Please, PLEASE be so careful while pressure canning!
- Move slowly, don’t hurry
- Read your directions carefully and then read them again
- If you got your canner from a yard sale, Craigslist, your Grandma’s basement, etc. Be so sure that all parts are in good working order.
- If all vents, locks, plugs, and rings do not work properly, you could have a serious explosion causing damage to your kitchen and anyone around it at the time.
- Please NEVER just put a canner on the stove and start canning. You just do not want flying pots, lids, glass jars and boiling liquid flying around.
- If it did not come with an instruction booklet, google your model online to be sure you have all you need and get replacement parts as needed.
- Even with a brand new canner, follow the instructions to check each part carefully.
These instructions are what I follow from my Presto instruction booklet for my Presto canner. If you have a different canner, please follow those directions if they are different from these. The basic process will be the same.
OK, here we go!
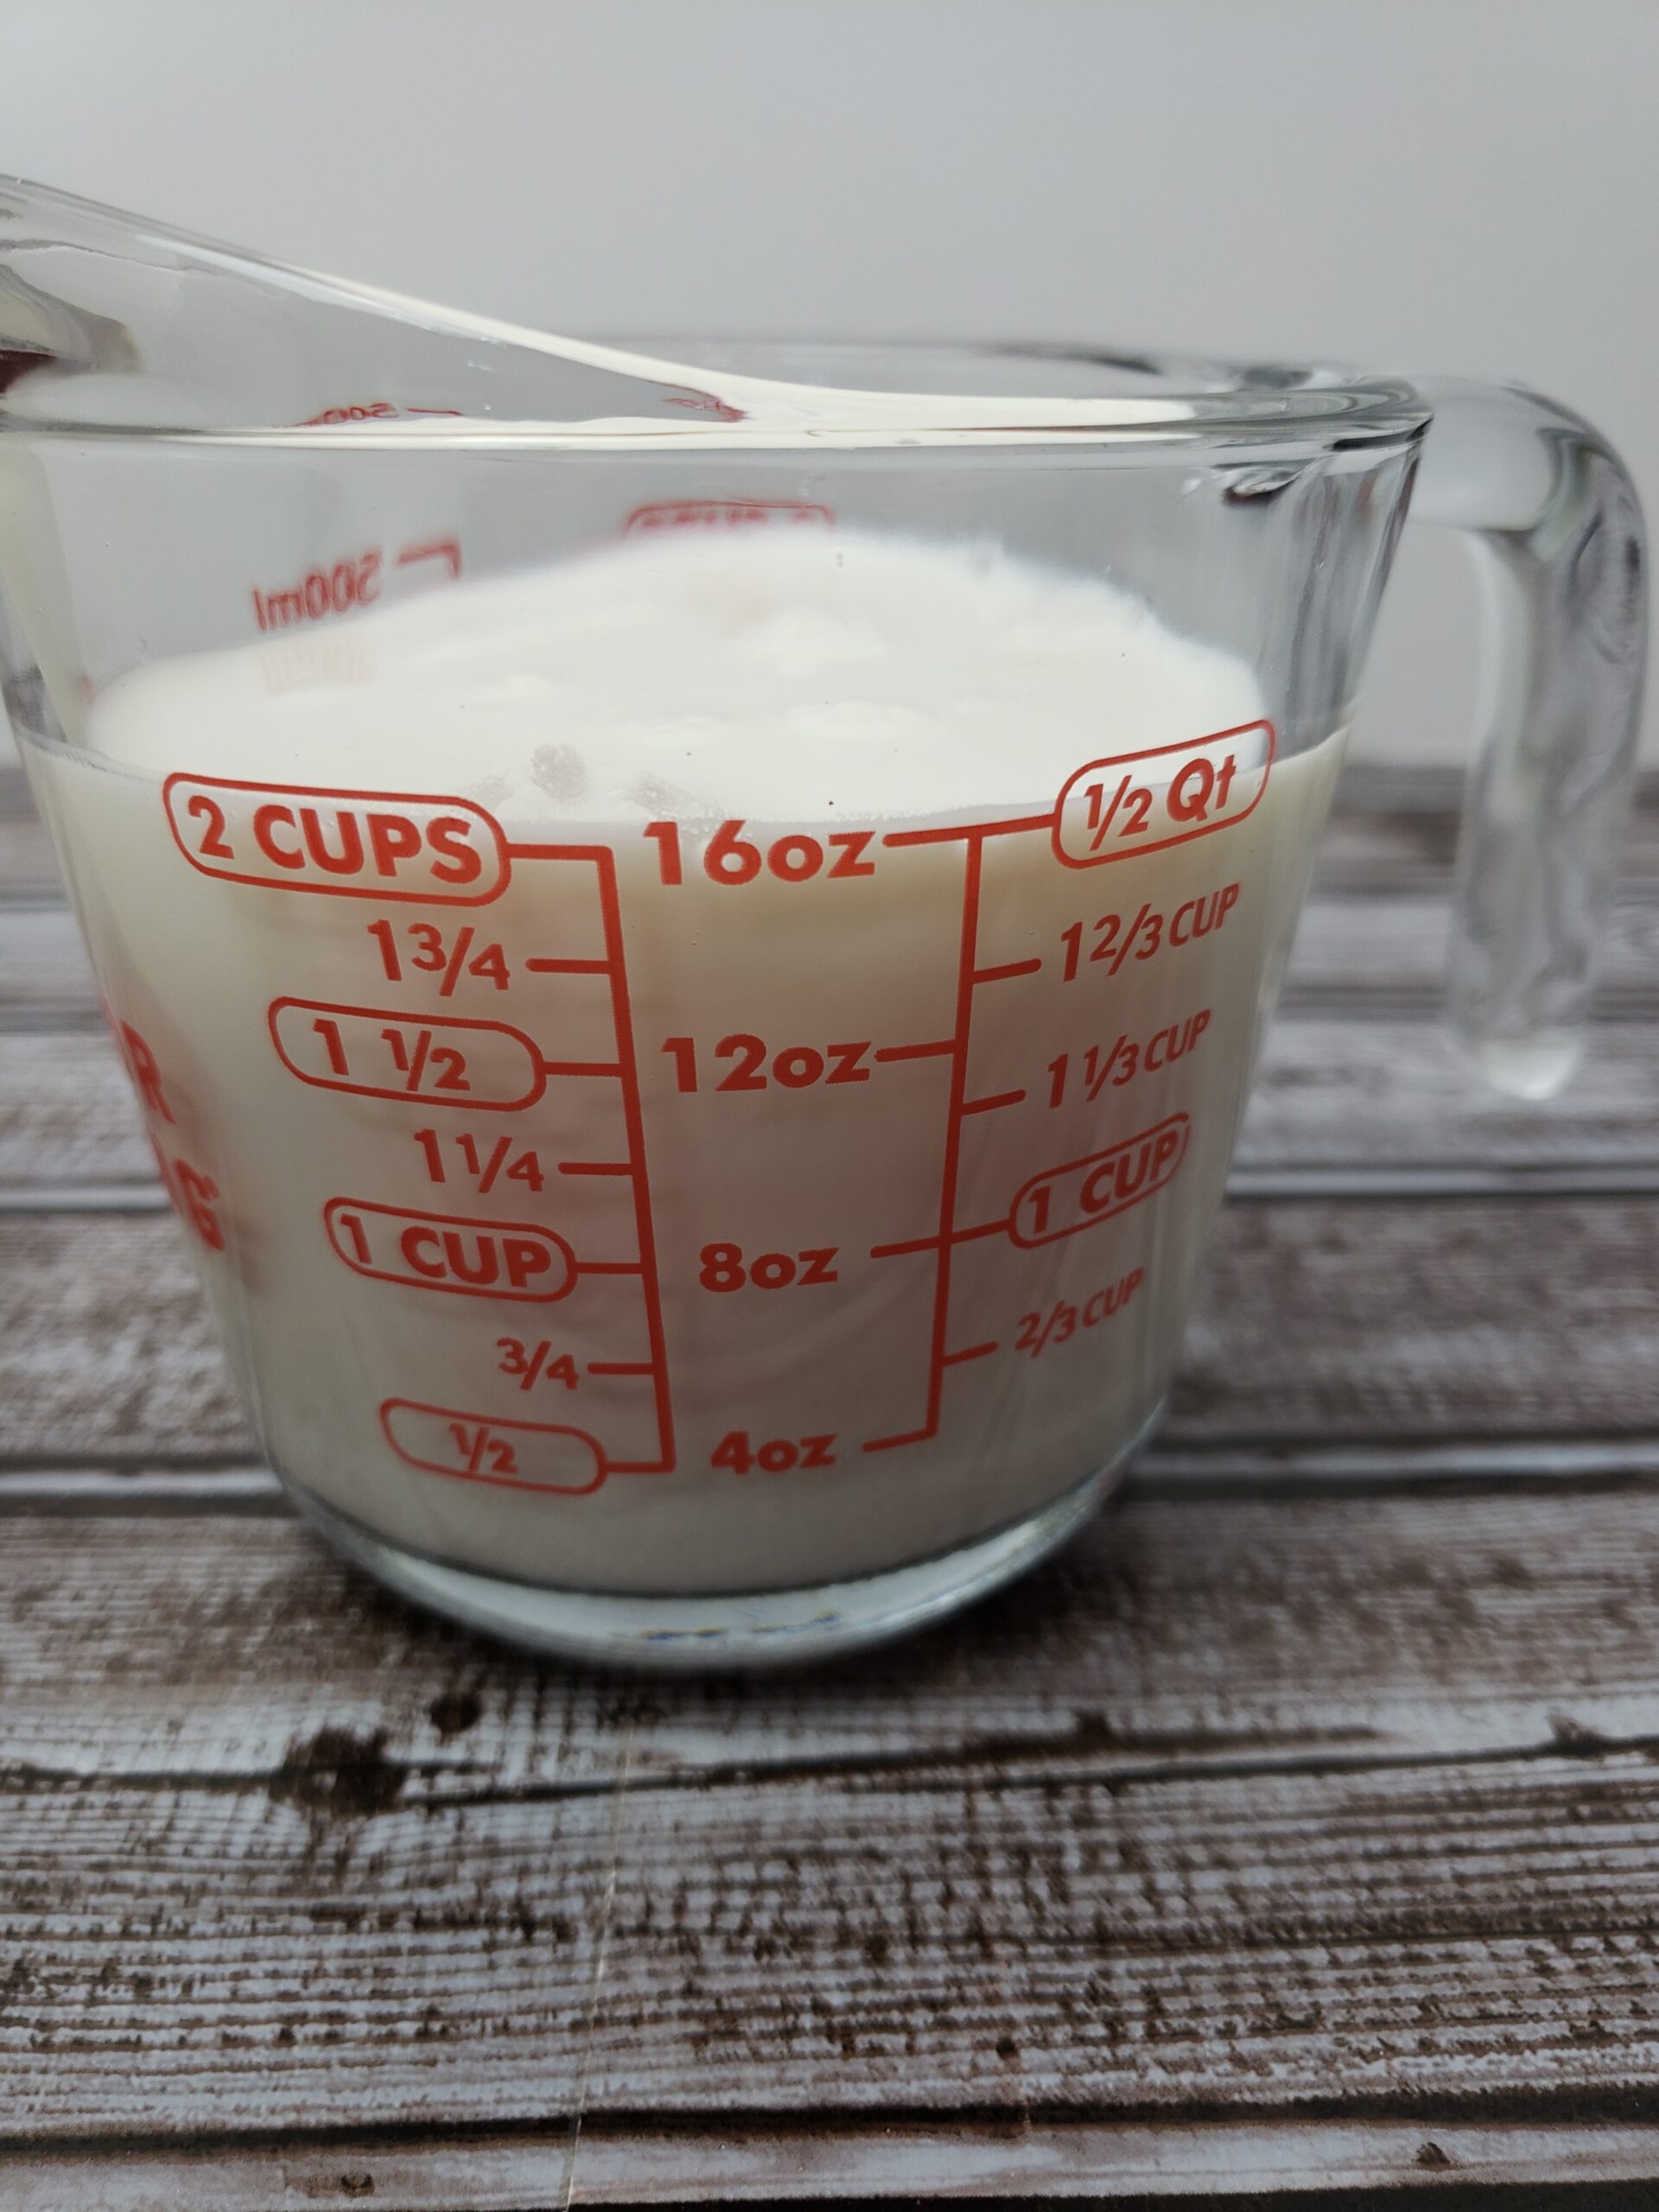
First, you want to put your broth in the refrigerator overnight or long enough for the fat to firm up.

Then you can skim it off with a spoon. It can keep the jars from sealing properly so it needs to go.

Pour the broth through a strainer into another pot. This makes sure there are no little bones (or big; I couldn’t believe the bone I missed once when pulling out the meat!) left and also makes it nice and smooth.

Put your clean, dry jars in a 250* oven and warm them for about 10 minutes. They need to be hot enough that the boiling broth does not shock and crack them.
For years I fooled with putting boiling water in them but that is a lot of water to boil and difficult to do without burning yourself. This is much easier and works great.

While they are heating, have your pot of broth warming, your canner water warming and a small pan with enough water to cover the lids you will be using.
My canner takes 3 quarts of water and I add 2 Tablespoons of vinegar to prevent water stains on the jars.
Heating the lids in the hot water helps them to seal.

When the broth is at a light boil, carefully dip it out and into the hot jars. A funnel is very helpful here. Leave 1 inch of headspace at the top.

Wipe the rim of the jars with a clean, damp rag. You do not want anything to come between the jar and the seal of the lid.

Put the lids on the jars. Add the rings. They need to be tight enough that they do not loosen but not too tight.


Lift the jars into the simmering canner, being careful not to bump them against each other or the pot.
Always, always, use the rack that comes in the canner. You don’t ever want the jars sitting right on the bottom of the canner.


Put the cover on the canner and lock it into place. Keep the burner on a pretty high heat, 8 on my electric stove, and watch and listen for a steady flow of steam coming from the vent pipe.
When you see or hear the steam coming out steadily, set the timer for 10 minutes.

At the end of 10 minutes, put your pressure regulator on the vent pipe. It hisses at you when you do that, but just do it quickly. It is OK.
For broth, you want 10 pounds of pressure so see your booklet for just what parts you need to accomplish that.

Now that your regulator is on, continue heating the canner until the regulator begins to rock. That is the point that you start your timer for the processing time. Somewhere in this time, the air vent/cover lock pops up.
To can pints of broth, process for 20 minutes and quarts for 25 minutes. I set my timer for 25 minutes for my quarts.
You want the pressure regulator to be rocking steadily but gently; not too hard. I always turn the heat down a bit at this point; to about 5 on my stove, so medium heat.
Check it though; keep the pressure regulator rocking gently.

When the timer goes off, turn the burner off and remove the canner from the burner. Just let it sit undisturbed until the pressure drops.
Do NOT do anything to speed that process along! It must do it on its own.
This takes at least 30 minutes, usually more.
Do not remove the pressure regulator.
Do not try to remove the lid!

Be sure the air vent/cover lock has dropped. At this point, you can remove the pressure regulator.
You can see on my stove clock that it took 38 minutes.

Wait 10 more minutes to remove the lid. When you do, be sure that you open the lid away from you so that any steam that comes out—and there will be plenty!—will not be in your face.
If it sticks or is hard to turn to remove, just wait a bit more to be sure the pressure has dropped enough.

Wait another 5 minutes or so to remove the jars from the canner; again, slowly and carefully so not to bump them against each other or the canner.
Also, keep them as upright as possible.
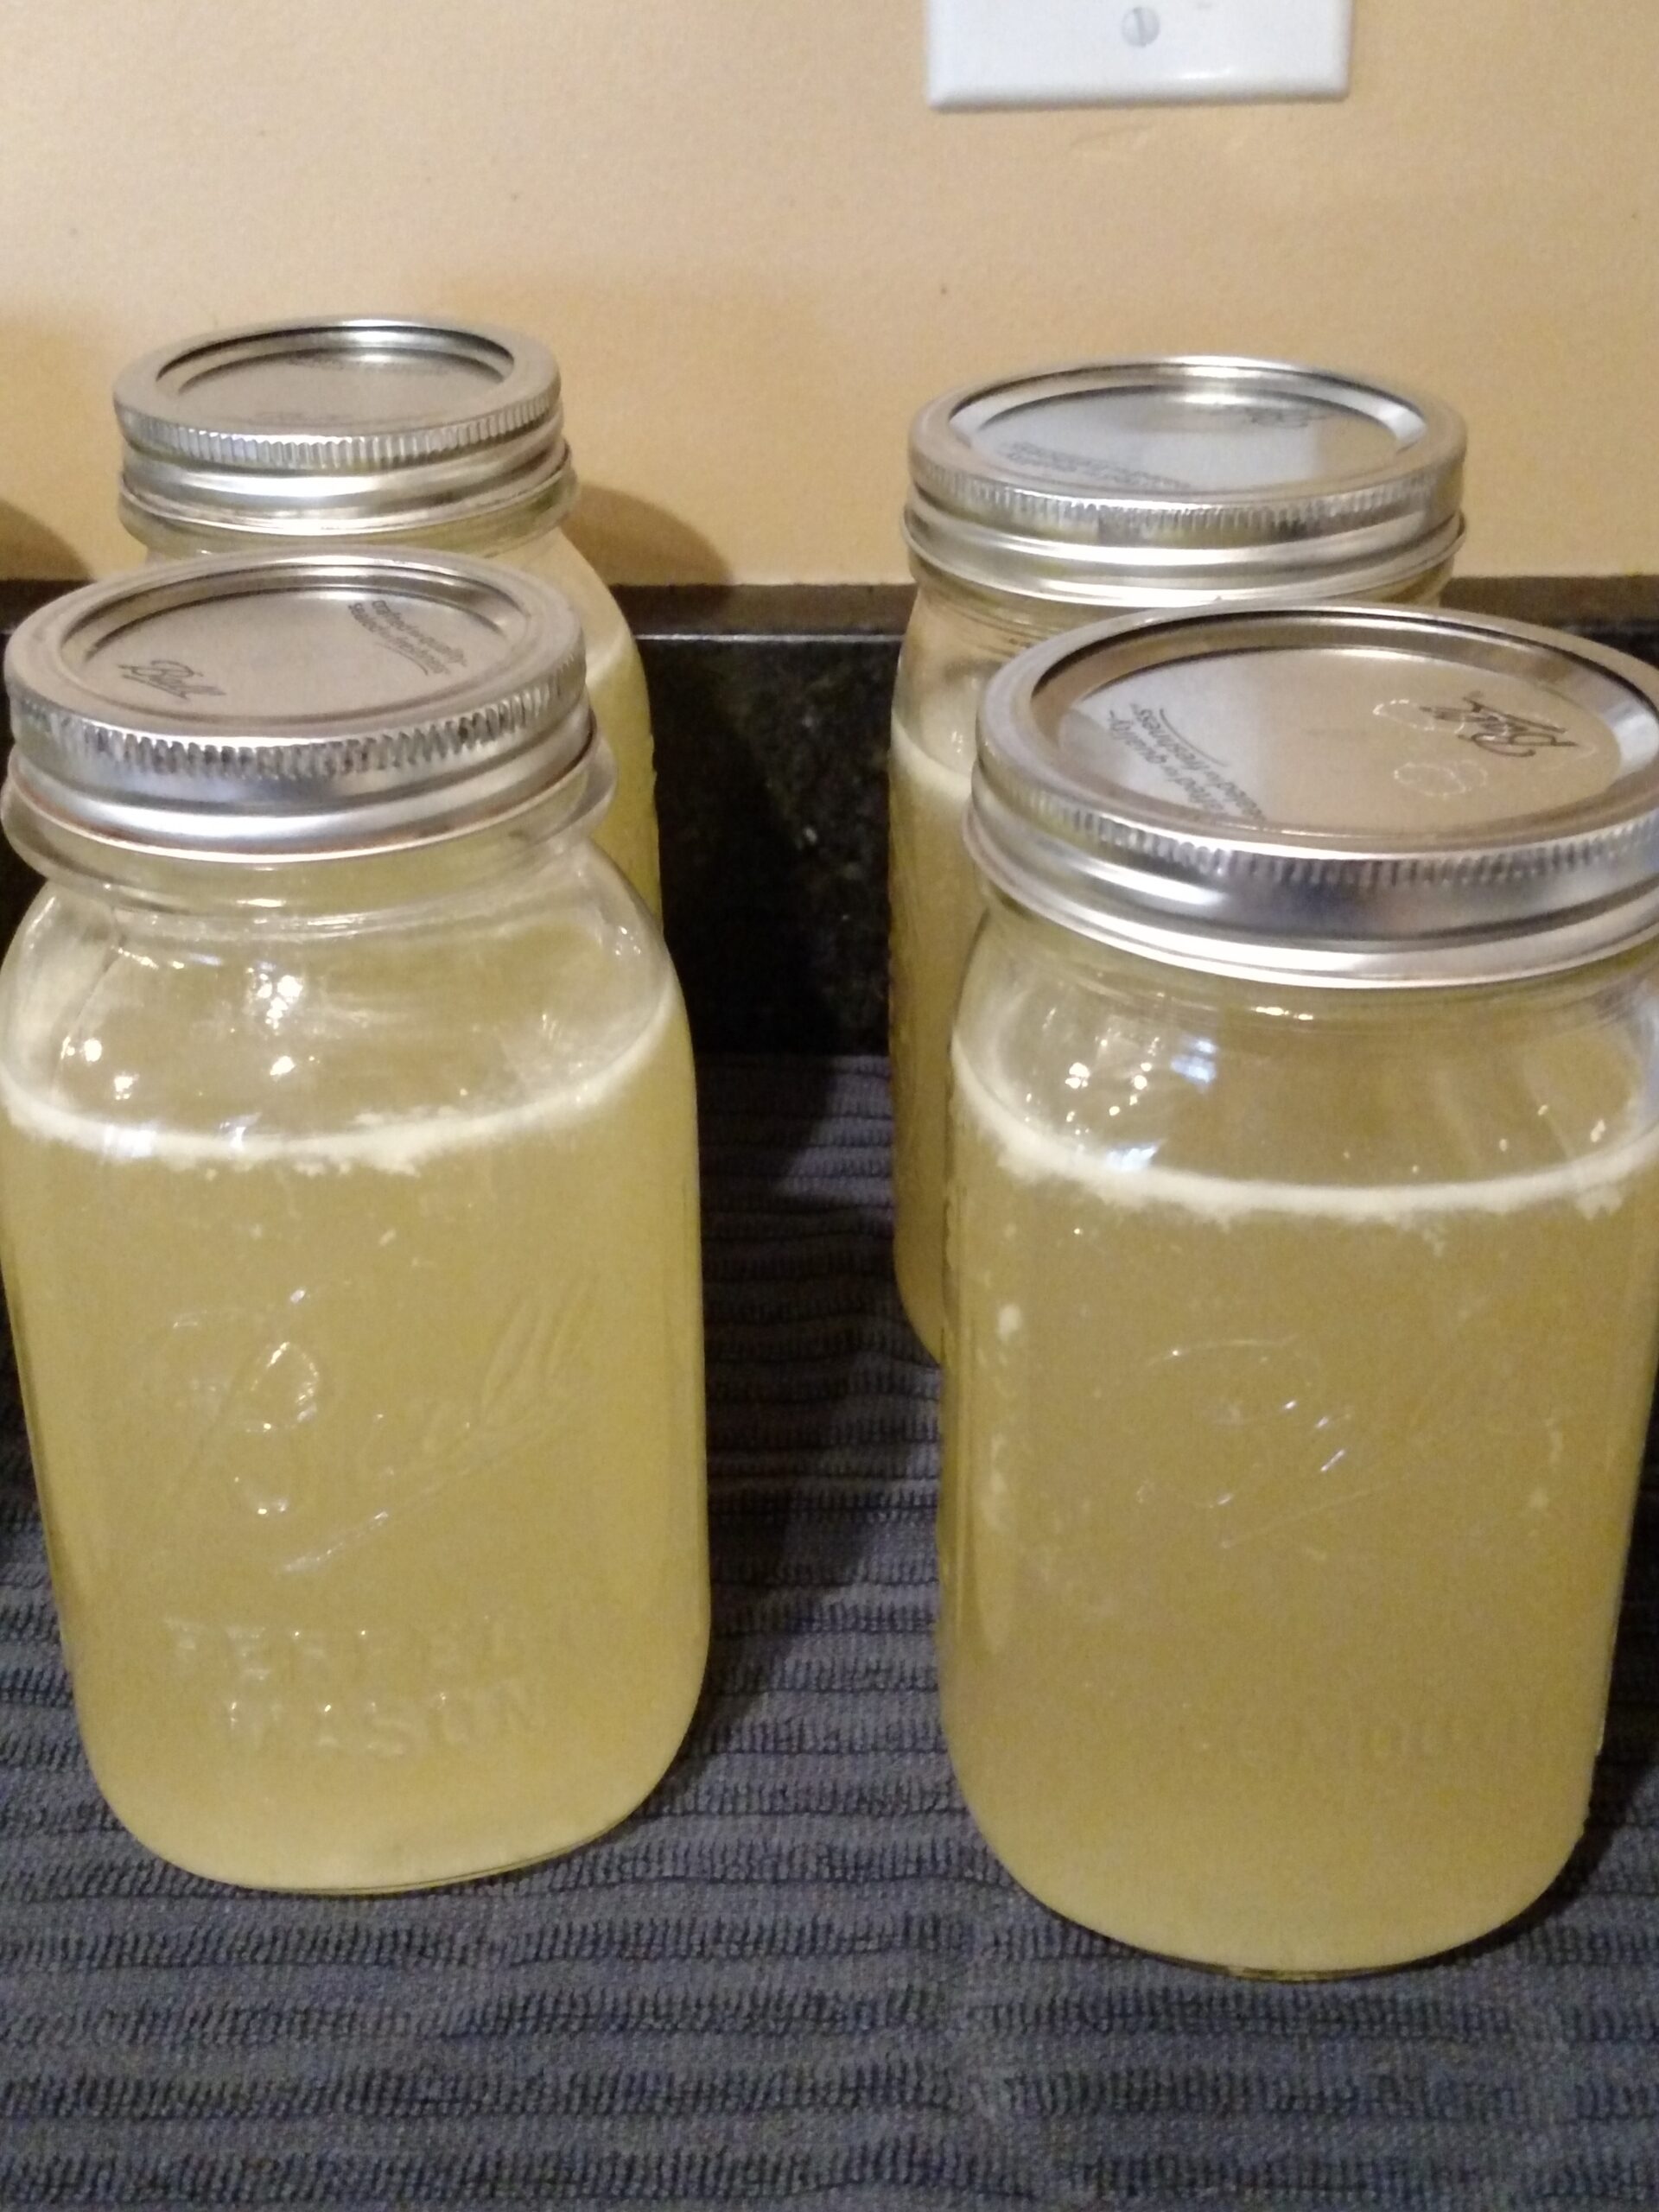
Put them on a towel at least an inch apart to cool completely. I usually let them sit right where they are for at least 12 hours just to be sure.
Listen for the music of canning; Pop, POP, pop!! 🙂
If there are any that don’t seal, repeat the process or just put them in the refrigerator to use first.
The one in the back on the right did not seal for me so I enjoyed sipping it over the next few days.

If you make it, play it or use it, let me know! Rate it and leave a comment below. I love hearing from you!
Be Sure to Pin so you can find it easily later!

Are you following me on Pinterest? I have been working very hard making new boards I think you will love and am adding dozens of new pins from all of the popular homeschooling websites!
You can also follow me on my Facebook page, Loving Homeschool! I am adding pictures, links and much more than I would on the blog. If you love recipes, come follow my recipe group, Best Recipes you will Want to Make.
You can also follow me on my Facebook page, Loving Homeschool! I am adding pictures, links and much more than I would on the blog. If you love recipes, come follow my recipe group, Best Recipes you will Want to Make.

Cindy
Welcome! I am a wife, mother, mother-in-law, Grammy, daughter, sister, retired homeschooler, writer, recipe inventor, photographer and website content creator
Visit my other website for all kinds of recipes and tips at MyProductiveBackyard.com. Enjoy! 🙂