

This step-by-step guide will show you exactly How to Make Homemade Iced Tea Recipe. Make it at home quicker, cheaper, healthier and exactly how you like it!
Once you learn How to Make Homemade Iced Tea Recipe at home, you will wonder why you ever lugged home heavy containers of it! The base directions are super simple and there are so many ways to make it your own.
I have always made my own tea but for many, many years used an iced tea maker.
When we moved last, it was packed away for months while we remodeled our kitchen. I mean totally tore. It. Up.
We could see through the floor—don’t fall through–into the basement and into the wall into the laundry room torn up. Yeah, it took a while.
While it was in the process of being done by my husband as he also worked his full-time job, we were operating with the refrigerator in the laundry room, freezer in the garage, and microwave and paper goods on a shelf/counter type area in the living room.
Whoever thought of putting everything in one room really was a genius!
Anyway, for a long time, I was doing without my regular old iced tea but it finally came down to really wanting it but there was no finding my iced tea maker.
I had to figure out how to make it without my machine. So, I did. And when I finally moved into my wonderful new kitchen and unpacked the boxes, I donated my iced tea maker. I like this way even better!
Ready?
How to Make Homemade Iced Tea
Heat about 2 cups of water. I do mine in the microwave. See the safety note below. You can do it in a teapot, in a pan on the stove; however you like. The water does not need to be boiling; just good and hot like almost ready to boil. If it does boil, you can let it relax a minute or two before the next step.

Add 6 regular sized tea bags. Here I am making green tea, our usual.

Let steep for at least 30 minutes.
Squeeze tea and water from tea bags. Use two spoons if they are still hot so you don’t burn your fingers.
Now that the tea bags are removed, this is the point you will add sweetener if desired. See note on sweetener below.

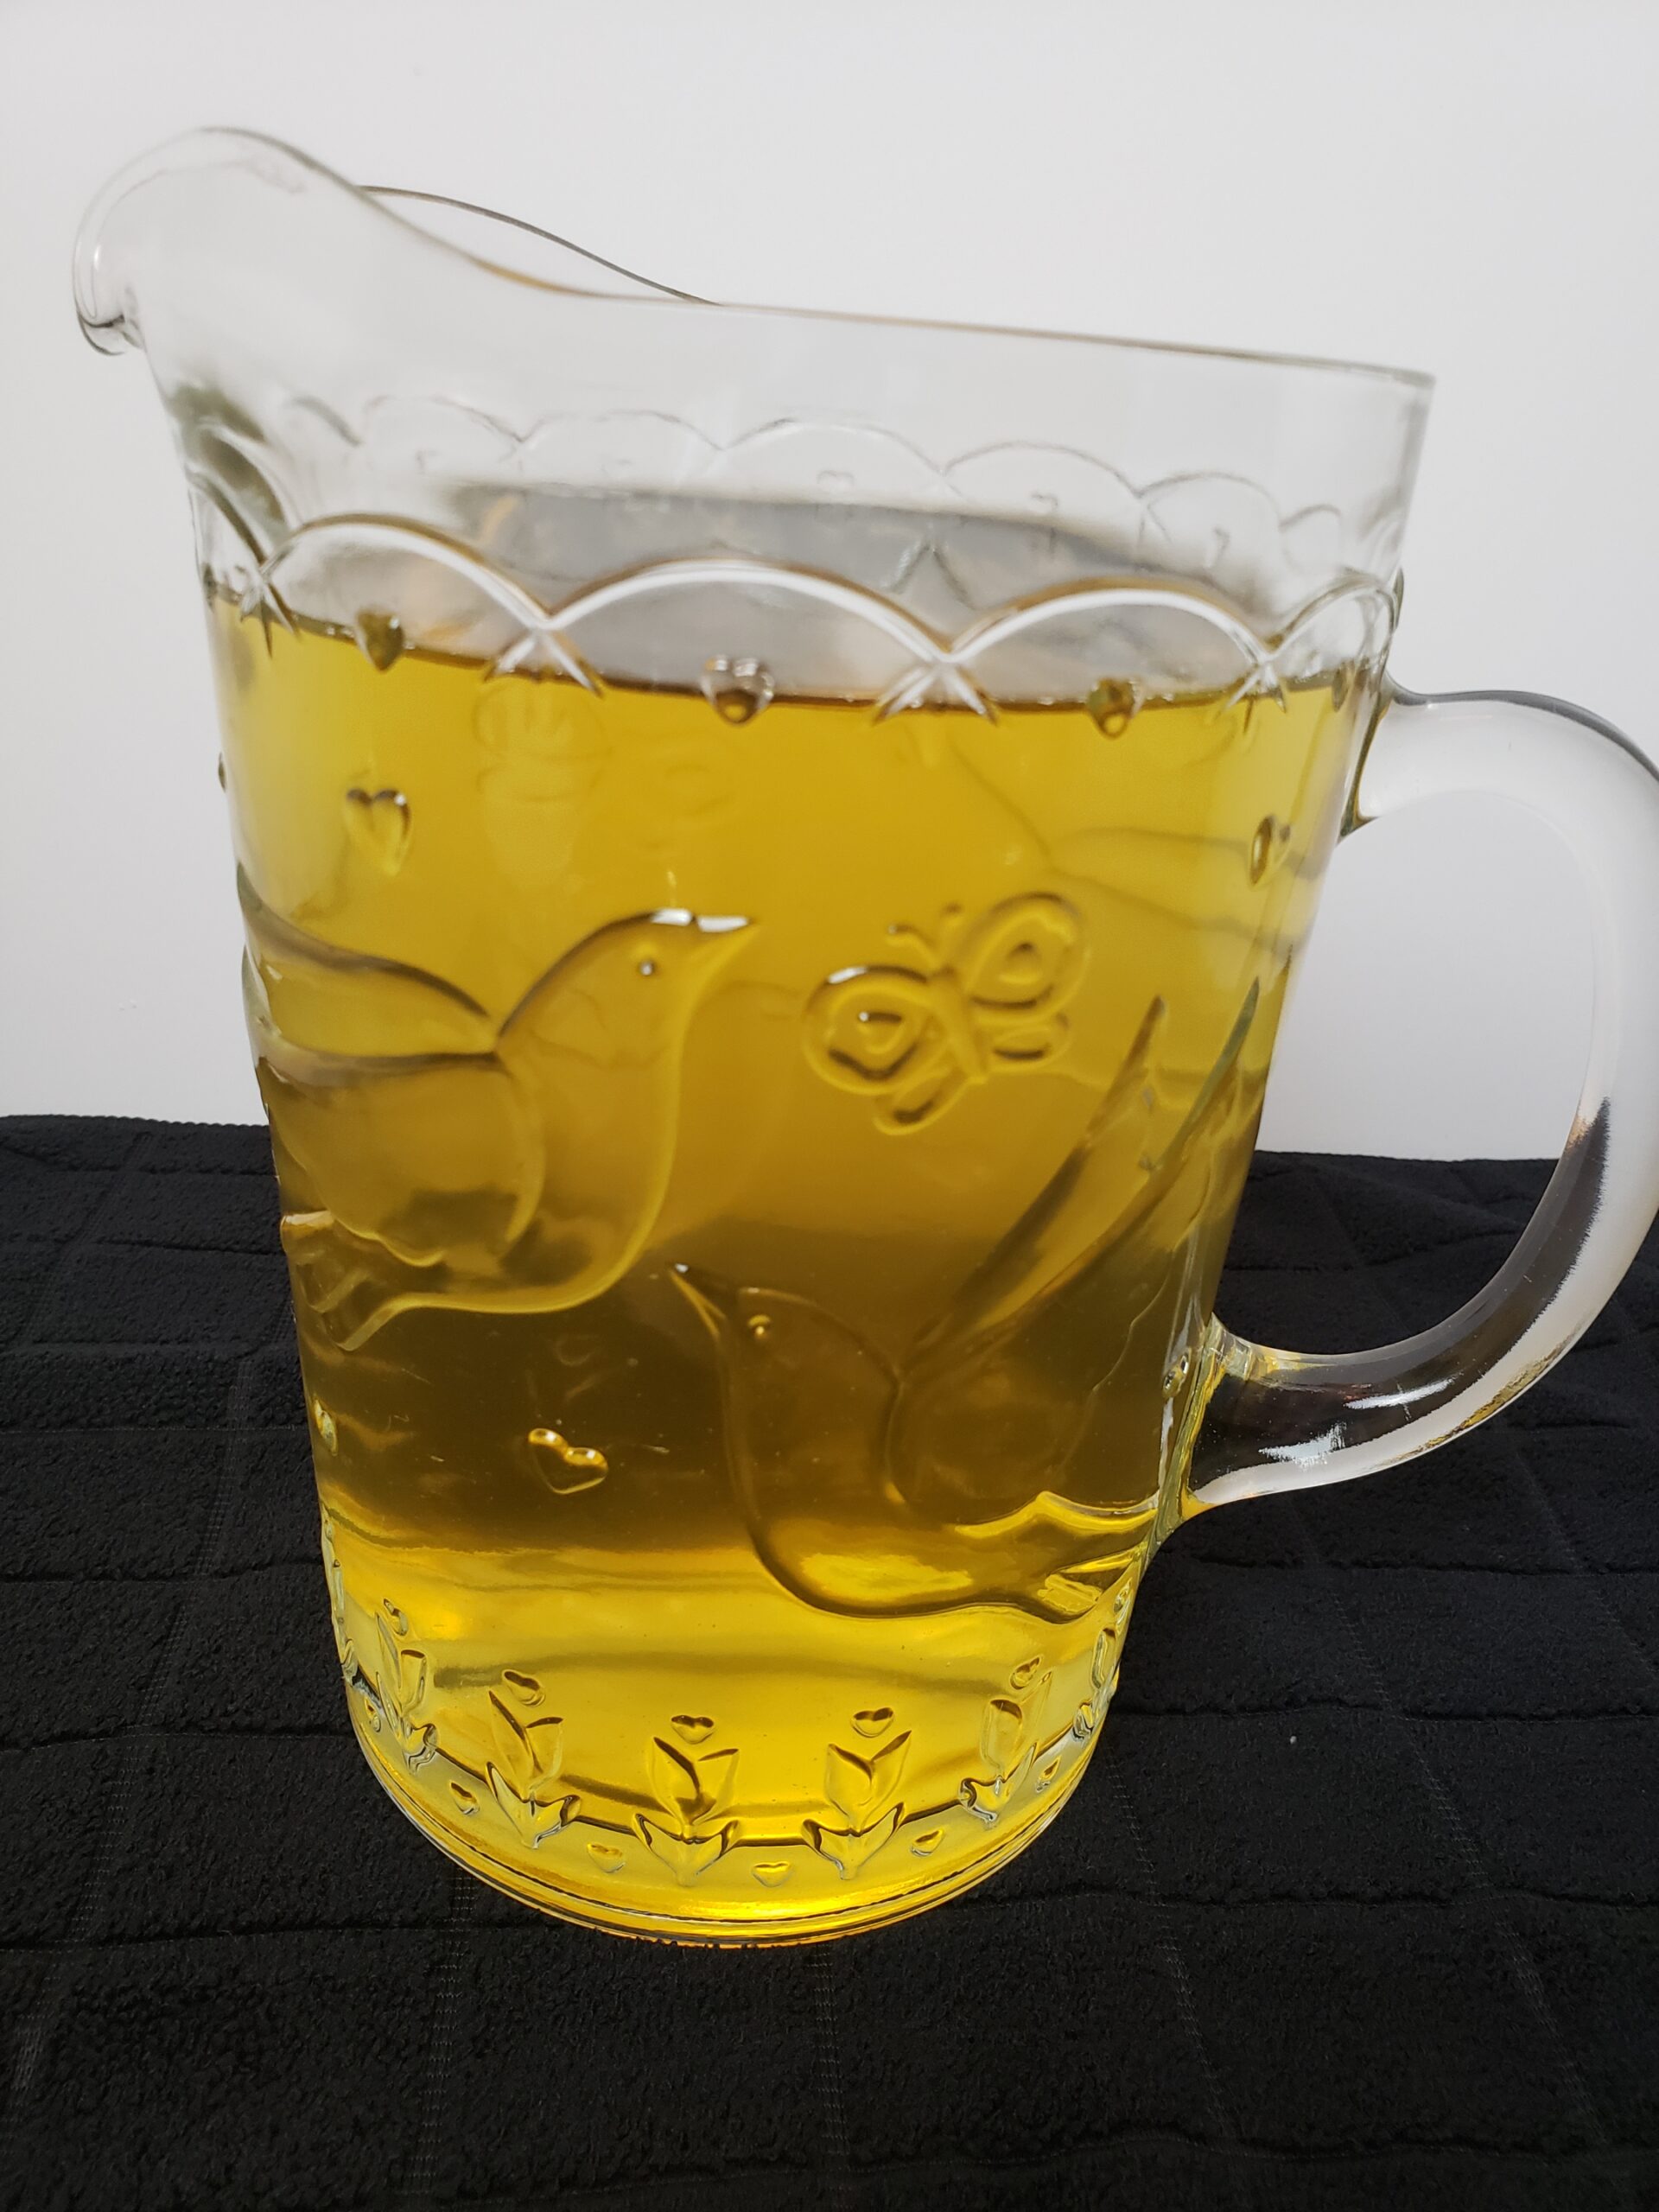
Add the concentrated tea water to a gallon pitcher.

Fill the pitcher with enough water up to the gallon mark.
If you want it to chill faster, add ice cubes along with the water. Just add a total of a gallon of water or water and ice.
For best results, chill in the refrigerator before serving. With plenty of ice, it can be served within 30 minutes of beginning the process of making the tea. You will just need a lot of ice. The melted ice will just turn to water, which is what the tea is anyway.
To add Sweetener
If you like your tea sweet, you will want to add the sweetener while the tea is still hot or at least very warm so it will dissolve. It is also best to do after the tea bags are removed so it doesn’t get lost in them.
When I add it, I do it right after I remove the tea bags and before I add the water and/or ice cubes. Stir it in until it is dissolved well.
If the tea has cooled too much, just warm it a bit again.
What Kind of Sweetener Can I Add?
Any kind of sweetener you like can be added! White sugar, cane sugar, stevia, swerve, honey.
What else have you used?
What other Kinds of Tea Can I Use?
This method works for black tea bags, green tea, decaffeinated tea and even loose tea. You will want to put loose tea in a tea ball or strain it.
I use 6 regular or small tea bags or 4 large tea bags for a gallon of water.
If you like your tea stronger or weaker, use more or less tea or brew it longer or shorter time. It won’t take you long to get it just the way you like it.
How to Safely Boil Water in the Microwave
There could be some danger to boiling water in the microwave if it is done too long or improperly. Water could become superheated and basically explode. If water is not overheated, heated in a microwave safe container and removed carefully, all should be well. If you would like to read an article with more information about it, read Can you boil water in a Microwave.
When is National Iced Tea Day?
National Iced Tea Day on June 10th so be sure you get some Iced Tea that day!
I also have a collection of 33 Iced Tea Recipes so you will have plenty of new and exciting recipes to choose from!
If you make it, play it or use it, let me know! Rate it and leave a comment below. I love hearing from you!
Be Sure to Pin so you can find it easily later!
Are you following me on Pinterest? I have been working very hard making new boards I think you will love and am adding dozens of new pins from all of the popular homeschooling websites!
You can also follow me on my Facebook page, Loving Homeschool! I am adding pictures, links and much more than I would on the blog. If you love recipes, come follow my recipe group, Best Recipes you will Want to Make.
You can also follow me on my Facebook page, Loving Homeschool! I am adding pictures, links and much more than I would on the blog. If you love recipes, come follow my recipe group, Best Recipes you will Want to Make.

How to Make Homemade Iced Tea Recipe
This step-by-step guide will show you exactly How to Make Homemade Iced Tea Recipe. Make it at home quicker, cheaper, healthier and exactly how you like it!
Ingredients
- 1 gallon of water
- 6 tea bags, any kind
Instructions
- Heat about 2 cups of water. I do mine in the microwave. See the safety note below. You can do it in a teapot, in a pan on the stove; however you like. The water does not need to be boiling; just good and hot like almost ready to boil. If it does boil, you can let it relax a minute or two before the next step.
- Add 6 regular sized tea bags.
- Let steep for at least 30 minutes.
- Squeeze tea and water from tea bags. Use two spoons if they are still hot so you don’t burn your fingers.
- Add the concentrated tea water to a gallon pitcher.
- Fill the pitcher with enough water up to the gallon mark.
- If you want it to chill faster, add ice cubes along with the water.
- For best results, chill in the refrigerator before serving. With plenty of ice, it can be served within 30 minutes of beginning the process of making the tea. You will just need a lot of ice. The melted ice will just turn to water, which is what the tea is anyway.
Notes
To add Sweetener
If you like your tea sweet, you will want to add the
sweetener while the tea is still hot or at least very warm so it will dissolve.
It is also best to do after the tea bags are removed so it doesn’t get lost in
them.
When I add it, I do it right after I remove the tea bags
and before I add the water and/or ice cubes. Stir it in until it is dissolved
well.
If the tea has cooled too much, just warm it a bit again.
For many more notes, see post.
Nutrition Information
Yield 16 Serving Size 8 ouncesAmount Per Serving Calories 0Total Fat 0gSaturated Fat 0gTrans Fat 0gUnsaturated Fat 0gCholesterol 0mgSodium 9mgCarbohydrates 0gFiber 0gSugar 0gProtein 0g
This data was provided and calculated by Nutritionix using unknown brands unless named in the recipe. If nutrition is important to you, I highly encourage you to verify any data you see here with your favorite nutrition calculator. Also, you can put in exactly what you used so it is the most accurate. This is just to give you an idea, as any nutrition calculation is not exactly accurate unless every single product brand used is entered. Please note also that I am not a certified nutritionist or health professional of any kind. Please consult a doctor or trained professional for medical advice.
Other How To Posts
How to Make Easy to Peel Hard Boiled Eggs
How to Cook Bacon in the Microwave
How to Make Chicken Broth and Have Cooked Chicken for the Freezer
How to Cook Sweet Potatoes in the Slow Cooker

Cindy
Welcome! I am a wife, mother, mother-in-law, Grammy, daughter, sister, retired homeschooler, writer, recipe inventor, photographer and website content creator
Visit my other website for all kinds of recipes and tips at MyProductiveBackyard.com. Enjoy! 🙂