
13 October Rose Jobs That Get Your Bushes Through Winter And Loaded With Blooms Next June
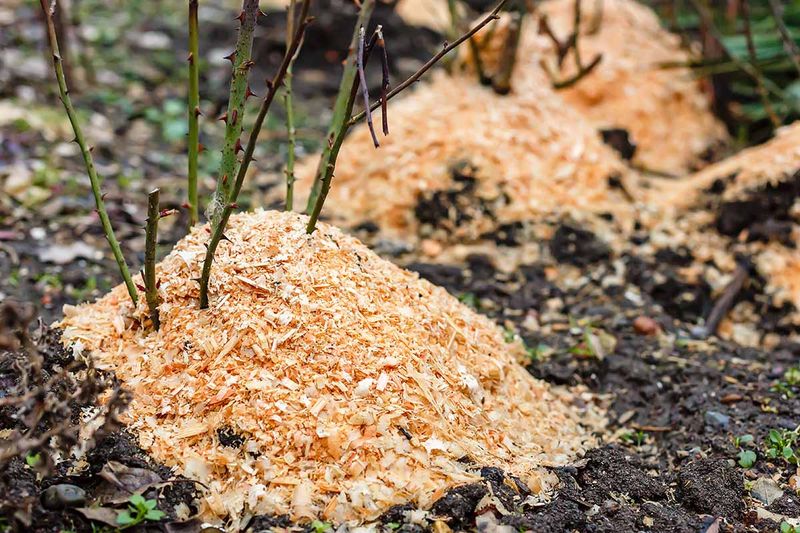
Your rose bushes look tired in October, and it is easy to think the season is over. But what you do right now decides how many flowers you get next June.
A few simple jobs this month protect the roots, cut down on disease, and help your roses rest the right way. Skip them, and you may be staring at bare, black-spotted canes come spring.
1. Stop Deadheading
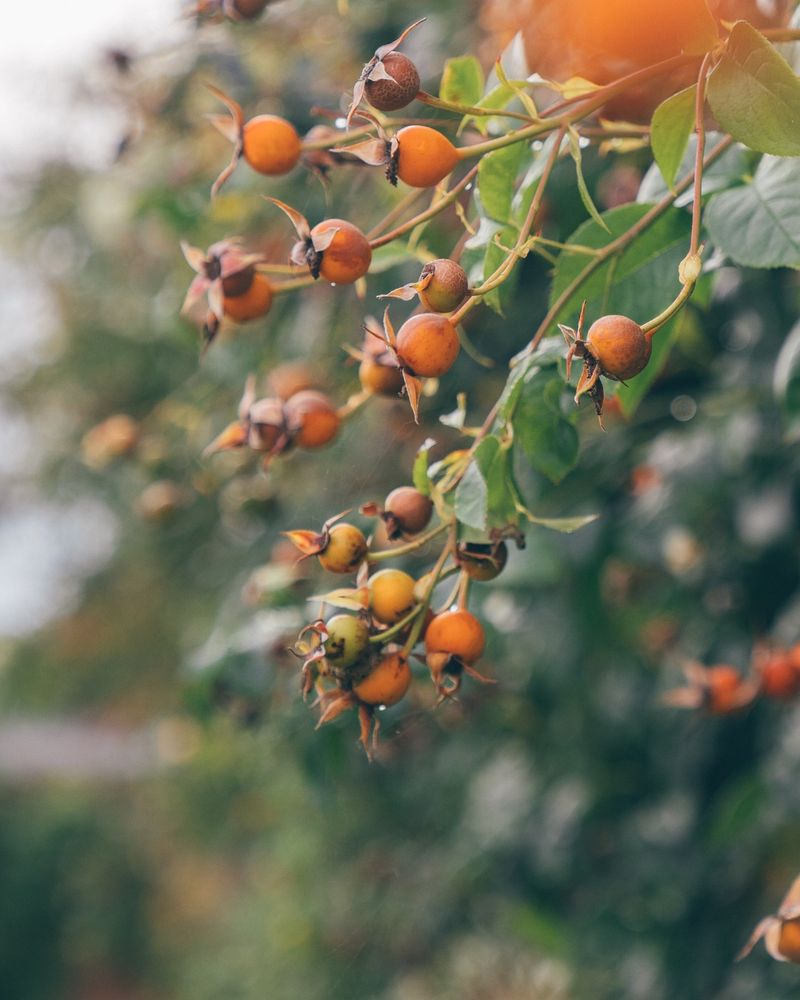
Leave those faded flowers alone. For months you have snipped spent blooms to keep new ones coming, but in October that habit works against you.
When old flowers stay put, they swell into rose hips, the plant’s seed pods. Those little orange and red hips send a signal: the season is wrapping up, so stop pushing out soft new buds and start sending energy down to the roots.
A rose that keeps blooming into a hard frost burns fuel it needs for winter. Let the hips form, and enjoy them as a bonus.
Birds love them too.
2. Put the Fertilizer Away
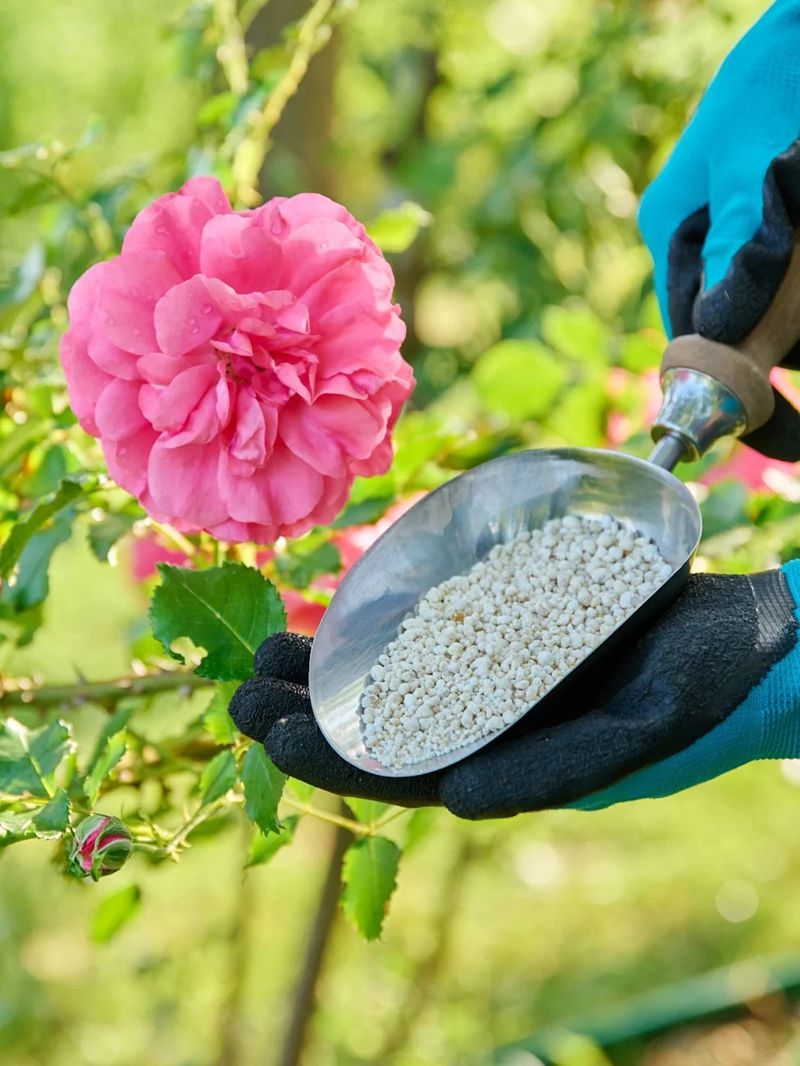
Here is a mistake that catches kind-hearted gardeners every year. You want to give your roses a boost before winter, so you feed them one more time.
Nitrogen tells a rose to grow. Fresh, tender shoots that pop up in October never get a chance to toughen, and the first hard freeze turns them to mush.
That damage can travel down the cane.
Stop feeding about six to eight weeks before your usual first hard frost. If you fed in early fall, a gentle low-nitrogen organic product is fine, but by October in most of the US, the fertilizer bag should stay closed until spring.
3. Rake Up Every Fallen Leaf
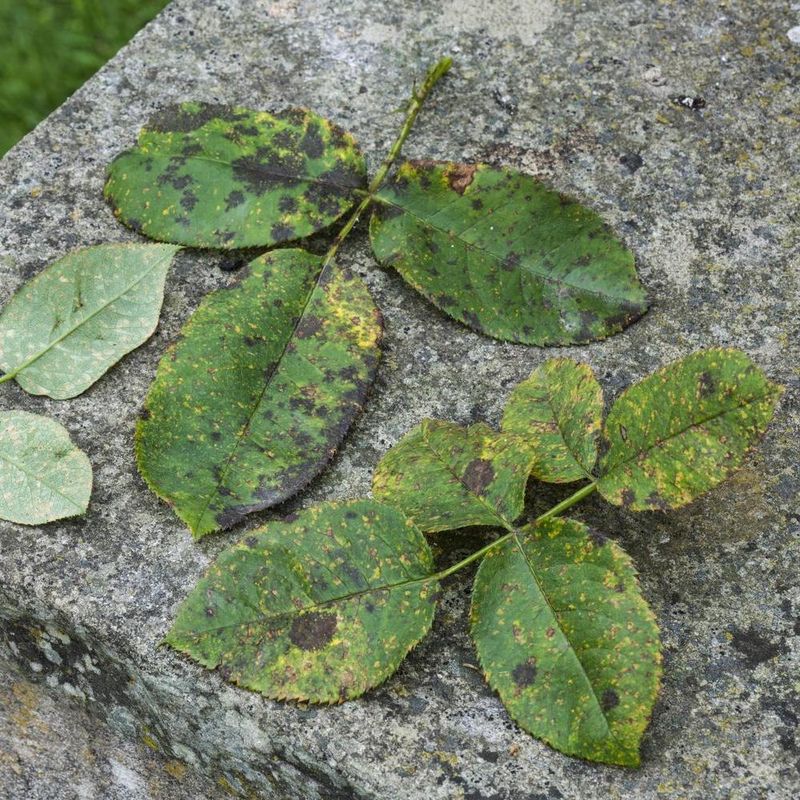
Blackspot does not leave your garden in winter. It just moves into the leaf litter and waits.
Those yellow, spotted leaves under your bushes are packed with fungal spores and sometimes insect eggs. When spring rain splashes on them, the spores bounce right back onto new leaves, and the cycle starts all over.
Rake the ground clean around every rose and bag the debris for the trash. Do not toss it into your compost pile, since most home piles do not get hot enough to kill the spores.
It is twenty minutes of work that can save you a summer of spotted foliage.
4. Keep Watering Until the Ground Freezes

Cooler days fool a lot of people into putting the hose away too early. Roses still need a drink.
Dry soil heading into winter leads to something called winter drought. Roots sitting in frozen, parched ground cannot pull up moisture, and canes dry out and die back.
Many “winter kill” cases are really thirst.
Water deeply at the base of each plant whenever the top couple of inches of soil feel dry. Aim for moist, not soggy, and keep water off the leaves to avoid fungus in the cool air.
Morning watering works best, so the soil is not ice cold overnight.
5. Prune Only What’s Dead, Damaged, or Diseased
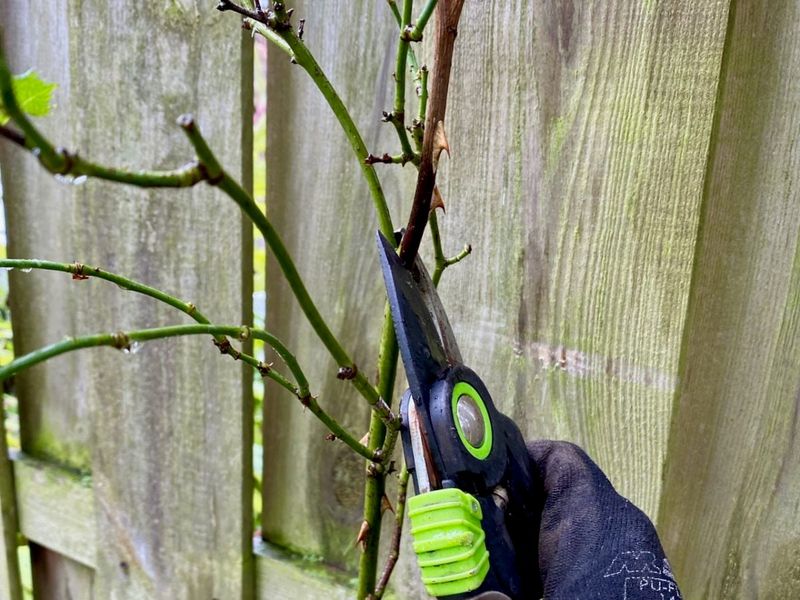
Put down the big shears. October is not the month for a hard haircut.
Heavy pruning wakes a rose up and pushes out new growth right when it should be slowing down. Save the real shaping for late winter or early spring, once the danger of hard freezes has passed.
For now, snip out canes that are clearly dead, broken, or covered in disease. Tall hybrid teas and grandifloras can be shortened by about a third so winter winds do not rock the roots loose or snow does not snap them.
That is all. Small cuts, big payoff.
6. Mound the Crown After Hard Frosts
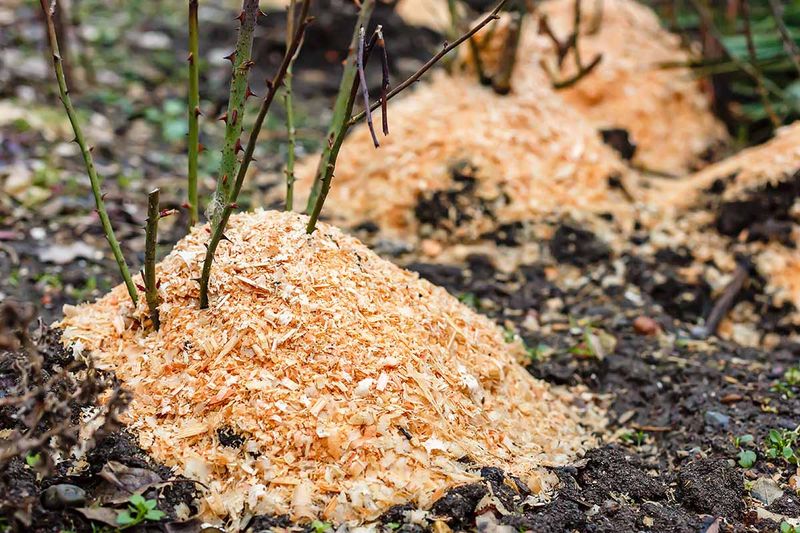
Think of it as a warm scarf for the most fragile part of the plant. On grafted roses, the bud union, that knobby spot near the soil, is where the good variety joins the rootstock.
If it freezes solid, you may lose the rose you bought and get only wild rootstock shoots. Once several hard frosts have hit, pile compost, shredded leaves, straw, or garden soil 6 to 12 inches high around the base.
The mound keeps temperatures steady and cuts down on freeze-thaw swings that crack canes. In mild Southern zones, you can usually skip this step.
7. Secure Climbing Roses Against Wind
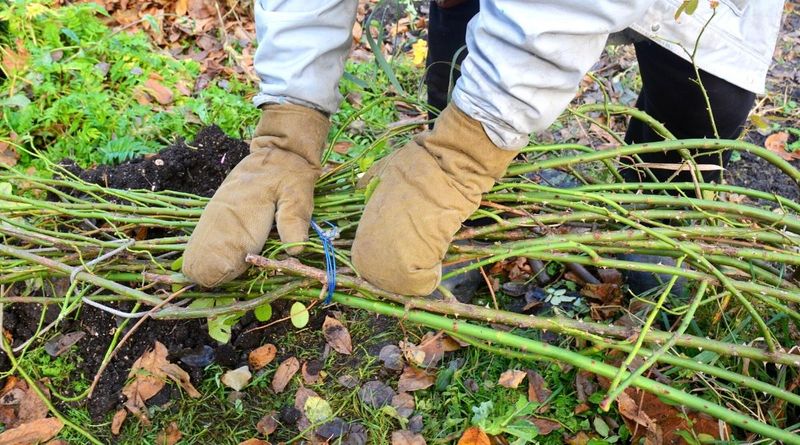
Picture a long, loose climbing cane whipping back and forth in a January storm. By spring, it is cracked, shredded, or snapped clean off.
Climbers take more wind than any other rose. In the coldest regions, many growers untie the canes, gently lay them on the ground, and cover them with soil or mulch.
If that sounds like too much, simply tie the canes snugly to their trellis or fence with soft ties so they cannot flail. Those long canes are where next June’s flowers will come from, so protecting them now pays off big.
8. Winterize Container Roses
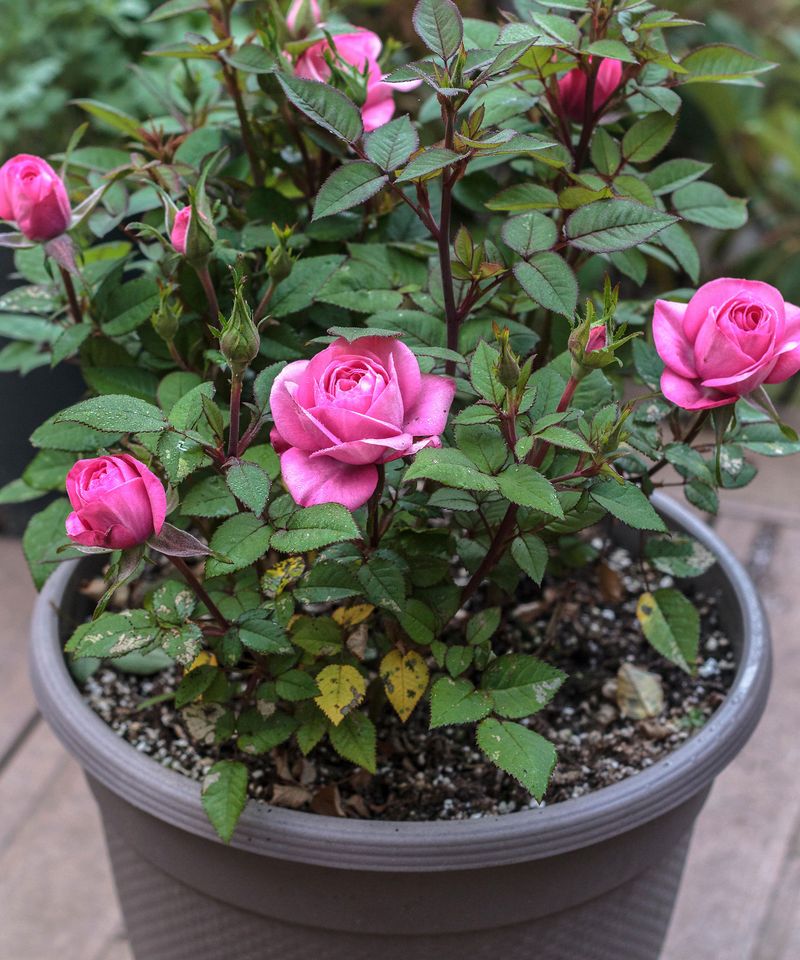
Roses in pots live a riskier life. Their roots sit above ground, with only a thin wall between them and freezing air.
After the first few frosts, roll the pot into an unheated garage, shed, or sheltered porch. The goal is cold and dormant, not warm, so skip the heated house.
Cannot move it? Wrap the container in burlap or bubble wrap and pile mulch around the base.
Check every few weeks through winter and give a light drink if the soil turns bone dry.
9. Test and Adjust Soil pH

Ever had a rose that just sulked no matter what you fed it? The soil may be locking up nutrients.
Roses do best with a pH of about 6.5 to 7.0. Grab an inexpensive home kit or send a sample to your county extension office, which often costs very little.
If your soil runs too acidic, fall is a smart time to add lime. Winter rain and snow slowly work it in, so by spring the roots can actually reach the food you give them.
10. Use a Dormant Spray If Disease Hit Hard
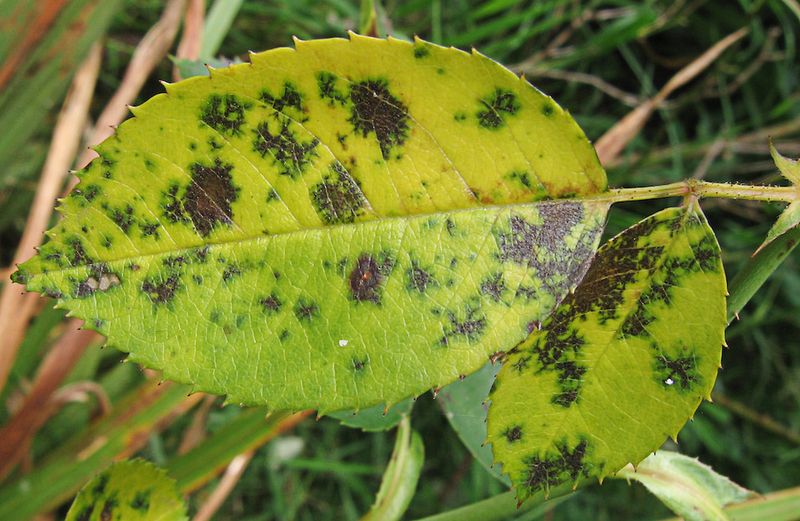
Did blackspot or powdery mildew wreck your roses this summer? Then one extra step may be worth it.
After the plants go dormant, a contact fungicide or dormant spray such as horticultural oil or lime sulfur can help reduce spores and insect eggs hiding on the canes. Follow the label closely for timing and temperature.
It will not guarantee a spotless season, but it can lower the disease pressure your roses face next spring. If your bushes stayed healthy this year, you can likely skip it.
11. Leave the Healthy Leaves Alone

Cleanup fever is real. Once you start pulling spotted leaves, it is tempting to strip the whole bush bare.
Resist it. Green, healthy leaves are still making food, and that energy gets stored in the canes and roots to carry the plant through winter.
Pull only the leaves that are clearly sick. Let the rest fall on their own schedule, then rake them up with the other debris.
12. Wait for Dormancy Before Heavy Protection
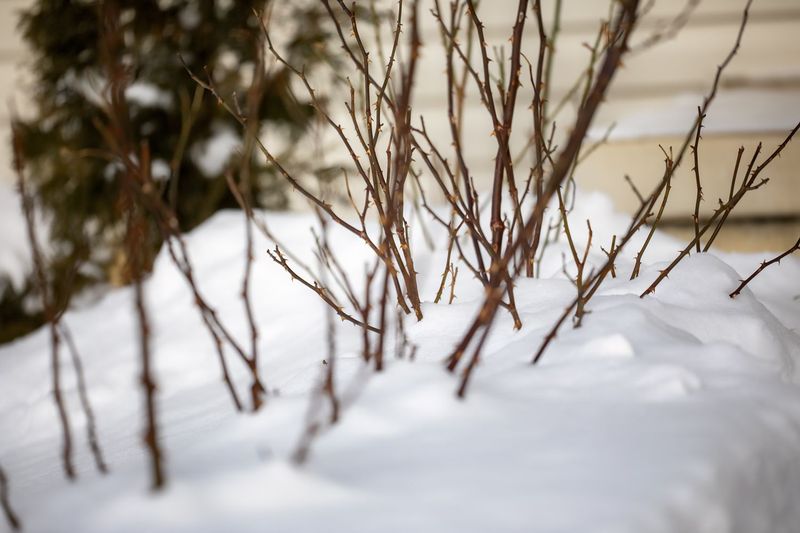
Patience is a winter skill. Many roses are lost not because they were cold, but because they were covered too soon.
Rose cones, thick mulch, and wraps put on in early October trap warmth and moisture around green leaves. That invites rot and mold, and it can keep the plant from settling into true dormancy.
Watch the weather instead of the calendar. After several hard freezes in the 20s, the bushes are asleep and ready to be tucked in.
13. Know Which Type of Rose You Have

Not every rose needs the full spa treatment. A tough shrub rose and a fussy hybrid tea are very different plants.
Knock Out roses and many own-root shrub roses are quite cold hardy and usually get by with cleanup, watering, and a little mulch. Grafted hybrid teas, grandifloras, and many climbers in cold zones need the mounding and wind protection.
Dig out the old plant tag or snap a photo and ask your local garden center. Once you know your rose, you can match your effort to what it really needs, and spend next June counting blooms instead of worrying.