
15 Ways You’re Accidentally Ruining Your Hydrangeas Without Realizing It
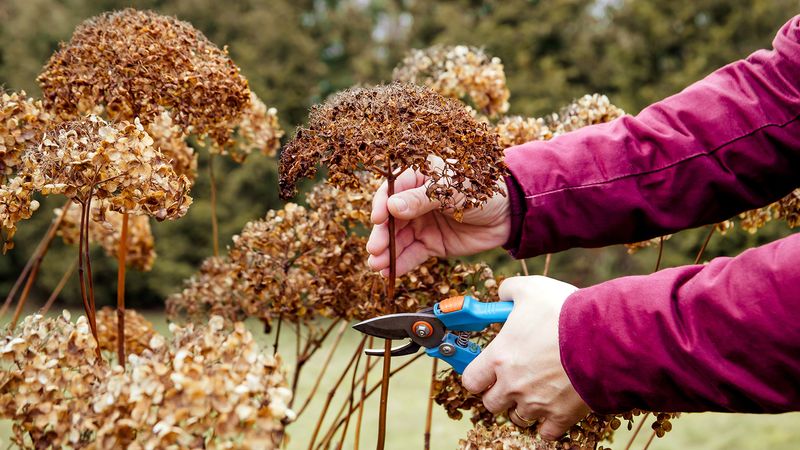
Hydrangeas look easy to grow, but they have a stubborn streak that can leave you scratching your head. Sometimes the very things you do to help them are quietly holding them back, from a bad pruning cut to the wrong spot in the yard. The good news is that most of these mistakes are simple to fix once you know what to look for. Here are 15 sneaky habits that might be sabotaging your blooms, plus how to turn things around.
1. Pruning at the Wrong Time of Year
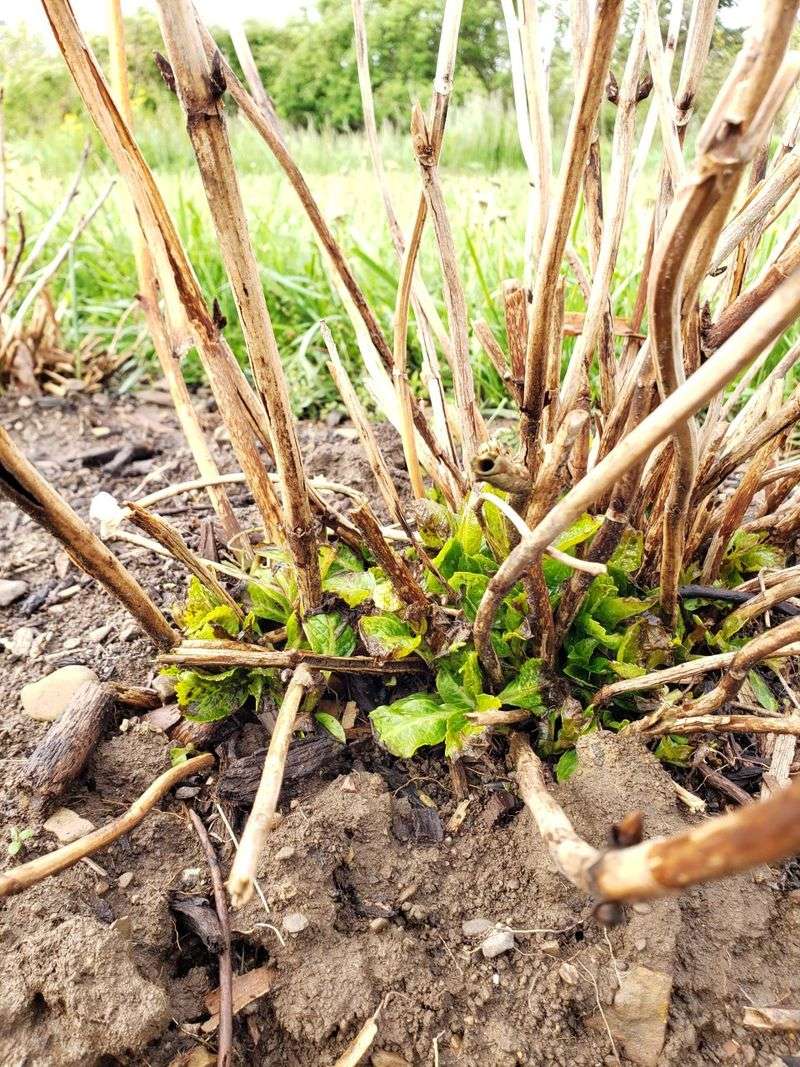
Grab those shears at the wrong moment and you can snip off next season’s flowers before they ever open. Many bigleaf hydrangeas set their buds on old wood in late summer, so a tidy fall or spring haircut removes the exact stems that were about to bloom.
The fix comes down to knowing your type. Old-wood bloomers like mophead and lacecap varieties should be pruned right after they finish flowering in summer. Panicle and smooth hydrangeas, which bloom on new wood, can be cut back in late winter without losing a thing.
When in doubt, wait and watch. A plant that leafs out but never flowers is often waving a flag that its buds got cut off. Give it a full season without pruning and see what happens before you reach for the clippers again.
2. Planting in Full Afternoon Sun
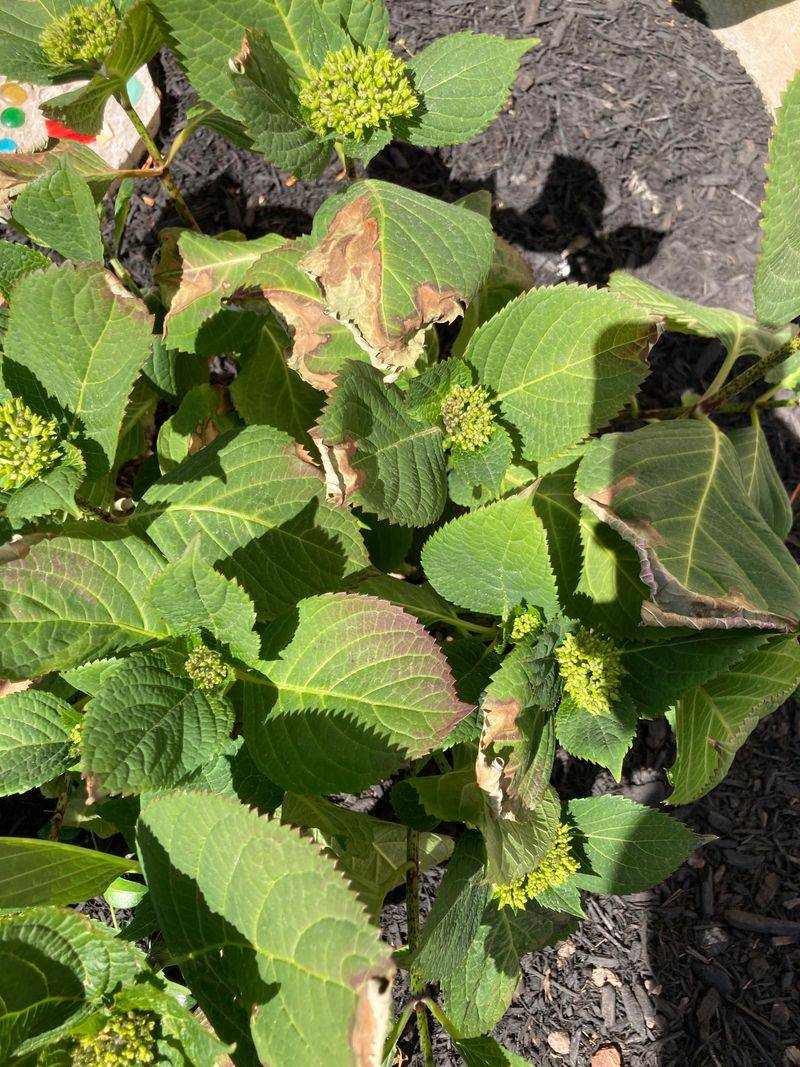
Bright sun sounds like a plant’s best friend, but hydrangeas tell a different story when the afternoon rays hit hard. Leaves scorch at the edges, blooms fade fast, and the whole shrub looks tired by August even with plenty of water.
Most hydrangeas do their best with morning sun and afternoon shade, especially in the warmer southern and central US zones. A spot on the east side of your house or under the dappled light of a tall tree keeps them happy without frying the foliage.
Panicle hydrangeas are the exception and can handle more direct light, which makes them a smart pick for open, sunny beds. Match the plant to the spot instead of forcing a shade lover into the hottest corner of the yard.
3. Overfeeding With High-Nitrogen Fertilizer
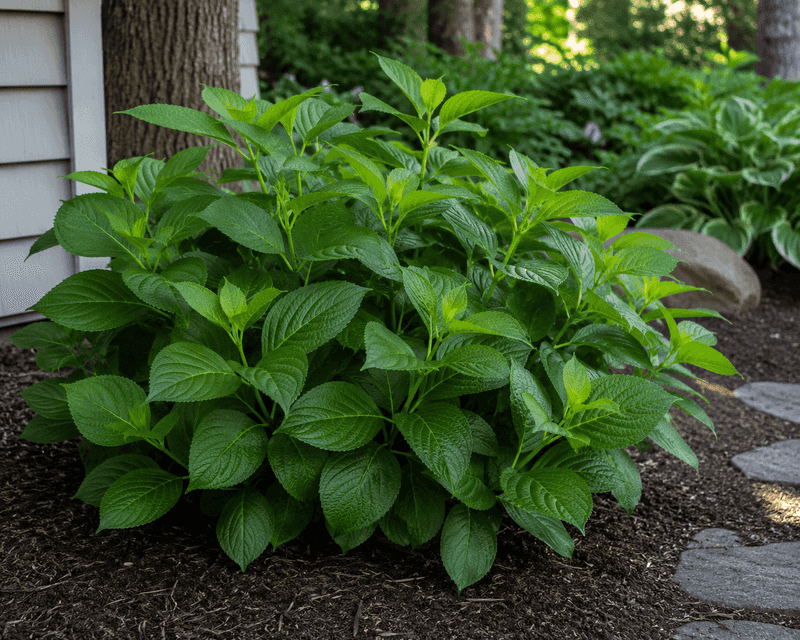
More food equals more flowers, right? Not with hydrangeas. Loading the soil with high-nitrogen lawn fertilizer pushes out lush green leaves while the flower count quietly drops off.
Nitrogen fuels foliage, so a plant swimming in it puts all its energy into growing bushy and green instead of setting buds. You end up with a healthy-looking shrub that stubbornly refuses to bloom.
Ease off and switch to a balanced or slightly phosphorus-heavy formula applied once in spring. Better yet, work in a little compost and let the plant find its own rhythm. Hydrangeas are not heavy feeders, and treating them like they are usually backfires.
4. Ignoring What the Leaves Are Telling You
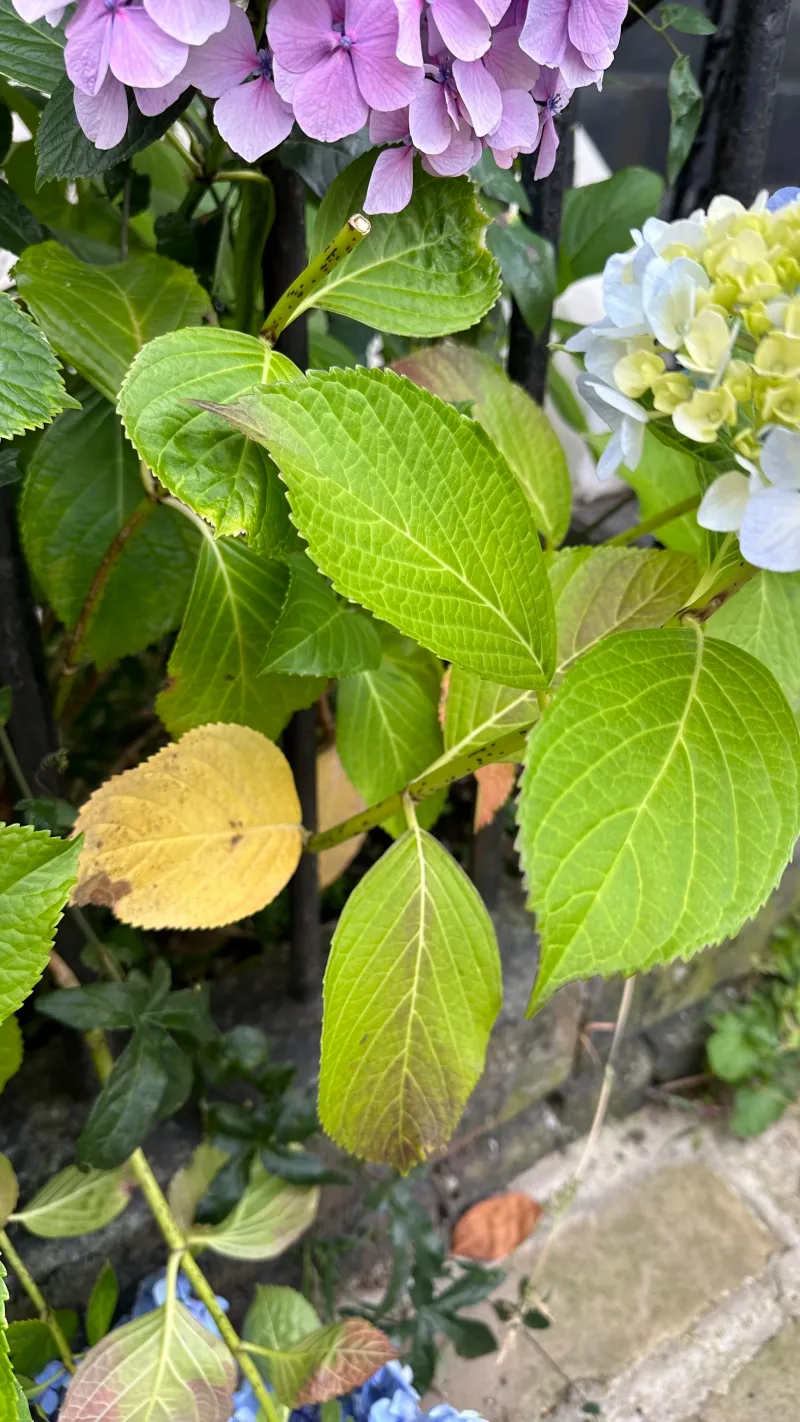
Long before a hydrangea drops its flowers, the leaves start whispering warnings if you know how to read them. Yellowing between green veins often points to an iron shortage, while purple or reddish tints can signal a phosphorus problem or cold stress.
Brown crispy edges usually mean the plant is thirsty or sunburned, and pale, floppy new growth can hint at root trouble underground. Each color shift is a clue that lets you fix the cause instead of guessing.
Spend a minute each week actually looking at the foliage up close. Catching a leaf that turns from deep green to sickly yellow early on may save the whole plant a rough season, and it beats waiting until the blooms disappear to react.
5. Letting the Roots Sit in Soggy Soil
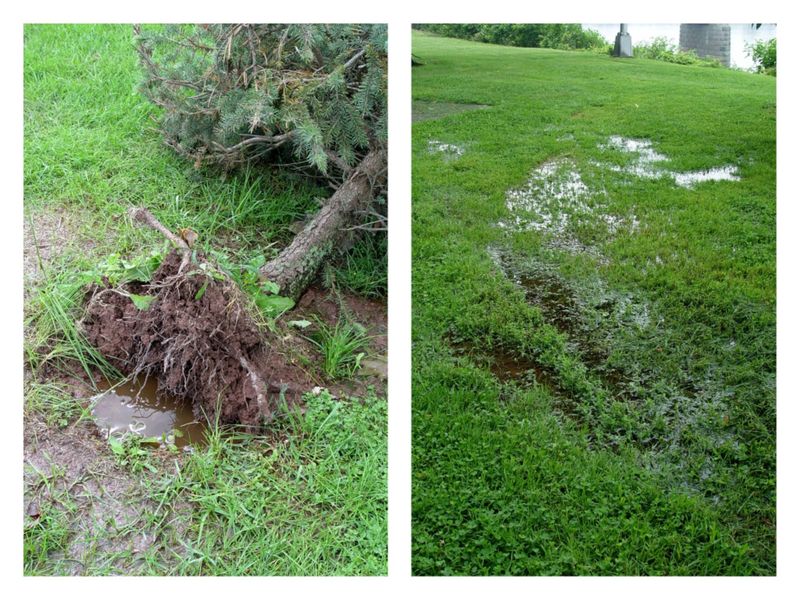
Hydrangeas love moisture, but there is a big difference between damp and drowning. Plant one in a low spot where rain pools or in heavy clay that never drains, and the roots slowly suffocate.
Root rot creeps in quietly. The shrub wilts even when the soil is wet, leaves yellow and drop, and the base of the stems may turn dark and mushy. By the time you notice, the damage is often deep.
Improve drainage before you plant by mixing in compost and, if needed, raising the bed a few inches. If a hydrangea already sits in a swampy spot, moving it in early spring or fall may be the kindest rescue you can offer.
6. Skipping Mulch Around the Base
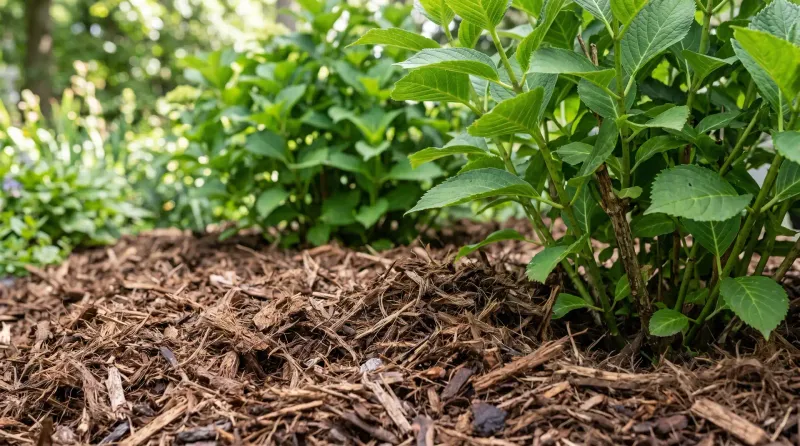
Bare soil around a hydrangea might look tidy, but it leaves the shallow roots exposed to every temperature swing and dry spell. Without a protective layer, moisture evaporates fast and the roots bake in summer and chill in winter.
A two to three inch blanket of shredded bark or leaf mold keeps the soil cool, holds water longer, and slowly feeds the plant as it breaks down. It also cuts down on weeds fighting for the same nutrients.
Keep the mulch pulled back a couple of inches from the stems so it does not trap moisture against the wood. Refresh it once a year and your hydrangea will lean on it through both heat and frost.
7. Fussing With the Soil pH Without a Test
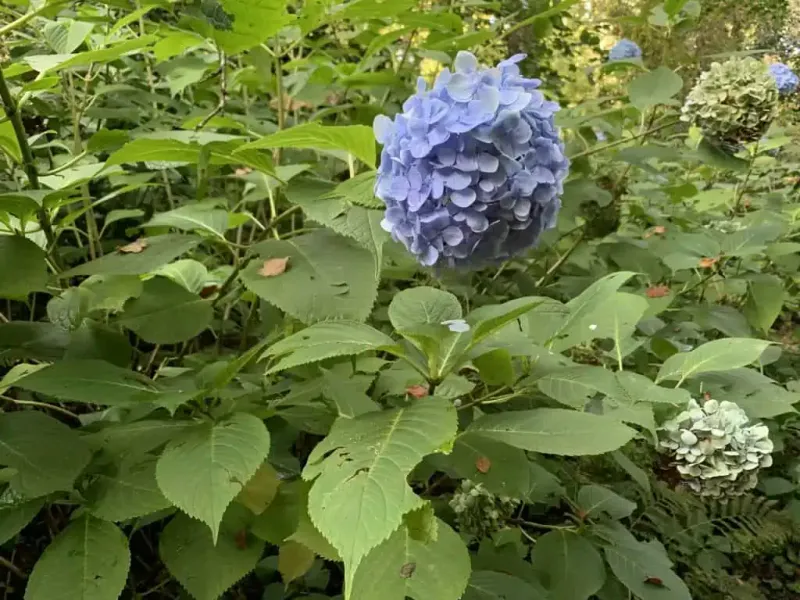
Everyone knows the party trick where bigleaf hydrangeas turn blue in acidic soil and pink in alkaline. The trouble starts when gardeners dump coffee grounds, lime, or aluminum sulfate around the plant based on a guess.
Throwing amendments at the ground blindly can swing the chemistry too far and lock up nutrients the plant needs, leaving you with a sulking shrub and muddy colors instead of a clean shade.
Spend a few dollars on a soil test kit first. Once you know your actual pH, you can nudge it gradually and only if you genuinely want to change bloom color. Panicle and smooth hydrangeas will not change hue no matter what you add, so save your effort for the bigleaf types.
8. Watering the Leaves Instead of the Roots
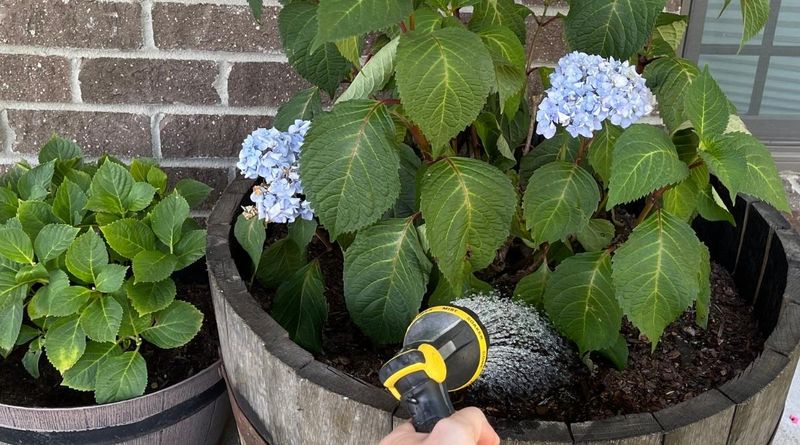
Spraying the whole plant with a hose feels efficient, but hydrangeas drink through their roots, not their foliage. Wet leaves that never dry out become a welcome mat for powdery mildew and leaf spot fungus.
Aim the water low and slow at the base of the plant, letting it soak deep into the root zone. A soaker hose or a slow trickle in the early morning gives the plant time to absorb what it needs and lets any splashed foliage dry by midday.
Deep, occasional soakings beat frequent light sprinkles every time. Shallow watering trains roots to stay near the surface, where they dry out fastest, so go for a good long drink a couple of times a week instead.
9. Crowding Them Too Close Together
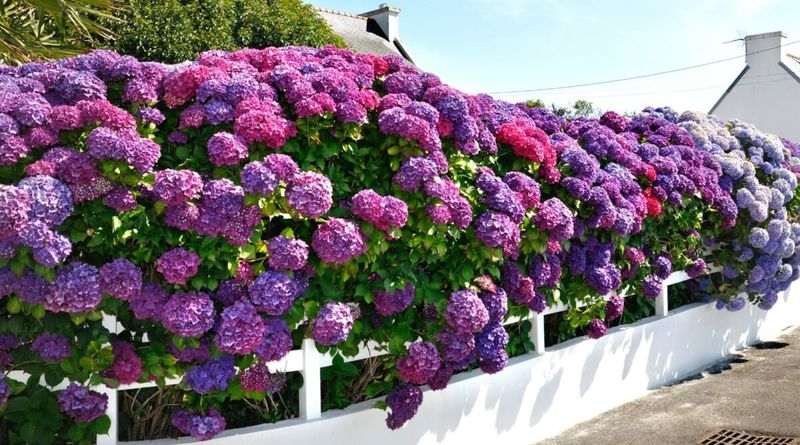
Nursery hydrangeas come in cute little pots, and it is tempting to tuck several close together for an instant full look. Fast forward a couple of years and those neat shrubs are elbowing each other for space, light, and air.
Poor air circulation between packed plants invites fungal diseases and keeps the interior leaves damp and dark. Roots also compete underground, so each plant ends up weaker than it would be with room to stretch.
Check the mature width on the plant tag and give each hydrangea that much elbow room, often three to six feet depending on the variety. It looks sparse at first, but patience pays off with fuller, healthier plants down the road.
10. Deadheading Old Wood Bloomers Too Aggressively
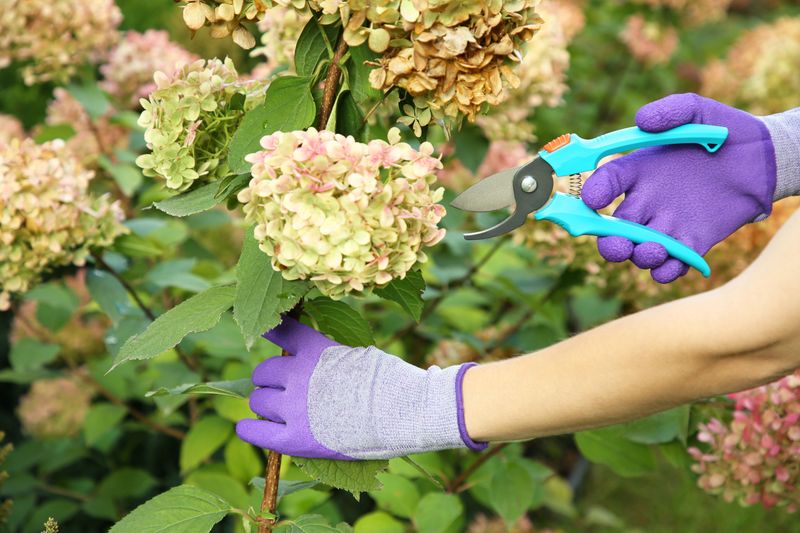
Snipping spent flowers keeps a plant looking sharp, but go too deep on an old-wood hydrangea and you take next year’s buds along for the ride. The buds sit just below the faded bloom, closer than most people expect.
Trim only the spent flower head, cutting right above the first healthy set of leaves rather than reaching down the stem. That small restraint protects the buds that will become next summer’s show.
Some gardeners even leave the dried blooms standing through winter for a bit of frosty interest and extra bud protection. Either way, gentle beats zealous when it comes to your mophead and lacecap types.
11. Leaving Them Unprotected in Winter
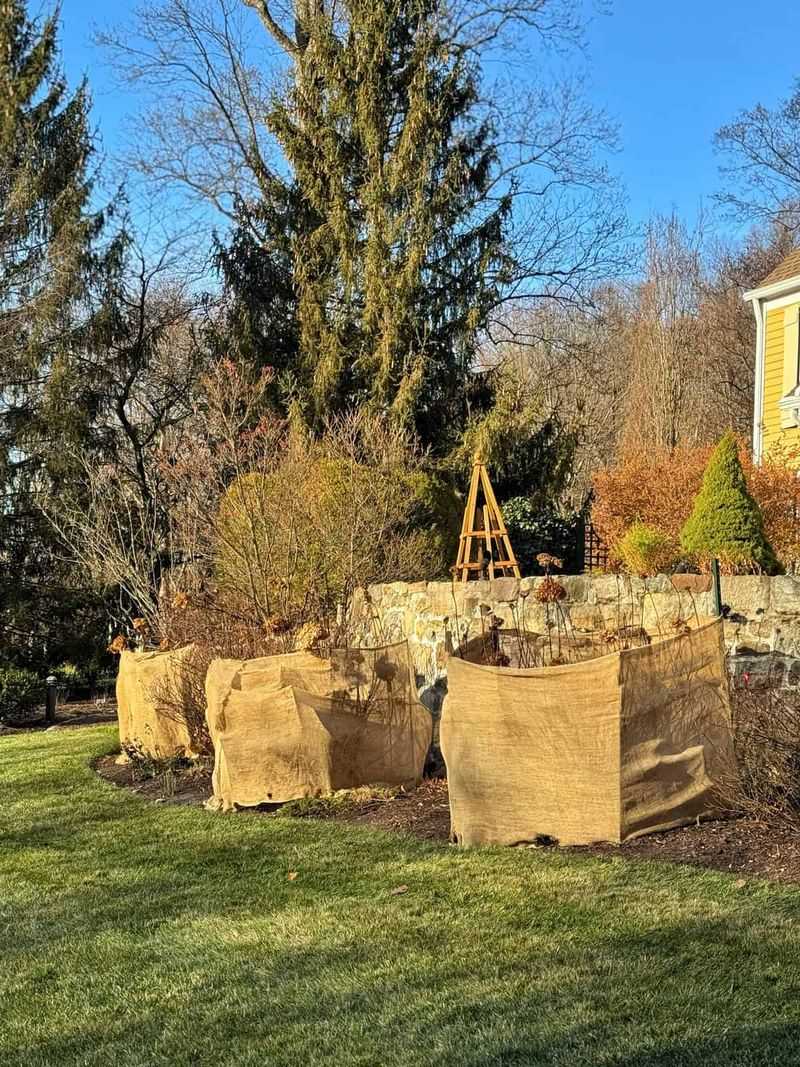
A mild fall can lull you into thinking your hydrangeas will sail through winter untouched. Then a hard freeze or a late spring frost zaps the tender buds, and come summer the plant leafs out beautifully but never flowers.
Old-wood bloomers in colder US zones need their buds shielded. Mound mulch or leaves around the base after the first frost, and for prized shrubs, a loose burlap wrap or a chicken-wire cage stuffed with leaves adds real protection.
Timing matters on the way out too. Uncover the plant gradually in spring so a surprise cold snap does not undo all your work. A little seasonal babysitting is often the difference between a bloomless year and a knockout one.
12. Choosing the Wrong Variety for Your Zone
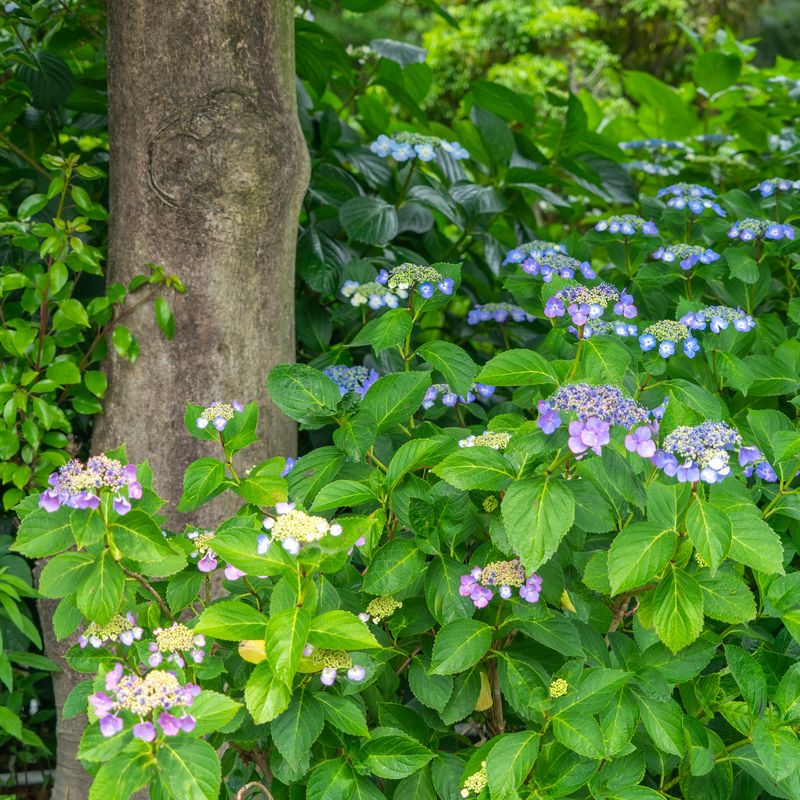
Falling in love with a hydrangea at the garden center is easy, but planting one that hates your climate sets you up for years of disappointment. A variety bred for mild coastal weather will struggle in a region of brutal winters or scorching summers.
Bigleaf types often sulk where winters are harsh, while panicle hydrangeas shrug off cold and heat with ease. Smooth hydrangeas like Annabelle are workhorses across much of the country and forgive a lot of beginner mistakes.
Check your USDA hardiness zone and read the plant tag before you buy. Matching the plant to your actual growing conditions solves half the problems on this list before you ever dig a hole.
13. Missing the Signs of Pests and Scale
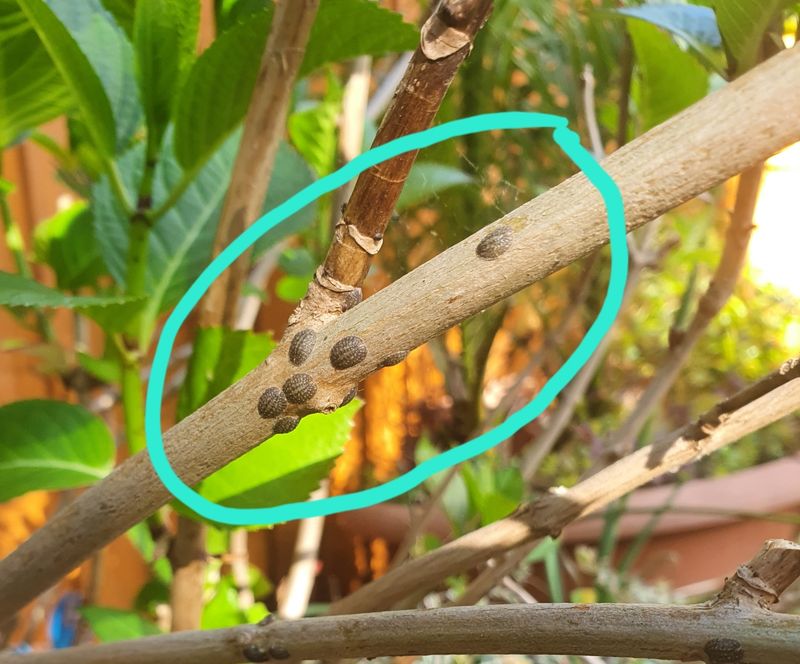
Aphids, spider mites, and scale insects are sneaky freeloaders that set up shop on the undersides of leaves where you rarely look. By the time the leaves curl, yellow, or turn sticky, the population has usually exploded.
Scale in particular can look like harmless little bumps on the stems, so plenty of gardeners scrape past them without a second thought. Meanwhile the bugs quietly drain sap and weaken the whole shrub.
Flip a few leaves over during your weekly stroll and check the stems for odd bumps. A strong spray of water, insecticidal soap, or neem oil can knock back most invaders early. Certain strongly scented companion plants like alliums or marigolds may help keep some pests at a distance too.
14. Planting Too Deep in the Ground
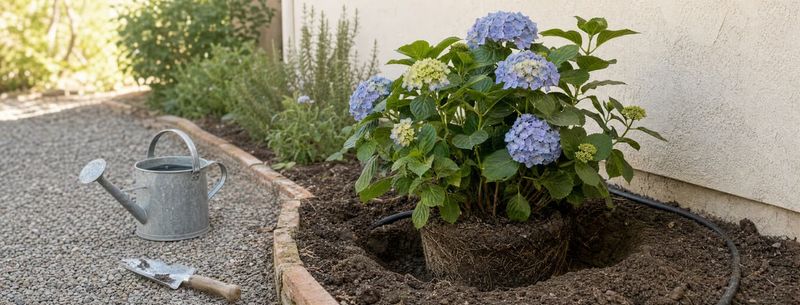
Digging an extra-deep hole feels like giving the roots a cozy start, but burying a hydrangea too low is a slow-motion mistake. When the crown sits below the soil line, it stays wet and the plant struggles to breathe.
Set the root ball so its top sits level with or just slightly above the surrounding soil. Backfill gently and resist the urge to pile dirt up around the stems, which invites rot at the base.
If an existing plant seems to be sinking or declining for no clear reason, gently check the crown. Lifting it to the right depth in early spring can revive a shrub that has been quietly gasping underground.
15. Giving Up Too Soon on a Slow Starter
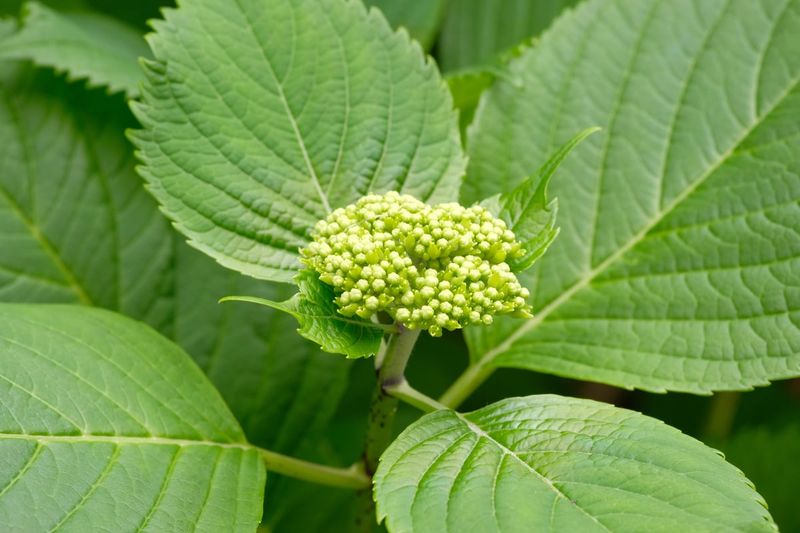
Newly planted hydrangeas can spend their first year or two looking downright unimpressive, and impatient gardeners often yank them out or fuss them to death. There is even an old saying that the first year they sleep, the second they creep, and the third they leap.
Roots need time to establish before a plant can pour energy into big, showy blooms. A shrub that looks stalled may simply be building its foundation underground where you cannot see the progress.
Keep the basics steady with consistent water, a little mulch, and light feeding, then step back and let time do its thing. More hydrangeas are loved to death by anxious tinkering than are ever lost to genuine neglect.