
17 Easy Ways To Revive A Clematis That’s Quietly Given Up On Blooming
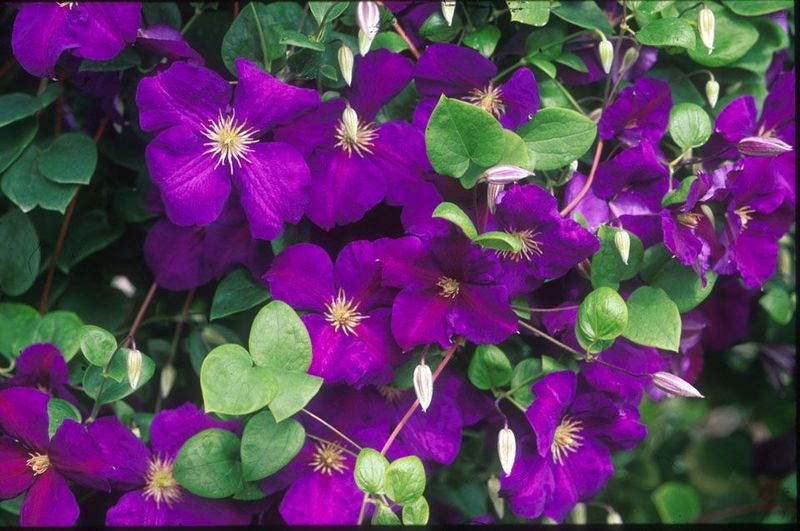
A clematis that suddenly stops blooming can feel like a quiet mystery in your garden. One year it’s covered in flowers, and the next it’s all leaves and no color, leaving you wondering what went wrong.
The good news is that most non-blooming clematis just need a small tweak to their sunlight, soil, water, or pruning to bounce right back. Here are 17 simple fixes you can try today to get your vine flowering again.
1. Ensure Enough Sunlight
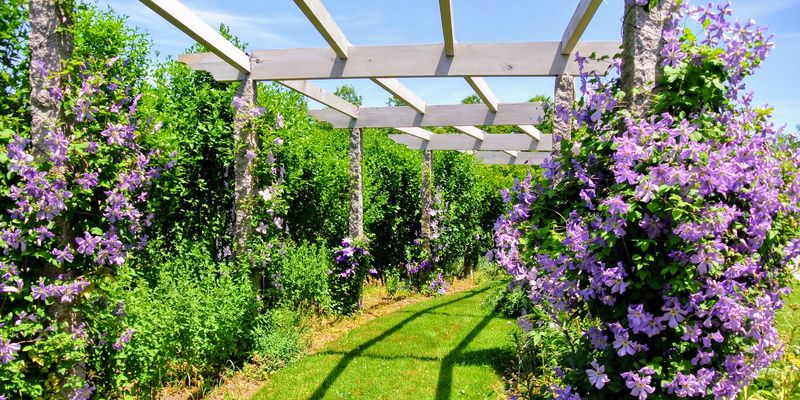
Picture your clematis stretching toward the light like it’s trying to catch a tan. Most varieties need at least six hours of direct sun each day to fuel a full show of flowers.
When a vine sits in too much shade, it pours its energy into leafy growth and skips the blooms entirely. Watch the spot at different times of day and notice how the sun moves across it.
If a nearby tree or shrub has grown up and started casting shade, a little trimming can open the canopy back up. In cooler regions, giving your plant the sunniest wall you have often makes the biggest difference of all.
2. Keep Roots Cool and Shaded
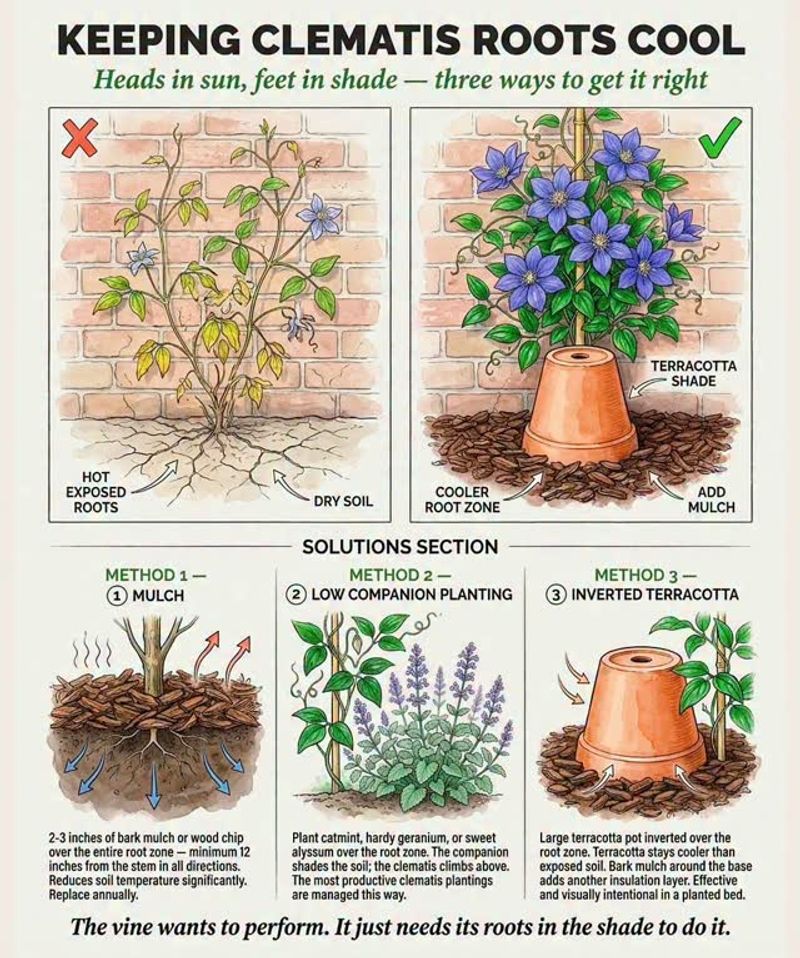
Gardeners love to say clematis wants its head in the sun and its feet in the shade, and it’s genuinely good advice. The flowers crave light, but the roots hate baking in hot, dry soil.
A two to three inch layer of mulch around the base keeps the ground cool and holds in moisture during summer heat. Flat stones laid over the root zone do the same job and look tidy while they’re at it.
Another trick is tucking low-growing annuals or shallow-rooted perennials at the vine’s feet as living shade. Just keep mulch pulled back an inch from the main stem so it doesn’t trap rot against the crown.
3. Check and Adjust Soil pH

Soil chemistry is one of those quiet culprits nobody thinks to check. Clematis generally prefer neutral to slightly alkaline ground, roughly a pH between 5.5 and 7.0, though some tolerate higher.
A cheap test kit from the garden center tells you where you stand in a few minutes. If your soil reads too acidic, a bit of garden lime worked in can nudge the number upward.
Overly alkaline soil can be softened with compost or a touch of sulfur. Getting the pH into the happy zone helps the plant actually absorb the nutrients already sitting in the ground around it.
4. Improve Soil Drainage
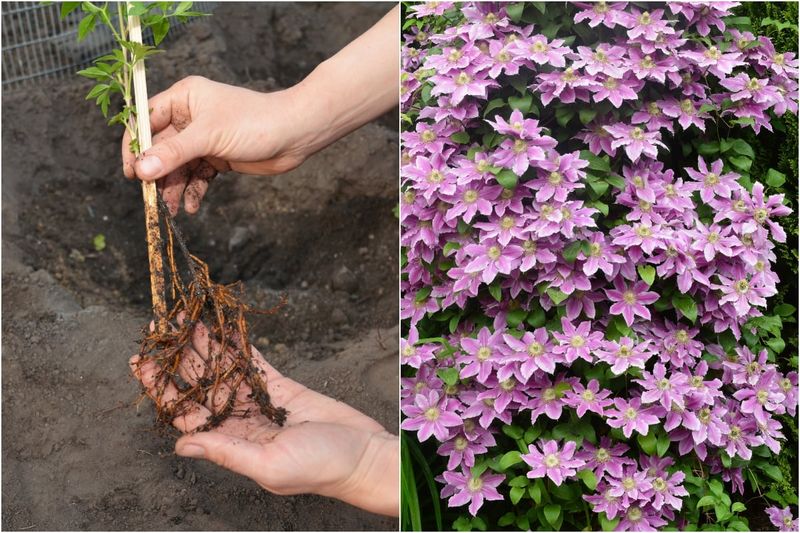
Soggy feet spell trouble for a clematis faster than almost anything else. When water pools around the roots, they suffocate and can rot, which shuts down flowering in a hurry.
Dig a small test hole and fill it with water to see how quickly it drains. If it sits for hours, your soil is holding too much moisture for a clematis to thrive.
Mixing in coarse compost, grit, or well-rotted organic matter loosens heavy clay and helps excess water move through. Planting on a slight mound or raised bed can rescue a vine stuck in a naturally wet corner of the yard.
5. Enrich Soil with Organic Matter
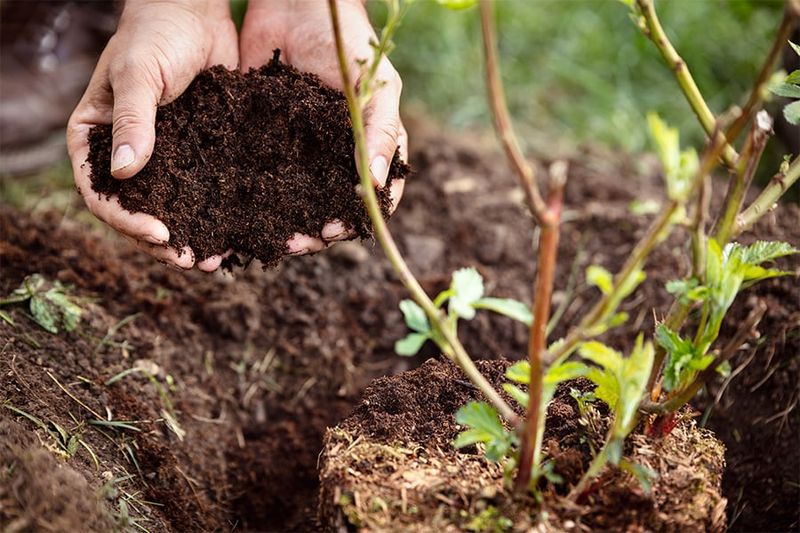
Think of compost as a slow, steady buffet for your vine. Working a few handfuls of well-rotted compost or aged manure into the soil each spring builds better structure and feeds the plant naturally.
Richer soil holds moisture without staying waterlogged, giving roots the balance they crave. It also wakes up the tiny microbes that quietly help plants pull nutrients from the ground.
You don’t need to dig deep and disturb the roots to do this. A gentle top-dressing scratched into the surface and topped with mulch does plenty of good over the season.
6. Fertilize with Low Nitrogen for Blooms
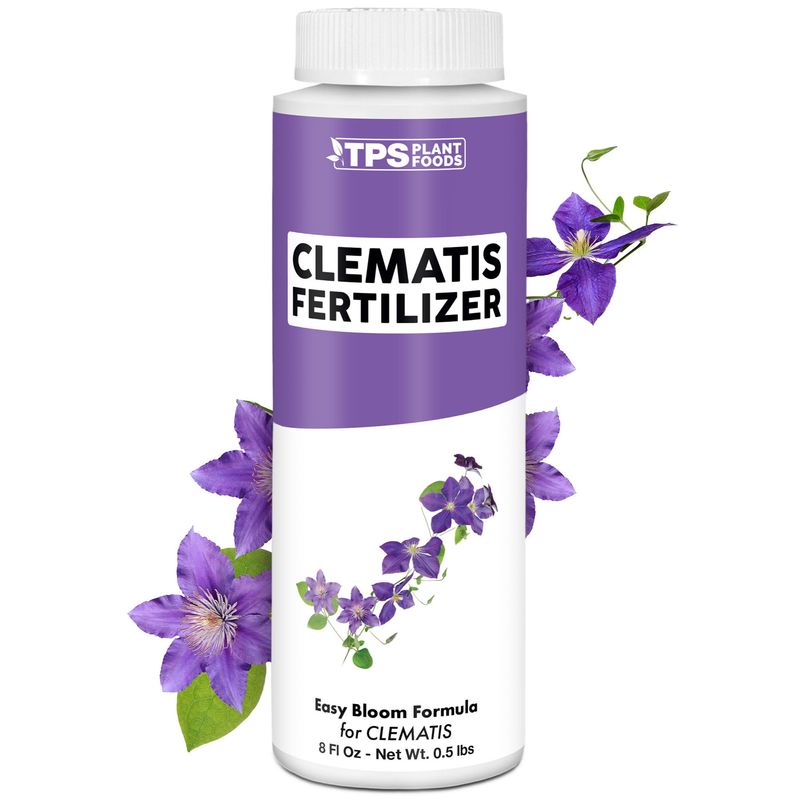
Feeding matters, but the type of food matters even more. In early spring, reach for a fertilizer that’s lower in nitrogen and higher in phosphorus and potassium, like a 5-10-10 or 10-30-20 blend.
Phosphorus is the nutrient that pushes flower buds, while too much nitrogen just grows leaves. A bloom-boosting formula tells the plant it’s time to make color, not just green vines.
Apply it as new growth emerges and follow the label rates so you don’t overdo it. A light feeding again after the first flush can keep repeat bloomers going strong into summer.
7. Avoid Excessive Nitrogen
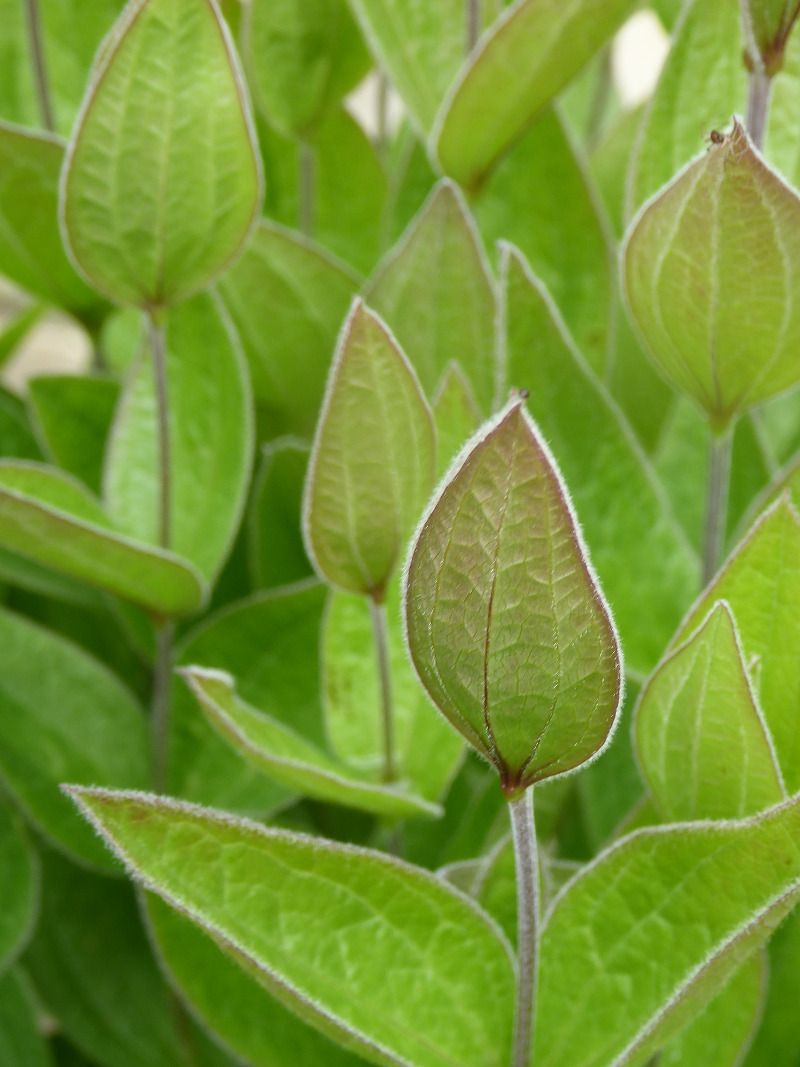
Here’s a sneaky mistake that trips up a lot of tidy gardeners. If you fertilize your lawn near a clematis, that high-nitrogen feed can drift into the vine’s root zone and drown out the blooms.
Nitrogen is the leaf-and-green nutrient, so an overdose leaves you with a jungle of foliage and barely a flower in sight. It’s a frustrating problem because the plant looks lush and healthy.
Keep lawn feed a good distance from the base of the vine, and skip any general-purpose fertilizers heavy in that first number. Sometimes simply easing off the nitrogen is all it takes to coax the buds back out.
8. Water Deeply and Consistently
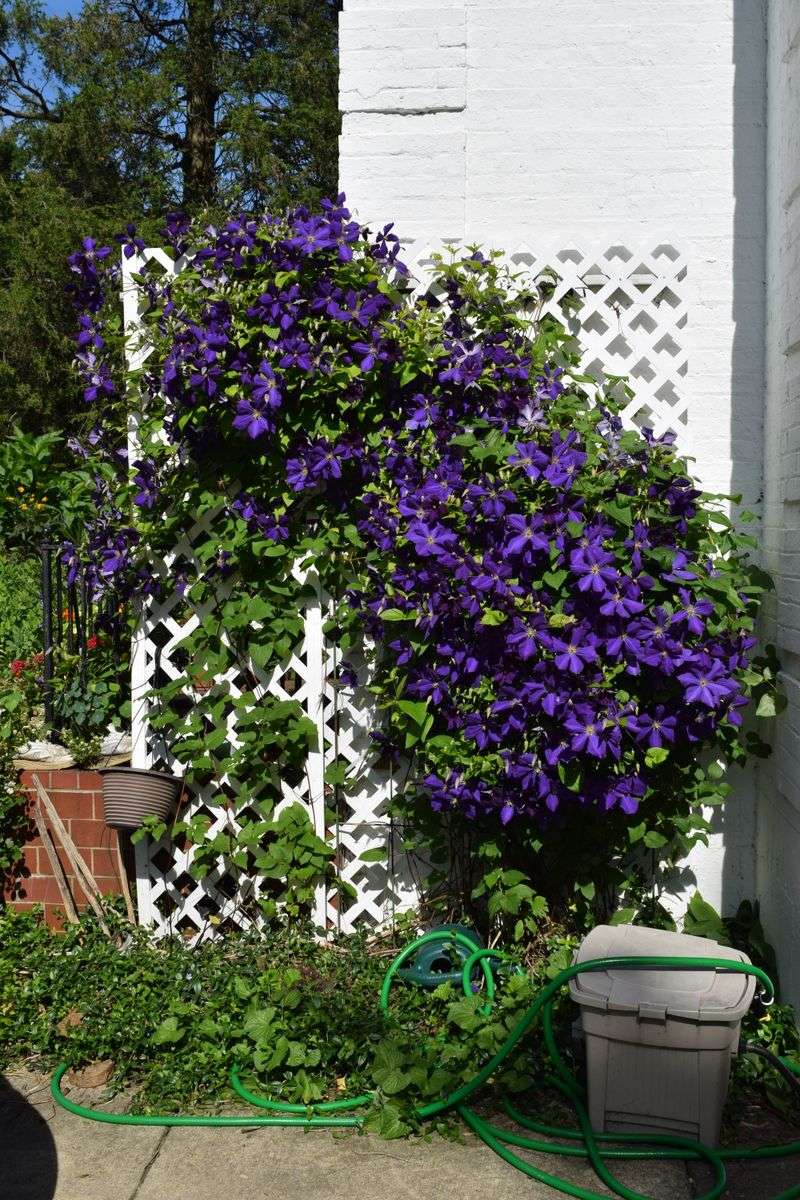
Clematis roots run surprisingly deep, and they get thirsty when the weather turns dry. A quick sprinkle on the surface barely reaches them, which is why shallow watering often leaves a vine stressed and bloomless.
Check by pushing a finger into the soil, and when the top two to three inches feel dry, it’s time to water. Give it a long, slow soak so the moisture sinks down where the roots actually live.
First-year plants especially need steady moisture while they settle in. Consistency beats occasional flooding, so aim for a regular rhythm rather than letting the soil swing from bone dry to sopping wet.
9. Water in the Morning
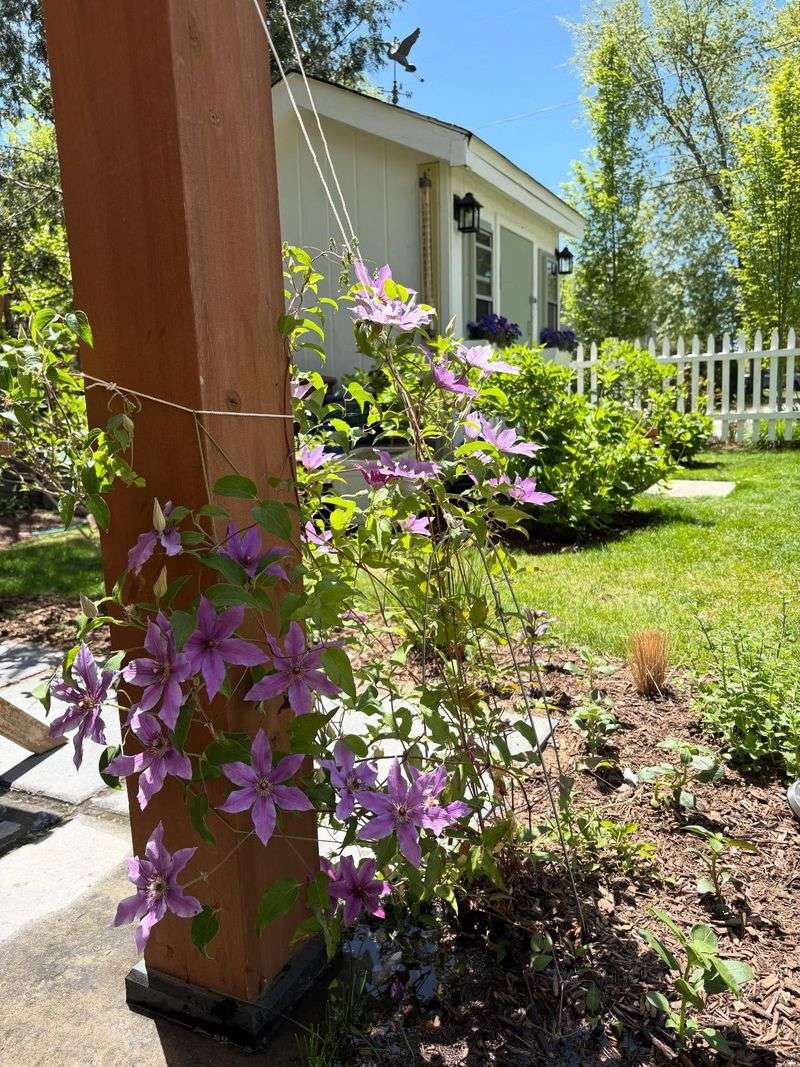
Timing your watering can quietly protect your plant from disease. Watering early in the day lets any splashes on the leaves dry off in the morning sun before evening dampness sets in.
Wet foliage that lingers overnight is an open invitation for fungal problems that can weaken the vine. Aim the water right at the base of the plant instead of over the top of the leaves.
Morning moisture also gives the roots a full drink before the heat of midday pulls it away. It’s a tiny habit shift that pays off in healthier growth and steadier flowering.
10. Understand Your Clematis’s Pruning Group
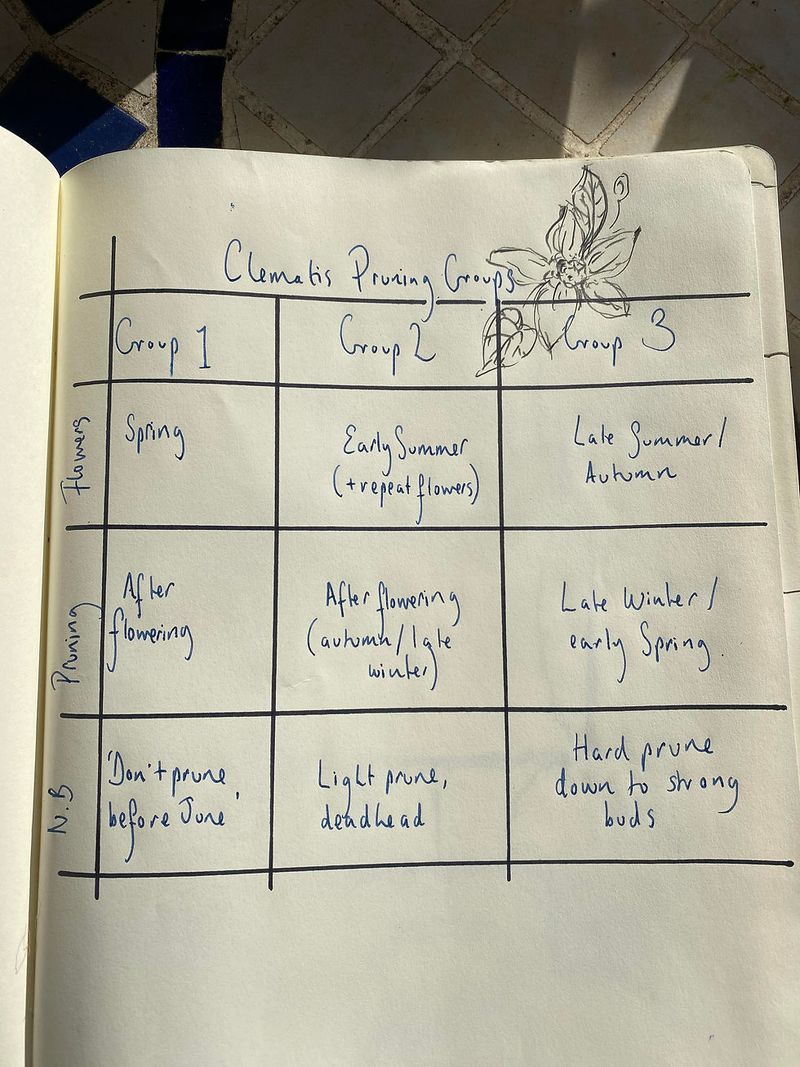
If there’s one thing that stumps clematis owners, it’s pruning. These vines fall into three groups labeled 1, 2, and 3, and each one wants to be cut at a different time in a different way.
Snip the wrong stems at the wrong moment and you can accidentally chop off the very growth that would have flowered. That single mistake explains a huge share of clematis that mysteriously refuse to bloom.
Check the plant tag, save the label, or note when your vine normally flowers to figure out its group. Once you know which category you’re dealing with, the rest of the pruning advice suddenly makes perfect sense.
11. Minimal Pruning for Group 1 Clematis
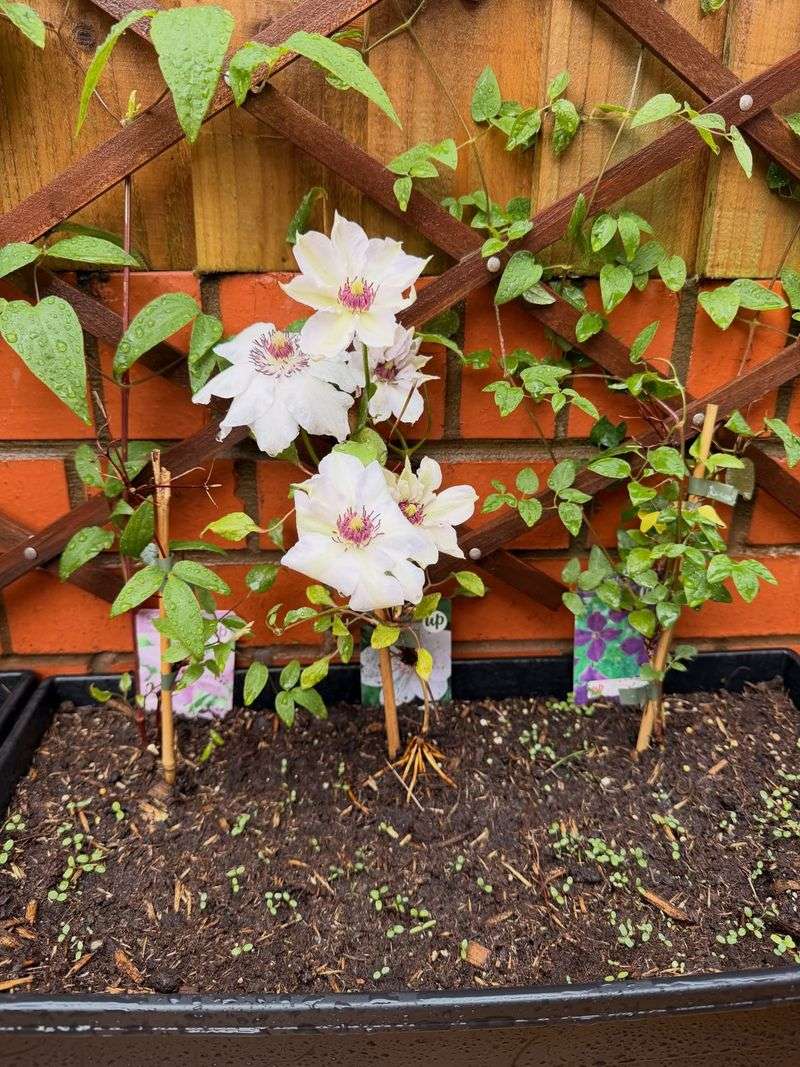
Early bloomers in Group 1 are the ones that flower on last year’s stems, or old wood. Cut them back hard and you’ll wipe out this season’s show before it even starts.
The best approach here is a light touch, trimming only right after the flowers fade in spring. Remove dead, damaged, or scraggly weak stems and leave the healthy framework alone.
These vigorous varieties can get big, so the trim is more about shaping and tidying than reducing. Restraint is the whole secret with this group, so resist the urge to give it a heavy haircut.
12. Moderate Pruning for Group 2 Clematis
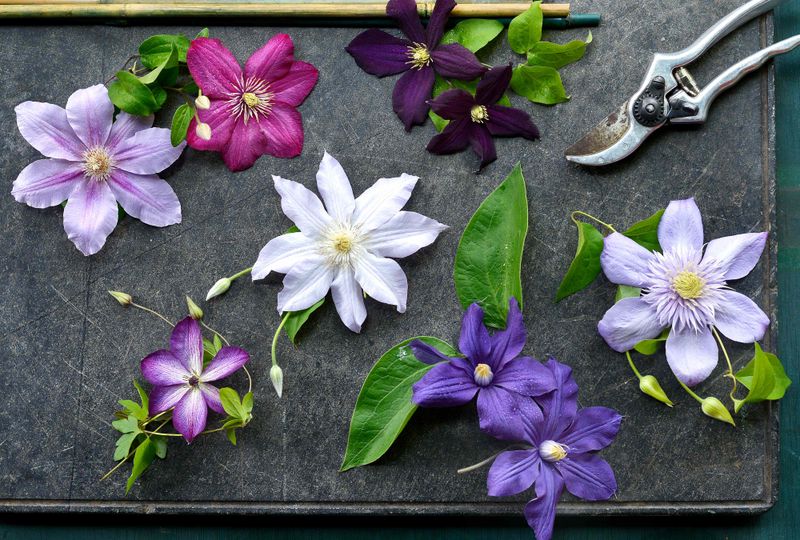
Group 2 clematis like to have it both ways, blooming on old wood in late spring and again on new growth later on. That double habit makes them the fussiest to prune correctly.
In late winter or early spring, go through and remove only the weak, dead, or tangled stems while keeping the strong ones intact. Those healthy old stems carry your first big flush of flowers.
After that first round of blooms fades, a light trim encourages a second showing later in the season. Gentle and thoughtful is the name of the game with these repeat performers.
13. Hard Pruning for Group 3 Clematis Annually
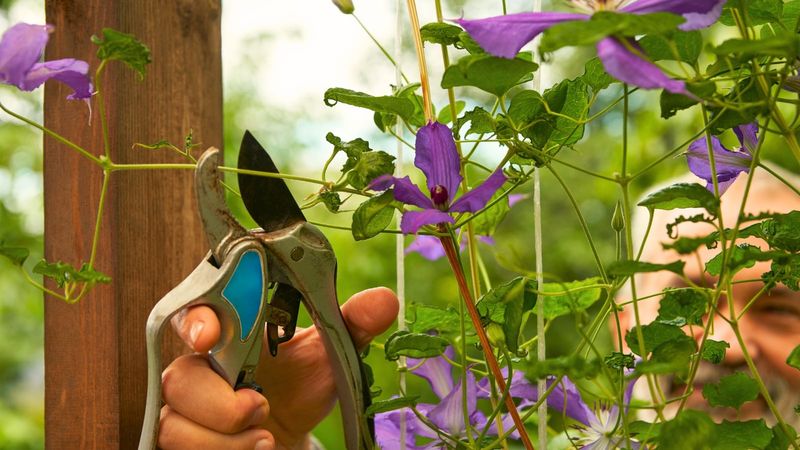
Group 3 is where you can finally grab the shears with confidence. These late-season bloomers flower entirely on fresh new wood, so last year’s growth doesn’t matter one bit.
Every late winter or early spring, cut the whole vine back hard to about 6 to 24 inches above the ground. It looks brutal, but it triggers a burst of vigorous new stems loaded with buds.
Skipping this hard prune leaves you with a bare, woody tangle that flowers only way up at the top. An annual chop keeps the plant full, fresh, and blooming from a much lower point.
14. Plant Clematis Deeply
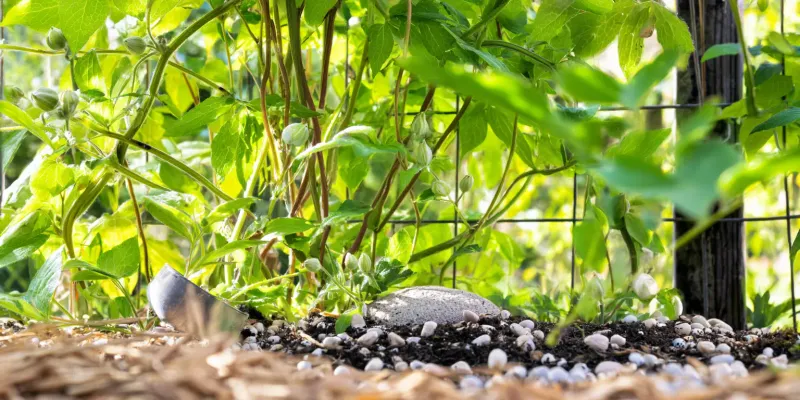
Most plants want their crown right at the soil line, but clematis breaks that rule. When you set a new one in the ground, bury the crown a full two to four inches below the surface.
That extra depth encourages a stronger, more resilient root system and sparks new shoots from below ground. It also gives the plant a safety net if the top ever gets hit by disease.
Buried buds mean the vine can regrow from underground even if wilt strikes the upper stems. For an established plant that’s struggling, mounding a little extra soil over the base can offer some of the same protection.
15. Provide Sturdy Support
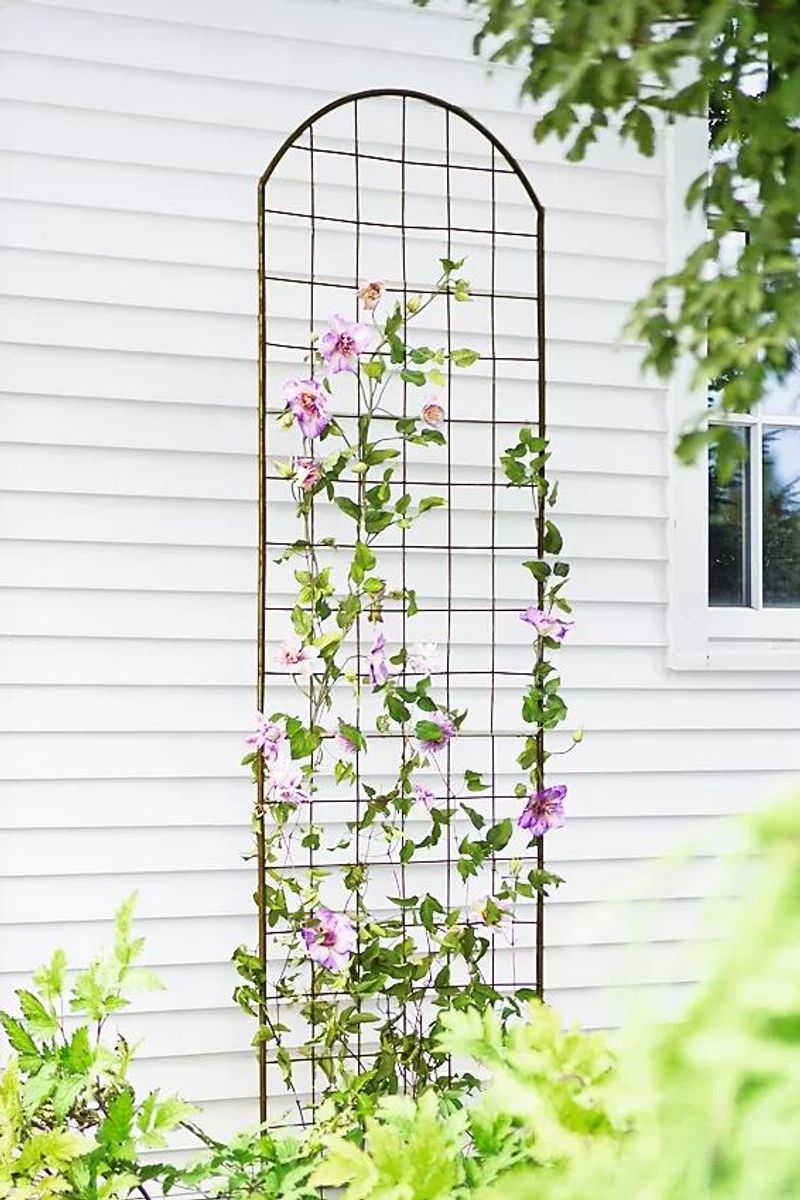
A clematis is a climber at heart, and it needs something to grab onto. Its slender leaf stems twist around thin supports like a trellis, arbor, netting, or fence wire.
Without a proper structure, the vine flops, tangles, and sulks instead of climbing and flowering freely. Thick posts or wide slats are actually too big for those delicate tendrils to wrap around.
Give it something narrow to grip and gently guide new shoots into place as they grow. Good support spreads the vine out so light reaches every stem, which naturally leads to more blooms on display.
16. Be Patient with New Plants
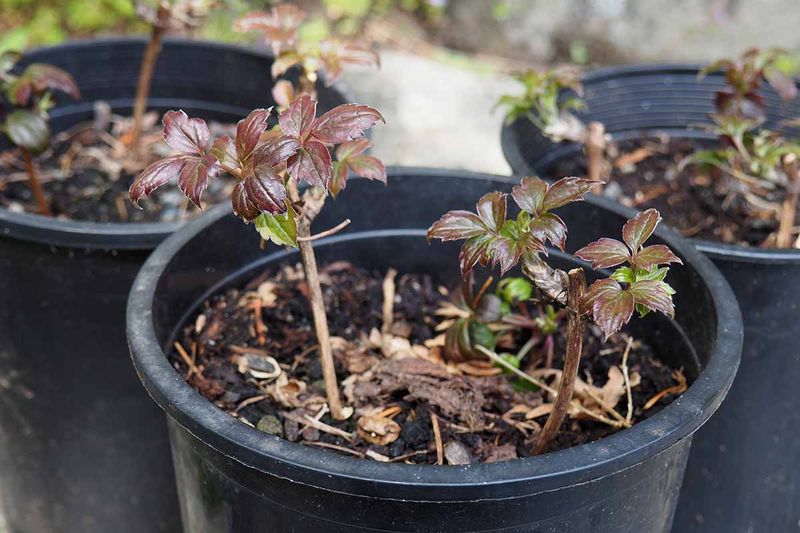
Sometimes the fix is simply waiting a little longer. There’s an old gardening saying that clematis sleeps the first year, creeps the second, and leaps the third.
A newly planted vine spends its early energy building roots underground rather than putting on a flower show. That can mean one or even two seasons of modest growth before the blooms really take off.
Keep it watered, fed, and supported during this stretch and trust that the payoff is coming. If your plant is young and otherwise healthy, patience alone may be the only cure it needs.
17. Address Clematis Wilt Promptly
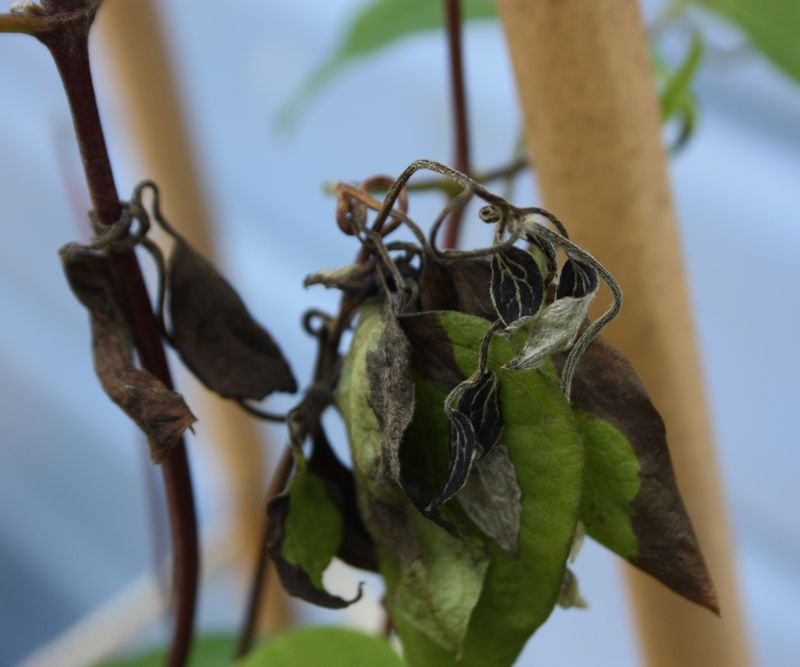
Few things rattle a gardener like a thriving clematis that collapses overnight. Clematis wilt is a fungal disease that causes sudden drooping and blackening of stems, often right before the flowers open.
The moment you spot it, grab clean shears and cut the affected stems all the way back to healthy tissue or down to the ground. Removing and trashing that infected growth may help stop the fungus from spreading further.
Because you planted the crown deep, the plant can often push up fresh shoots and recover fully. Keep the base clean of fallen debris and give it consistent care, and a wilt-struck vine can surprise you by blooming again.