
17 Tomato Feeding Mistakes That Cost You Fruit (Fix Them Before Next Spring’s Planting)
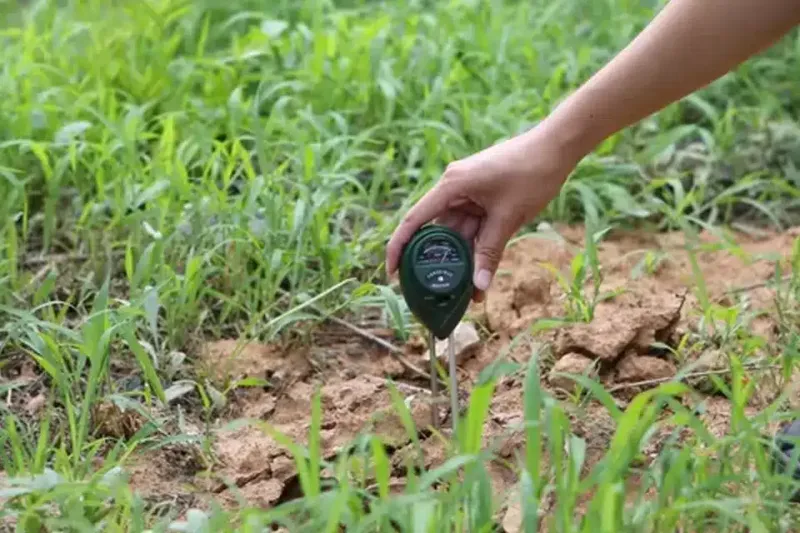
Your tomato plants looked huge and green all summer, so why did you pick only a handful of tomatoes? Most of the time, the problem is not bad luck or bad seeds.
It comes down to how and when the plants were fed. Here are 17 common feeding mistakes, plus simple fixes you can plan now so next spring’s tomatoes are loaded with fruit.
1. Pouring On Too Much Nitrogen
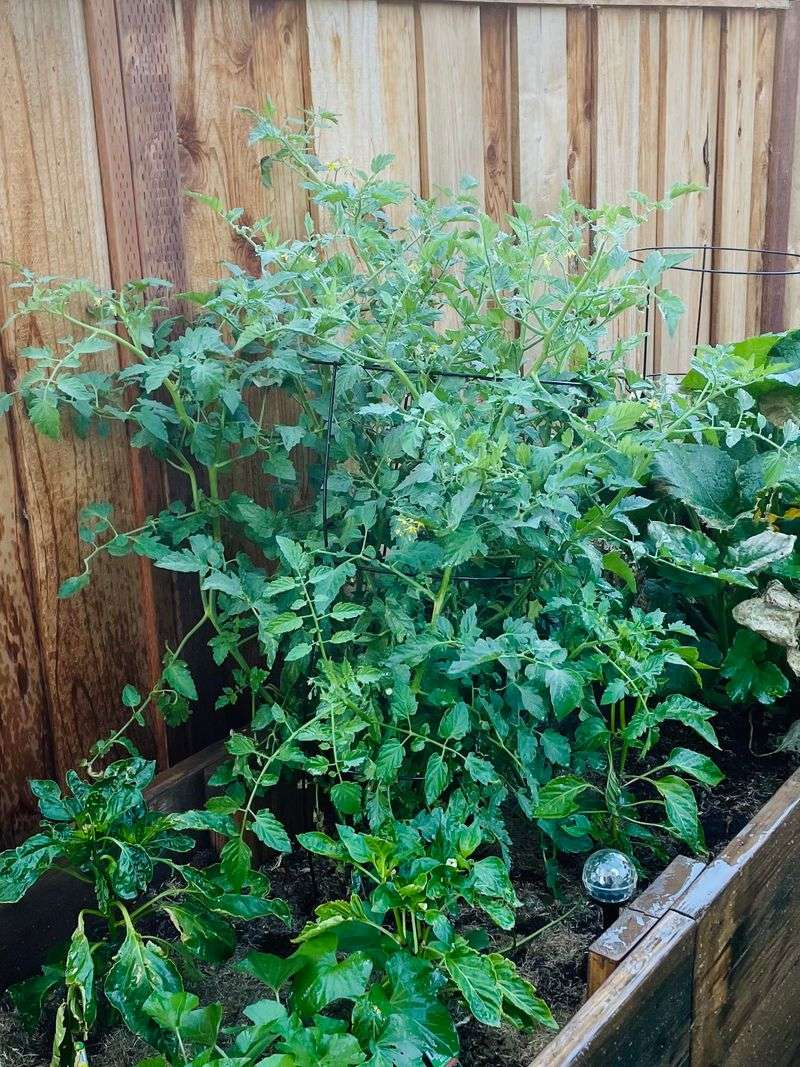
Picture a tomato plant so lush it could hide a cat, yet only three tomatoes hang from it. That jungle look is the classic sign of too much nitrogen.
Nitrogen fuels leaves, and when it runs high, the plant puts its energy into foliage instead of flowers.
Lawn fertilizer, all-purpose plant food, and heavy blood meal are frequent culprits. Many gardeners feed more because the plant looks hungry, which only makes the problem worse.
The fix is simple. Stop high-nitrogen products right away and switch to a formula with lower nitrogen and more phosphorus and potassium.
A few deep waterings can also help flush extra salts from the root zone.
2. Keeping the Same High-Nitrogen Food Once Flowers Appear
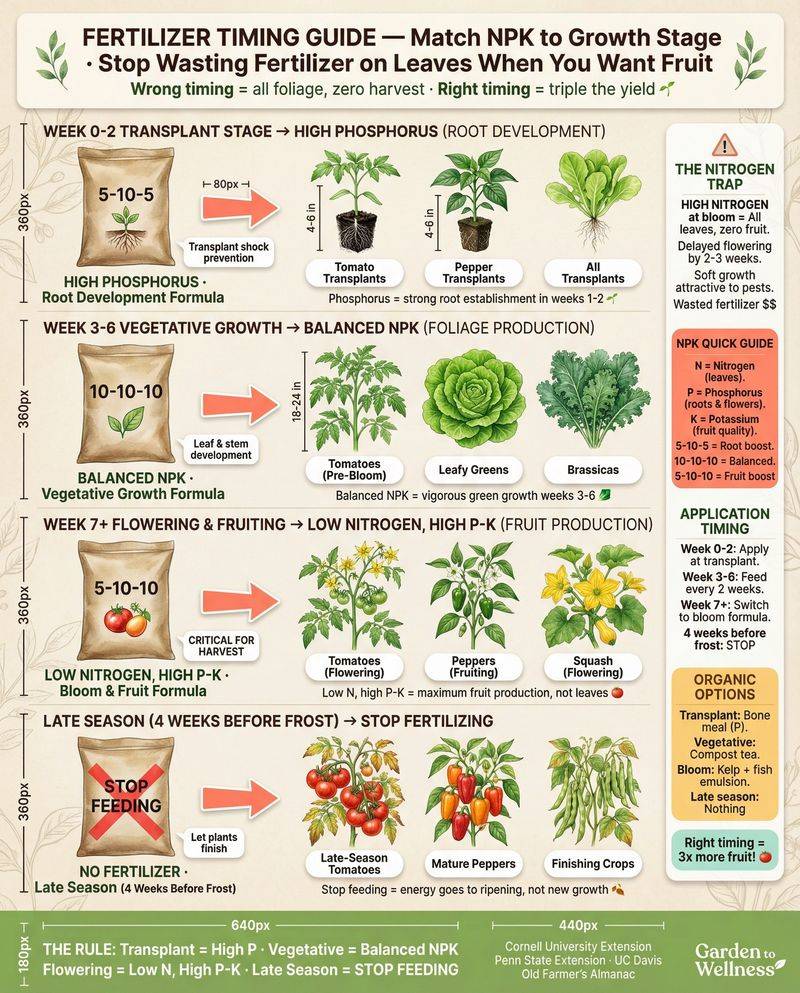
Yellow blossoms are your tomato’s way of saying its menu just changed. Once flowering starts, the plant needs less nitrogen and more phosphorus and potassium to build fruit.
Sticking with a leafy-growth formula at this point steals energy from those flowers. You may see blooms drop or fruit stay small.
When the first flower clusters open, swap to something like a 5-10-10, 5-10-15, or 6-12-12. Write a reminder on your calendar now so you remember next June.
3. Adding Fresh Manure or Rich Compost Mid-Season
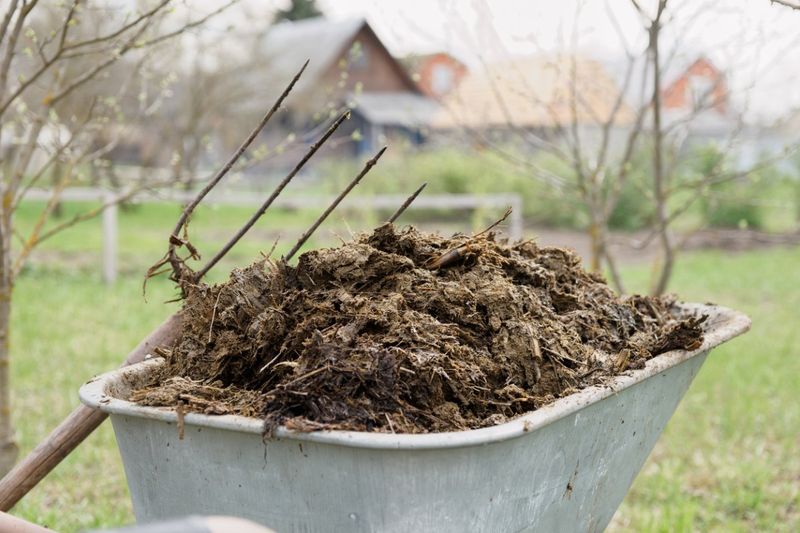
Manure feels like the most natural gift you could give a garden. Timing, though, changes everything.
Fresh manure and very rich compost carry a lot of nitrogen, and dumping them on flowering tomatoes brings back the all-leaves, no-fruit problem.
Fresh manure can also burn roots and may carry pathogens you don’t want near food crops.
Save these materials for fall or early spring, working them into beds well before planting. By May, the soil will be balanced and ready, and your midsummer plants can focus on fruit.
4. Never Switching Fertilizers After Early Growth
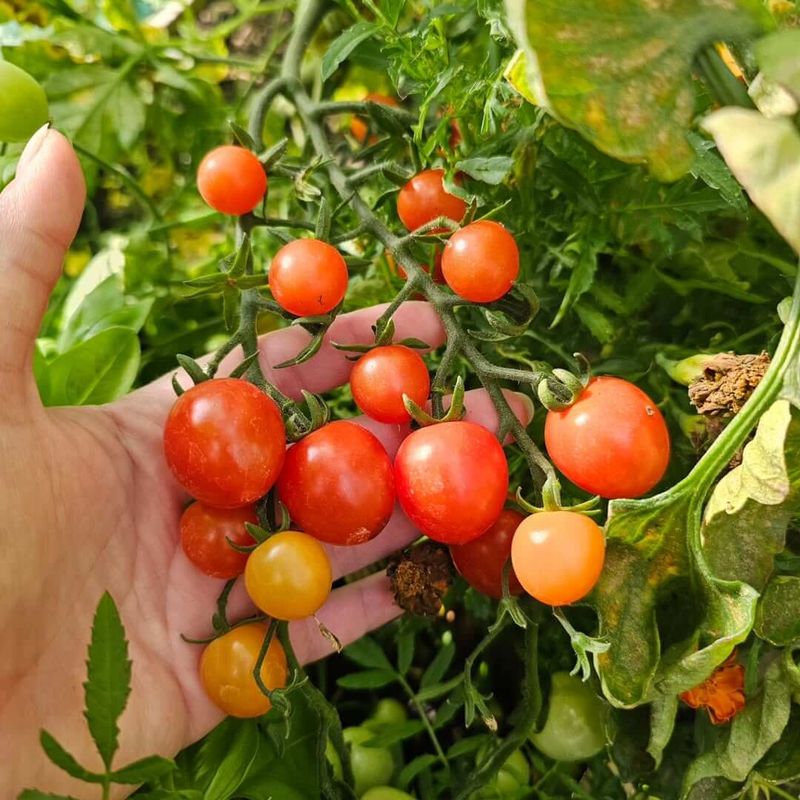
Think of it like baby food versus a grown-up dinner. Young tomatoes do well on a balanced fertilizer such as 10-10-10, which supports roots, stems, and leaves all at once.
The mistake happens when that same bag stays in use all season. Mature plants carrying fruit need a different balance.
A simple two-stage plan works for most backyard gardens. Use balanced food for the first few weeks after transplant, then change to a lower-nitrogen, higher-potassium blend once flowering begins.
5. Burning Young Transplants With Too Much Fertilizer
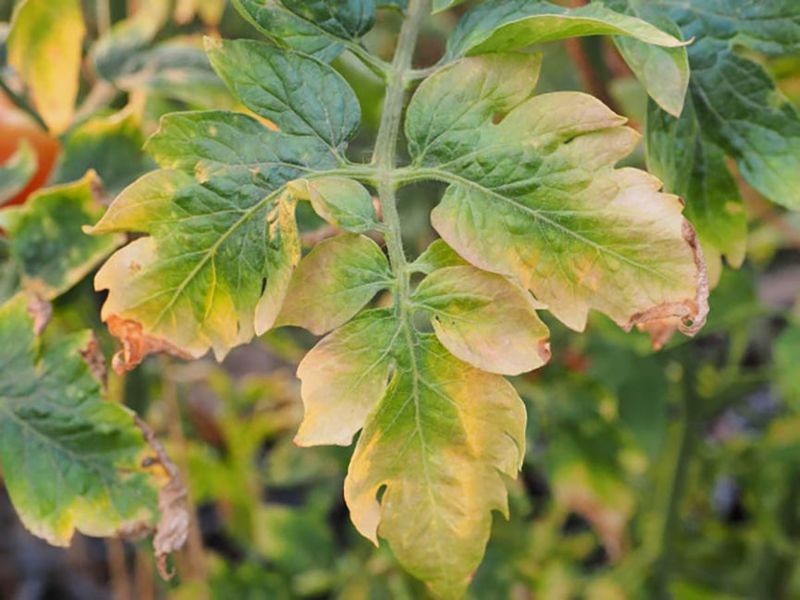
Brown, crispy leaf edges on a brand-new transplant can make your heart sink. Often it’s fertilizer burn, not disease.
Tender roots simply can’t handle strong doses.
Many people feed heavily on planting day to give their tomatoes a head start. That kindness can backfire and set the plant back for weeks.
Go easy at first. Let transplants settle in and show new growth before feeding, and always follow label dilution rates, especially with synthetic liquid fertilizers.
Half strength is a safe starting point.
6. Ignoring Phosphorus Deficiency
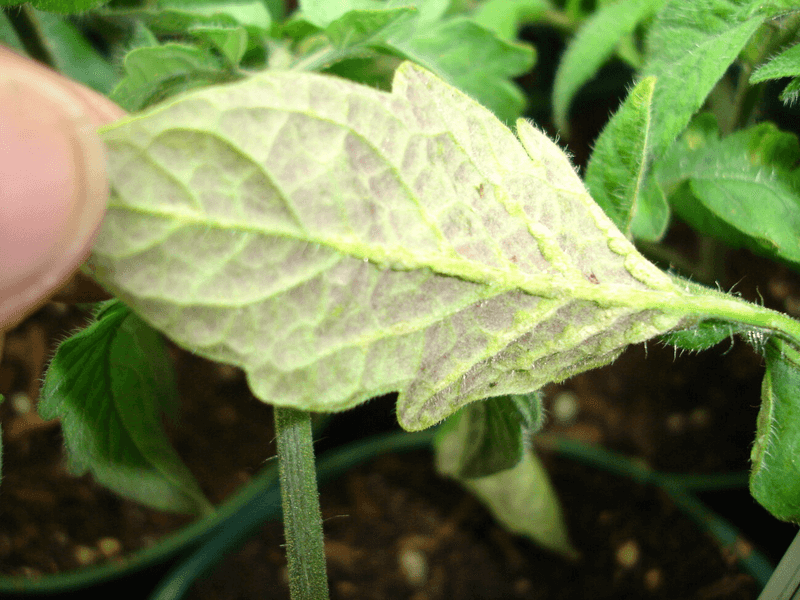
Purple-tinged leaf undersides and skinny stems are quiet warning signs. Phosphorus drives roots, flowers, and ripening, so a shortage means a smaller, weaker harvest.
Guessing doesn’t help much here. A home soil test kit or a test through your county extension office tells you exactly where you stand.
If levels are low, bone meal and compost are gentle organic options, while rock phosphate or superphosphate work too. Fall is a great time to add them so they’re ready by spring.
7. Planting Into Cold Soil
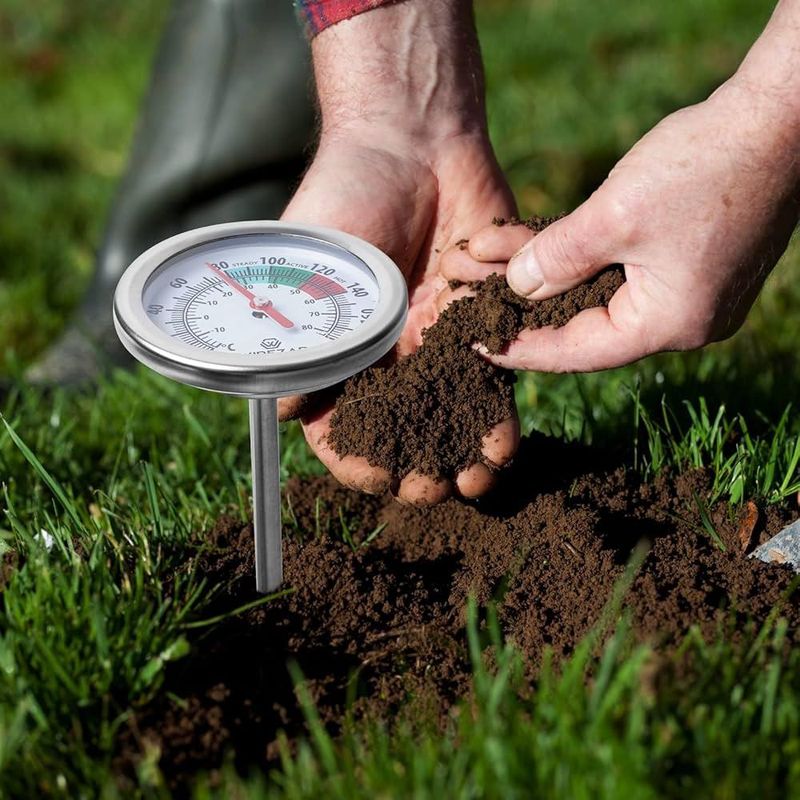
A warm April weekend tempts every gardener. The air may feel nice, but the soil often lags behind.
Below about 60°F, tomato roots struggle to take up phosphorus, even if plenty is in the soil. Plants sit there purple and sulking.
A cheap soil thermometer solves this. Wait until readings hold at 60°F or higher, and lay black plastic over the bed a week or two early to warm it up faster.
8. Letting Soil Stay Waterlogged
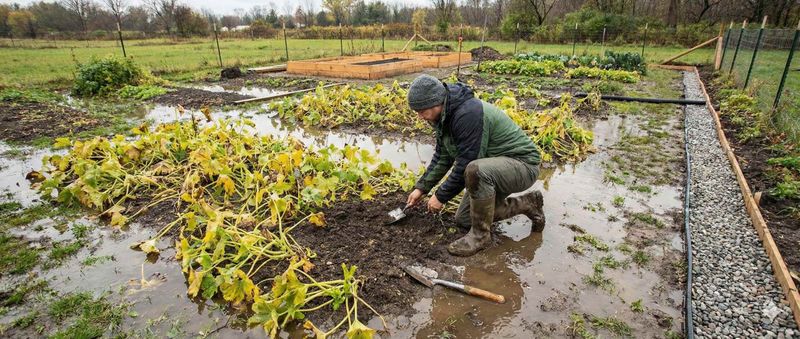
Here’s a surprising one: soggy ground can starve a plant of food. When soil pores fill with water, roots can’t breathe or absorb phosphorus well.
Heavy clay and low spots in the yard are the usual trouble zones. Daily shallow watering adds to the mess.
Work organic matter into clay to loosen it, or grow in raised beds. Water deeply, then let the top inch or two dry out before watering again.
9. Skipping a Soil pH Check
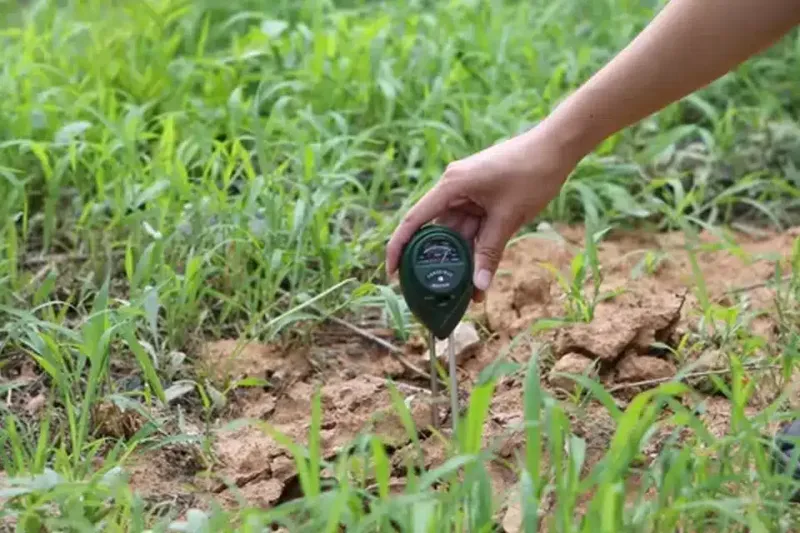
You could feed perfectly and still come up short if the pH is off. Phosphorus locks up in soil that’s too alkaline or too acidic, so roots can’t reach it.
Tomatoes like a range of about 6.0 to 7.0, with 6.5 to 7.0 often ideal for phosphorus.
Test this fall. Add garden lime to raise pH or sulfur to lower it, since both work slowly over months.
Compost also helps steady pH over time.
10. Running Low on Potassium
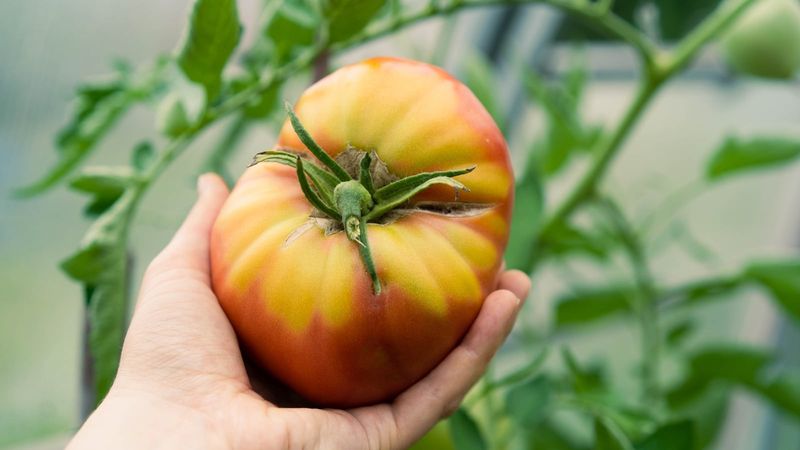
Ever sliced a tomato and found a hard, pale-yellow top near the stem? Those yellow shoulders often point to potassium shortages.
Potassium helps with ripening, flavor, and disease resistance. Low levels also show up as yellow leaf edges, fewer blossoms, and smaller fruit.
Confirm with a soil test, then add sulfate of potash, composted manure, or a light dusting of wood ash. A potassium nitrate foliar spray can give a faster boost mid-season.
11. Overdoing Nitrogen or Calcium and Blocking Potassium
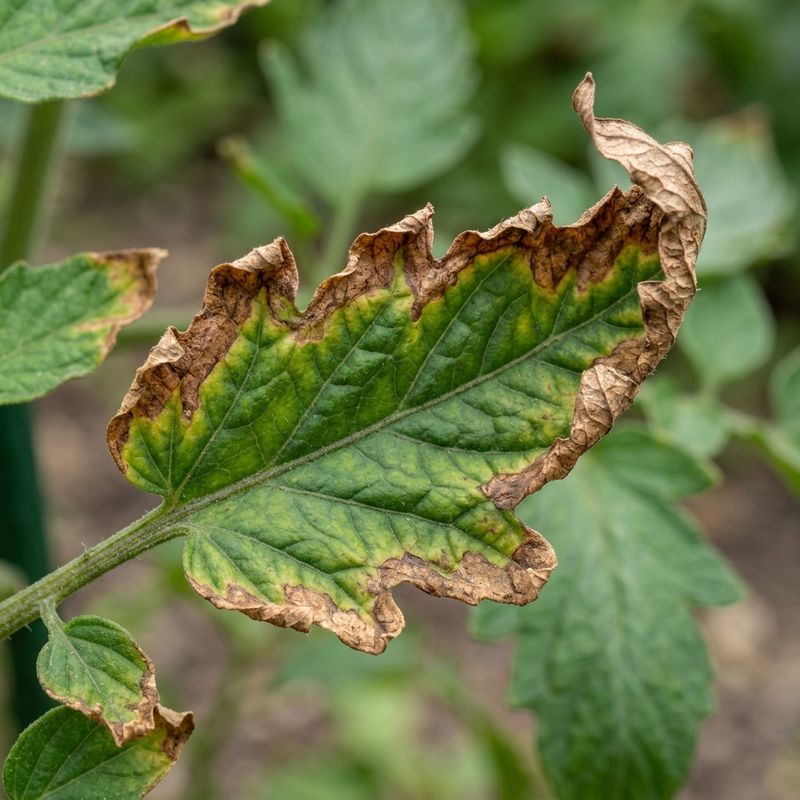
Nutrients compete with each other at the root. Pile on too much nitrogen or calcium and potassium gets pushed aside, even if there’s enough in the soil.
This often happens when gardeners layer several products, like all-purpose food plus extra calcium plus eggshells, hoping more is better.
Balance wins. Pick one good tomato fertilizer, use it as directed, and only add extras when a soil test says you need them.
12. Letting Potassium Wash Out of Sandy Soil
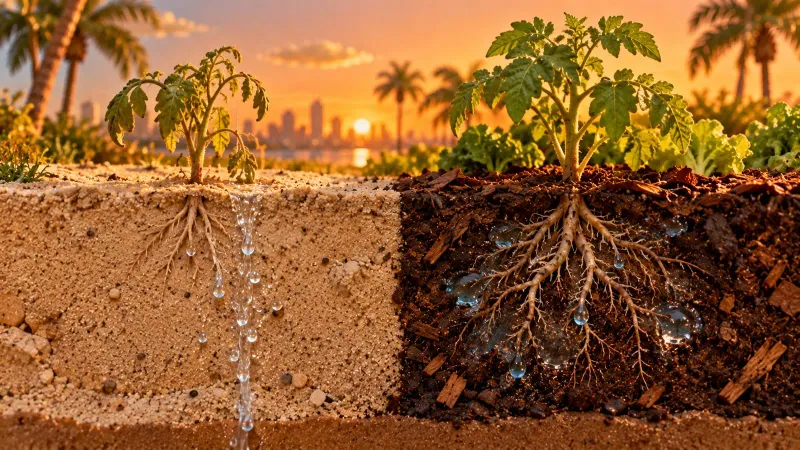
Sandy soil drains fast, which sounds great until your fertilizer drains with it. Potassium leaches quickly from light soils, especially with heavy watering.
Gardeners in coastal areas and parts of the South often fight this all summer.
Mix in plenty of compost to help the soil hold onto nutrients, and mulch to keep moisture steady. Water deeply but not constantly, and consider smaller, more frequent feedings.
13. Growing in Thin, Acidic Soil
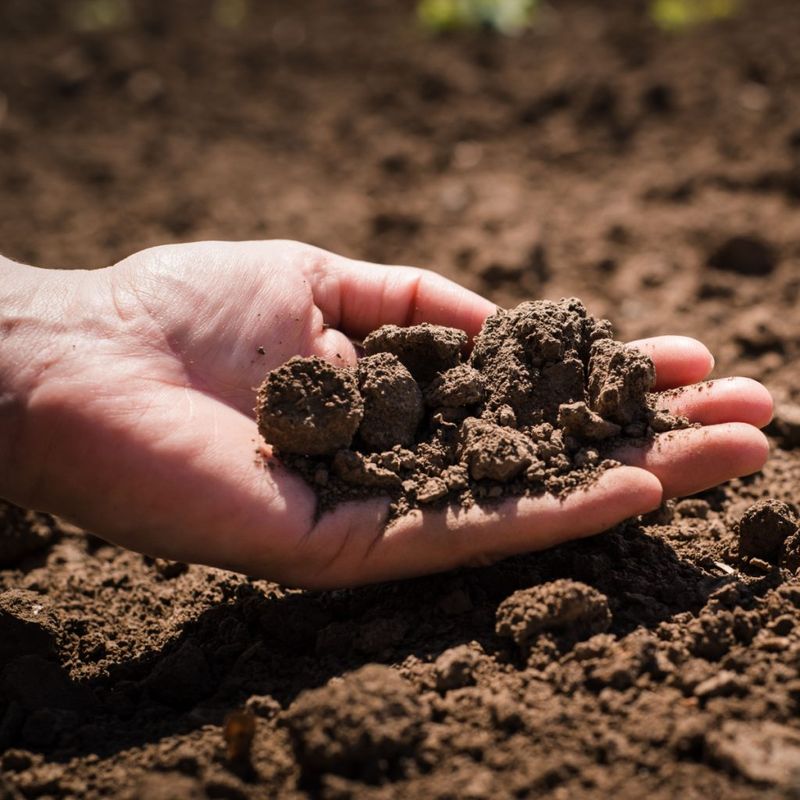
Grandma’s tomato bed probably had years of compost and kitchen scraps built in. Many new beds have none, and that matters.
Soil low in organic matter, or with very low pH, holds less potassium in a form roots can use.
Spread two to three inches of compost this fall and work it in. Aim for a pH of about 6.0 to 6.8, and your plants will find potassium much easier to grab next season.
14. Adding Epsom Salt Without Testing
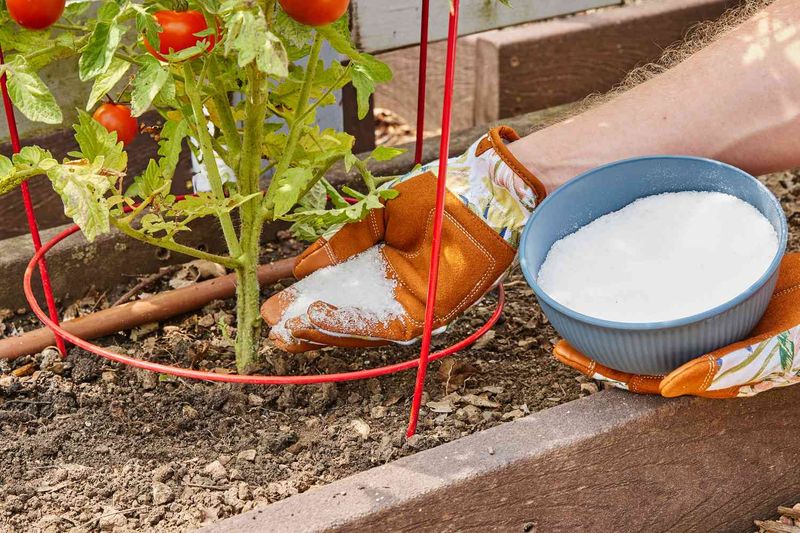
Epsom salt is a popular old garden trick, but it’s mostly magnesium. In soil already rich in magnesium, extra can make potassium deficiency look even worse.
Some regions naturally have high-magnesium soil, and you won’t know without checking.
Get a soil test before adding magnesium. If levels are already high, skip the Epsom salt and make sure your fertilizer supplies enough potassium instead.
15. Watering Unevenly and Getting Blossom End Rot
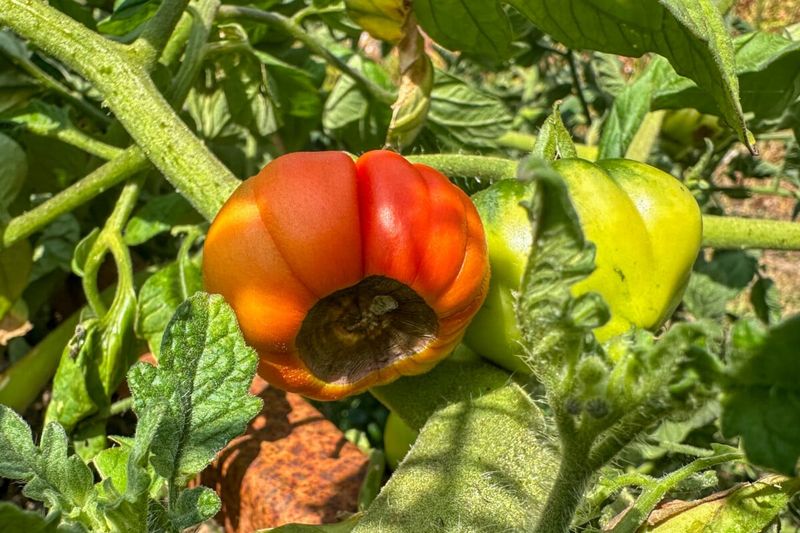
That black, leathery patch on the bottom of a tomato is blossom end rot, and it’s heartbreaking. It’s caused by a lack of calcium in the fruit, usually because watering swings between dry and soaked.
Calcium travels with water. When moisture is uneven, the fruit misses its supply even if the soil has plenty.
Water deeply on a steady schedule and add a few inches of straw or shredded leaf mulch. A drip line or soaker hose on a timer makes consistency almost effortless.
16. Pushing So Much Leaf Growth That Fruit Misses Out on Calcium
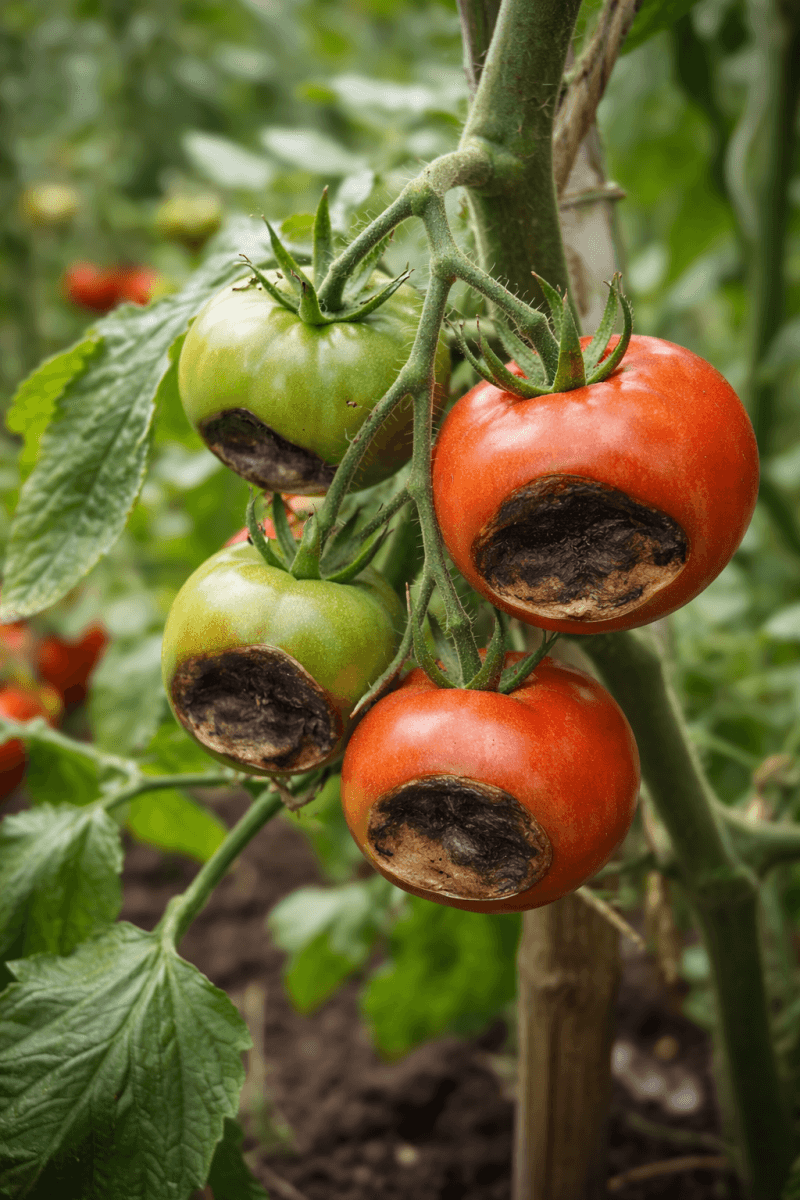
Leaves are thirsty, and they pull water hard. When a plant grows huge and leafy fast, calcium heads to the leaves first, leaving fruit short.
That’s why heavy nitrogen and blossom end rot often show up together. Two mistakes, one result.
Keep feeding balanced, especially during fruit set. Moderate growth means more of that calcium-carrying water reaches the tomatoes instead.
17. Damaging Roots While Weeding or Digging
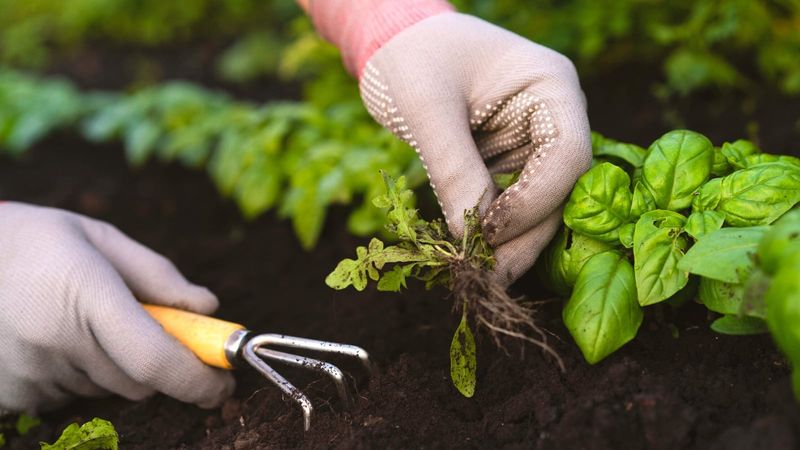
A quick pass with the hoe can do more harm than you’d think. Tomato roots spread wide and shallow, and slicing them cuts the plant’s ability to drink and take up calcium.
Root rot from poorly drained soil causes the same trouble from below.
Pull weeds by hand near the stem, or smother them with mulch instead. Make sure beds drain well, and your roots will stay healthy enough to feed every fruit on the vine.