
17 Must-Know Tricks For Growing Lavender That Smells Stronger In Beds Or Pots
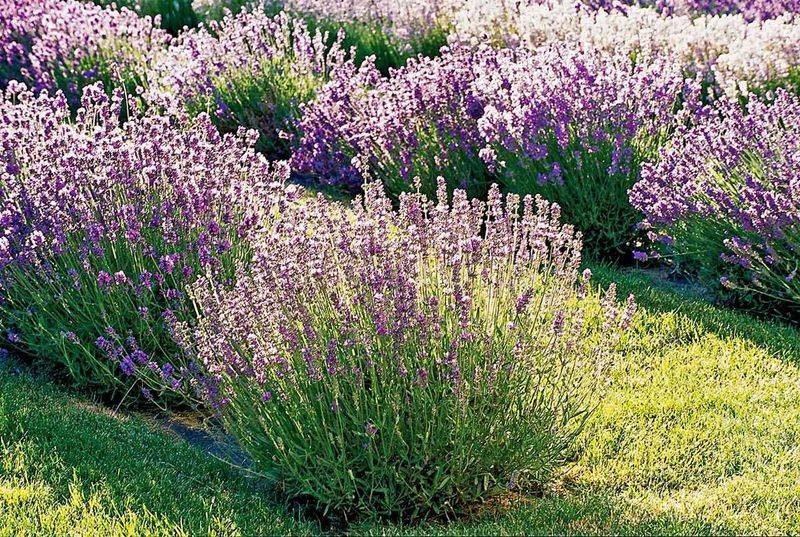
If your lavender looks healthy but barely smells like anything, you are not doing anything terribly wrong, but a few small changes can wake up that famous fragrance. Lavender packs its scent into tiny oil glands, and things like sunlight, soil, and how often you water decide how much oil the plant makes.
The good news is that most weak-scent problems come from one or two easy-to-fix mistakes. Here are 17 simple tricks to help your lavender, whether it lives in a garden bed or a pot, smell as strong as it looks.
1. Select Fragrant Varieties
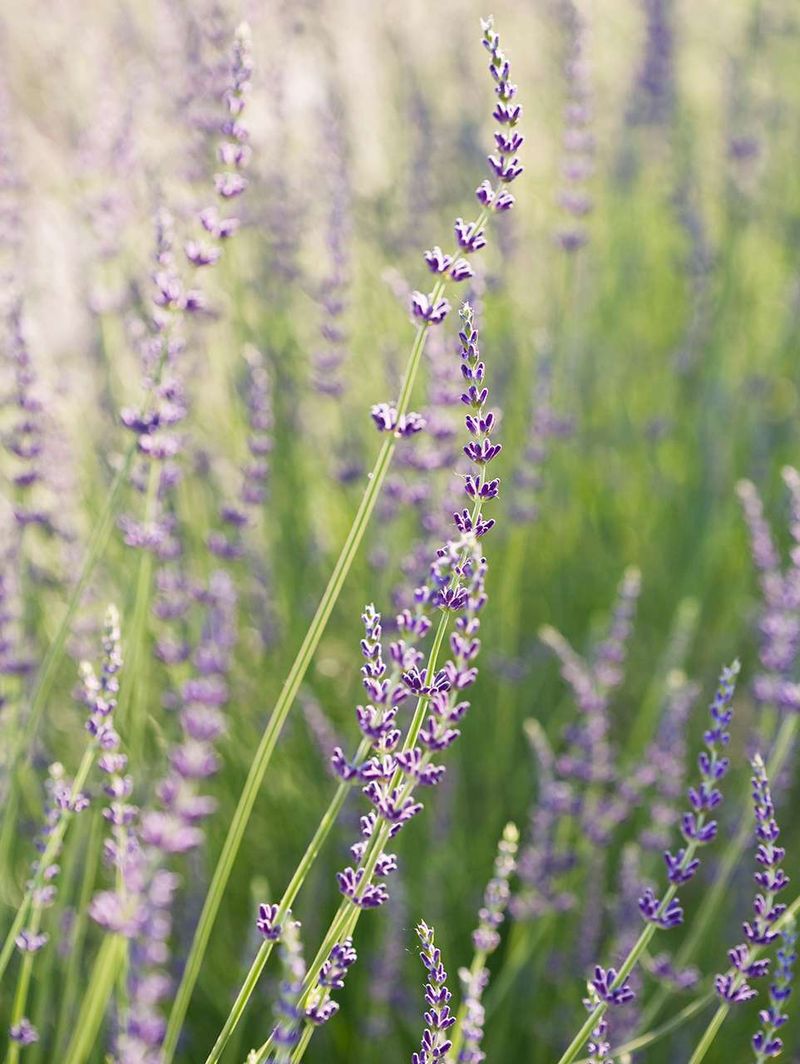
Not all lavender is created equal when it comes to scent, and picking the right kind is the shortcut most people skip. If you want a bold, almost sharp fragrance that fills a whole yard, reach for Lavandin types like ‘Grosso’, ‘Provence’, ‘Phenomenal’, or ‘Edelweiss’.
These are the workhorses that perfume farms grow for oil.
Prefer that soft, sweet, classic lavender smell you remember from soap and sachets? Then English lavenders such as ‘Hidcote’ or ‘Munstead’ are your friends.
They stay smaller and handle cold winters better, too.
Fun fact: Lavandin is actually a hybrid, a cross between English lavender and a wilder spike lavender, which is part of why it produces so much more oil. Choosing a fragrant variety from the start means you are not fighting your own plant’s genetics later.
2. Provide Ample Full Sun
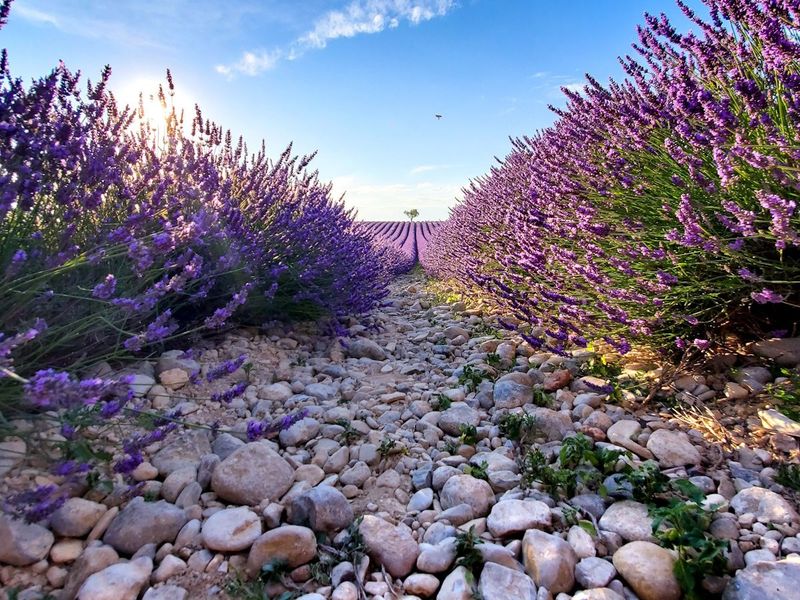
Sunlight is basically fuel for lavender’s scent factory. The plant needs at least 6 to 8 hours of direct sun every day to crank out the aromatic oils that give it that punch.
Skimp on light, and you get a plant that looks alive but smells like almost nothing.
More sun tends to mean tighter, bushier growth and heavier flowering, and those flowers are where a big share of the fragrance lives. A south-facing spot against a wall or fence often works beautifully because the surface soaks up heat and radiates it back.
Think of it like ripening fruit: the same way tomatoes sweeten in the sun, lavender concentrates its oils when it is baking in bright light all day. If your plant is sulking, a sunnier location may be the single biggest upgrade you can give it.
3. Avoid Shaded Spots
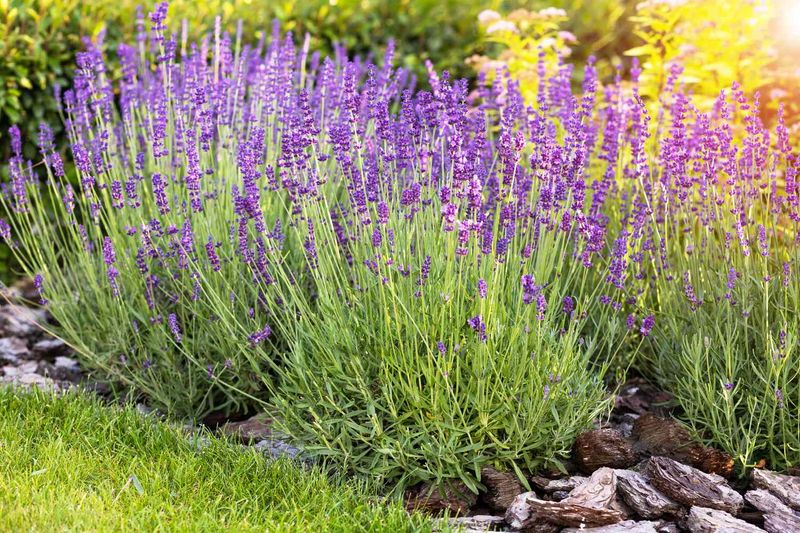
Tucking lavender into a shady corner feels harmless, but it quietly starves the plant of the light it needs. In shade or even partial shade, lavender produces fewer flowers and noticeably weaker fragrance, and it often gets leggy and floppy as it stretches toward whatever light it can find.
That stretched-out, thin growth is not just ugly. It traps moisture and blocks airflow, which raises the odds of fungal trouble on a plant that already hates dampness.
If a nearby tree or shrub has grown over the years and started shading your lavender, that change alone can explain a scent that faded season by season. Moving the plant, or trimming back whatever is casting the shadow, often brings the aroma right back.
4. Ensure Excellent Drainage
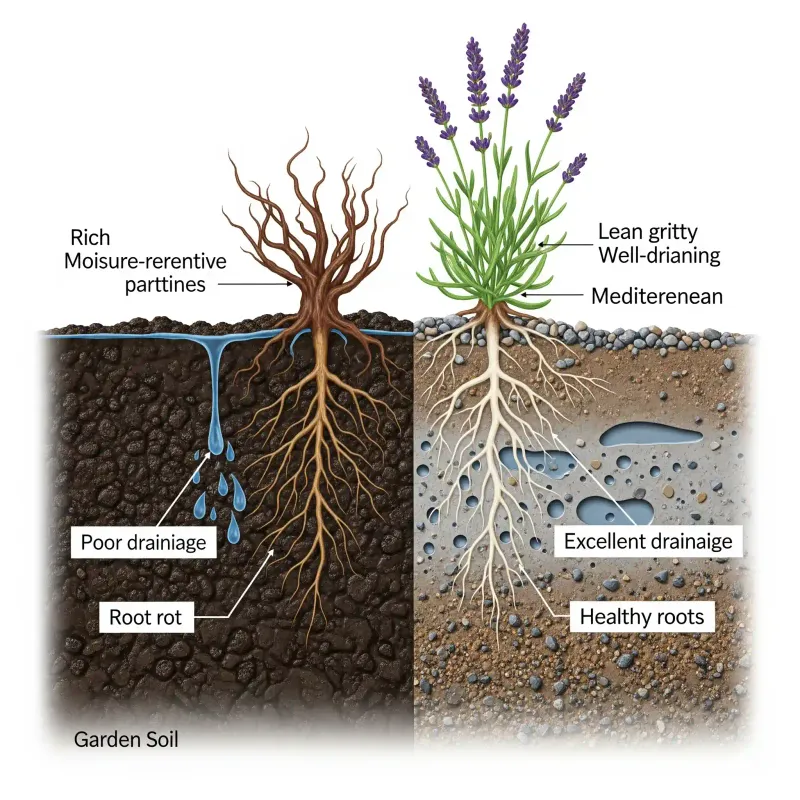
More lavender dies from soggy roots than from any pest or frost. The plant comes from dry Mediterranean hillsides, so it despises sitting in wet soil, a condition gardeners nicknamed ‘wet feet.’ Poor drainage leads straight to root rot, and a rotting plant will not spend energy making fragrant oils.
Gritty, sandy loam that lets water rush through is the gold standard. When you water, the moisture should drain away within minutes, not pool on the surface for hours.
A quick test: dig a hole about a foot deep, fill it with water, and see how fast it empties. If it lingers for hours, your lavender will struggle, and fixing drainage becomes step one before you worry about scent at all.
5. Amend Heavy Clay Soils
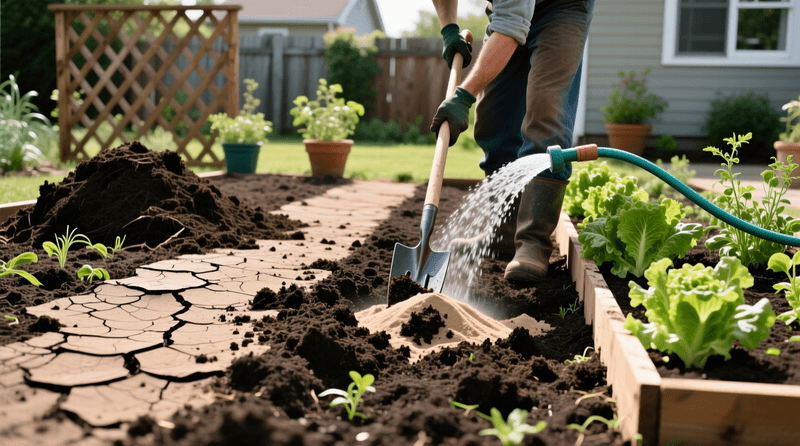
Clay soil and lavender are natural enemies. Clay holds water like a sponge and squeezes out the air roots need, which is exactly the opposite of what this plant wants.
If your soil turns to sticky mud after rain and cracks like pottery when dry, you have got clay to deal with.
The fix is to loosen things up. Work in coarse sand, fine gravel, or some compost to break up that dense texture and open pathways for water to escape.
Be generous when you amend, mixing the grit deep and wide around the planting area rather than just in the hole. A pocket of good soil surrounded by clay can act like a bucket, trapping water right where the roots sit, so blend it into a broad zone instead.
6. Utilize Raised Beds or Mounds
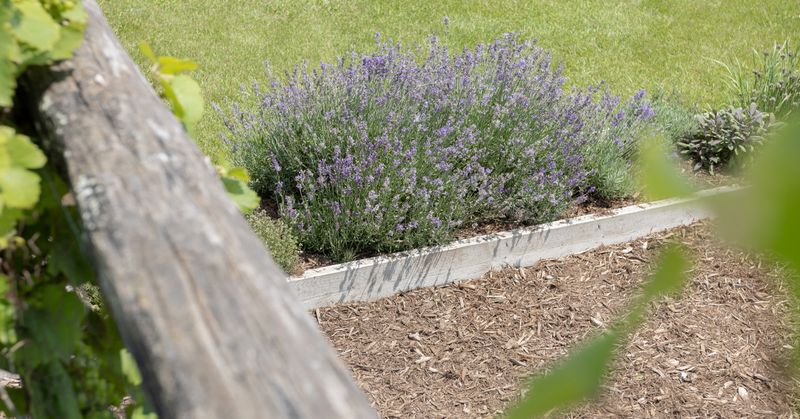
When your ground simply refuses to drain, stop fighting it and lift the plant above the problem. Raised beds and gentle soil mounds let excess water run down and away from lavender roots instead of pooling around them.
Even a modest mound, six to twelve inches high, can make a dramatic difference in heavy or wet yards. Gravity does the work, keeping the crown of the plant high and dry.
Old-world lavender farms often plant on sloping hillsides for exactly this reason, and a raised bed is really just a small hill you build on purpose. Pair the extra height with gritty soil, and you have recreated the fast-draining conditions where lavender oils grow richest.
7. Maintain Slightly Alkaline Soil pH
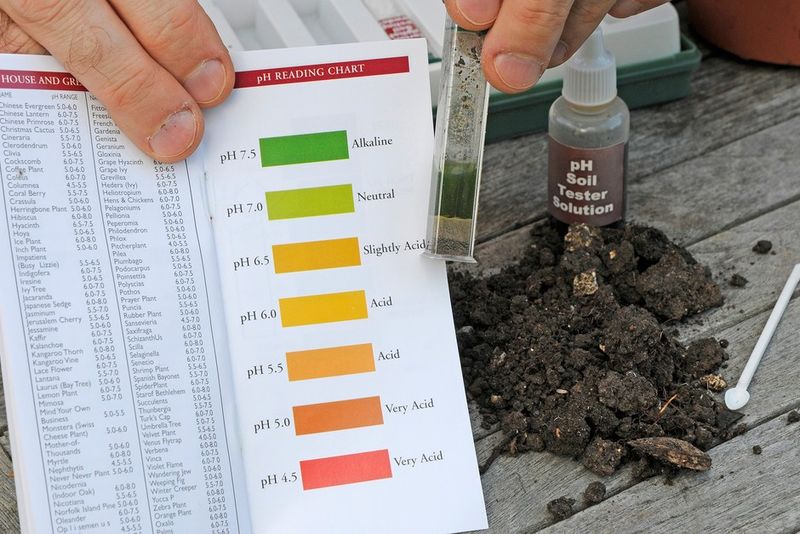
Soil chemistry quietly shapes how well lavender takes up nutrients and, in turn, how strong it smells. This plant leans toward slightly alkaline ground, happiest with a pH somewhere between 6.5 and 7.5.
Too acidic, and it can look pale and underwhelming no matter what else you do.
A cheap soil test kit from the garden center tells you where you stand in a few minutes. If your reading comes in low, a light dusting of garden lime nudges the number upward over time.
Some old-timers even tuck crushed eggshells or a little wood ash around their plants for a gentle alkaline boost. Getting the pH into the sweet spot helps the plant channel its energy into oils and blooms instead of struggling to feed itself.
8. Opt for Low-Fertility Soil
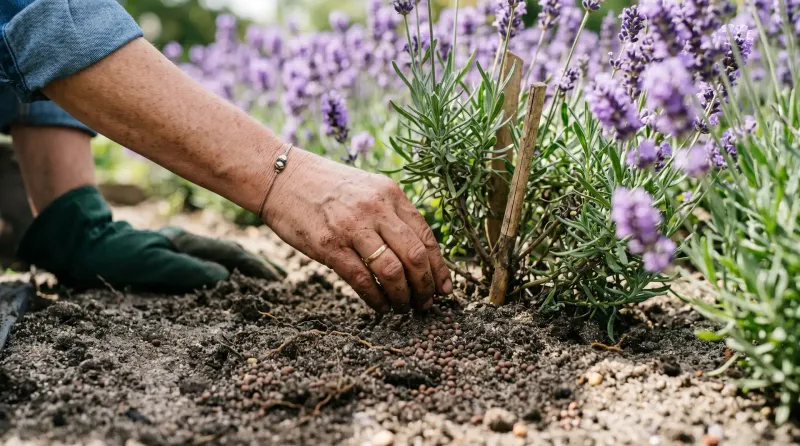
Here is the counterintuitive part that trips up so many gardeners: lavender actually wants poor soil. Feed it too well, especially with nitrogen-heavy fertilizer, and it responds by pumping out lush green leaves at the expense of flowers and fragrance.
All that leafy growth dilutes the essential oils, leaving you with a big, bushy plant that smells surprisingly faint. Lean, hungry soil pushes the plant to focus on blooms and concentrate its scent.
So resist the urge to pamper. If you have been sprinkling fertilizer around your lavender hoping to help it along, that kindness may be the very reason the perfume went quiet.
Cutting the feeding back often lets the fragrance return within a season.
9. Avoid Overwatering
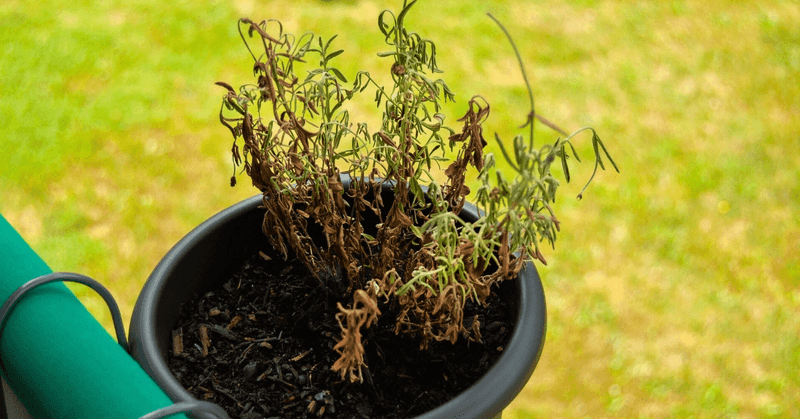
If lavender growers had a hall of fame for mistakes, overwatering would be on the front wall. New growers especially tend to love their plants right into a soggy grave, watering out of care when the plant would rather be left thirsty.
Let the soil dry out completely between drinks. Poke a finger a couple of inches down, and if it feels even slightly damp, wait another day or two before reaching for the hose.
Constant moisture invites root rot, and a struggling root system cannot support strong scent or heavy blooms. When in doubt, err on the dry side, because lavender forgives a missed watering far more easily than a drowning.
10. Water Young Plants Consistently
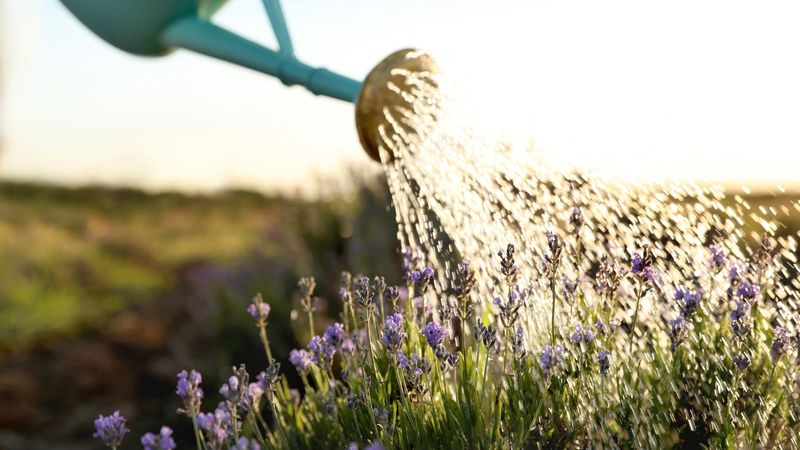
Baby lavender needs a little more hand-holding than the tough, established plants you see thriving on neglect. During that first growing season, the roots are still small and shallow, so consistent moisture, roughly once or twice a week, helps them dig in deep.
Think of it as an investment period. You are training the roots to reach down and build the sturdy foundation that lets the mature plant survive dry spells later.
Just do not swing too far and keep the soil constantly wet. The goal is regular watering that still lets the top layer dry between sessions, coaxing roots downward rather than encouraging rot.
Once the plant settles in, you can back off dramatically.
11. Water Mature Plants Sparingly
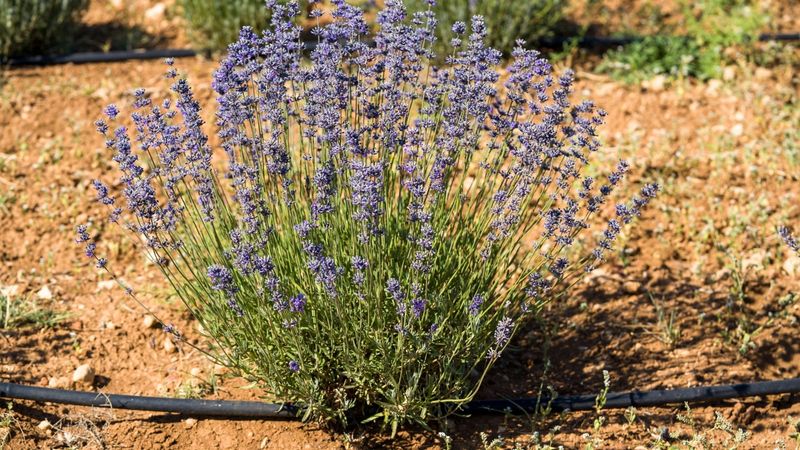
Grown-up lavender practically brags about how little it needs. Once established, it turns genuinely drought-tolerant and often does best on a stingy schedule of watering every two to three weeks until flower buds appear.
As buds form and blooming ramps up, you can bump that to about once a week to support all those flowers. After the blooms fade, dial the water back down again to let the plant rest.
The dryness itself is part of the magic. A little water stress actually pushes lavender to concentrate its oils, which is why plants that scrape by on less often smell stronger than pampered ones.
Restraint here is a feature, not neglect.
12. Water at the Root Zone in the Early Morning
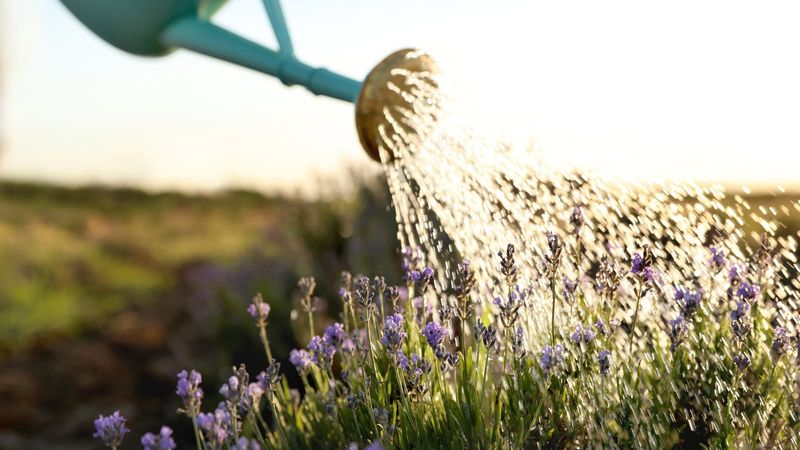
Where and when you aim the water matters as much as how much you pour. Direct the flow right at the base of the plant so it soaks the roots, and keep it off the leaves and flowers as much as you can.
Splashing water over the foliage leaves it damp, which can invite bacterial leaf spot and other problems on a plant that likes to stay dry up top. A watering can with a narrow spout or a drip line does this neatly.
Early morning is the sweet spot for timing. Watering then gives the plant a drink before the day heats up, and any stray moisture on the leaves evaporates quickly instead of lingering overnight where trouble brews.
13. Adjust Watering During Heatwaves
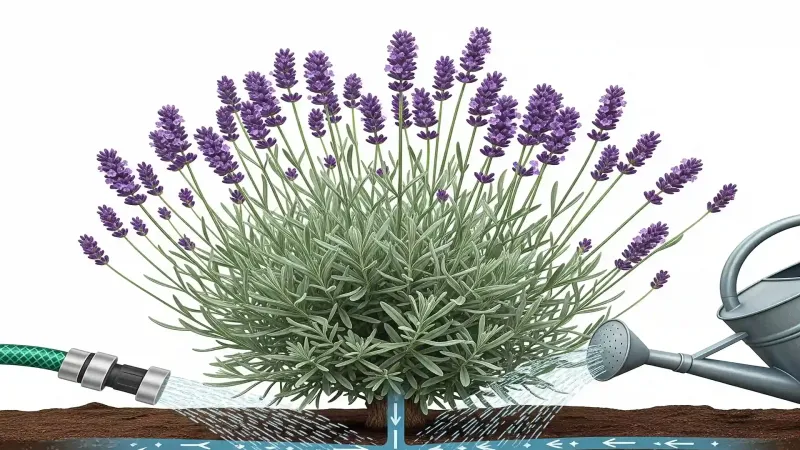
Ever notice your lavender seems to lose its smell right when a brutal heatwave rolls through? Those precious volatile oils literally evaporate off the plant when temperatures spike, so the fragrance thins out just when you crave it most.
The rescue move is all about timing. Wait until the sun has gone down and the soil has cooled, then water deeply and slowly right at the base of the plant to help it recover.
Skip midday watering during intense heat, since it stresses the plant and does little good. A cool, evening drink after a scorcher gives lavender the chance to rebuild its oils overnight, and you may notice the scent creeping back as things settle.
14. Prune Lightly in Early Spring
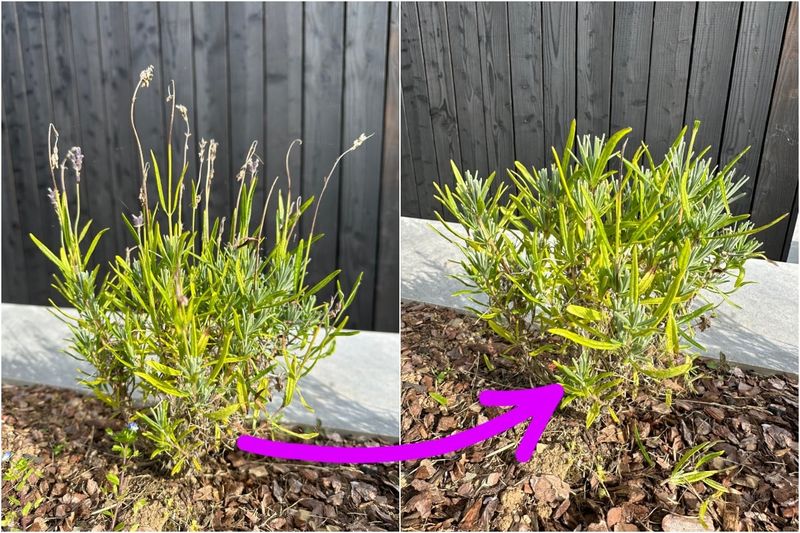
Spring is your chance to reset the plant before it gets busy with the season ahead. Once fresh green shoots appear, snip off any winter-damaged or dead tips to tidy things up and steer the plant toward bushier, denser growth.
Keep the touch light at this stage. You are shaping and cleaning, not giving a hard haircut, and doing it before buds form means you will not sacrifice any of the coming flowers.
A well-shaped plant with lots of new growth points ends up carrying more blooms, and more blooms mean more of that concentrated scent. Think of early spring pruning as laying the groundwork for a fragrant, full plant all summer long.
15. Prune After the First Bloom
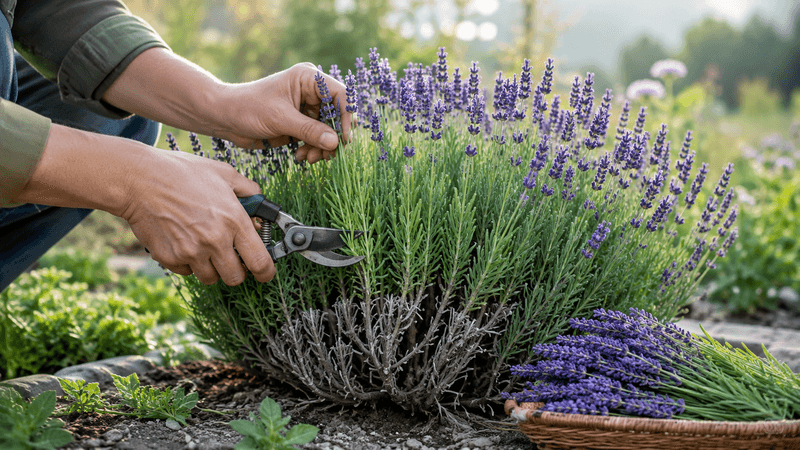
The moment your lavender finishes its big summer show, grab your shears again. Trimming back the spent flower stems right after that first flush encourages the plant to keep blooming and holds its neat, rounded shape.
English lavender in particular rewards a two-step approach. Give it a trim right after the first flowering, then a second tidy in late August once the last flush has faded.
Cutting off old, tired flower stalks tells the plant to put its energy into fresh growth and possibly another round of blooms rather than setting seed. More cycles of fresh flowers translate to more chances to enjoy that strong, clean fragrance through the season.
16. Never Cut Into Old Wood
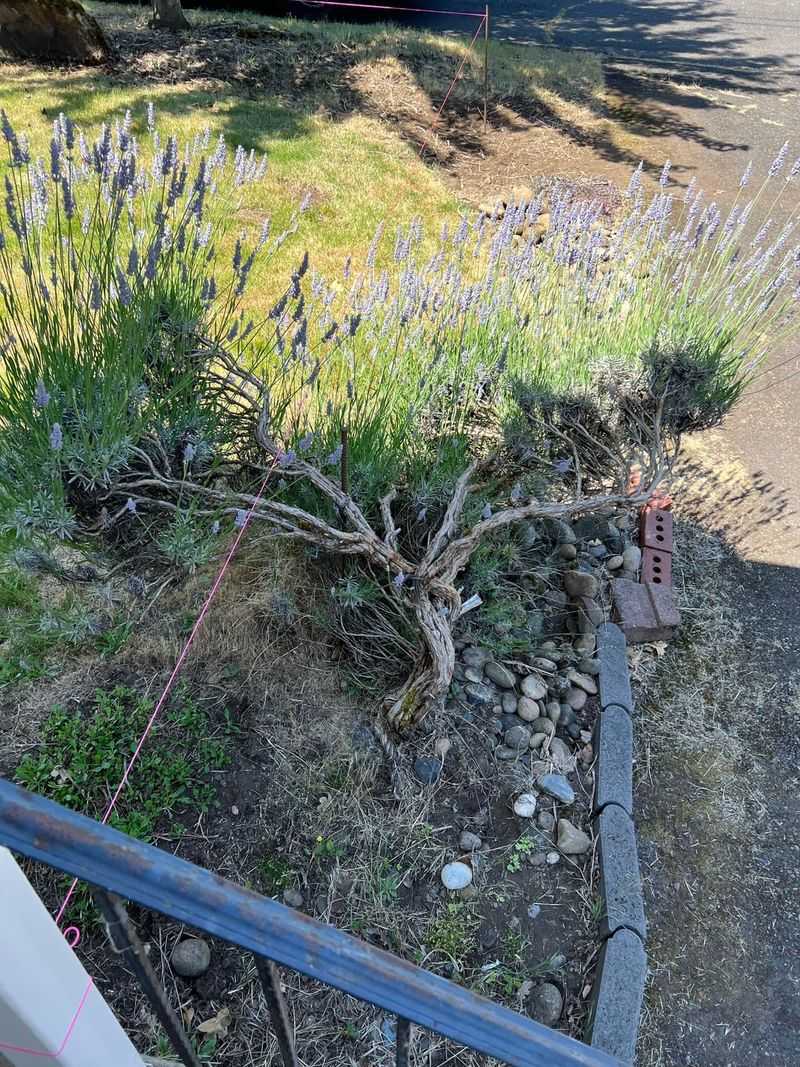
One slip of the shears can undo years of growth, so this rule deserves special attention. The woody, leafless stems near the base of an older lavender rarely sprout new leaves once cut, and slicing into them can leave bare stubs or even kill the plant outright.
Always keep your cuts up in the green, leafy zone. A safe habit is to leave at least an inch of green growth above the woody base whenever you prune.
If your lavender has grown old and gnarled with lots of bare wood, resist the temptation to chop it back hard to rejuvenate it. That severe cut usually backfires, and you are often better off shaping gently or starting a fresh plant from a cutting.
17. Choose the Right Pot and Potting Mix for Containers
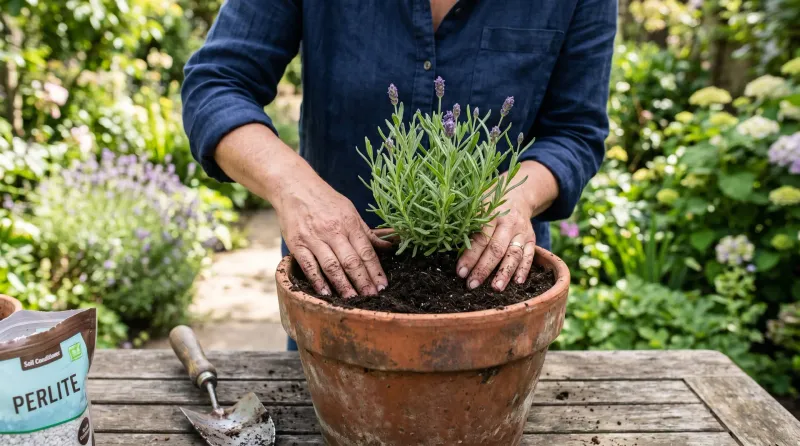
Container lavender lives or dies by its pot and its mix, since a plant in a bucket cannot send roots off to find better ground. Pick a container at least 12 to 18 inches across with plenty of drainage holes so water can escape freely.
Ordinary potting soil holds far too much moisture for this Mediterranean lover. Reach instead for a fast-draining mix made for succulents or cacti, or lighten standard soil by stirring in perlite or coarse sand until water runs through quickly.
Terra cotta pots are a lavender favorite because the clay breathes and wicks away extra moisture, helping the roots stay on the dry side. Nail the pot and the mix, and your potted lavender can smell every bit as strong as one planted in the ground.