
8 Proven Ways To Bring Weak, Wilted Hydrangeas Roaring Back This Season
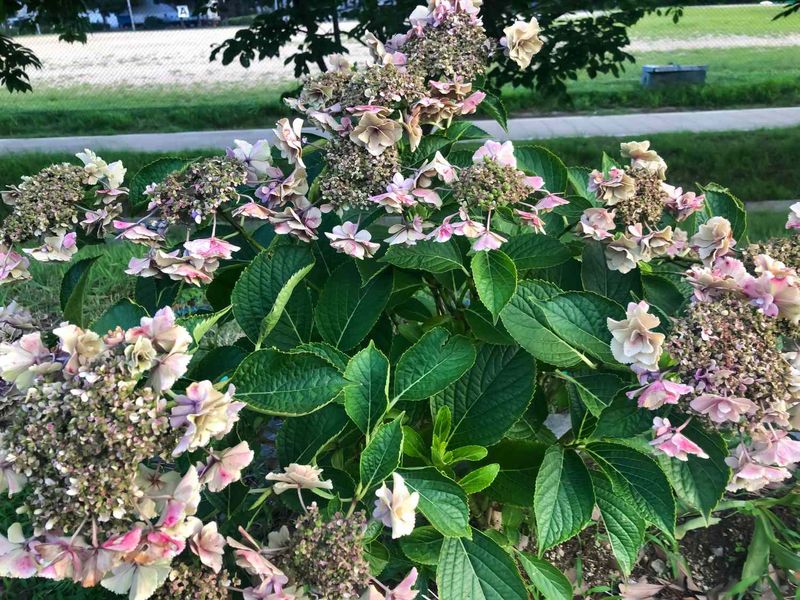
Few things make a gardener’s heart sink like walking outside to find their hydrangeas flopped over and looking half-dead. The good news is that most droopy hydrangeas are stressed, not doomed, and small changes can perk them right back up.
Below you will find eight simple fixes that target the real reasons your plant is struggling. Match the fix to what you see, and your blooms can bounce back stronger than ever this season.
1. Address Underwatering with Deep Hydration
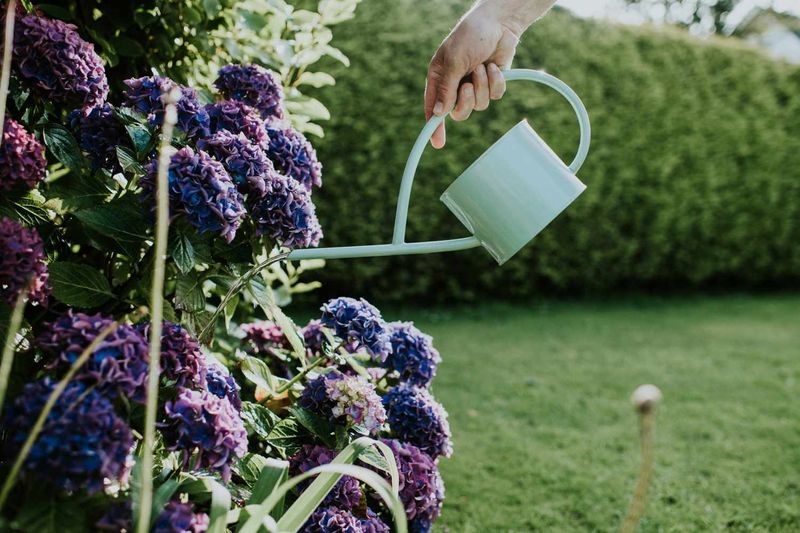
Picture your hydrangea’s leaves sagging like a wilted salad by mid-afternoon. Nine times out of ten during a hot spell, that droop is a thirsty plant waving a white flag.
Hydrangeas literally means water vessel, so they earn their reputation as heavy drinkers.
When soil dries out, the plant loses the internal pressure that keeps stems and leaves upright, and everything flops. A quick splash from the hose barely wets the surface and trains roots to stay shallow, which only makes future wilting worse.
Instead, water deeply and slowly right at the base. Aim for 45 to 60 minutes for a mature shrub, or 20 to 30 minutes for a plant in a pot, until moisture reaches 10 to 12 inches down.
Early morning is the sweet spot because less water evaporates and the plant heads into the heat fully charged. Give it a couple of days of this deep soaking and you may be surprised how fast those leaves lift back up.
2. Correct Overwatering and Improve Drainage
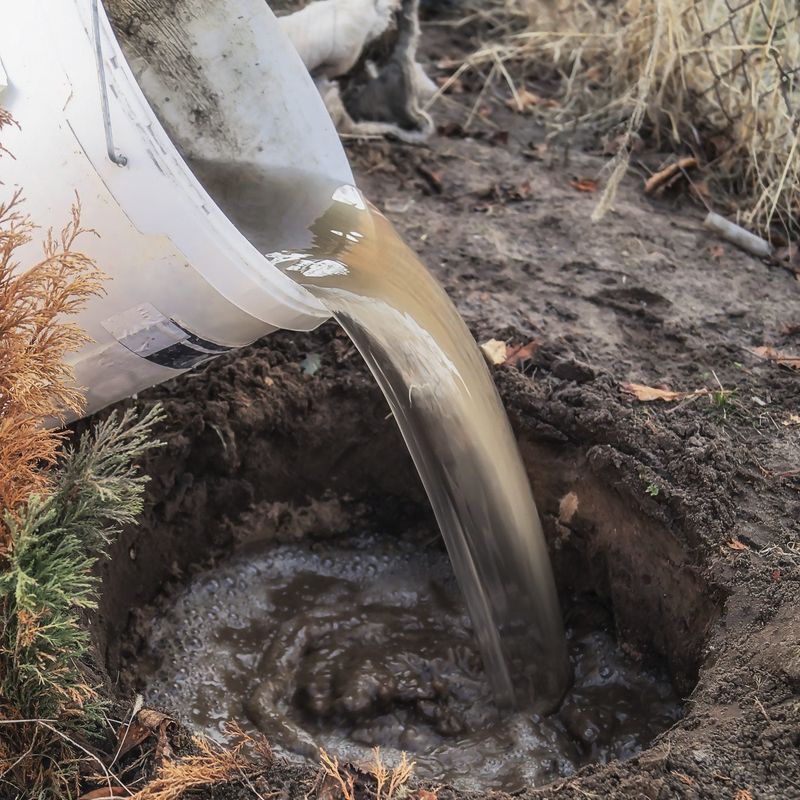
Here is the twist that trips up a lot of caring gardeners: you can love your hydrangea to death with the watering can. Soggy, waterlogged soil drowns the roots and invites root rot, and a rotting root system can no longer pull up water.
The result looks almost identical to underwatering, which is why so many people water more and accidentally make things worse.
Before you reach for the hose, stick a finger a couple inches into the soil. If it still feels damp, walk away and check again tomorrow.
For a long-term fix, make sure your hydrangea sits in loose, loamy soil rich in organic matter so water can move through instead of pooling. Stubborn wet spots can be improved by mixing in compost or building up a raised bed.
Potted plants need drainage holes, and it helps to refresh the potting mix every two years so it does not turn into a compacted brick that holds water like a sponge.
3. Shield from Excessive Heat and Sun Stress

Ever notice your hydrangea drooping dramatically at 3 p.m. and then standing tall again after dinner? That afternoon flop is often heat theater, not a watering emergency.
When the sun blazes, leaves lose water faster than the roots can replace it, leading to wilting, yellowing, and crispy brown edges.
Hydrangeas are woodland plants at heart and much prefer gentle morning light with a break from the harsh afternoon sun.
The rescue is refreshingly low-tech. Toss a shade cloth over the plant during peak heat hours, roughly 2 to 5 p.m., or park a patio umbrella to block the worst of it.
Potted hydrangeas are even easier since you can simply scoot them to a shadier corner. Misting the air around the plant, not the leaves in direct sun, can cool the immediate area a few degrees.
Give it consistent afternoon relief and the daily wilting drama tends to fade away.
4. Utilize Mulch to Retain Moisture and Regulate Temperature
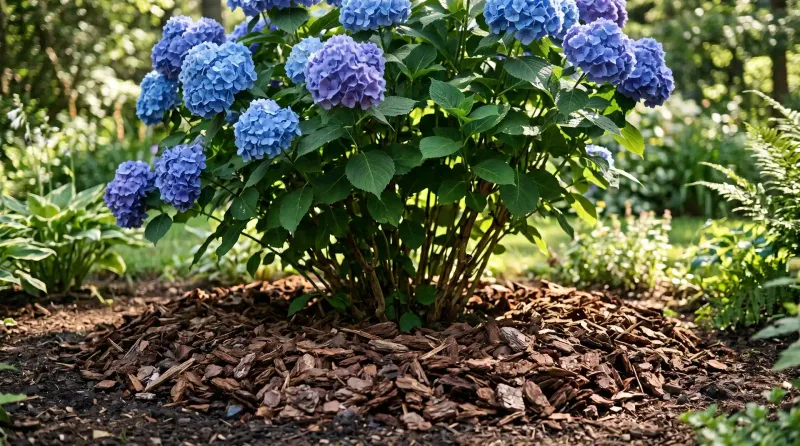
Think of mulch as a cozy blanket and a sun umbrella rolled into one. A simple layer around your hydrangea keeps the soil evenly moist and shields roots from wild temperature swings, which are two of the biggest triggers behind droopy plants.
Spread a 2 to 3 inch layer of organic mulch such as shredded hardwood, pine bark, or composted leaves over the root zone. Leave a few inches of breathing room around the stems so trapped moisture does not cause rot at the base.
The payoff is bigger than it looks. A good mulch layer can lower soil temperature by up to 10 degrees and cut evaporation by 40 to 60 percent, meaning the water you give actually sticks around for the roots.
As the organic material breaks down, it also feeds the soil and improves its structure over time. It is one of the cheapest, most set-and-forget upgrades you can hand a stressed hydrangea.
5. Minimize Transplant Shock
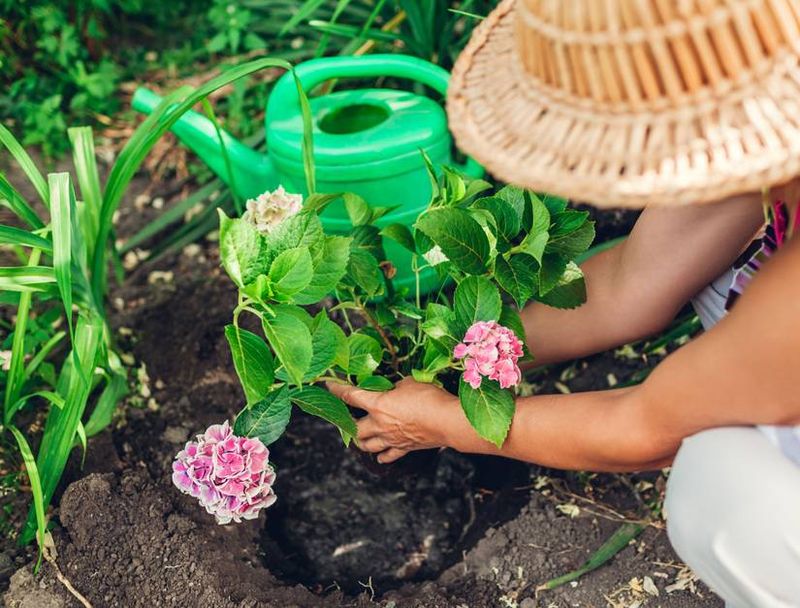
Just moved your hydrangea to a new spot and now it looks miserable? Take a breath, because that sulking is usually transplant shock, not a death sentence.
When roots get disturbed, they temporarily lose their ability to pull up enough water, and the plant wilts while it settles in.
Your job during this period is to make life as easy as possible for those recovering roots.
Keep the soil consistently and deeply moist so the plant never has to hunt for water while it re-establishes. Drape a temporary shade cloth over it for the first week or two, especially if you moved it during warm weather.
Hold off on pruning and fertilizer for now, since both push the plant to spend energy it should be pouring into growing new roots. Be patient and gentle, and most transplanted hydrangeas quietly rebound within a few weeks.
6. Avoid Pruning Mistakes that Cause Stress
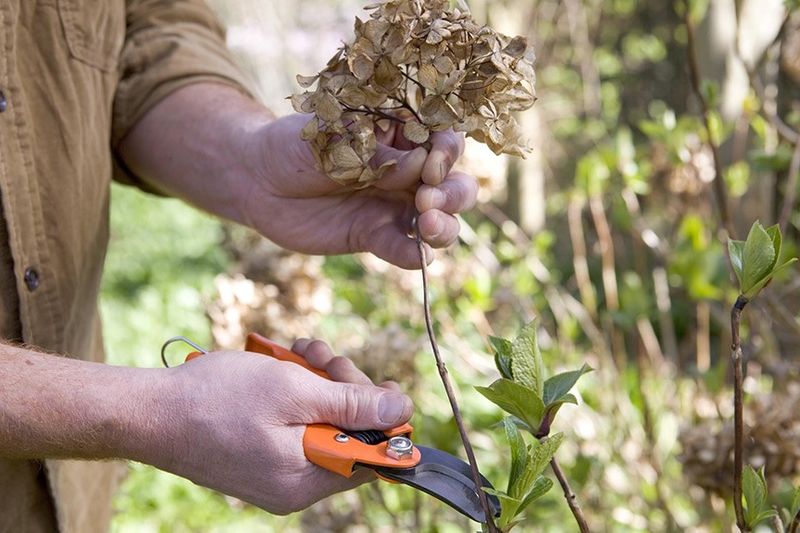
Snip happy? A well-meaning haircut at the wrong moment is one of the sneakiest ways to leave a hydrangea weak and bloomless.
Cutting away too much foliage at once shocks the plant and strips it of the leaves it needs to fuel recovery.
Follow the one-third rule and never remove more than a third of the shrub in a single session.
Timing matters just as much as amount. Old-wood bloomers like Hydrangea macrophylla and serrata set their flower buds the season before, so a hard prune at the wrong time can erase this summer’s show entirely.
For those varieties, do any shaping in spring only. Keep your pruners sharp and clean so every cut is crisp and less likely to spread disease from plant to plant.
Fun fact: knowing whether your hydrangea blooms on old wood or new wood is the single biggest clue to when you should, or should not, pick up the shears.
7. Manage Pests and Diseases Early
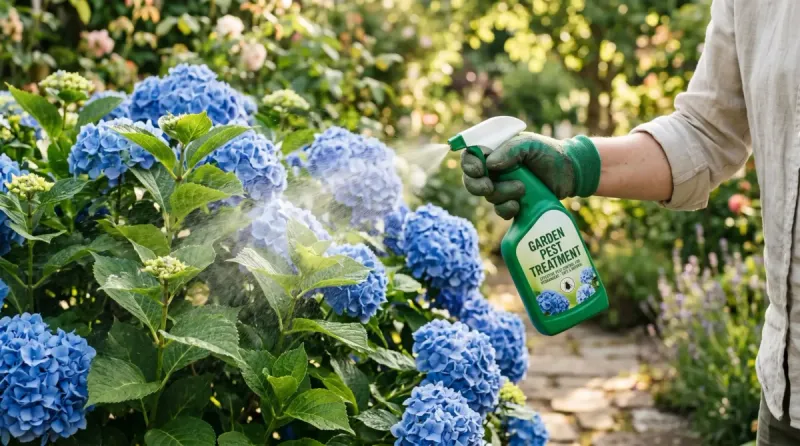
Sometimes a hydrangea’s weakness has tiny culprits hiding in plain sight. Aphids and spider mites quietly sap the life out of leaves, while troublemakers like bacterial wilt and root rot attack from within, and any of them can leave your plant limp and struggling.
Catching problems early is your best weapon, so give your hydrangeas a quick once-over now and then, checking the undersides of leaves where pests love to hide.
Spot a soft-bodied insect party? A spray of insecticidal soap or neem oil can knock aphids and mites back without harsh chemicals.
Fungal troubles like root rot are often a drainage problem in disguise, so improving the soil and easing up on water may prevent them from taking hold in the first place. Honestly, the strongest defense is a well-fed, properly watered plant, because a vigorous hydrangea shrugs off many pests and diseases that would flatten a stressed one.
8. Revive Wilted Cut Hydrangeas
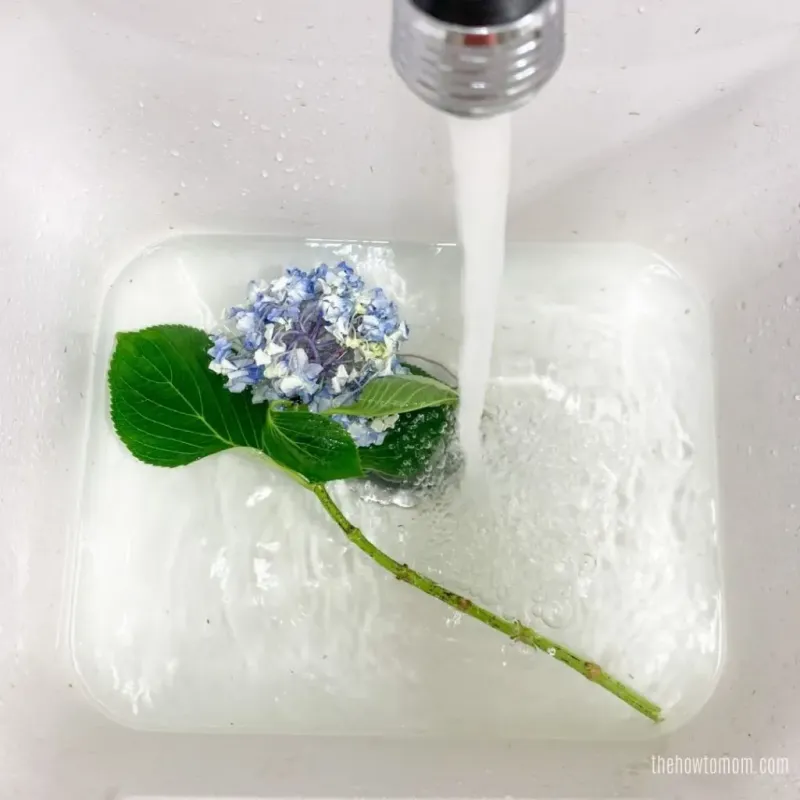
Cut a gorgeous hydrangea for your table, only to watch it collapse within hours? You are not alone, because these blooms are famous for flopping once they leave the plant.
The problem is usually an air bubble trapped in the stem that blocks water from reaching that big, thirsty flower head.
The rescue feels almost like a magic trick. Re-cut each stem at a 45-degree angle, then submerge the entire flower head and stem in cool water for a few hours to let it drink through the petals.
For truly stubborn cases, dip the freshly cut stem ends in boiling water for about 30 seconds, which clears the sap blockage that keeps water from moving up. Stripping the leaves off the stems also helps, since fewer leaves means less water lost to evaporation.
Do this and a bloom that looked hopeless can perk back up like it never wilted at all.