
The One Thing North Carolina Camellias Need In Late Summer Or The Fall And Winter Blooms Never Come
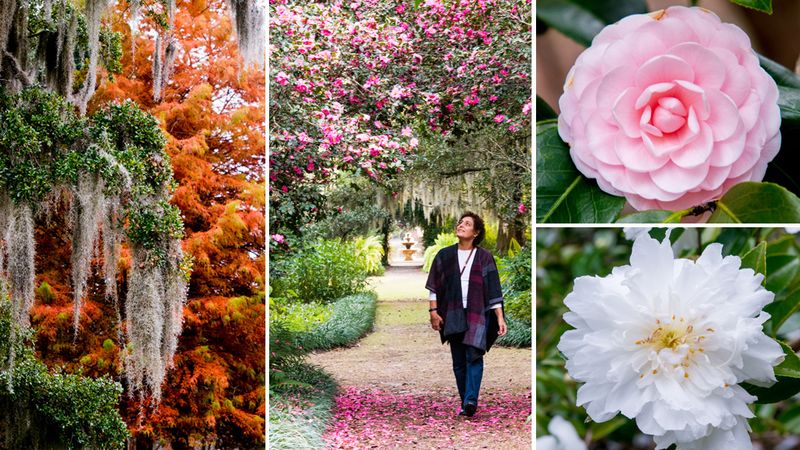
Camellias are one of North Carolina’s most reliable cold-season showstoppers, carrying flowers from fall all the way into early spring when little else blooms in the yard. But every August and September, a quiet window opens that can quietly decide how much of that display you actually get.
The priority during that stretch is not fertilizer, not pruning, and not a special spray. Keeping the root zone consistently moist during dry spells is what helps protect the buds already forming on your plants.
Steady late-summer moisture supports the next camellia display
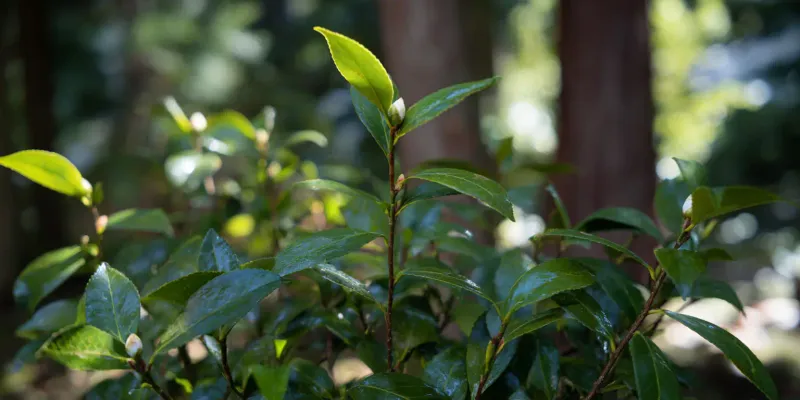
Camellia japonica forms its flower buds on older, established growth, and those buds are quietly developing through the heat of late summer. North Carolina Extension’s camellia japonica profile specifically identifies August and September drought as a risk to the following flowering season, which can stretch from fall into late winter or even early spring depending on the cultivar you grow.
Keeping the root zone consistently moist during dry periods is how you help protect those forming buds, though moisture alone does not guarantee a full display.
Camellia sasanqua is a different animal when it comes to timing. Sasanquas typically bloom earlier, in late fall and into winter, and are a popular choice across the Piedmont and Coastal Plain for that reason.
NC Extension’s sasanqua profile confirms this earlier seasonal window, so gardeners growing both types may be managing two overlapping but distinct flowering schedules at once.
Framing moisture as the single factor that determines whether blooms ever appear overstates what watering can do. Pruning at the wrong time, winter cold damage, poor drainage, too much shade, unsuitable cultivar selection, pest pressure, and disease can all reduce or eliminate flowering regardless of how carefully you watered in August.
What the evidence does support is that consistent moisture during late-summer dry periods meaningfully improves the odds of a strong cold-season display, particularly for japonicas. That is a practical priority worth protecting, even if it comes without a guarantee attached.
Check beneath the mulch before deciding to water
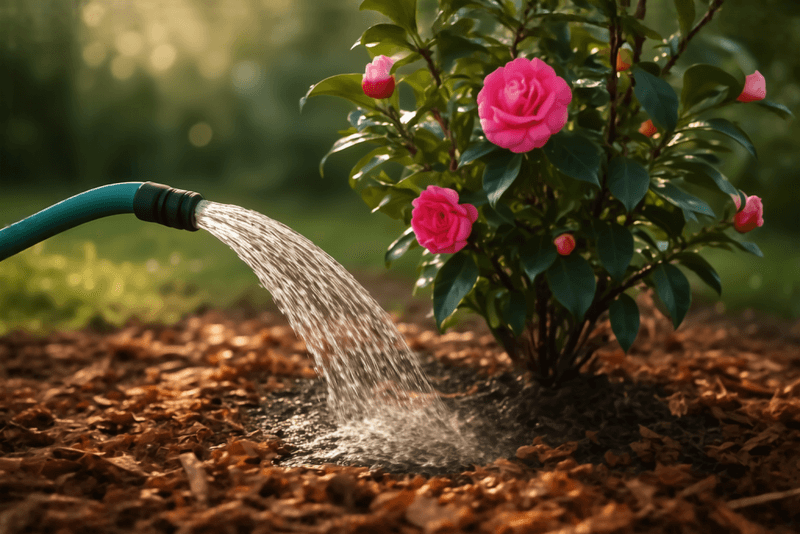
Soil moisture beneath a mulch layer tells you far more than the surface ever will. Before reaching for the hose in late summer, pull back the mulch around your camellia and press two fingers into the soil a few inches down.
If the root zone feels dry or barely damp, that is your signal to water. If it still feels cool and moist from recent rainfall, hold off and check again in a few days.
Clemson’s camellia factsheet emphasizes consistent moisture as a key cultural need, and that consistency starts with actually knowing what is happening in the root zone rather than guessing by the calendar or the weather forecast. Camellias have relatively shallow roots, which means they respond quickly to surface conditions and dry out faster than deeper-rooted plants when rain is scarce.
North Carolina’s geography adds another layer of complexity. A Piedmont gardener dealing with heavy clay soil holds moisture very differently from a Coastal Plain gardener working in sandy loam, and a mountain planting in dappled shade behaves differently still.
UF/IFAS camellia guidance cautions that camellias are vulnerable to overwatering, so rainfall totals, soil drainage, sun exposure, plant age, and site conditions all factor into whether supplemental water is actually needed on any given week. A soil check gives you that answer directly, without relying on a schedule that may not fit your yard.
Light, repeated surface sprinkling does not substitute for thorough watering that reaches the root zone. Frequent shallow wetting can actually encourage roots to stay near the surface, making the plant more vulnerable during a genuine drought stretch.
Check first, then water with intention.
Water thoroughly, then let the soil drain
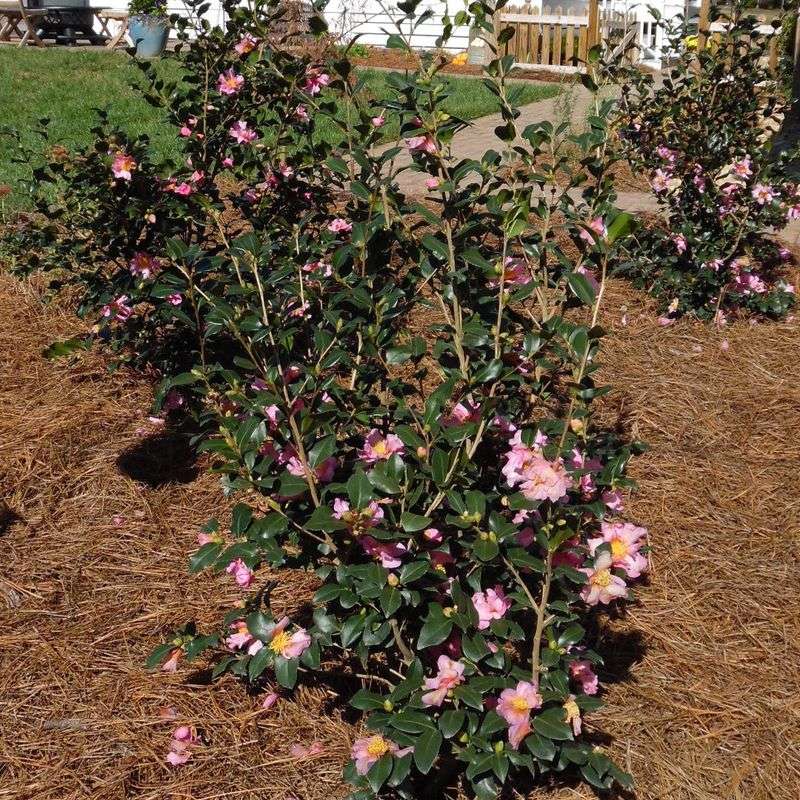
Once you have confirmed the root zone is drying out, water thoroughly enough to replenish moisture through the entire root area rather than just wetting the surface. Move the hose slowly around the drip line of the plant, letting water soak in gradually so the soil can absorb it rather than shedding it as runoff.
Then step back and let the soil drain completely before watering again.
UF/IFAS extension guidance on camellias offers a general benchmark of roughly 1 inch of water every 10 days to two weeks during extended dry periods. That figure is a flexible reference point for drought conditions, not a fixed NC schedule.
Your actual frequency will depend on how much rain has fallen, how quickly your soil drains, how much shade the plant receives, and whether you are growing in the clay-heavy Piedmont, the sandier Coastal Plain, or a mountain site with its own moisture patterns.
Alternating between bone-dry soil and saturated conditions is one of the patterns most likely to cause trouble. Clemson’s camellia disease and pest factsheet lists irregular moisture, including soil that swings between too wet and too dry, as a contributor to bud drop.
Poor drainage compounds this risk: NC Extension’s general camellia page notes that camellias prefer moist, well-drained soil, and overwatering or standing water can contribute to root rot that undermines the plant’s ability to flower at all.
The goal is steady, moderate moisture in soil that drains freely between waterings. A plant that dries out hard in August and then receives a heavy soaking in September has not had its drought stress corrected; it has had one problem traded for another.
Water with enough volume to matter, then give the soil time to breathe before you water again.
Use mulch to moderate the shallow root zone
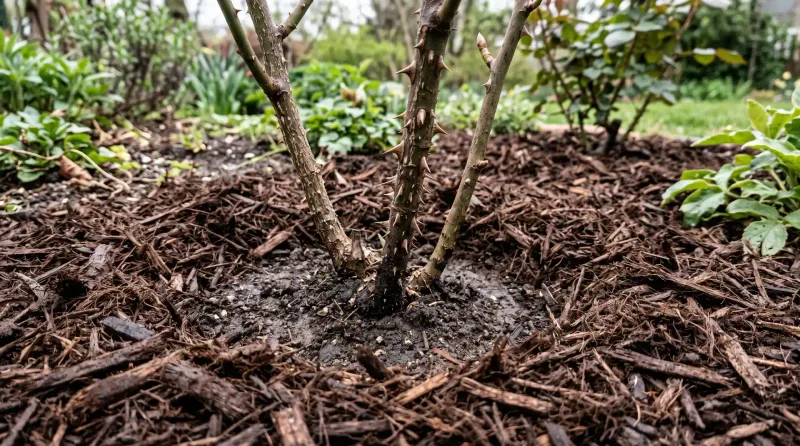
A properly applied mulch layer does quiet, consistent work through the hottest weeks of late summer. Spread 2 to 3 inches of shredded bark, pine straw, or wood chips across the root zone and that layer slows evaporation, moderates soil temperature, and helps the moisture you apply last longer between waterings.
Camellias have shallow roots that sit close to the surface, making them especially responsive to what happens in that upper zone of soil.
Clemson’s camellia care recommendations include mulching as a standard practice, and UF/IFAS guidance reinforces the same advice while adding one important instruction: keep mulch several inches away from the trunk and do not pile it against the root ball. Mulch mounded directly against the base of the plant traps moisture against the bark, which can promote rot and create conditions that harm rather than help the plant over time.
Spread mulch outward to roughly the drip line of the plant, or as far as the root zone extends, and keep the layer relatively even. Mulch that has compacted or thinned out over the summer may need to be refreshed before the dry stretch deepens.
Pine straw works well in many North Carolina settings and is widely available across the Piedmont and Coastal Plain.
Mulch supports your watering efforts, but it does not replace them. During an extended dry period, even a well-mulched camellia will need supplemental water once the soil beneath the mulch begins to dry out.
Check regularly, water when needed, and let the mulch layer do its job of holding that moisture in place between applications.
Avoid late pruning that removes developing buds
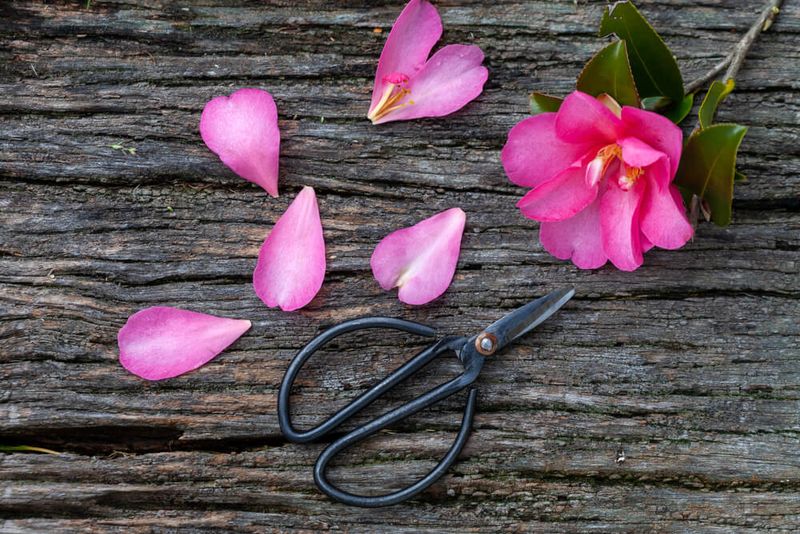
Reaching for the pruning shears in late summer or fall feels productive, but on a camellia it can quietly dismantle months of bud development. Camellia japonica sets its flower buds on the previous season’s growth, so any shearing, routine shaping, or heavy cutting done in August or September removes the very wood carrying next season’s display.
You end up with a tidier shrub and far fewer flowers.
Lee County Extension’s camellia pruning guidance recommends pruning soon after flowering as the reliable window, which lets the plant set new growth and develop buds through the summer without interruption. Pender County Extension’s look at flowering problems echoes this, noting that late pruning is one of the more common and easily avoided reasons a camellia fails to produce a strong cold-season bloom.
One exception applies regardless of timing: dead, diseased, or damaged wood can and should be removed when you find it. Leaving that material on the plant serves no purpose and can create entry points for disease.
UF/IFAS camellia care guidance identifies this as the practical exception to the late-pruning rule, so you are not locked out of the plant entirely during late summer. You are simply protecting the healthy, bud-bearing wood by leaving it alone.
If your camellia has grown larger than you want, plan a more substantial reshaping for the window right after it finishes flowering. That timing gives the plant the longest possible runway to recover, push new growth, and develop buds before the next late-summer dry period arrives.
Patience with the pruning calendar pays off in a fuller display come winter.
Do not use fall fertilizer as a guaranteed bloom fix
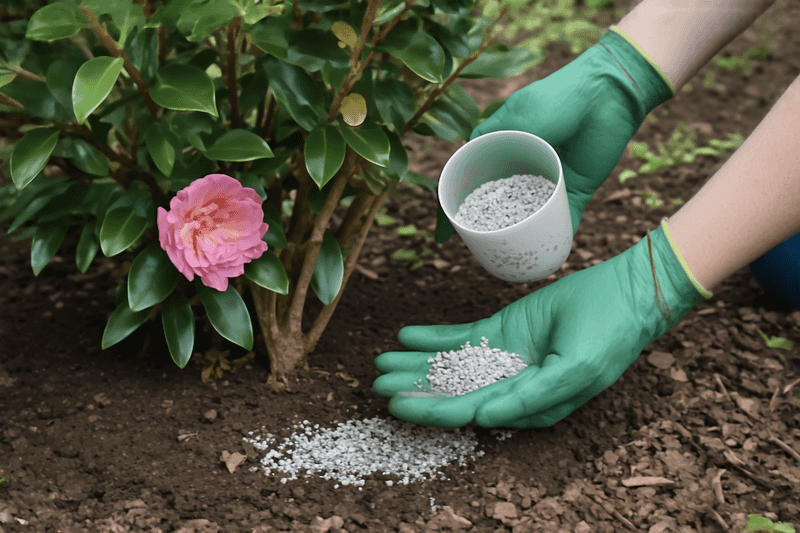
When a camellia fails to bloom as expected, the impulse to add fertilizer is understandable. Feeding the plant feels like doing something.
But late-summer or fall fertilization does not reliably address the actual causes of poor flowering, and it introduces a risk of its own: pushing tender new growth just before cold weather arrives.
UF/IFAS camellia guidance warns that late feeding can stimulate soft, frost-vulnerable growth that the plant then has to sacrifice when temperatures drop. RHS camellia guidance similarly notes that excessive or late fertilization can contribute to bud drop rather than prevent it.
Feeding a camellia in fall to force winter flowers is not a practice supported by extension guidance, and it may make an already struggling plant more vulnerable heading into cold months.
A soil test is the appropriate starting point when poor growth, persistent yellowing leaves, or a history of weak flowering suggests something may be off. Lee County Extension’s camellia advice and Pender County Extension’s flowering problem overview both make the point that flowering issues are rarely solved simply by adding fertilizer.
A test tells you whether a deficiency actually exists and what correction, if any, is warranted.
If a documented deficiency justifies corrective fertilization, follow the product label directions and apply at a time that allows the plant to use the nutrients without pushing vulnerable new growth into cold weather. Fertilizer should correct a real problem, not substitute for moisture management, appropriate pruning timing, good drainage, and a site that suits the plant in the first place.
Interpret bud drop without blaming every problem on drought
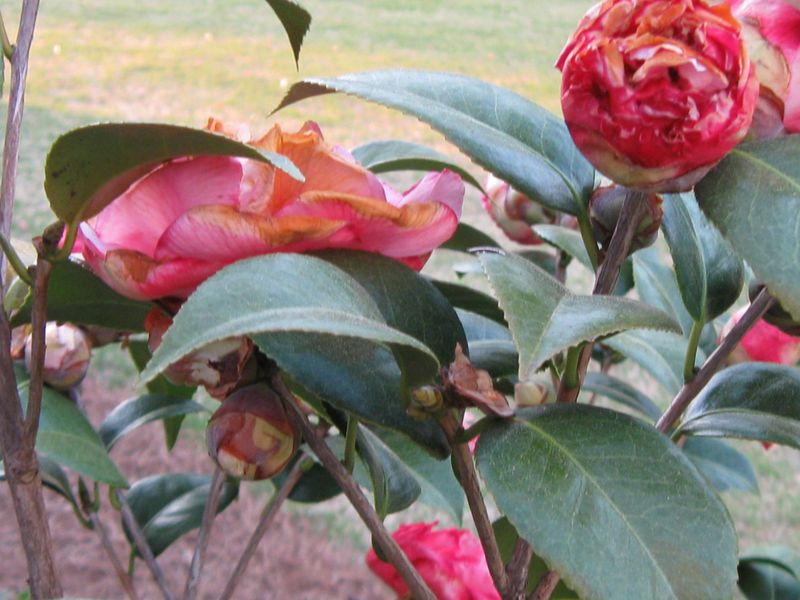
Finding a few buds on the ground beneath your camellia does not automatically mean something went wrong with your watering. Camellias routinely set more buds than the plant can open, and some natural thinning is a normal part of the process.
A handful of dropped buds during fall is not the same as a plant that consistently fails to flower or loses most of its buds before they open.
Clemson’s camellia care factsheet acknowledges that some bud drop is normal, while Clemson’s camellia disease and pest resource lists the wider range of causes behind more significant bud loss: irregular moisture (both too wet and too dry), temperature fluctuations, hot fall weather, poor drainage, nutrient imbalance, unsuitable cultivars or planting locations, disease, and camellia bud mites. Reflexively adding water or fertilizer when bud drop appears can make some of these underlying problems worse rather than better.
Winter cold is its own category of bud threat. NC Extension’s general camellia page notes that cold can damage buds, particularly as they begin to swell or open.
A UF/IFAS post on camellia flowers that fail to open and WSU’s camellia cold injury factsheet both document how a well-watered, otherwise healthy plant can still lose buds or fail to open flowers when a hard freeze arrives at the wrong moment. Cultivar selection and site placement are the most reliable defenses against that kind of loss.
When bud drop is widespread or recurring year after year, the right response is diagnosis rather than a reflexive change in one variable. Check whether the plant sits in a spot with poor drainage.
Look closely at the buds for signs of camellia bud mites, which leave buds stunted and distorted. Consider whether a late pruning in a previous season may have removed bud-bearing wood.
Moisture management is one piece of a larger picture, and matching the diagnosis to the actual cause is what produces results.
Follow one repeatable late-season moisture check
A simple, repeatable habit covers the most important late-summer work for your camellias. During any stretch of dry weather in August or September, pull back the mulch and check the soil a few inches down.
If the root zone is drying out, water thoroughly, let the soil drain, and check again before watering a second time. NC Extension’s japonica profile points to this period as the window where drought can reduce the following season’s flowering, so a consistent check costs little and protects a lot.
Keep the mulch layer at 2 to 3 inches, spread outward from the trunk without piling it against the base. Skip routine pruning and unnecessary fertilization through the fall unless dead, diseased, or damaged wood requires attention or a soil test confirms a real deficiency.
Clemson’s camellia guidance and UF/IFAS camellia care recommendations both support this straightforward approach: steady moisture in well-drained soil, mulch in place, and bud-bearing wood left undisturbed.
Cultivar choice, drainage, pruning history, pest pressure, disease, natural bud thinning, and winter cold will all have a say in the final display regardless of how carefully you manage moisture. What you can control is the habit itself.
A plant that enters fall with a consistently moist root zone, intact buds, and a clean mulch layer has the best realistic foundation for the cold-season show that makes camellias worth growing in North Carolina.