
If You Want Free Black-Eyed Susans Next Year, Here Are 15 Steps To Save The Seeds (And Exactly When To Grab Them)
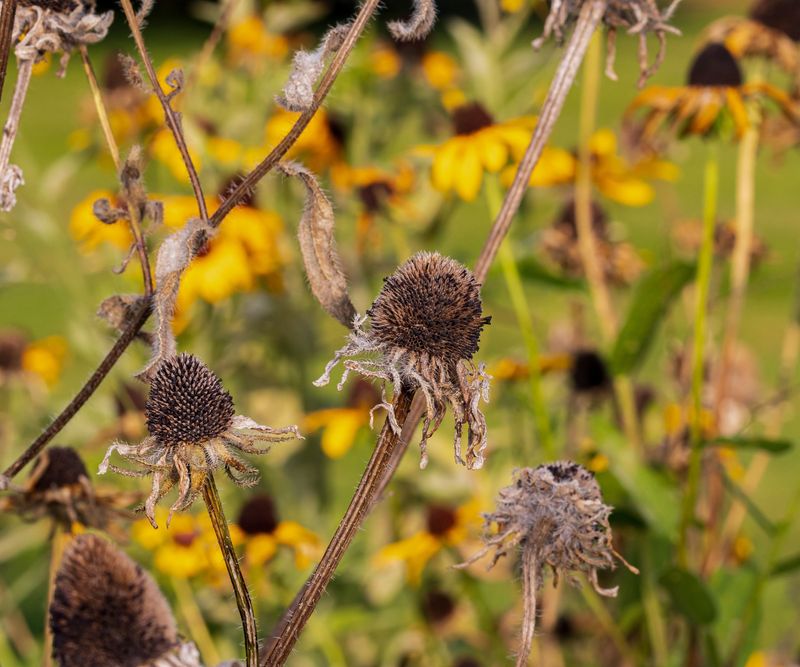
Your Black-Eyed Susans put on a bright yellow show all summer, and now those flowers are fading into brown, crispy heads. Before you toss them or let the birds clean them out, know this: each of those dried heads is packed with tiny seeds you can save for free.
With a little timing and a few easy steps, you can grow a whole new patch next year without spending a dime. Here is exactly what to do and when to do it.
1. Confirm You Have Rudbeckia hirta
Here’s the catch that trips up a lot of gardeners: not every Black-Eyed Susan will give you plants that look like the parent. If yours came from a fancy hybrid or a labeled cultivar, the seeds might grow into something you didn’t expect.
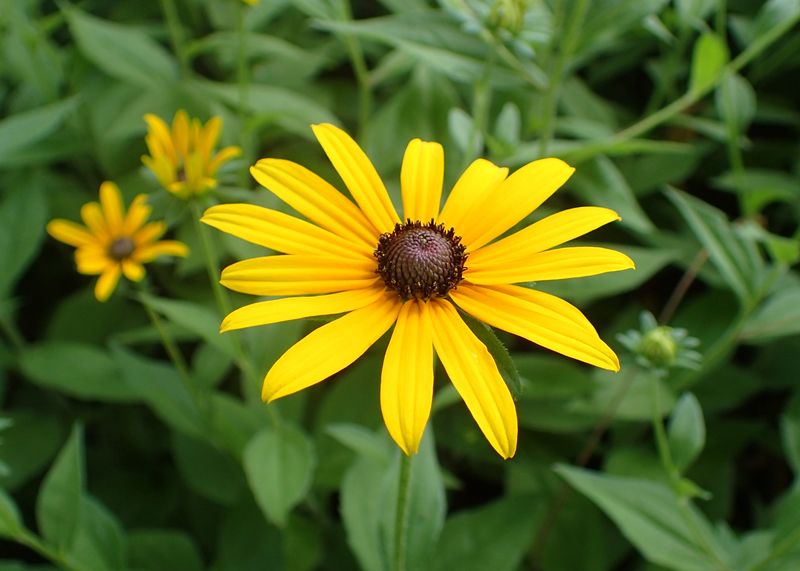
The classic species you want is Rudbeckia hirta, the common Black-Eyed Susan with golden petals and a dark chocolate center. Seeds from this one tend to grow true, meaning next year’s flowers will look like this year’s.
If you’re not sure what you have, look at the plant tag if you saved it, or snap a photo and compare it to the species online. Saving from the right plant sets you up for a garden full of the cheerful blooms you already love.
2. Watch the Calendar From Mid-September to Mid-October
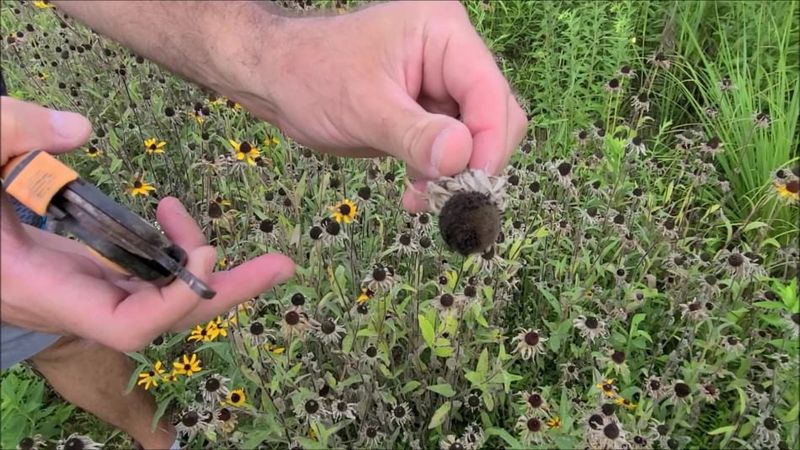
Timing is honestly the whole game here. The sweet spot for grabbing seeds runs from about mid-September into mid-October, roughly three to four weeks after the flowers finished blooming.
In some regions, you can stretch collection into early November if the weather stays dry and the birds haven’t beaten you to it. The plant tells you when it’s ready, but the calendar gives you a good window to start checking.
Mark it on your phone or garden journal so fall doesn’t sneak past you. Miss the window and you’ll either grab seeds too green to sprout or find empty heads the finches emptied out.
3. Look for Brown, Black, or Charcoal Seed Heads
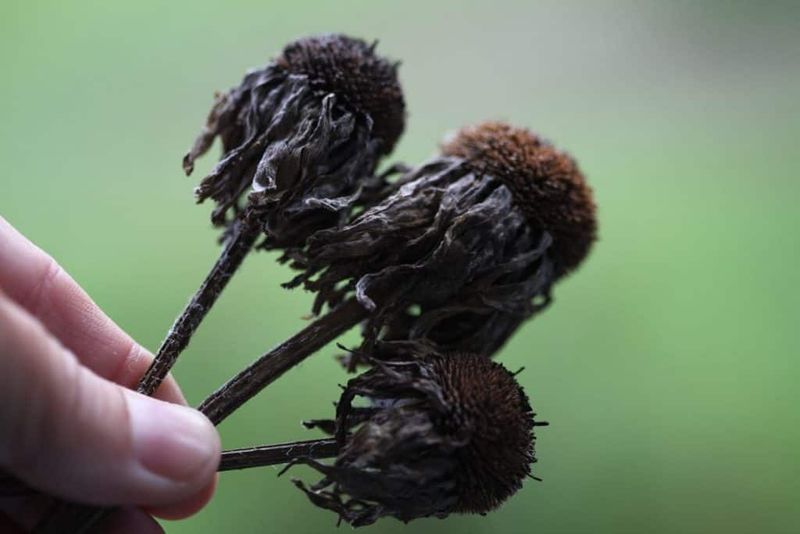
Color is your first big clue, and it’s an easy one to read. A seed head that’s ready has turned deep brown, black, or a smoky charcoal-gray instead of the fresh green it started as.
Those bright yellow petals will have shriveled up and dropped off completely by now. What’s left is that round central cone, darkened and looking a little rough.
Green or soft-looking heads are a signal to wait. The darker and drier the head, the more likely those seeds inside are fully mature and ready to sprout next spring.
4. Check That the Sepals Are Fully Brown
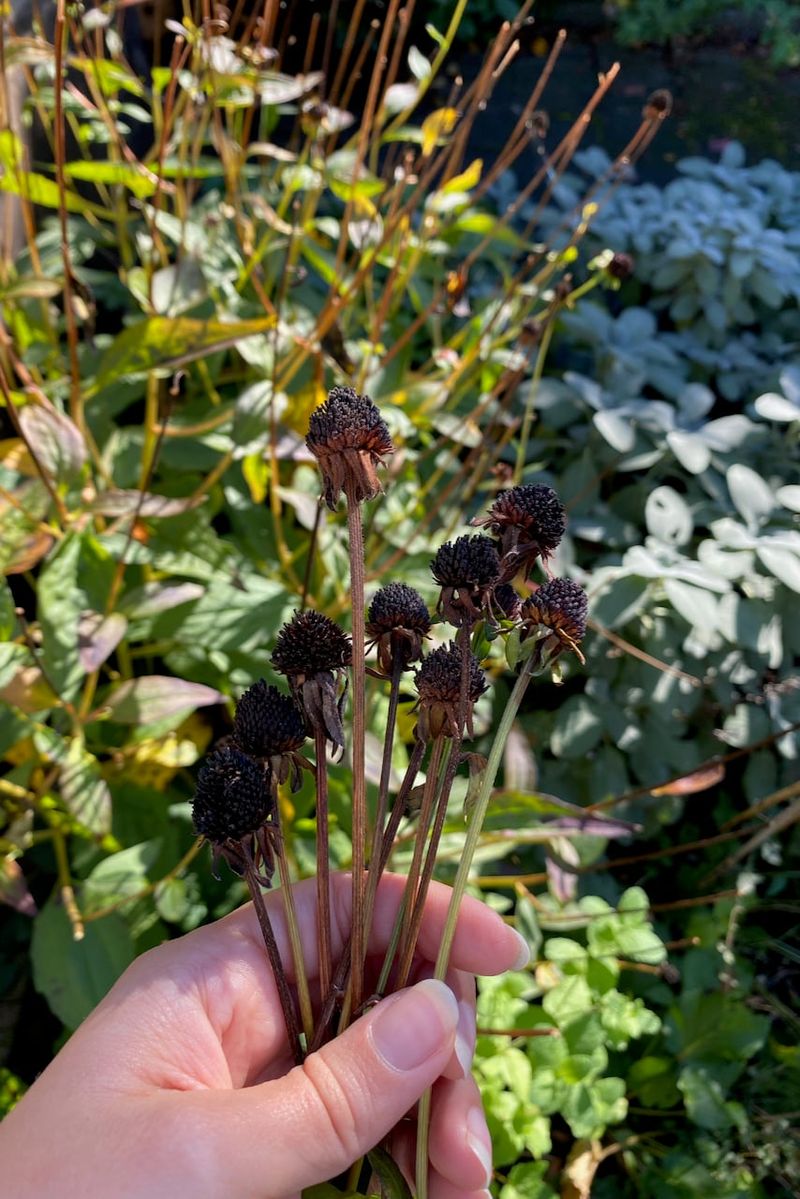
Flip your attention to the small leaf-like bits sitting right under the flower head. Those are the sepals, and they’re a sneaky-good indicator of readiness.
When the sepals have gone fully brown or black, the seeds inside have had enough time to finish developing. If those little structures are still showing any green, hit pause.
Green sepals almost always mean the seeds aren’t done maturing yet. Picking now can leave you with a bag of seeds that won’t germinate, so let nature finish the job first.
5. Feel for a Rough, Dry, Brittle Texture
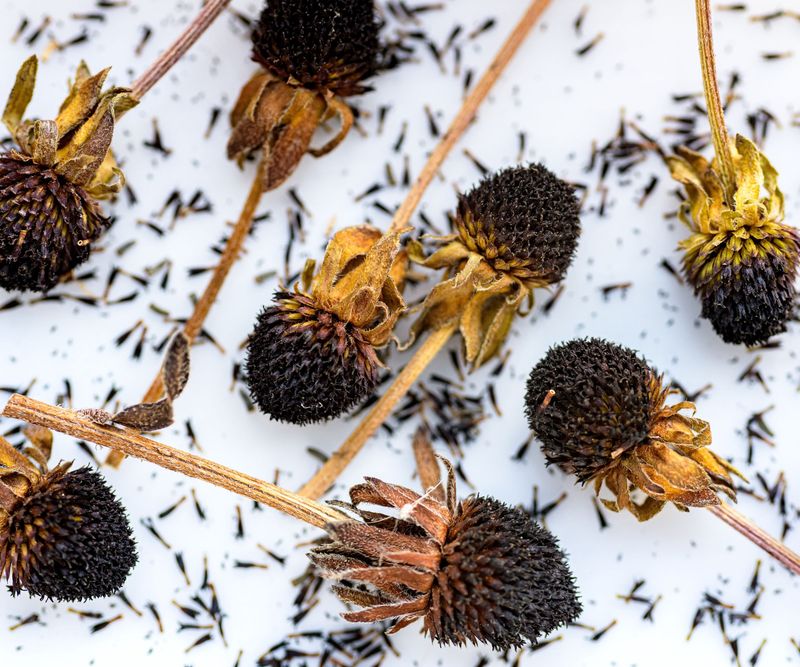
Give the head a gentle pinch and let your fingers do the judging. A ready seed head feels rough, dry, and brittle, almost crispy, like it might crumble if you pressed hard.
Anything that feels soft, spongy, or a little damp is telling you it needs more time on the stem. Moisture inside means the seeds aren’t finished and could rot later in storage.
Trust your fingertips on this one. The crunchier and drier it feels, the closer you are to a successful harvest.
6. Listen for the Rattle
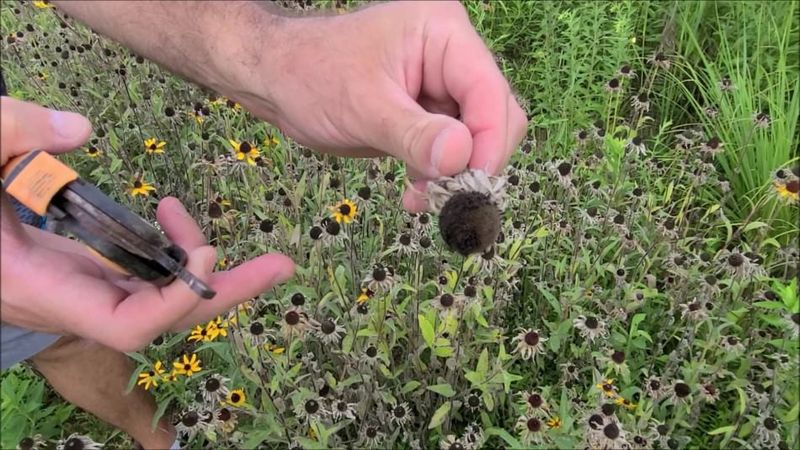
Here’s a fun little trick that feels almost like a secret handshake with your plant. Give a mature seed head a gentle shake near your ear.
If you hear a faint rattling sound, that’s the mature seeds knocking around loose inside the dried cone. It’s one of the most satisfying green lights you can get.
No rattle usually means the seeds are still packed tight and not quite ready to release. Come back in a few days and try the shake test again until you hear that dry little maraca sound.
7. Test the Stems for a Clean Snap
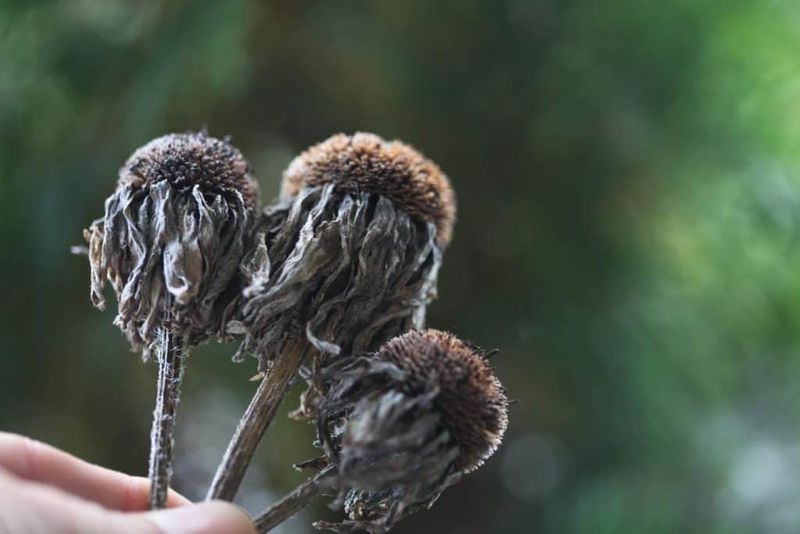
The stem holding up the seed head has its own story to tell. On a ready plant, that stem turns dry and grayish rather than staying green and bendy.
Try bending it gently. A mature stem tends to snap crisply instead of folding over like a fresh stalk would.
A stem that still bends and flexes is a plant that hasn’t fully wound down for the season. When it snaps, you can feel confident the whole flower head has dried down and the seeds are set.
8. Pick a Dry Fall Day to Harvest
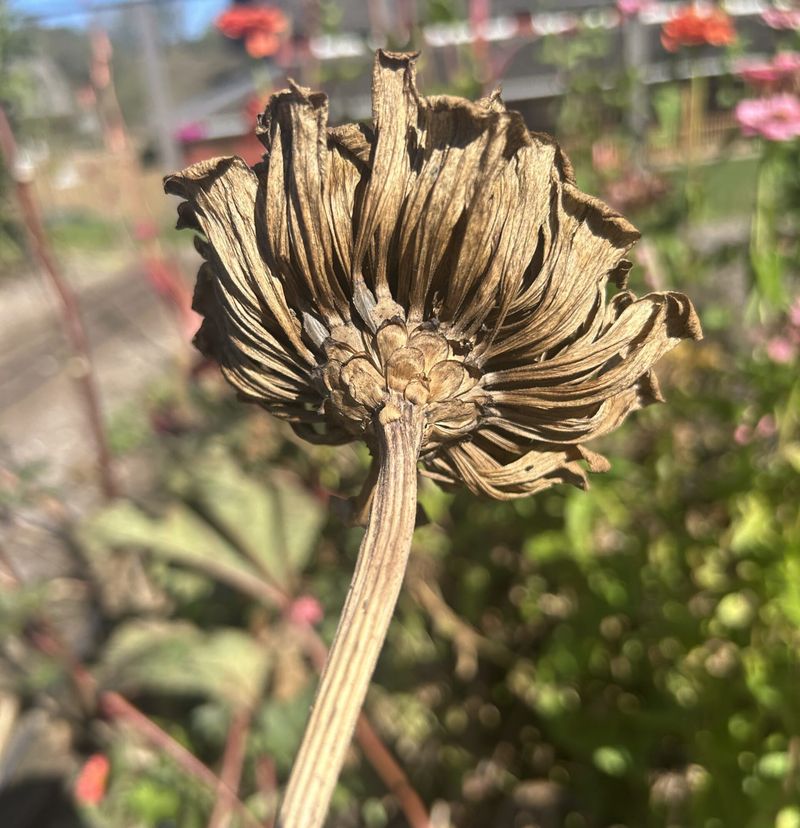
Weather matters more than you might think when you head out to collect. Choose a dry, sunny fall day rather than snipping heads right after rain or heavy morning dew.
Any moisture you bring inside on the seed heads can turn into mold and rot while they’re in storage. That can quietly ruin an otherwise perfect harvest.
If you wake up to fog or drizzle, just wait for the next dry stretch. A little patience here protects all the seeds you’re about to save.
9. Snip the Seed Heads With Shears
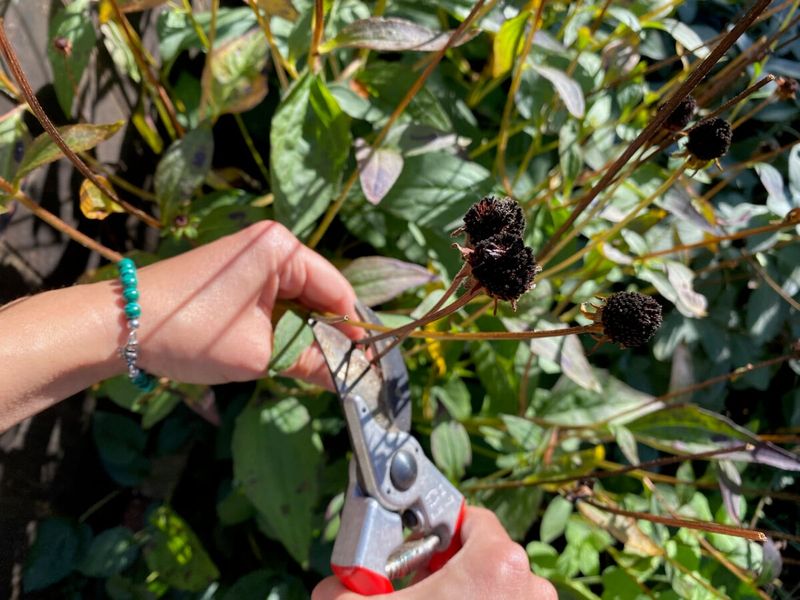
Grab a clean pair of garden shears and get ready for the easy part. Snip off each mature seed head, cutting either a few inches down the stem or right below the head itself.
Leaving a bit of stem attached can make the heads easier to handle and hang later if you want. Drop them straight into a paper bag or basket as you go.
Work through the plant and collect every dark, crispy head you can find. You’ll be surprised how many future flowers fit in one small bag.
10. Give Damp Heads an Initial Dry-Out
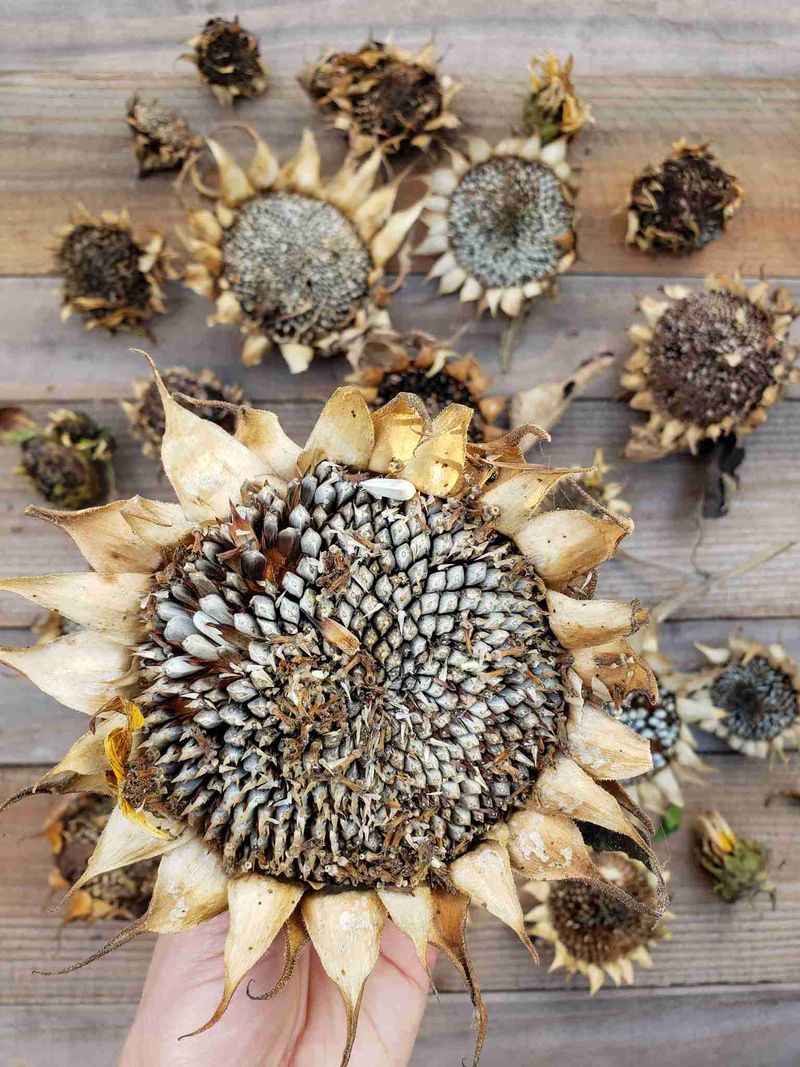
Sometimes you grab a few heads that are almost ready but still a touch green or damp. No need to toss them out.
Spread those heads in a single layer on newspaper or a tray in a cool, dry, well-ventilated spot. Let them sit there for a week or two to finish drying on their own.
Keeping them out of a sealed container at this stage stops moisture from getting trapped. Once they feel crispy, they’re ready to join the fully dried batch.
11. Move Them Into a Paper Bag
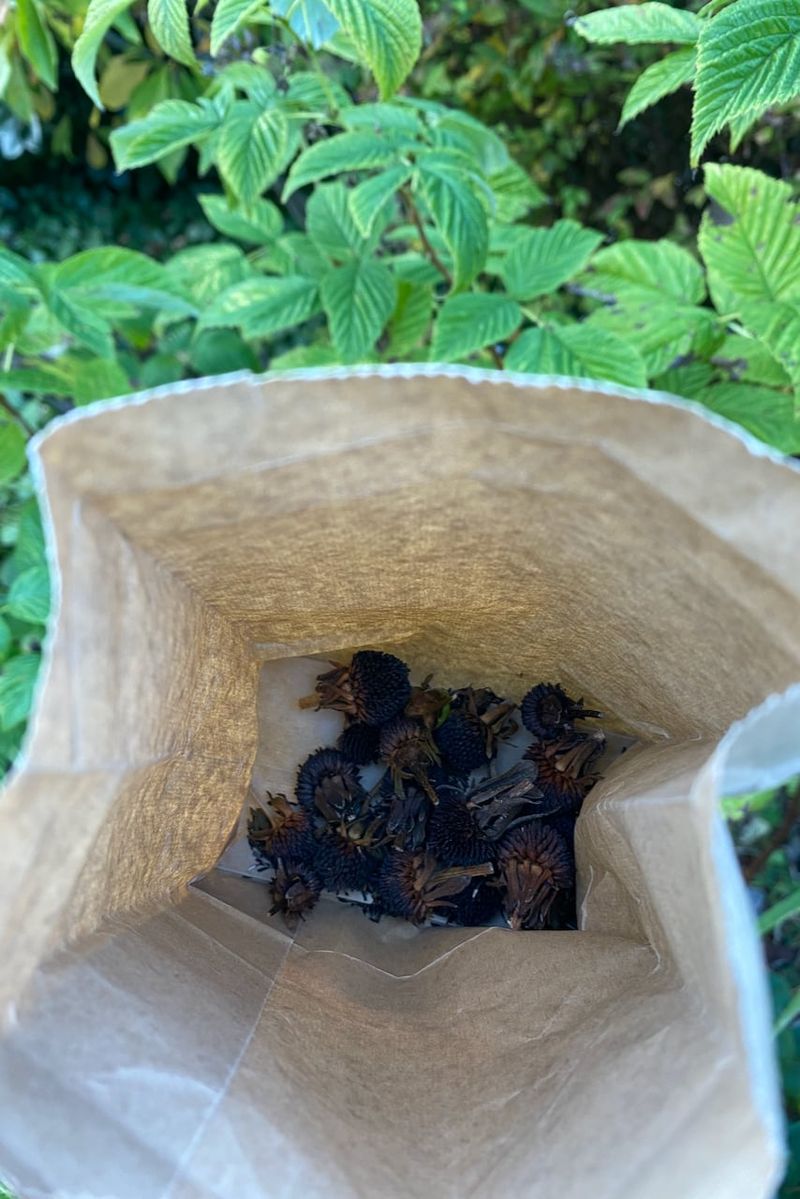
Paper is your best friend for this next stretch. Once your seed heads are dry, tuck them into a plain paper bag rather than plastic.
Paper lets air circulate and actually helps wick away any leftover moisture hiding in the heads. Plastic would trap that dampness and invite mold.
A simple lunch-sized paper bag works perfectly and costs almost nothing. Fold the top loosely and set it somewhere out of the way.
12. Let Them Dry Thoroughly Indoors
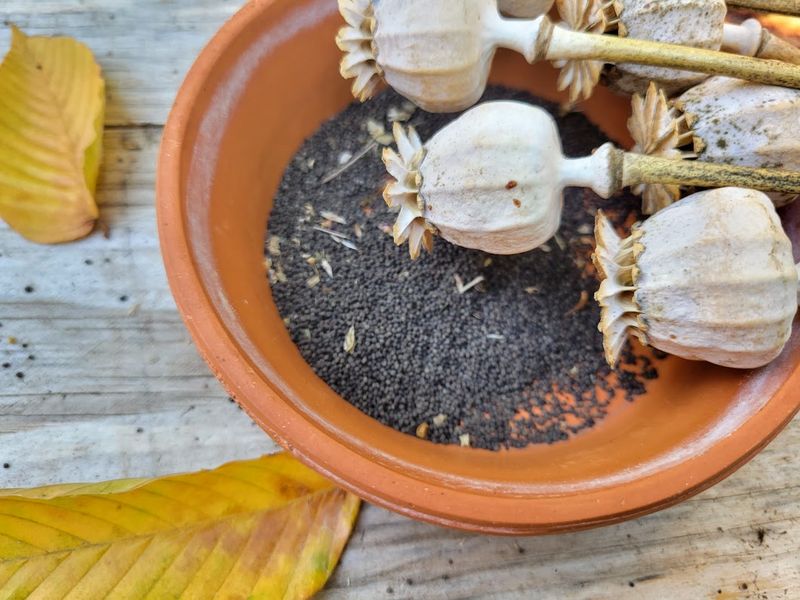
Don’t rush this step, even though the finish line feels close. Leave the seed heads drying in that paper bag or on a tray indoors for several days up to a week or two.
Keep them away from direct sunlight, which can be harsh, and let the cool indoor air do the work. This slow, thorough drying is what keeps mold away and helps your seeds stay viable for the long haul.
Think of it as the quiet, boring step that quietly makes or breaks everything. Give it the time it deserves and your patience pays off at planting time.
13. Extract the Seeds From the Chaff
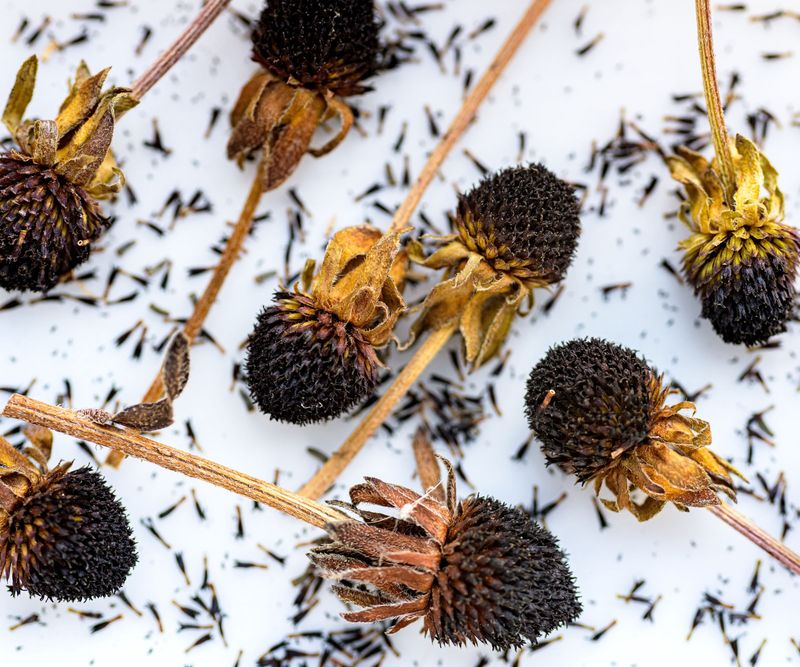
Now for the oddly satisfying part where those little black seeds finally appear. You’ve got a few ways to free them from the dried cones.
The simplest is rubbing: gently roll the dried cones between your fingers over a bowl and watch the tiny seeds tumble out. For a hands-off approach, drop the heads in a jar with a lid, toss in a coin or a bolt, and shake vigorously to knock the seeds loose.
If you’re in a hurry, scrape the seeds off the core with a fingernail, though that method gets a bit messy. Pick whichever feels fun and get shaking.
14. Sift the Seeds From the Debris
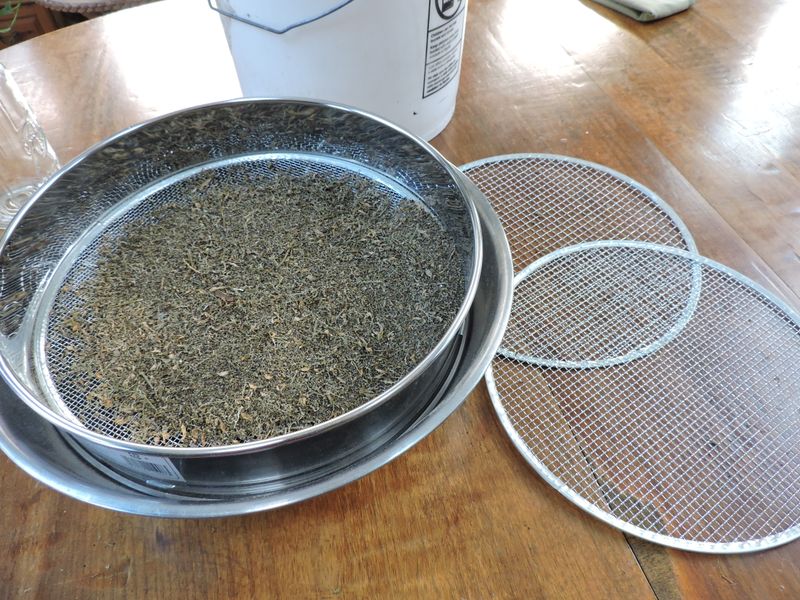
You’ll end up with a pile of seeds mixed with bits of broken cone and fluff, and that’s totally normal. Pour the whole mixture through a fine sieve onto a sheet of paper.
The small, dark Black-Eyed Susan seeds slip through the mesh while the larger chaff and debris stay behind. It feels a little like panning for gold.
Don’t stress about getting every last speck of chaff out. A bit left in the mix won’t hurt germination one bit, so clean it up just enough to store neatly.
15. Label, Store, and Chill Before Planting
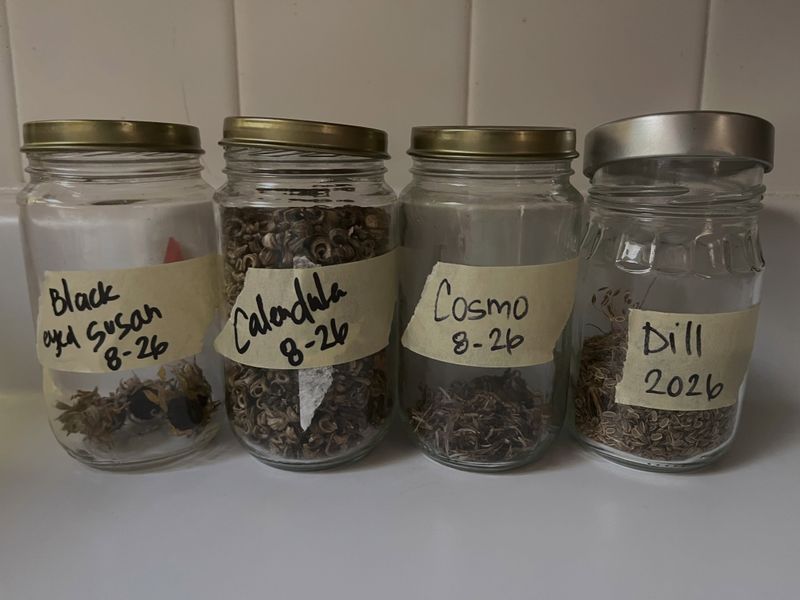
Almost done, and this last stretch keeps your hard work safe until spring. First, let the separated seeds air-dry in a single layer for one to three weeks so they’re bone dry, then label a paper envelope with “Black-Eyed Susan” and the collection date.
Store that envelope, bag, or a sealed glass jar in a cool, dark, dry spot, and tuck in a desiccant packet if you’re using a sealed jar. Properly stored seeds stay viable for two to three years, though fresher always sprouts best.
One last trick: these seeds germinate better after a cold spell, so pop them in the fridge for a few weeks to three months before spring planting, or simply sow them outdoors in late fall and let winter do the chilling for you. Come spring, you’ll have free flowers ready to shine.