
If You Want More Geraniums For Free, Here’s How One Snipped Stem Turns Into A Whole New Plant
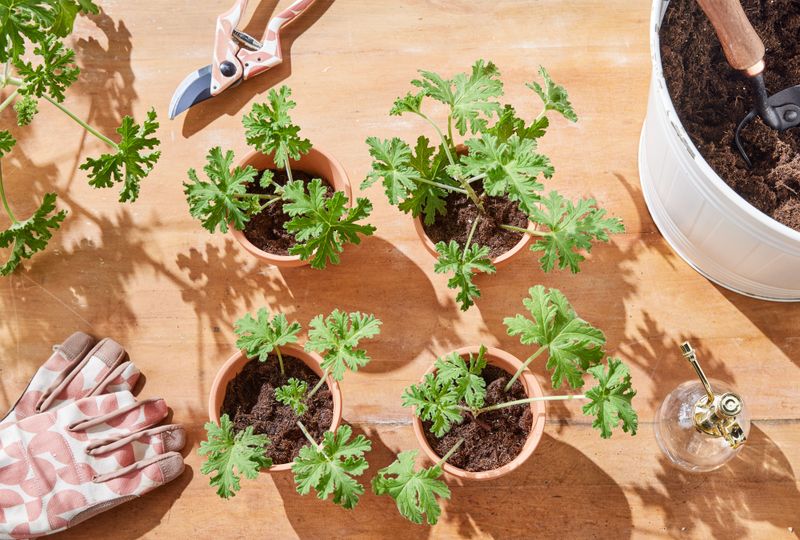
Most gardeners have a geranium they wish they could clone – that perfect red bloom or the soft peachy color that never seems quite right from a store-bought replacement. The good news is that you can grow a new plant from a single stem you already have, without spending a dime.
One healthy cutting, handled the right way, can take root and produce a plant that looks exactly like the one you started with.
Your “geranium” is usually a Pelargonium
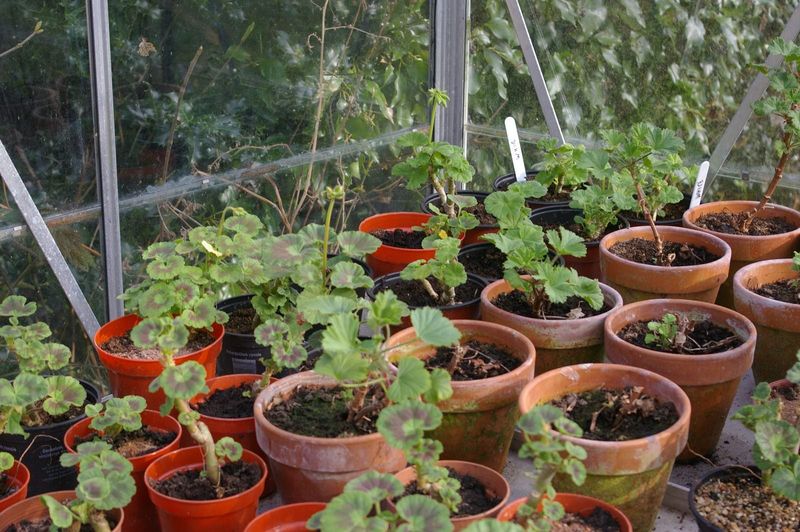
Before snipping anything, there is a small but useful name correction worth knowing. The colorful, round-headed plants sold as garden geraniums at every nursery and big-box store in the US are almost always PelargoniumGeranium, not true .
True Geraniums are a separate genus of mostly hardy perennials with different flowers and different growing habits. The mix-up has been around for centuries, and it does not really matter at the garden center, but it does matter when you look up propagation advice – because the two groups behave differently.
Pelargoniums are the tender, frost-sensitive plants most commonly grown in pots, window boxes, and summer beds across the US. University of Georgia Cooperative Extension guidance on geraniums confirms that these plants are Pelargonium and are routinely maintained through vegetative propagation – meaning stem cuttings, not seeds – because cuttings produce a plant that is genetically identical to the parent.
That matters if you love a specific flower color, leaf pattern, or growth habit, because seeds from the same plant may not reproduce those traits reliably.
So what does one cutting actually give you? A single suitable stem tip can develop roots and grow into one new, independent plant.
That is the honest answer. One cutting does not multiply into a dozen plants, and not every cutting will succeed – disease, poor moisture control, or an unsuitable stem can all prevent rooting.
What you get when it works, though, is a free copy of a plant you already love, carrying every trait that made you want to keep it in the first place. That is a worthwhile trade for a few minutes of careful work.
Choose a vigorous stem tip for the best start
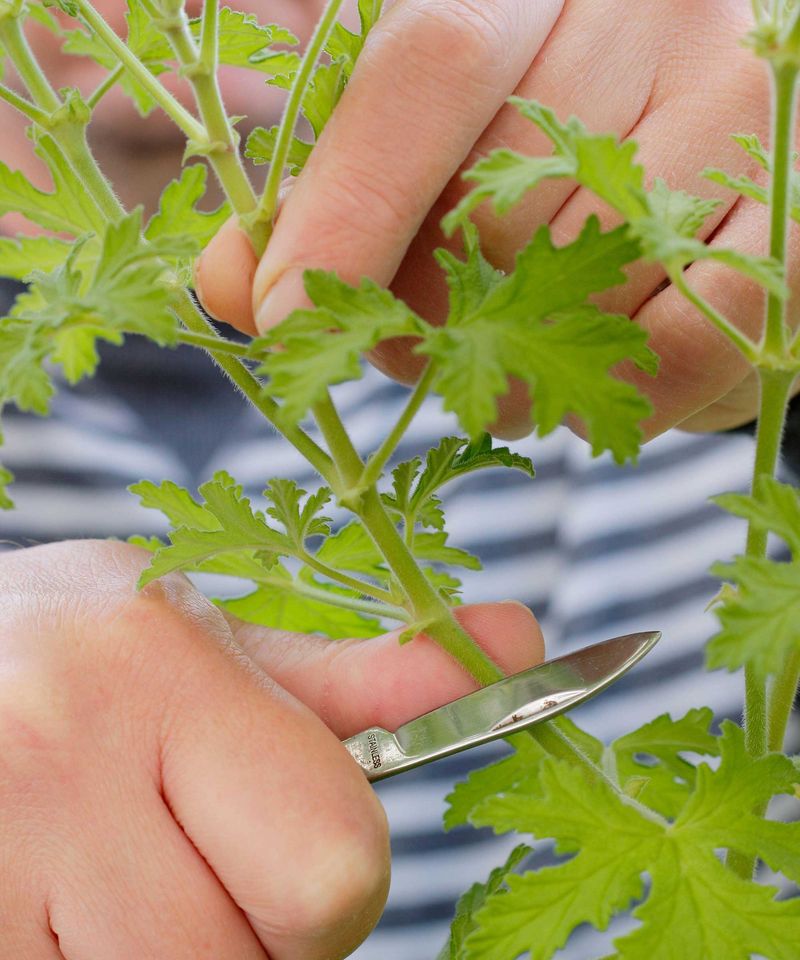
The cutting’s fate is largely decided before you even reach for your pruners. Starting with a weak or struggling stem is the fastest way to end up with nothing to show for your effort.
Look first at the parent plant: it should be healthy, well-watered, and free of visible disease, pest damage, or stress from extreme heat. Penn State Extension’s propagation guidance notes that disease, drought stress, or insect damage in the stock plant can reduce rooting success or transfer problems directly to the new cutting.
A plant that is struggling to keep itself alive is not in a position to help a cutting get started.
Once you have confirmed the parent plant looks good, find a stem with fresh, green, actively growing tip growth. New softwood growth is far more likely to root than older, woody, or semi-hardened stems lower on the plant.
RHS guidance on tender perennial cuttings specifies that softwood cuttings of Pelargonium are generally taken in spring or summer when new growth is plentiful, though indoor cuttings taken in late summer or fall are also a practical way to preserve a plant before cold weather arrives.
Aim for a tip that is roughly 3 to 4 inches long and has healthy leaves at the top. The critical detail is where you make your cut: snip just below a leaf node, which is the point on the stem where a leaf attaches.
University of Vermont propagation resources explain that nodes contain the tissues most associated with new growth, making them the preferred location for root development. A cutting that misses the node and includes only bare internode tissue between leaf attachment points has a much harder time producing roots.
According to Iowa State University Extension’s geranium cutting FAQ, that 3-to-4-inch measurement with a node and leaves at the tip is the practical sweet spot for home propagation.
Prepare the cutting before it meets the medium
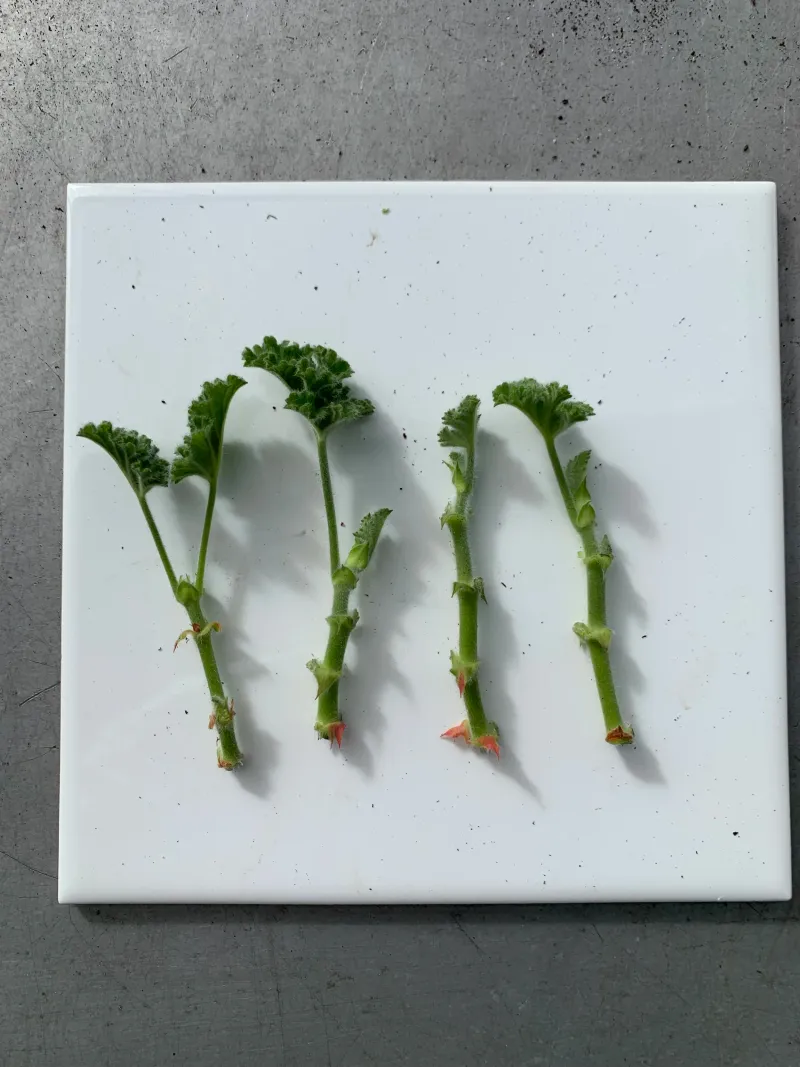
Getting the cutting ready is a short sequence of steps, and each one has a real purpose. Start with clean tools.
Wipe your knife or pruners with rubbing alcohol or a diluted bleach solution before making the cut. Penn State Extension’s guidance on bacterial blight of geranium explains that contaminated tools are a known pathway for spreading bacterial blight, Pythium blackleg, and other diseases from plant to plant.
A clean cut on a clean stem with a sanitized blade gives the cutting the cleanest possible start.
Once you have the stem in hand, remove every leaf that would sit below the surface of the rooting medium. Buried foliage rots, and rotting plant material in the medium is exactly the kind of moisture-trapping, pathogen-friendly environment you want to avoid.
Leave the healthy leaves at the tip intact – the cutting still needs green tissue to photosynthesize and support itself while roots develop. Iowa State Extension’s geranium cutting instructions recommend removing those lower leaves as a standard step in preparation.
Also remove any flowers or flower buds from the cutting. University of Maine Cooperative Extension points out that flowers consume the cutting’s stored energy without helping root formation, and they can also mold in the humid conditions that propagation requires.
Here is one step that surprises some gardeners: after all that preparation, do not stick the cutting into the medium right away. Illinois Extension’s houseplant cutting guide lists Pelargonium as a plant that benefits from a brief drying or healing period at the cut end before planting.
Letting the cut surface sit in open air for a short while – not several days, just briefly – allows a light callus to begin forming, which can reduce the risk of rot at the wound. Set the cutting in a shaded spot out of direct sun and let it rest before moving on to the next step.
Give the node a breathable place to root
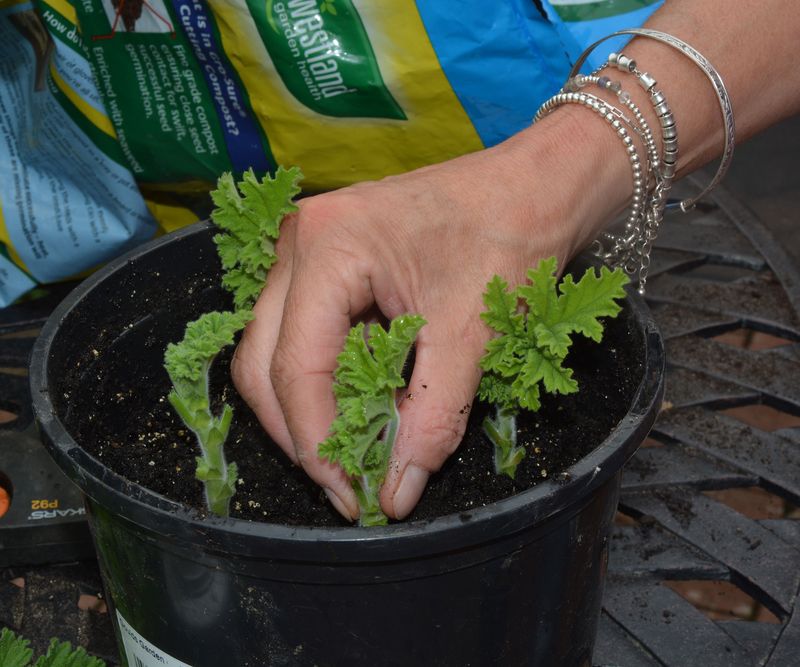
The rooting medium you choose will do more work than almost anything else in this process. Garden soil might seem like the obvious choice, but it is usually the wrong one for cuttings.
Heavy soil compacts easily, drains poorly, and often carries pathogens or weed seeds that can cause problems in a small propagation container. University of Missouri Extension’s home propagation guide recommends a sterile or otherwise clean, porous medium for cuttings – options like vermiculite, perlite, coarse sand, or a suitable soilless mix all work well because they hold some moisture while still letting air reach the stem tissue.
Use a clean container with drainage holes. Fill it with your chosen medium and moisten it evenly before inserting the cutting – you want it damp throughout, not dry in the middle and wet on top.
Make a small hole with a pencil or your finger so you are not scraping off any rooting hormone you plan to apply, then insert the lower inch of the stem so that at least one node sits below the surface. Firm the medium gently around the stem so it stands upright without wobbling.
Iowa State Extension describes this basic setup as the standard approach for Pelargonium cuttings at home.
Rooting hormone comes up in almost every propagation conversation, and it is worth clarifying what it actually does. Applying a powdered or liquid auxin-based hormone to the cut end before planting can speed root development or increase the number of roots produced.
However, University of Florida IFAS propagation resources on herbaceous cuttings note that herbaceous cuttings like Pelargonium often root readily without added auxin. Rooting hormone is a helpful option, not a required ingredient.
If you have it, use it. If you do not, the cutting can still root on its own.
Too much water can keep the cutting from rooting
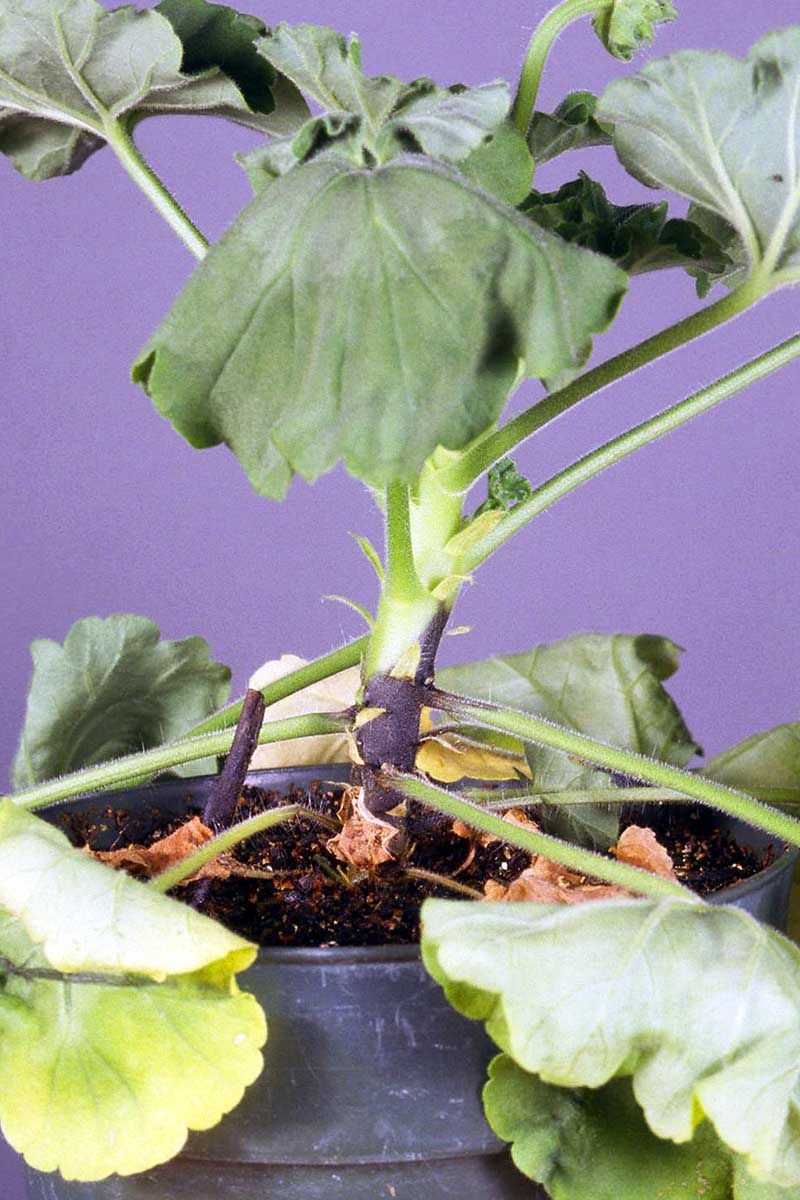
An unrooted cutting walks a narrow line between wilting and rotting, and most home gardeners who lose cuttings tip too far in the wet direction. The cutting has no roots yet, so it cannot absorb water from the medium the way an established plant can.
It still needs some moisture in the air around its leaves to keep from wilting, but the medium itself needs to stay airy and open, not soggy. When the medium stays saturated, oxygen cannot reach the stem tissue buried inside it, and that low-oxygen environment is exactly where rot pathogens thrive.
UMass Amherst’s documentation on Pelargonium blackleg caused by Pythium shows what happens when conditions stay too wet: the stem base darkens and collapses, a condition called blackleg, and the cutting is lost. This is not a rare or unlucky outcome – it is the predictable result of poor drainage and excess moisture.
The fix is straightforward: keep the medium lightly moist and let the surface dry slightly between waterings rather than keeping it constantly wet. When you water, water gently and thoroughly, then allow drainage.
Never let the pot sit in standing water.
Missouri Extension’s propagation guidance also addresses the humidity question. Covering the cutting loosely with a clear plastic bag or dome can help maintain humidity around the leaves and reduce wilting stress.
The trap to avoid is placing that covered container in direct sun. Plastic enclosures heat up very quickly in sunlight, and the temperature inside can climb high enough to cook the cutting before you notice.
Set the covered cutting in a spot with bright, indirect light instead. If you use a cover, lift it briefly each day to let fresh air in and prevent the kind of stagnant, overly humid environment that encourages bacterial and fungal problems documented by Penn State Extension.
Consistent airflow and restrained watering are a more reliable combination than constant moisture and a sealed enclosure.
Wait for roots, then transplant carefully
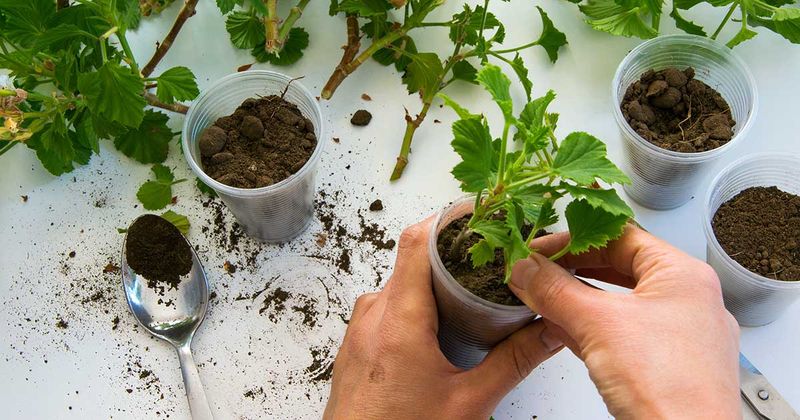
After all the preparation and careful moisture management, the hardest part is simply waiting. Pelargonium cuttings do not root on a fixed schedule.
Rooting time depends on the cultivar, the temperature, the light, and the specific conditions in your propagation setup. Extension estimates vary considerably: Iowa State University Extension puts the window at roughly 6 to 8 weeks, while University of Georgia Cooperative Extension suggests approximately 3 to 4 weeks under favorable conditions.
Expect somewhere in the range of 3 to 8 weeks and resist the urge to tug on the cutting to check for roots – that can damage fragile new root tissue before it has had a chance to anchor properly.
A better way to check is to watch for new leaf growth at the tip of the cutting. When you see the cutting pushing out a fresh leaf, that is a strong sign that roots have formed and the plant is supporting itself.
You can also give the stem a very gentle, firm tug: if it resists, roots are holding it in place. Once you are confident there is a clearly established root system, or roots have reached about 1 inch in length, it is time to move the cutting into its own pot with regular potting mix.
Some gardeners prefer to root Pelargonium cuttings in a glass of water rather than a solid medium. University of Vermont Extension describes water rooting as a workable option, but notes that roots formed in water are adapted to a water environment and may struggle when suddenly moved into potting soil.
If you go the water route, transition the rooted cutting gradually – mix a little potting medium into the water over several days, or pot it up and keep the soil especially moist for the first week. Missouri Extension recommends handling the new root system gently during any transplant to avoid snapping the delicate roots the cutting worked weeks to produce.
One healthy tip can preserve a favorite bloom
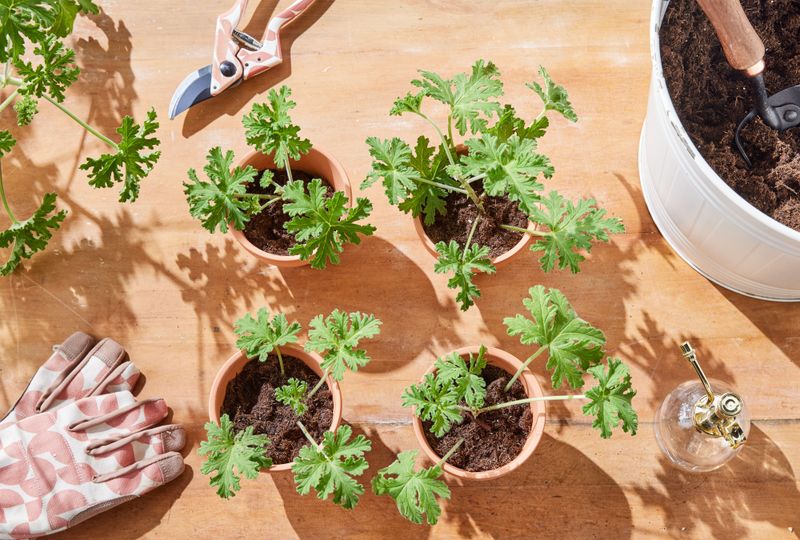
The whole process comes down to a short sequence of careful decisions. Pick a healthy, green stem tip from a vigorous parent plant.
Cut just below a node, remove the leaves that would be buried, and strip off any flowers or buds. Let the cut end dry briefly in a shaded spot, then set the lower inch into a clean, porous, lightly moist medium with at least one node below the surface.
Keep the medium damp but never waterlogged, give the cutting bright indirect light, and be patient.
Iowa State Extension and University of Georgia Cooperative Extension both confirm that Pelargonium cuttings are among the more approachable propagation projects for home gardeners, but neither source promises that every cutting will succeed. Some will fail because of disease, a stem that was not quite right, or conditions that stayed a little too wet – and that is a normal part of the process, not a sign that you did everything wrong.
What you are working toward is one new plant: a free, genetically identical copy of the geranium you already love, carrying the same flower color, leaf markings, and growth habit as its parent. Avoiding the soggy-medium mistake is the single biggest thing you can do to tip the odds in your favor.
Geraniums are forgiving plants – give a cutting the right conditions and it will usually find a way to grow.