
The Common Mistakes North Carolina Gardeners Make Curing Fall Sweet Potatoes That Ruin The Whole Harvest
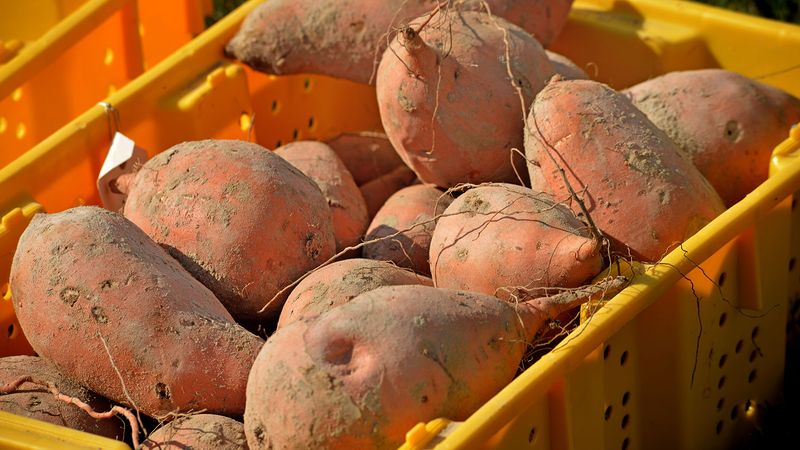
Sweet potatoes are one of the most rewarding crops a North Carolina gardener can grow, but the stretch between digging and storing is where a lot of the crop quietly gets lost. Rough handling, cold exposure, and skipped curing steps can cause real decay, shrinkage, and quality problems that shorten how long roots last.
Poor postharvest practices rarely destroy an entire harvest outright, but they can chip away at it root by root until the losses add up. Understanding what goes wrong at each step gives you a real shot at getting more of what you grew into your kitchen.
Postharvest mistakes can shorten storage life without ruining every harvest
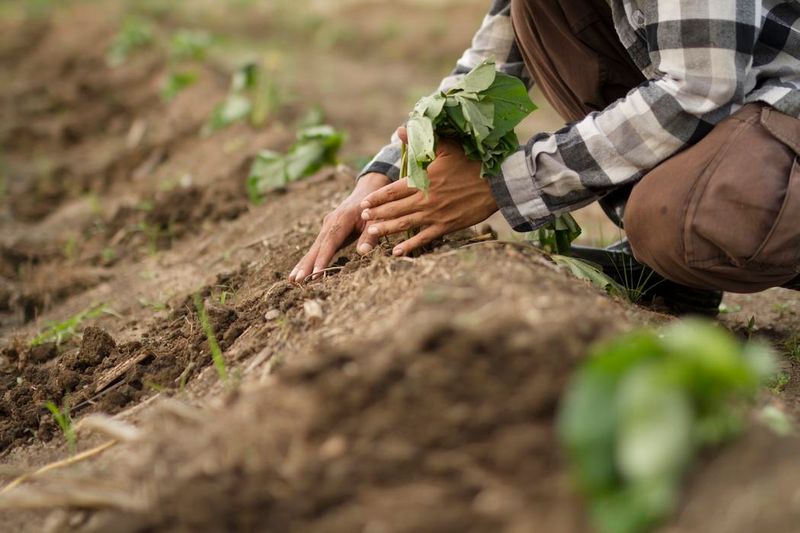
Sweet potatoes come out of the ground in a surprisingly vulnerable state. Their skins are thin, barely set, and easy to nick, scrape, or bruise during even routine digging and moving.
Those small injuries are not cosmetic problems – they are open doors for the decay organisms that shorten storage life and reduce quality.
According to NC State Extension’s postharvest handling guidance, rough harvest handling is a significant contributor to shrinkage, poor appearance, and disease entry in sweet potatoes. The roots can also be chilled, sun-scalded, or left exposed to conditions that set off slow deterioration before they ever reach a storage spot.
Each of those stressors works against you quietly, sometimes for weeks before the damage becomes visible.
That said, common postharvest mistakes do not automatically mean losing everything you grew. What the evidence shows is that poor handling is a major risk point – one where careful choices make a measurable difference in how many roots you actually get to eat.
The good news is that the protective steps are straightforward once you know the sequence.
The rest of this article walks through each stage: harvesting before cold exposure sets in, handling roots gently and keeping them shaded, brushing off soil without washing before curing, providing the right warm and humid curing conditions, moving healed roots to cool storage, and checking on them regularly. Getting those steps right will not guarantee a perfect outcome, but it substantially improves the odds that your harvest lasts through winter.
Start the harvest before cold exposure damages the roots
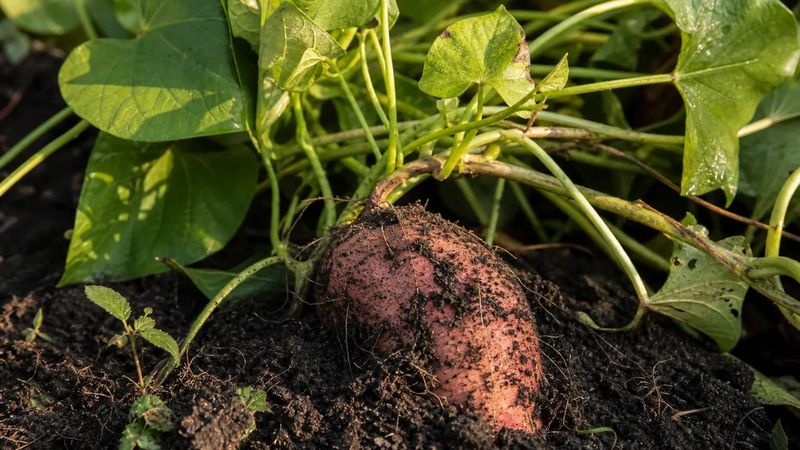
Harvest timing for sweet potatoes in North Carolina is not a single statewide date on the calendar. It depends on how large the roots have grown, what the local weather is doing, and how close frost is getting.
Gardeners in the Coastal Plain often have a longer window than those in the Piedmont or the Blue Ridge, where overnight temperatures drop faster and earlier in fall.
The clearest trigger is a vine-killing frost. Once the foliage dies back, NC State Extension recommends digging as soon as possible rather than leaving roots in the ground to wait.
Unharvested roots still in the soil have some protection from the surrounding earth, but that buffer is limited and temporary. Once roots are out of the ground, that protection is gone entirely, and they should not be left outdoors overnight as temperatures fall.
Sweet potatoes can freeze at around 30 degrees Fahrenheit, but injury can start well before that point. Temperatures below about 50 degrees Fahrenheit can cause chilling injury, and the damage accumulates with both how cold it gets and how long the roots stay at that temperature.
A single cool night might not wreck a root, but repeated exposure adds up.
Chilling injury is especially frustrating because it often stays hidden until much later. Roots that looked fine at harvest may develop pitting, internal breakdown, darkened flesh, hard centers after cooking, or a noticeable drop in flavor weeks or even months down the road.
Increased decay during storage is another common result. The clearest way to avoid all of it is to get roots out of the ground promptly after frost, move them quickly to a protected indoor space, and never leave harvested sweet potatoes sitting outside as fall nights cool down.
Protect fragile skins from bruises, cuts, and direct sun
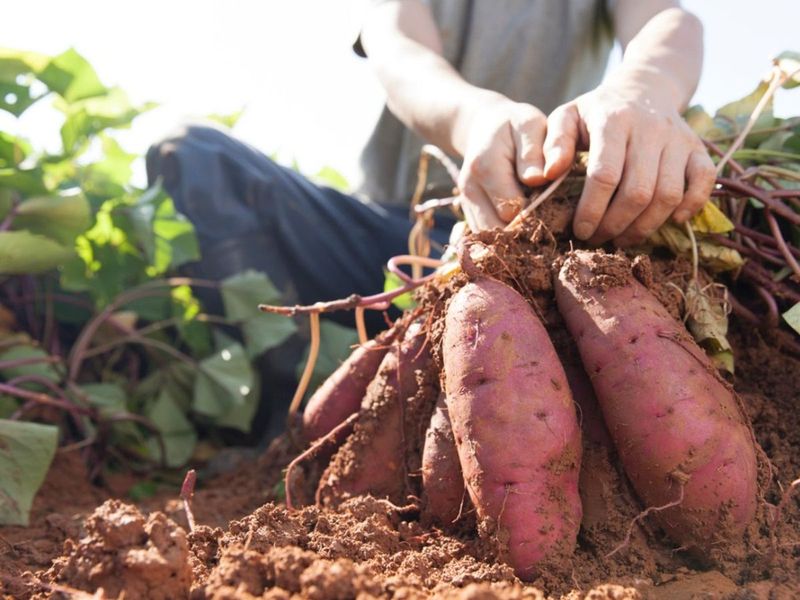
Freshly dug sweet potato skin is fragile in a way that surprises a lot of gardeners. A root that looks solid and healthy can suffer enough surface damage from rough handling to open entry points for decay organisms before it ever reaches a curing spot.
Cuts, abrasions, bruises, and crushed tissue all invite the kind of postharvest rot that spreads from a wound inward.
Pulling vines to yank roots out of the ground is one of the fastest ways to cause that damage. Using a digging fork or spade to loosen the soil around roots first, then lifting them carefully, keeps far more skin intact.
Penn State Extension’s sweet potato curing guidance recommends separating visibly damaged roots from sound ones at harvest, then using the damaged roots first rather than placing them into long-term storage where their wounds become a liability.
Dropping roots into a bucket, stacking them carelessly, or letting them knock together during transport compounds the problem. Each impact adds micro-injuries that the curing process will need to address – and severe damage cannot be fully repaired by curing alone.
Handle roots more like eggs than like vegetables you are in a hurry to move.
Sun exposure is another source of injury that catches gardeners off guard. Several hours of bright direct sun on freshly dug roots can cause sunscald, which lowers appearance and creates additional sites for postharvest decay.
The safest approach is to move roots promptly into shade after digging and keep them there until curing begins. A shaded porch, a garage, or a covered outdoor area all work better than leaving roots in the field while you finish other garden tasks.
Brush off soil instead of washing before curing
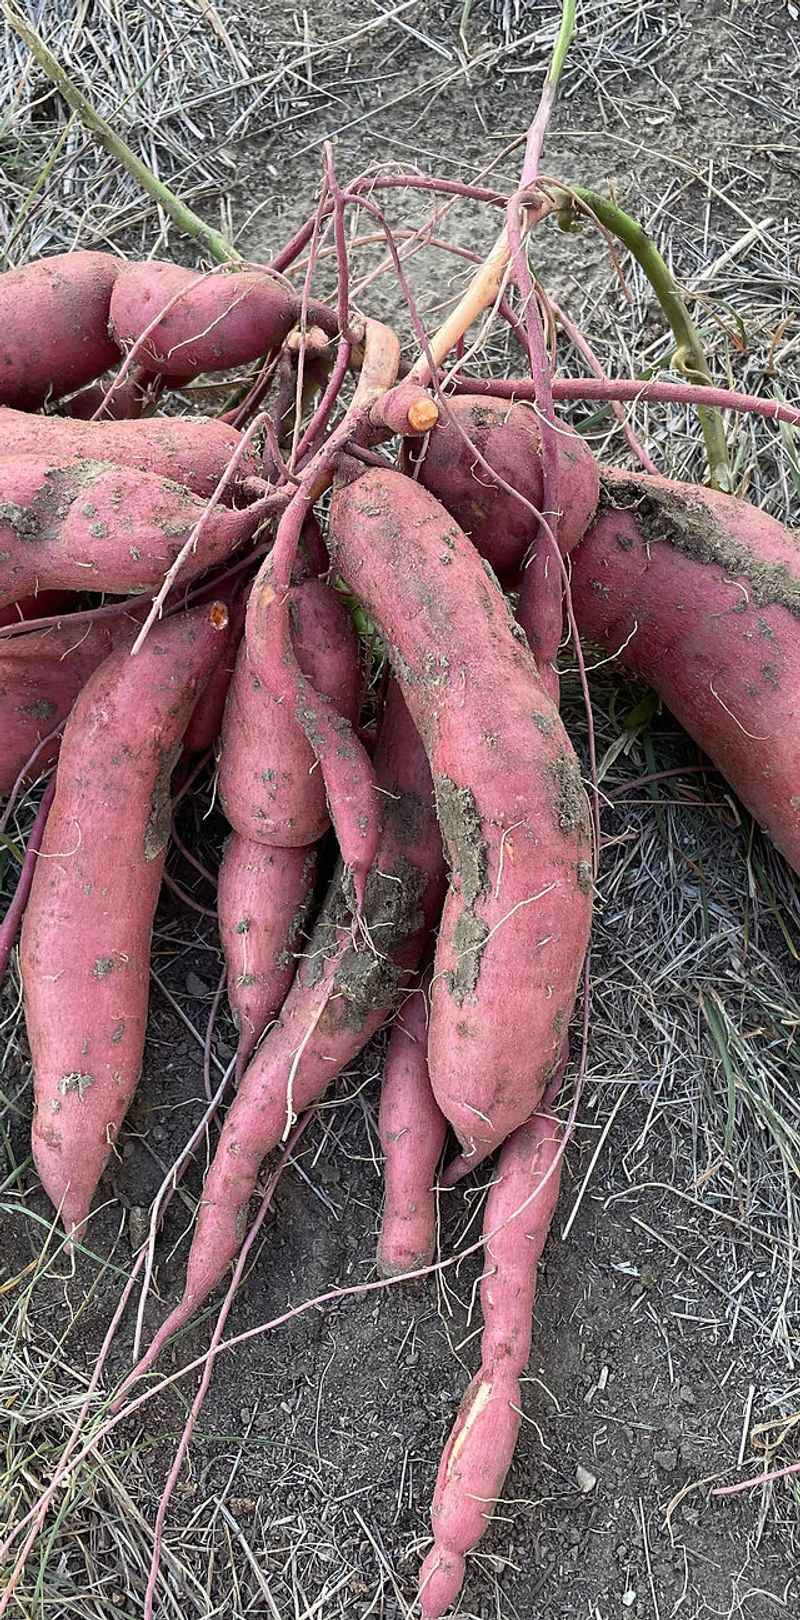
Washing freshly dug sweet potatoes feels like the obvious first step – they come out of the ground dirty, and clean produce seems safer and more ready to handle. The problem is that washing before curing works against the whole point of the curing process.
Fresh sweet potato skin is fragile, and water, scrubbing, and handling during washing all damage the surface before it has had any chance to heal.
University of Georgia Cooperative Extension guidance on sweet potato production consistently recommends brushing away loose soil and avoiding washing before curing. The goal at this stage is to protect the skin, not to make roots look clean.
A soft brush, a dry cloth, or simply a gentle hand is enough to remove loose dirt without adding moisture or friction that damages the surface.
Washing after curing is a different matter. Once wounds have healed and the skin has toughened, roots can be washed if needed, but they must be dried thoroughly before going into storage or packing.
Wet roots in storage invite mold and decay, so skipping the wash entirely until just before use is often the most practical approach for home gardeners.
The priority order here is straightforward: brush gently at harvest, cure with the skin intact, and leave any washing for later. Getting the sequence right means the skin arrives at the curing stage with the best chance of healing properly and holding up through months of storage.
Curing heals wounds instead of merely drying roots
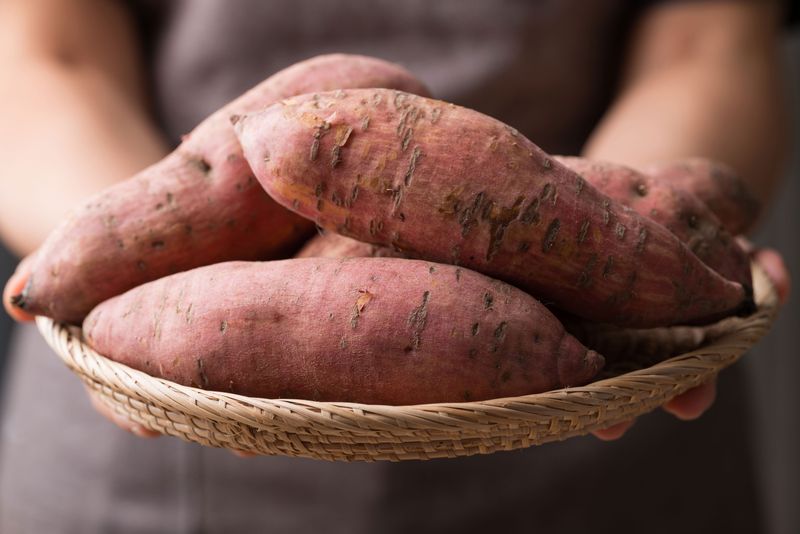
Curing is one of those gardening steps that sounds simple but is often misunderstood. Setting freshly dug sweet potatoes out on a counter for a few hours to dry is not curing.
Surface drying removes some moisture, but it does not trigger the biological process that actually protects the root.
What curing actually does is use sustained warmth and humidity to promote the formation of protective tissue over wounds, strengthen the outer skin, improve storage life, and support the conversion of starches into sugars that make sweet potatoes taste better after cooking. NC State Extension’s postharvest guidance identifies curing as the primary postharvest step that allows minor wounds to heal and reduces storage losses.
Without it, injured roots are more likely to decay, shrink, and lose quality well before you planned to use them.
The practical targets are around 80 to 85 degrees Fahrenheit, 85 to 90 percent relative humidity, gentle ventilation, and roughly three to seven days. NC State’s Plants for Human Health Institute school garden guidance uses a broader range of four to fourteen days at about 85 degrees and 80 to 90 percent humidity, reflecting the reality that home setups rarely match a commercial curing room’s precision.
Duration is not a fixed number to hit on a calendar. How long curing actually takes depends on root temperature, how much injury the skins sustained at harvest, and how well your setup holds target conditions.
A more useful endpoint than counting days is checking whether wounds have closed over and the skin feels firm. Penn State Extension’s sweet potato garden guide reinforces that brief surface drying is no substitute for sustained warm, humid conditions – the wound-healing response simply does not happen without both elements working together over time.
Build a home curing setup with humidity and airflow
Commercial curing rooms use calibrated equipment, managed airflow, and precise temperature and humidity controls. A backyard gardener in the NC Piedmont or Coastal Plain does not have access to that, and the honest reality is that a home setup will not perform identically.
What it can do is get close enough to make a meaningful difference, as long as you set it up carefully and check on it regularly.
The core requirements are warmth, humidity, and gentle airflow. NC State’s Plants for Human Health Institute specifically recommends perforated plastic bags as one home option, noting that holes are necessary to allow ventilation.
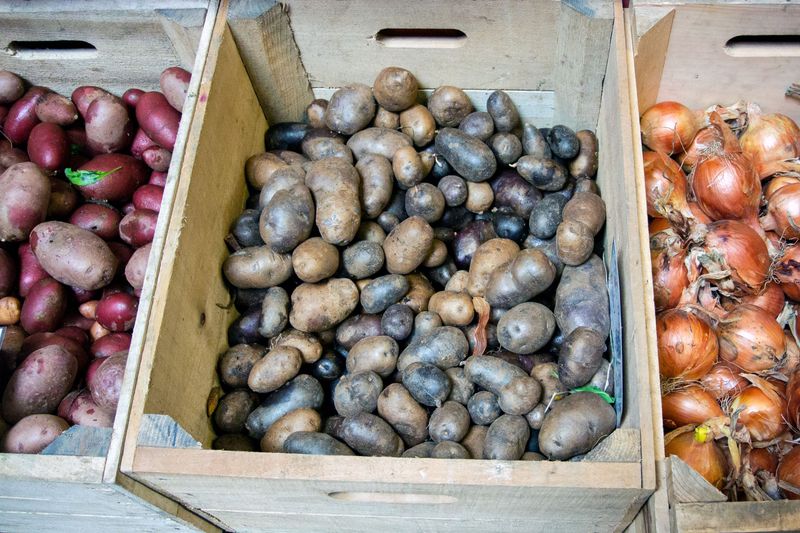
Burlap sacks, wooden crates, or cardboard boxes with gaps also work. Damp towels placed nearby or an insulated enclosure can help raise humidity around the roots without sealing them in.
What to avoid is equally important. Roots packed tightly together without airflow between them trap moisture and heat unevenly, which can promote mold rather than healing.
NC State Extension’s postharvest guidance emphasizes ventilation alongside warmth and humidity – all three work together. Airtight plastic bags or sealed containers without perforations create the wrong conditions regardless of how warm or humid they feel inside.
Check your setup every day or two for condensation on surfaces, soft spots on roots, off odors, or visible mold. If condensation is pooling, add more airflow.
If the space is cooling down too much at night, consider moving the setup to a warmer interior room. Penn State Extension cautions against relying on outdoor sun exposure for curing and advises against improvised oven methods.
Any setup using a space heater or humidifier should keep those appliances safely away from produce, cords, and flammable materials.
Move cured roots to cool, humid, dark storage
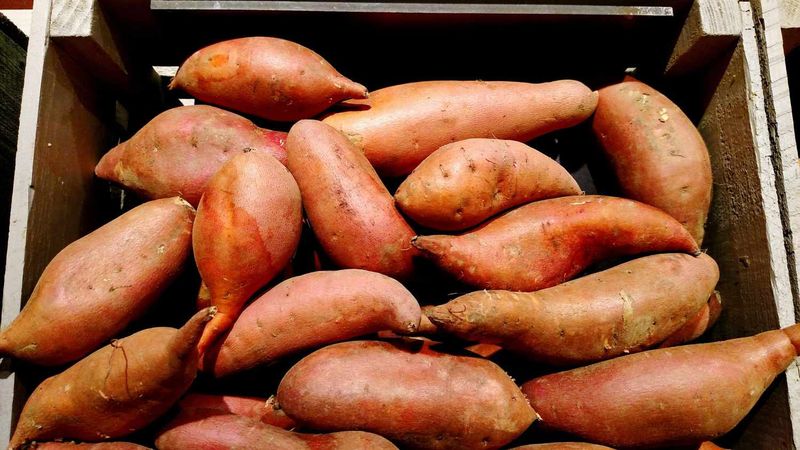
Once curing is complete and wounds have closed over, roots need a different environment than the warm, humid curing space. The transition to storage is a step that many gardeners handle incorrectly because the target temperature feels counterintuitive – cool, but nowhere near as cold as a refrigerator or a North Carolina garage on a frosty December night.
UC Davis Postharvest Technology Center recommendations for sweet potato storage put the target at approximately 55 to 60 degrees Fahrenheit, 80 to 90 percent relative humidity, with darkness and ventilation. That combination slows respiration and moisture loss without triggering the cold damage that wrecks texture and flavor.
Refrigerators run well below that range, typically in the high 30s to low 40s Fahrenheit, which puts sweet potatoes squarely in chilling injury territory. A garage in the NC mountains or Piedmont can drop just as low or lower during cold snaps, making it an unreliable storage spot without monitoring.
NC State Extension notes that chilling injury can be cumulative and may not show up for weeks, so a garage that feels fine in October can quietly damage roots by January.
Excessive warmth creates its own problems. Storage temperatures above the target range push roots to respire faster, lose moisture more quickly, and sprout sooner.
NC State also identifies inadequate temperature or humidity control as a contributor to pithiness – a condition where the flesh becomes white, spongy, or develops internal cavities. An interior closet, a basement that holds steady around 55 to 60 degrees, or a climate-controlled room are better options than any space that swings with outdoor temperatures.
Inspect regularly and isolate failing roots
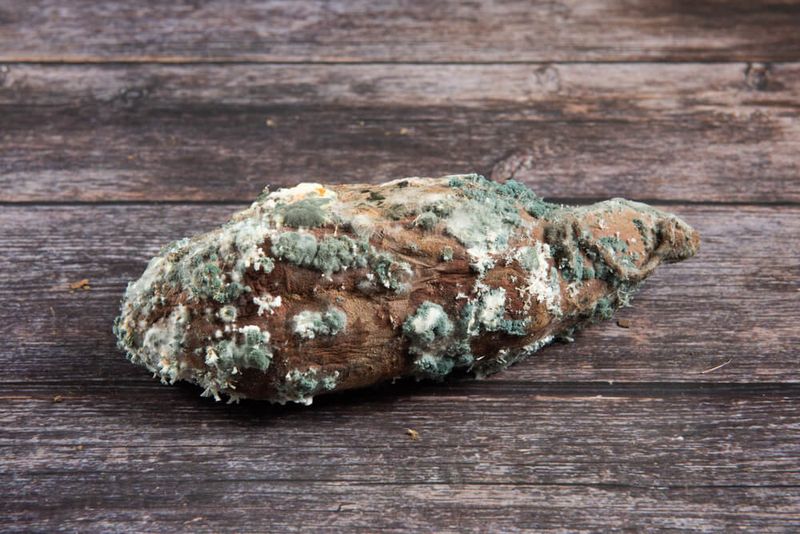
Storage is not a set-it-and-forget-it situation. Roots that looked perfect going in can develop problems over weeks, and catching those problems early is what prevents a single failing root from affecting the roots around it.
A quick check every week or two takes only a few minutes and gives you a clear picture of how the stored group is holding up.
Look for soft spots, active mold growth, off odors, weeping or wet areas, and any roots with wounds that never fully healed during curing. Penn State Extension’s curing and storage guidance recommends removing roots with soft rot, severe mold, or unhealed major wounds from the sound group rather than leaving them in place.
Pulling a failing root out promptly reduces the risk of decay spreading through contact or creating conditions that stress neighboring roots.
Not every dark mark or skin blemish signals active rot. NC State Extension distinguishes between active soft rot and other conditions like scurf, sunscald, chilling injury, and growth cracks.
Scurf, for example, is a skin disease that Penn State Extension’s scurf guidance notes does not spread from root to root during storage, though heavily affected roots may shrink faster. A dark patch from sunscald or a surface blemish from chilling injury looks alarming but does not automatically mean the root is unsafe or that it will contaminate its neighbors.
When a root does show soft, wet, heavily moldy, or rotten areas, discard it. USDA Food Safety and Inspection Service guidance on molds in food permits limited trimming of small surface mold spots on some firm, low-moisture produce, but soft, wet, or heavily moldy roots should go out entirely rather than into storage or the pot.
Regular inspection is simply the habit that keeps your stored group in the best shape possible through winter.
Follow the sequence to keep more of the harvest
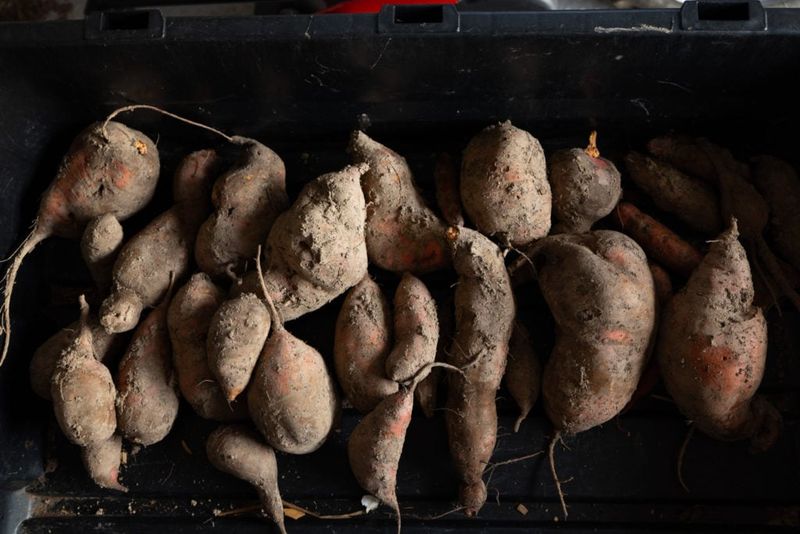
Every step in the postharvest sequence builds on the one before it. Harvest promptly after frost kills the vines, and get roots out of the field before overnight temperatures drop.
Handle them gently with a digging fork, keep them shaded right away, and separate any roots with obvious cuts or bruises to use first.
Brush loose soil off carefully before curing begins and resist the urge to wash. Set up a warm, humid, ventilated curing space targeting around 80 to 85 degrees Fahrenheit and 85 to 90 percent relative humidity, and let roots cure until wounds have closed and skin feels firm – which may take anywhere from a few days to two weeks depending on your setup and conditions.
NC State Extension’s postharvest guidance and NC State’s Plants for Human Health Institute curing resource both emphasize that healed wounds and firm skin matter more than hitting an exact number of days.
After curing, move roots to a consistently cool space around 55 to 60 degrees Fahrenheit with good humidity and airflow, kept dark. Check on them periodically and pull out any that are softening, molding, or showing signs of active decay.
Following this sequence improves the odds of a longer-lasting, better-eating harvest, but no amount of careful handling can reverse severe damage or guarantee that every root will keep through spring. What it can do is make the most of what came out of your garden.