
How to Pinch Tradescantia zebrina to Encourage Fuller Growth and Where to Cut
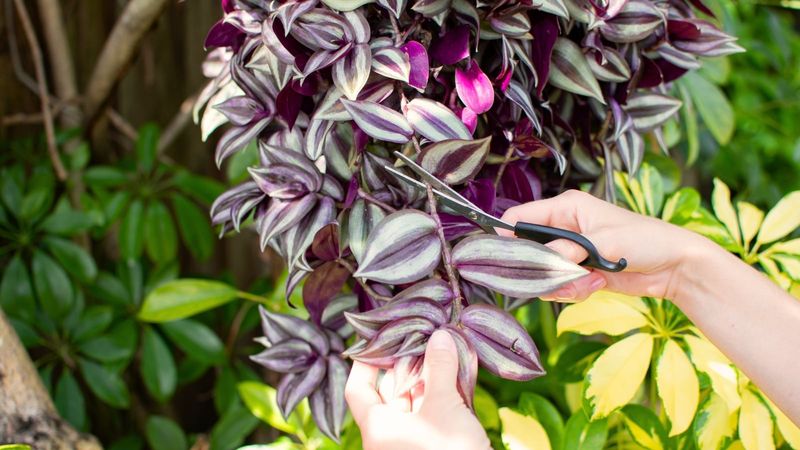
Is your inch plant sending out long, bare stems with leaves only at the very ends? You are not alone, and you have not ruined it.
A small pinch at the right spot can encourage the plant to branch and look fuller. Here is where to cut, what to expect, and what else your plant needs.
A pinch can encourage fuller growth
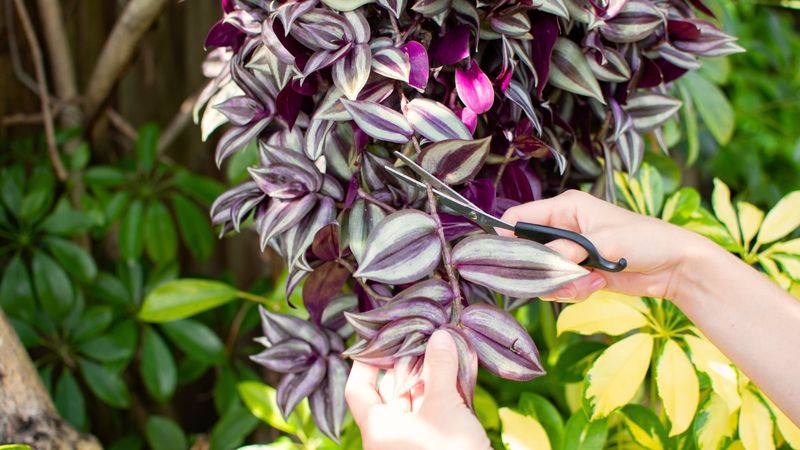
The plant in focus here is Tradescantia zebrina, often called inch plant. It has silver-striped leaves with purple undersides, and it is a favorite on shelves and in hanging baskets.
Other plants share similar common names, so it helps to know which one you own before following any care advice. Wisconsin Extension separates T. zebrina from relatives such as T. fluminensis and T. pallida, and this article applies only to the striped one.
Many people also use the scientific name or inch plant because the older nickname causes confusion and has antisemitic folklore roots, as Michigan State University Extension explains. That is why you will see the scientific name here.
If your plant has long stems and few leaves, pinching is a sound first step. The same Wisconsin source says the plant tolerates heavy pruning and that pinching promotes denser foliage.
In other words, taking off a soft growing tip gives the plant a reason to fill in along the stem.
A trim alone will not fix every case, though. Low light can also lead to straggly stems and the loss of lower leaves.
If your plant sits in a dim corner, pinching can improve its shape, but the plant may keep stretching until it gets better light. Think of pinching as one helpful tool, not a cure-all.
The good news is that this job is small, cheap, and forgiving. You need clean fingers or a pair of snips, and a few quiet minutes with your plant.
What may happen after you remove a growing tip
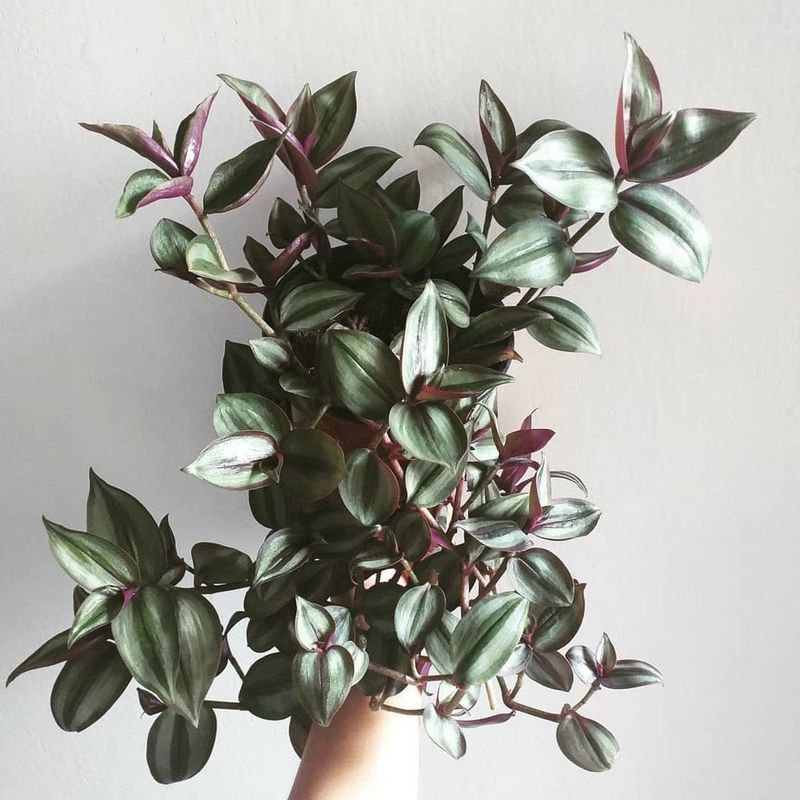
You may have heard that a leggy vine has buds waiting along its stems. That is a handy way to picture it, but it is a shorthand, not a promise.
Buds sit at nodes, the spots where leaves attach to a stem. Whether a bud grows depends on the plant and its conditions.
Gardeners often explain the effect with apical dominance. In general, the tip of a shoot can hold back the buds below it, and removing that tip may allow side buds to grow, as the UC Master Gardener Program of Alameda County describes in its pruning guidance.
This idea explains part of what happens after a pinch. It does not explain every case of legginess.
On T. zebrina, leaves grow in opposite pairs along the stem, according to Singapore National Parks Board. That means a node can have two leaf attachment points, and so two places where a side shoot could form.
Still, a pinch does not guarantee two shoots, or even one.
Some stems respond quickly, others take their time, and a few seem to ignore you. Weak light, a tired plant, or a cold room can all slow things down.
Wisconsin Extension notes that pinching promotes denser growth, so the overall direction is good, even when each stem behaves differently.
Plan on watching your plant for a few weeks and judging the shape over time rather than expecting a quick change.
Where to make the pinch
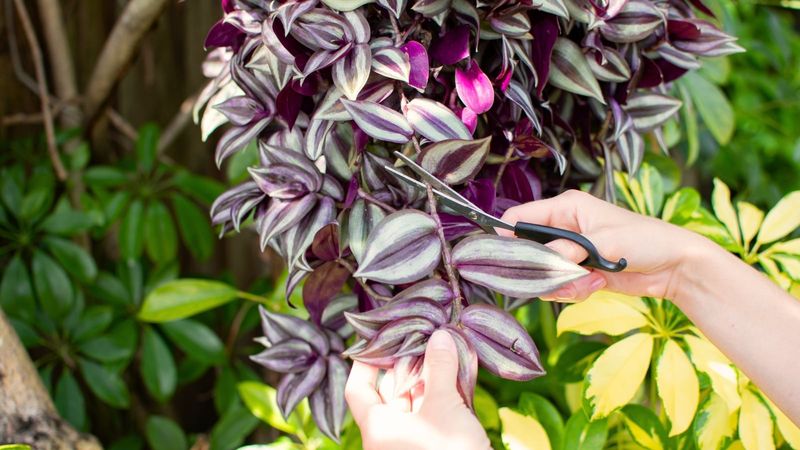
Start by choosing a stem with a healthy, soft growing tip. Soft new growth is easy to pinch, and it keeps the job small.
Look for the newest leaves at the very end of the vine.
Next, find a node. It is the point where a leaf joins the stem, often a slightly thickened spot.
Count back from the tip until you find a spot that leaves about an inch or less of soft growth beyond it.
Now cut just above that node. General indoor plant advice from University of Maryland Extension suggests removing an inch or less of new growth this way.
Use your fingernails or clean snips. Leaving the node and its leaves on the plant keeps the spot where new shoots may form.
If your plant is very long, you can repeat the pinch on several stems, but try a few first and see how they respond. Wisconsin Extension says the plant tolerates heavy pruning, so a small mistake will not hurt it.
One detail trips people up. If you plan to root the piece you remove, the cut on the piece is made just below a node, as shown in UConn Extension guidance.
Pinching the plant means cutting above a node. Preparing a cutting means cutting below one.
Pair pruning with suitable light
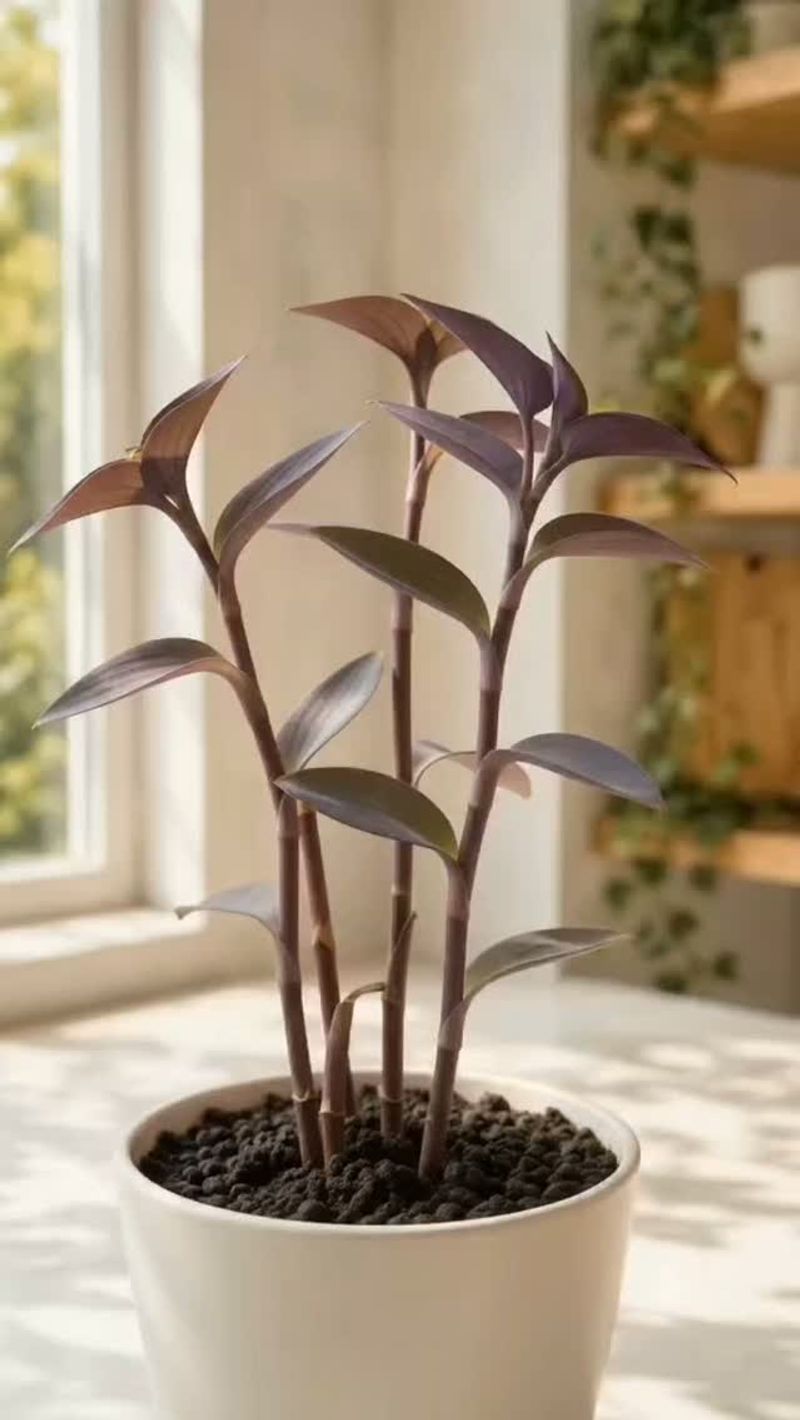
Sparse stems are often a light problem in disguise. According to Wisconsin Extension, low light can contribute to straggly growth and the loss of lower leaves.
If your plant sits far from a window, a trim may give it a fresher look, but the stretching can return.
Try moving it to a brighter spot at the same time you pinch. A place near a window where it gets plenty of light is a good starting point.
Watch the leaves over the next few weeks. Stronger color and shorter spaces between leaves are good signs.
There is no magic number of hours, so go by what the plant shows you. If the stripes fade and the stems keep stretching, it probably wants more light.
If leaves look bleached or scorched, it is getting too much.
Some owners set their plant outside for the warm months. If you do, raise the light level gradually, since a sudden move into bright sun can cause sunburn on the leaves.
A shaded spot first, then a little more sun over time, is a gentle approach.
Keep expectations realistic. Better light and a pinch work together, but neither guarantees a particular branching pattern.
Your plant will fill in at its own pace.
Use the removed stem as a cutting
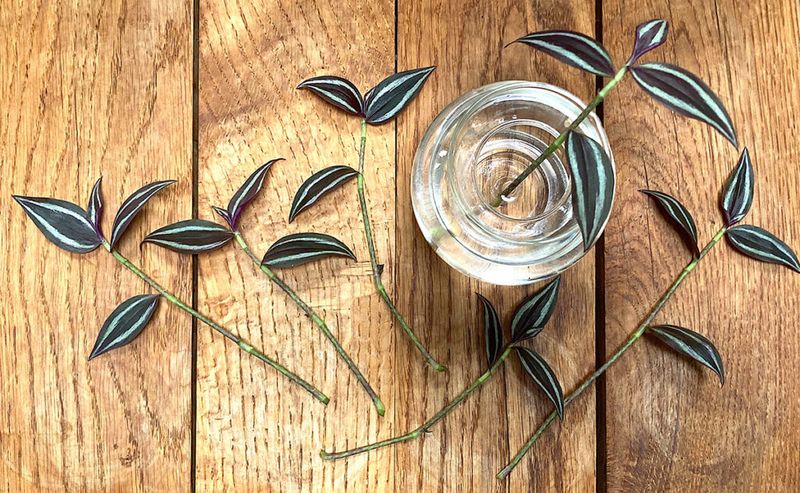
Once you pinch, you will hold a small piece of vine. You can toss it, but it can also become a new plant.
Rooting it is optional, so skip this step if you have plenty of inch plants already.
To prepare the piece, make a fresh cut just below a node. That is different from the pinch on the parent plant, which is made just above one.
Remove the leaves from the lowest node so it can sit in water or soil without rotting leaves.
Wisconsin Extension says Tradescantia cuttings root readily in water or moist potting soil. UConn Extension also describes node-based cutting and rooting steps.
Either method is fine, so use whichever you prefer.
A quick safety note: the sap of T. zebrina may irritate susceptible skin. Wash your hands after handling the stems, and wear gloves if your skin is sensitive.
Roots take as long as they take, so check the cutting now and then rather than watching the clock. Planting several cuttings back into the same pot is a popular way to make a plant look fuller.
Start with one careful trim
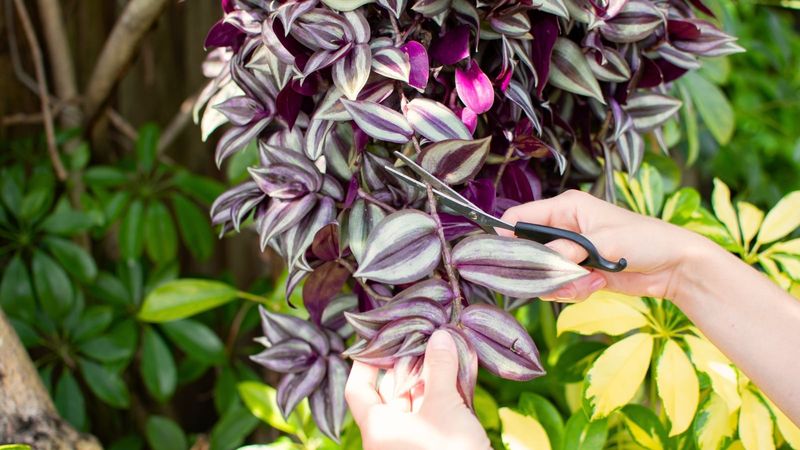
Pick one healthy stem, find the soft tip, and pinch just above a node. Then look at where your plant lives.
If it stays sparse, more light is the next fix, as Wisconsin Extension points out.
The goal is denser growth over time, not a guaranteed pair of shoots or an overnight change. A single snip is a small step, and it is a kind one for your plant.