
The Common Mistakes North Carolina Gardeners Make Storing Winter Squash That Rot It Before Thanksgiving
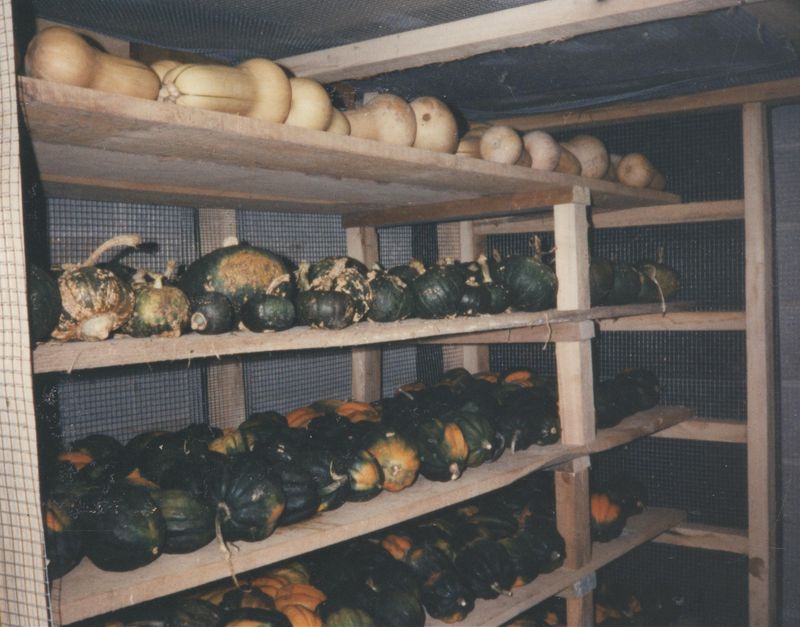
You grew a beautiful pile of butternut and acorn squash, and now one has a soft, moldy spot. That sinking feeling hits a lot of North Carolina gardeners every fall.
Our warm, sticky autumns make squash rot faster than in cooler states, so small storage slips cost more here. The good news is that most of these mistakes are easy to fix once you know what to watch for.
1. Harvesting Squash Before It Is Truly Mature
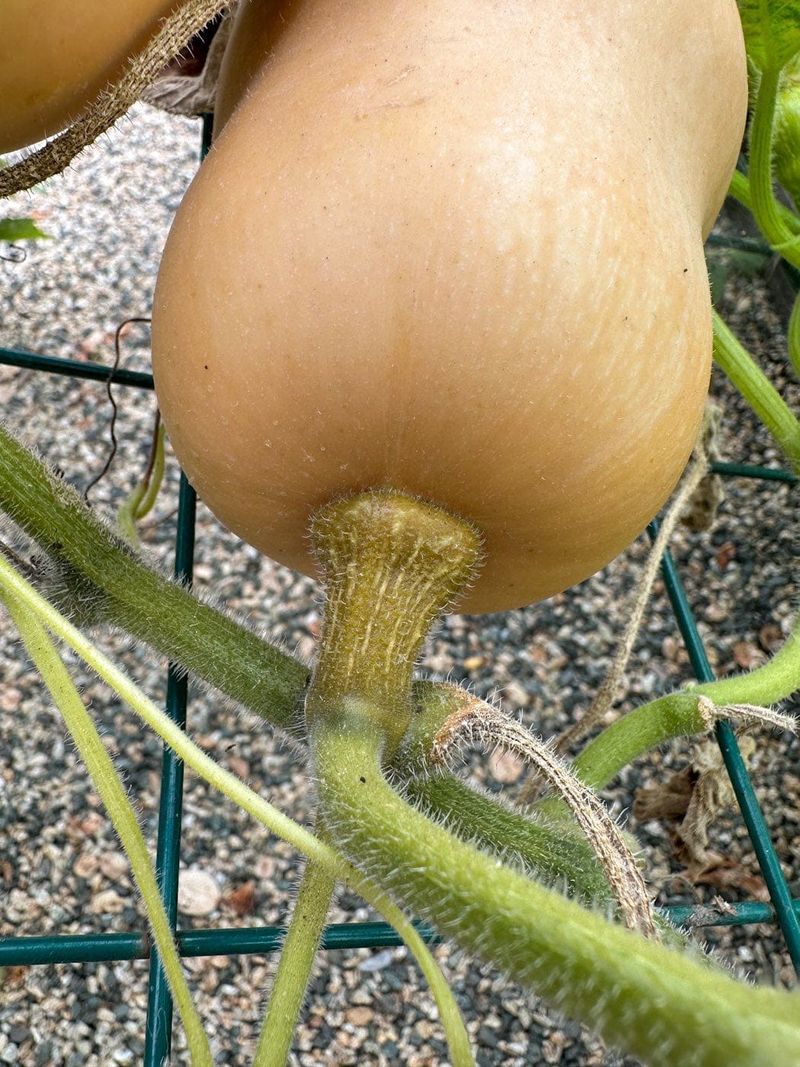
Picture a butternut that looks perfect in late August, golden and plump. You pick it, feel proud, and two weeks later it is mush.
Immature squash simply cannot hold up in storage, no matter how carefully you treat it afterward.
A ripe winter squash has a rind so tough your fingernail will not dent it. The color should be deep and even, and the spot where it rested on the ground often turns cream or orange.
The vine near the stem usually starts drying and turning brown too.
In the Piedmont and Coastal Plain, many varieties finish between September and early October. Mountain gardeners may need to watch the frost forecast closely, since a hard freeze damages fruit left out.
Wait for those ripeness signs, and your squash gets a real shot at the holiday table.
2. Snapping Off or Grabbing the Stem
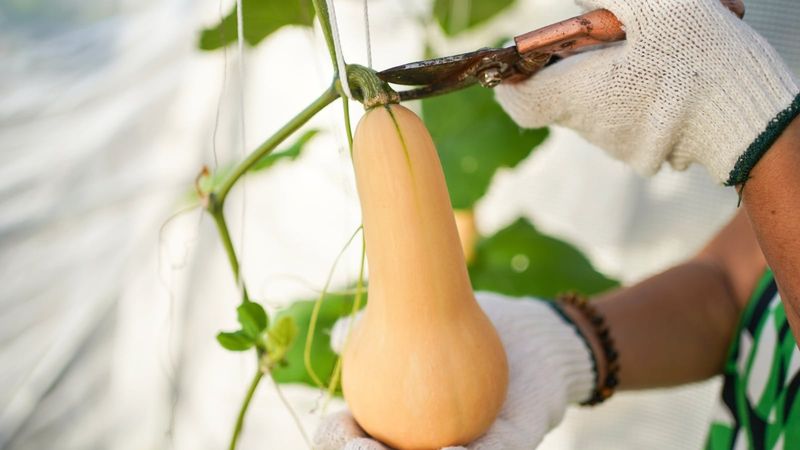
Here is a habit almost everyone has: lifting a squash by its handy little stem. It feels natural, but that stem can pop right off and leave an open wound.
Fungi and bacteria treat that hole like an open front door.
Use sharp pruners or a knife to cut the squash free, leaving about 2 to 4 inches of stem attached. Then carry the fruit from underneath with both hands, the way you would hold a sleeping cat.
Any squash that loses its stem should go straight to the kitchen instead of the storage shelf.
Bruises count as damage too. Dropping squash into a wheelbarrow or rolling them across the patio creates soft spots you might not see for weeks.
Handle them gently, and they will repay you with months of good eating.
3. Skipping the Curing Step
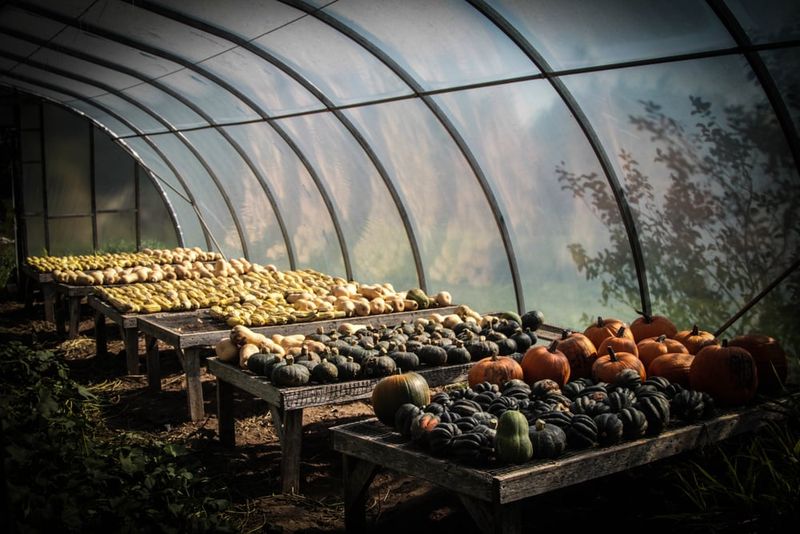
Curing sounds fancy, but it is really just giving squash a warm spa week. During 10 to 14 days at roughly 75 to 85 degrees, the skin hardens and small nicks heal over.
Skip it, and the rind stays softer and easier for rot to break through.
Many NC gardeners have an advantage here, because early fall afternoons stay warm. A screened porch, a sunny garage corner, or a dry spot in the house works well.
Spread the squash out so air moves around each one.
One exception matters: acorn squash does not like curing. Warm curing can actually shorten its life and make the flesh stringy.
Cure butternut, Hubbard, and pumpkins, but bring acorns right into cool storage.
4. Curing in Damp, Muggy Conditions
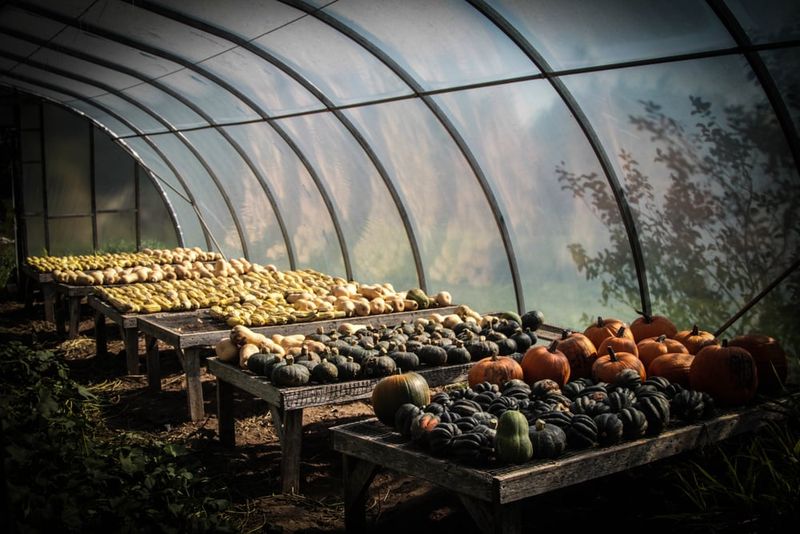
Coastal Plain gardeners know the feeling of stepping outside in October and walking into a warm, wet towel of air. That humidity is great for ferns but rough on curing squash.
Warm plus wet is exactly what mold loves most.
Leaving squash outside on the ground to cure invites dew, rain, and soil fungi to settle in. A shady, damp shed corner is not much better.
The goal is warm and dry together, not just warm.
If the weather turns rainy, move squash indoors and set a small fan nearby to keep air moving. Raised wire racks or old window screens help air reach the bottoms.
Bonus: keeping fruit off the ground also keeps slugs and curious critters from nibbling.
5. Storing Squash Somewhere Too Cold
“I put them in the root cellar with the potatoes, and they still rotted.” That line shows up in garden club chats every fall. Potatoes like it cold, but squash really does not.
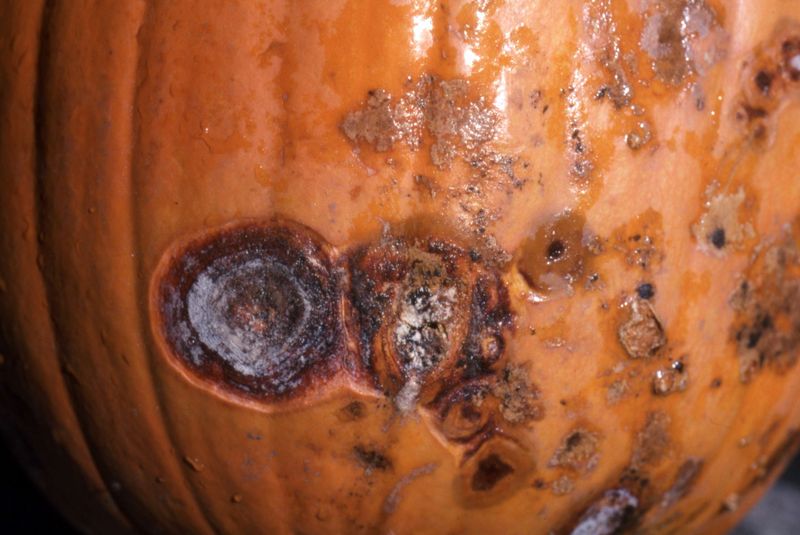
Below about 50 degrees, winter squash suffers chilling injury. You may notice small sunken pits on the skin, and decay often follows soon after.
Unheated mountain basements, cold garages, and the fridge are common culprits.
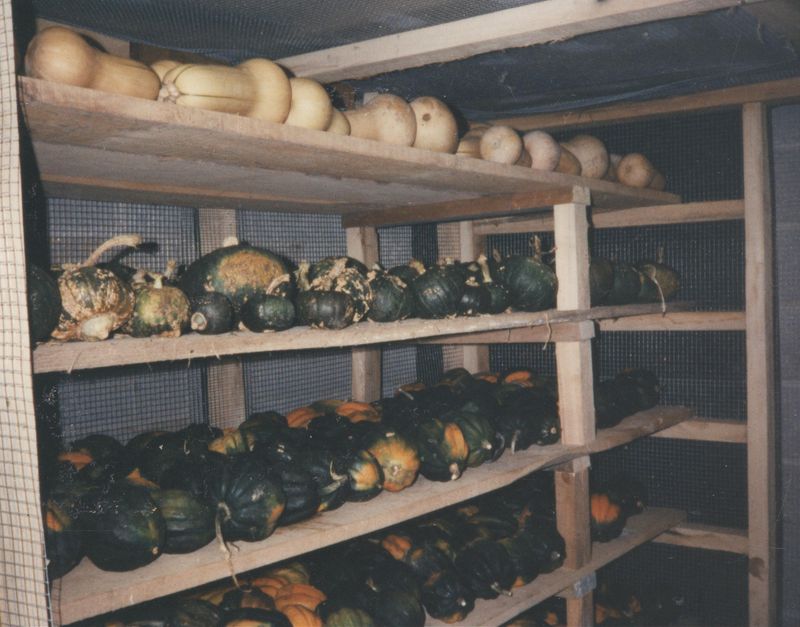
Aim for 50 to 55 degrees with moderate humidity, around 50 to 70 percent. A cool closet, a spare bedroom, or the floor under a bed often lands in that sweet spot.
Grab an inexpensive thermometer and test a few spots before you commit.
6. Piling Squash in a Heap With No Airflow
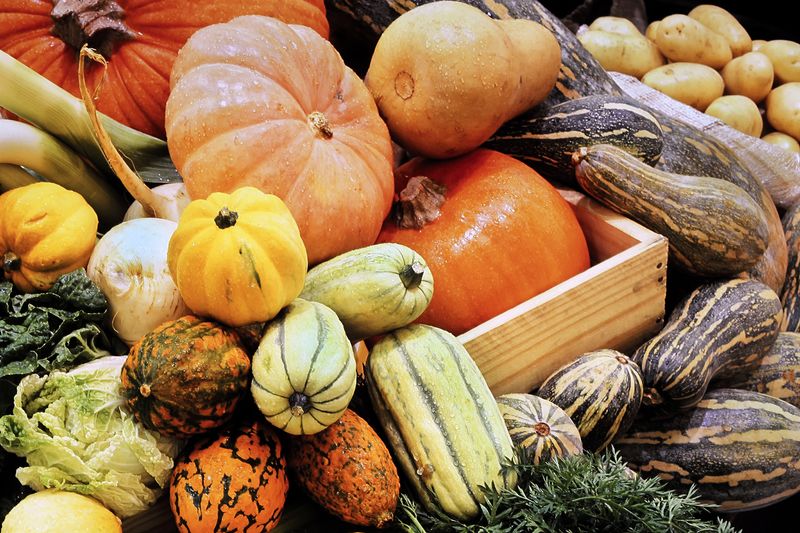
A big mound of squash in a basket looks wonderful on Instagram. In real life, it is a moisture trap.
Fruits touching each other hold dampness, and the bottom ones carry all the weight.
Spread squash in a single layer on shelves, racks, or even cardboard flats. Leave a little gap so they are not rubbing shoulders.
Wire shelving is great because air flows underneath as well.
Good spacing also makes trouble easier to spot. When one squash starts to fail, it will not quietly spread rot to five neighbors before you notice.
Think of it as social distancing for your harvest.
7. Washing Squash Before Putting It Away
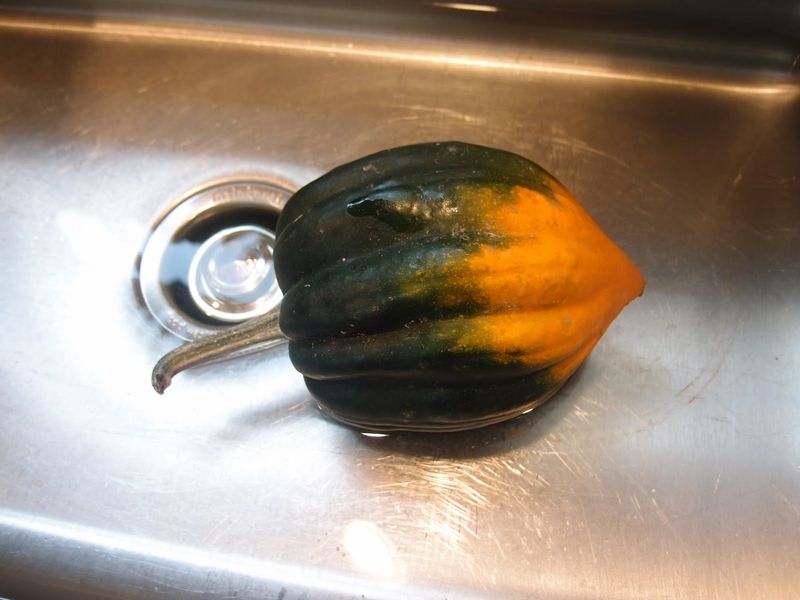
Clean feels safe, right? With squash, a good scrub under the faucet can backfire.
Water sitting on the rind and tucked around the stem gives fungi the moisture they crave.
Instead, brush off dry dirt with a soft cloth or glove. Leave any stubborn soil until you are ready to cook.
Your squash will be fine with a little Carolina clay on it for now.
If you truly need to wash, some extension guides suggest a mild diluted bleach solution, then drying the fruit completely. That is extra work most backyard growers can skip.
When in doubt, keep them dry.
8. Storing Bruised or Blemished Squash With Healthy Ones
Every harvest has a few odd ducks: a squash with a nibble mark, a soft patch, or a scraped side. It is tempting to tuck them in with the rest and hope.
Sadly, hope does not stop mold.
Damaged squash rot first, and rot can spread to touching fruit. Set the imperfect ones aside and cook them this week.
Roasted squash soup freezes beautifully, so nothing goes to waste.
Anything truly spoiled can go in the compost pile, where it feeds your soil and the worms and beetles that keep your yard healthy. Just bury it well so it does not draw rodents.
That keeps your storage shelf full of only the strongest keepers.
9. Keeping Squash Near Apples or in Sunny Windows
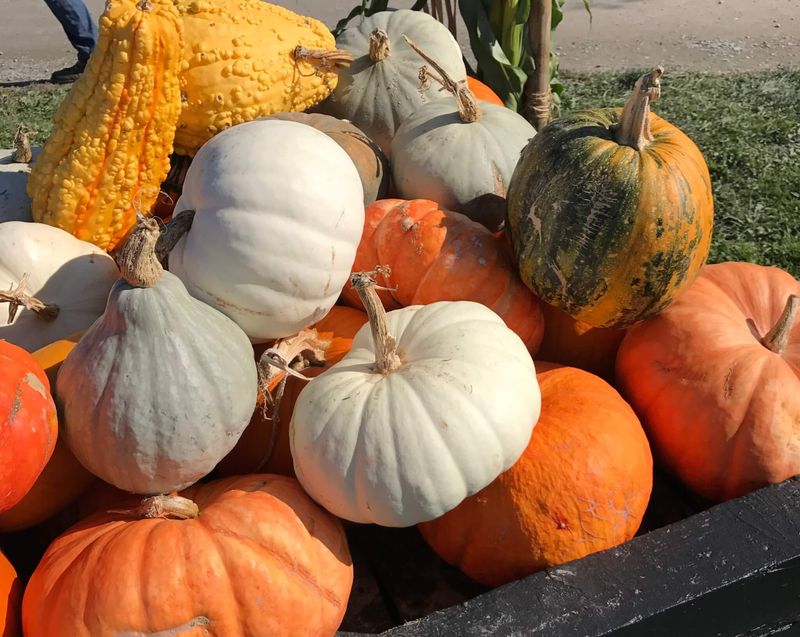
Fun fact: apples, pears, and tomatoes give off ethylene, a natural gas that speeds up ripening. Great for softening a hard avocado, not so great for squash you want to last until November.
Storing them side by side quietly shortens their life.
Sunny windows cause a different problem. Direct sun warms the rind and dries out stems unevenly.
A squash display in the kitchen window may look festive, but it is aging faster than the ones in a dark closet.
Pick a shady, cool spot away from the fruit bowl. Save the decorative squash moment for a few days before Thanksgiving.
10. Expecting Every Variety to Last Months
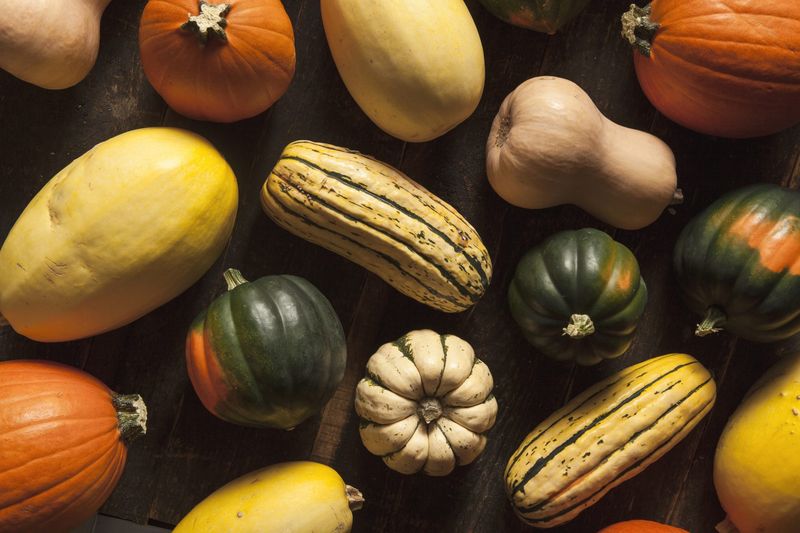
Not all squash are built for the long haul. Acorn and spaghetti squash usually keep a few weeks to two or three months at best.
Butternut, buttercup, and Hubbard can stretch for many months when stored well.
So eat the short keepers first. Use acorns in October dinners and save butternuts for Thanksgiving pie and beyond.
And check your stash every week or so. Gently press each one, look for dark spots, and sniff for sourness.
A quick weekly walk-through is the simplest habit that keeps one bad squash from ruining the whole bunch.