
Your Daylilies Look Finished For The Year – 8 Easy Fall Jobs That Bring Back More Blooms Next Summer
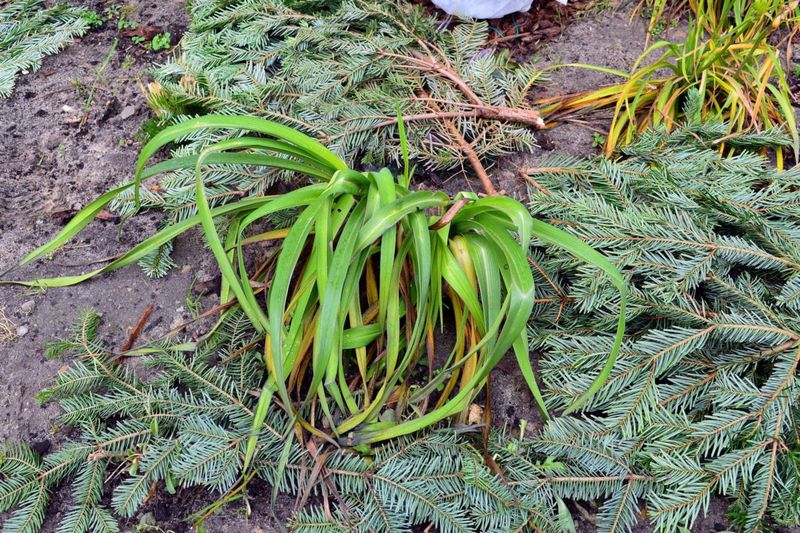
Those floppy, yellowing daylily leaves in your yard right now can make it look like the show is over for good. The truth is that fall is when your daylilies quietly get ready for next summer, and a few small chores now can mean more flowers later.
You do not need fancy tools or special products to help them. Here are eight simple jobs you can finish on a cool weekend afternoon.
1. Cut Back Spent Foliage
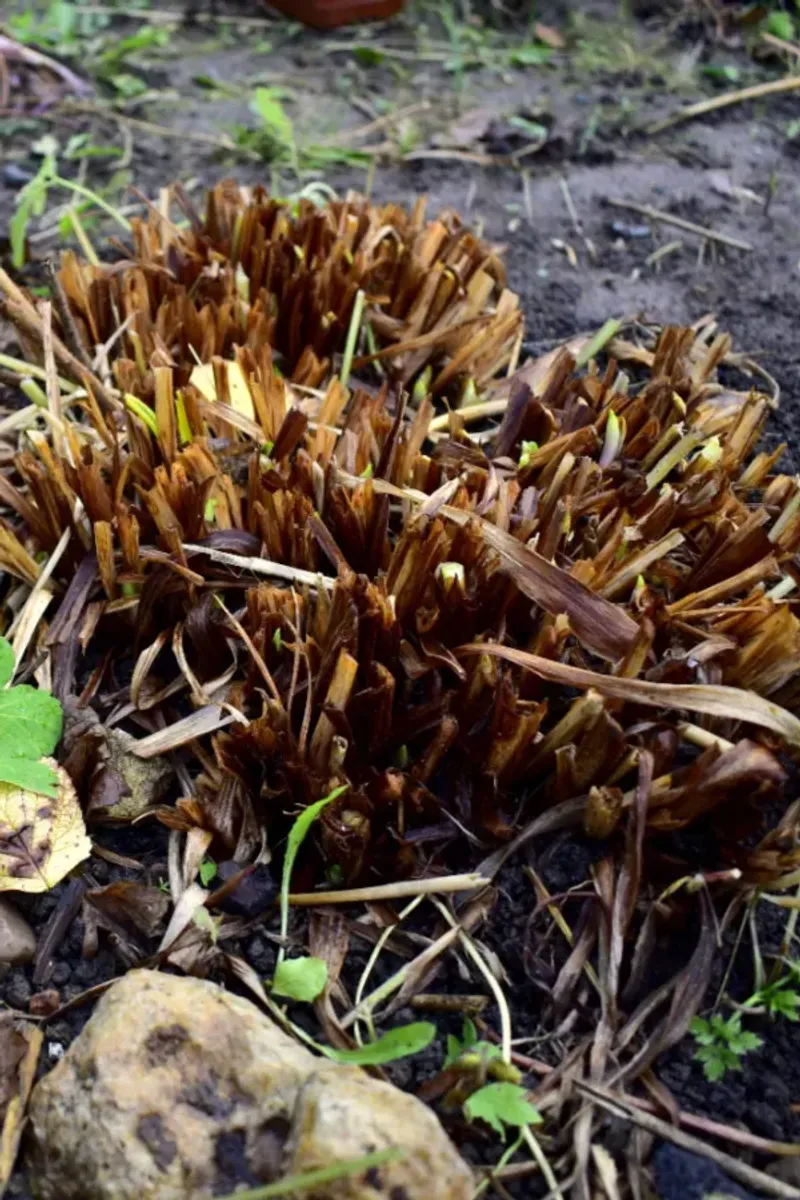
Picture a daylily bed in late October, all limp brown leaves flopped over like wet noodles. That mess is not just ugly.
It is a cozy winter hotel for slugs, insect eggs, and fungus spores.
Wait until the foliage turns mostly yellow or brown, usually around your first hard frost. Then cut the leaves back to about 2 to 4 inches above the ground.
Hand shears work fine for a few clumps, and sharp hedge trimmers make fast work of a big bed.
If you spotted leaf streak earlier in the year, those yellow stripes with brown centers, cut those plants right down to the soil. Bag up the trimmings instead of composting them so the fungus has fewer chances to come back next spring.
2. Remove Old Flower Scapes and Seed Pods
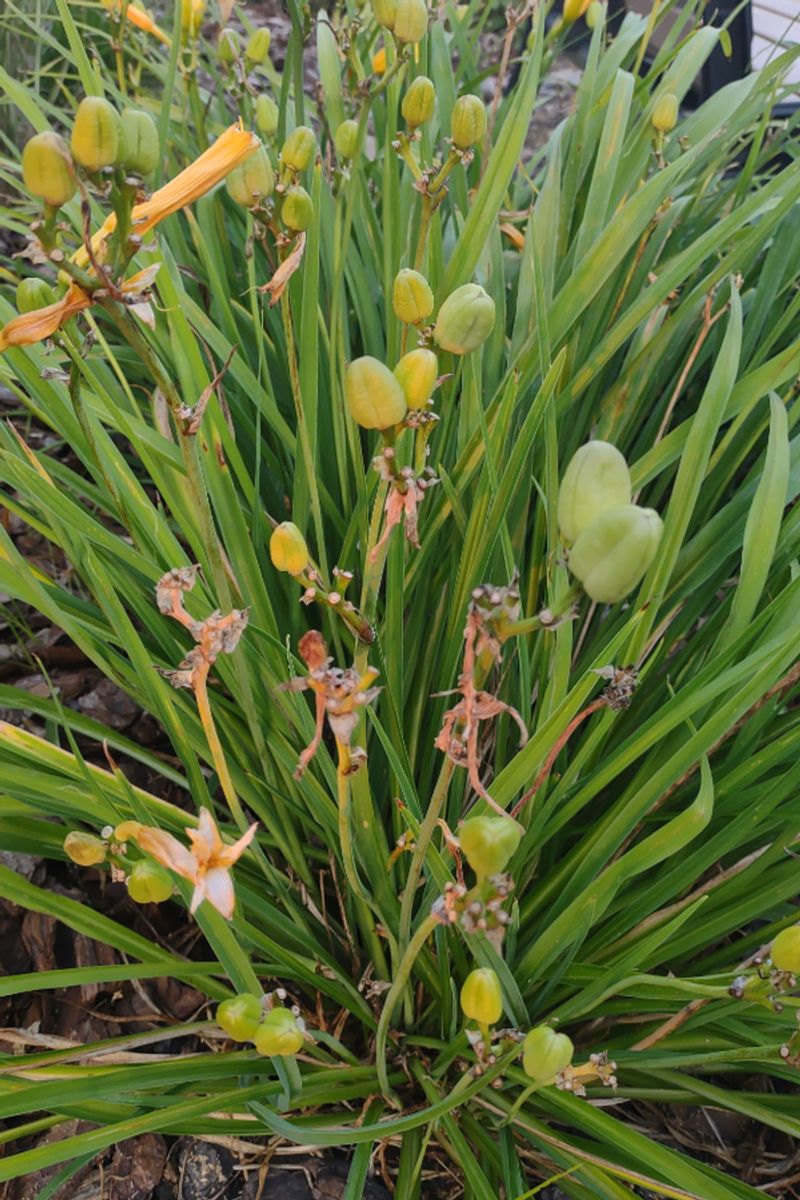
Ever notice those tall, bare sticks poking up after the last flower fades? Gardeners call them scapes, and some of them may be swelling with plump green seed pods.
Making seeds takes a lot of energy. When you snip off the pods and cut each scape down to its base, your daylily can send that energy down into its roots instead.
Stronger roots set the stage for more buds next summer.
Fun fact: daylily seeds rarely grow into a copy of the parent plant, which is why hobby breeders have created over 90,000 registered varieties. Unless you want to play plant scientist, cut those pods and enjoy the tidier look.
3. Divide Crowded Clumps
Fewer flowers than you used to get, and the ones that show up look smaller? A crowded clump is often the reason.
After three to five years, daylily roots get so packed that they compete with each other.
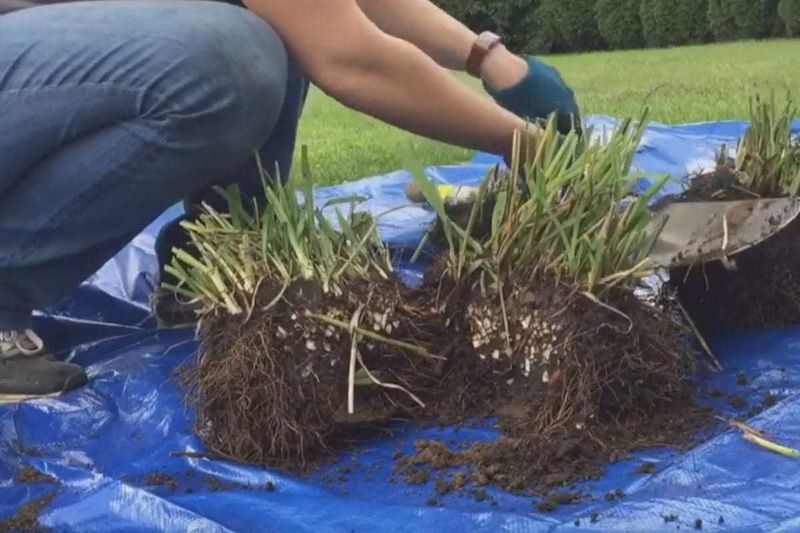
Early fall, about four to six weeks before the ground freezes, is a great time to fix it. Dig all the way around the clump with a sharp shovel and lift it out.
Then pull or cut it into chunks with three to five fans of leaves each.
Do not worry about hurting the plant. Daylilies are famously tough, and many gardeners joke that you can barely kill one with a shovel.
Splitting them gives each piece fresh room to spread out and bloom harder.
4. Replant New Divisions
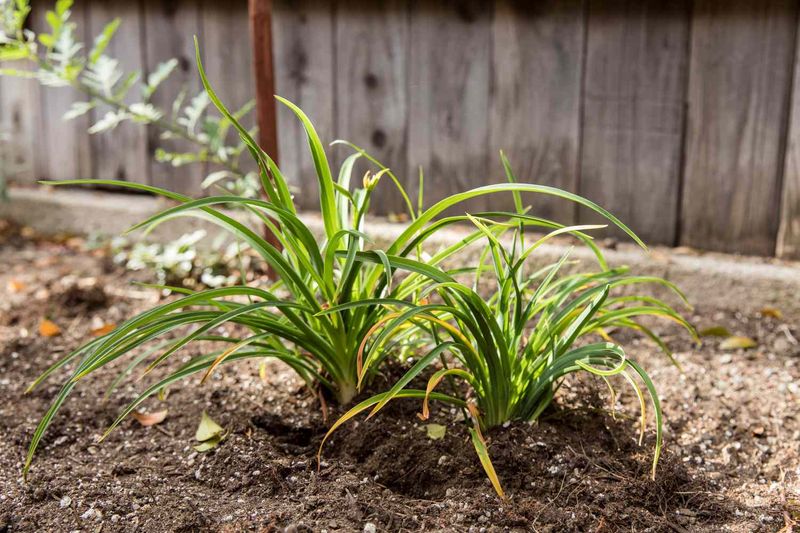
Once those divisions are out of the ground, the clock is ticking. Roots that dry out in the sun or wind get stressed fast, so try to replant the same day.
Dig a hole a bit wider than the root mass and toss a scoop of compost into the bottom. Set the division so the crown, the spot where leaves meet roots, sits about one inch below the soil surface.
Fill in, firm the soil gently, and water well.
Planting in fall gives roots several weeks of cool, damp soil to settle in before winter. By spring, those pieces are ready to push up new leaves instead of struggling to get started.
Extra divisions also make great gifts for neighbors.
5. Add Compost, Skip the Strong Fertilizer

Here is a mistake lots of caring gardeners make: feeding daylilies a big dose of high-nitrogen fertilizer in fall. It sounds helpful, but it can push out soft new leaves right before cold weather, and those leaves often get damaged.
Compost is the gentler choice. Spread an inch or two around each clump, keeping it off the crown.
It releases nutrients slowly and helps the soil hold water and air.
By spring, worms will have pulled much of it down into the root zone for you. That is free, quiet work happening all winter while you stay indoors.
6. Apply Winter Mulch
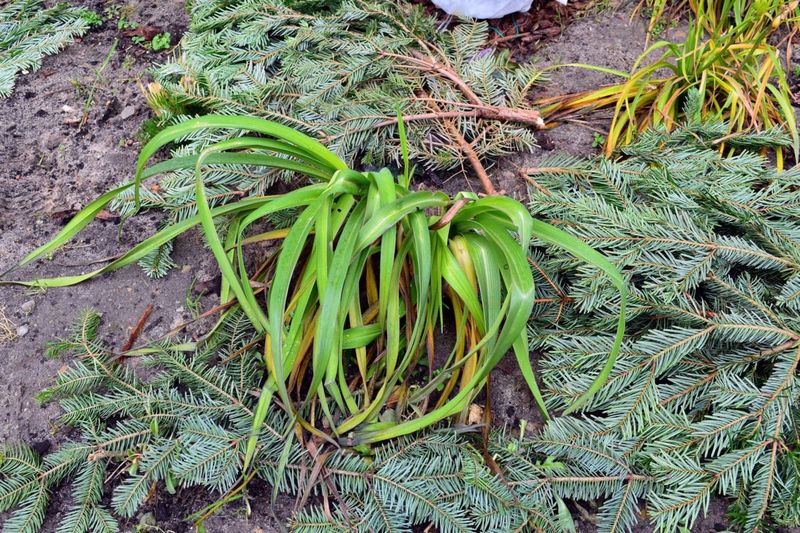
Winter is not always the worst part for daylilies. The real trouble can be the freeze and thaw swings that shove roots up out of the soil, something called frost heaving.
A loose layer of mulch, about 2 to 4 inches, helps keep soil temperatures steadier. Straw, shredded leaves, or wood chips all work well.
Pull it back a little from the crown so the plant does not stay soggy and rot.
Gardeners in colder northern states will get the most from this step. In warm Southern areas, a thinner layer mostly helps hold in moisture and keep weeds down.
7. Adjust Your Watering
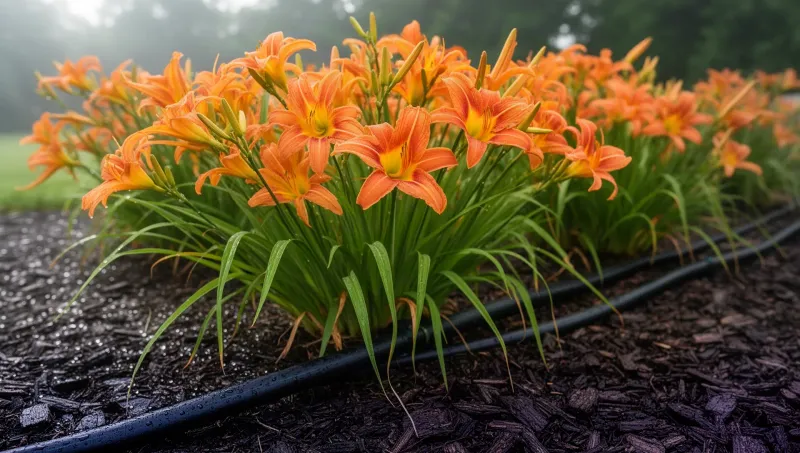
Cooler days mean daylilies drink less. Established clumps can usually get by on fall rain, and too much water in chilly soil may lead to root rot.
Let the soil dry a bit between drinks. Poke a finger a couple of inches down, and if it feels damp, skip watering.
Newly divided or planted daylilies are different, though, and they need steady moisture until the ground freezes.
A dry autumn can still sneak up on you. If weeks pass without rain, give everything a deep soak so roots go into winter hydrated.
8. Clean Up Debris Around the Clumps
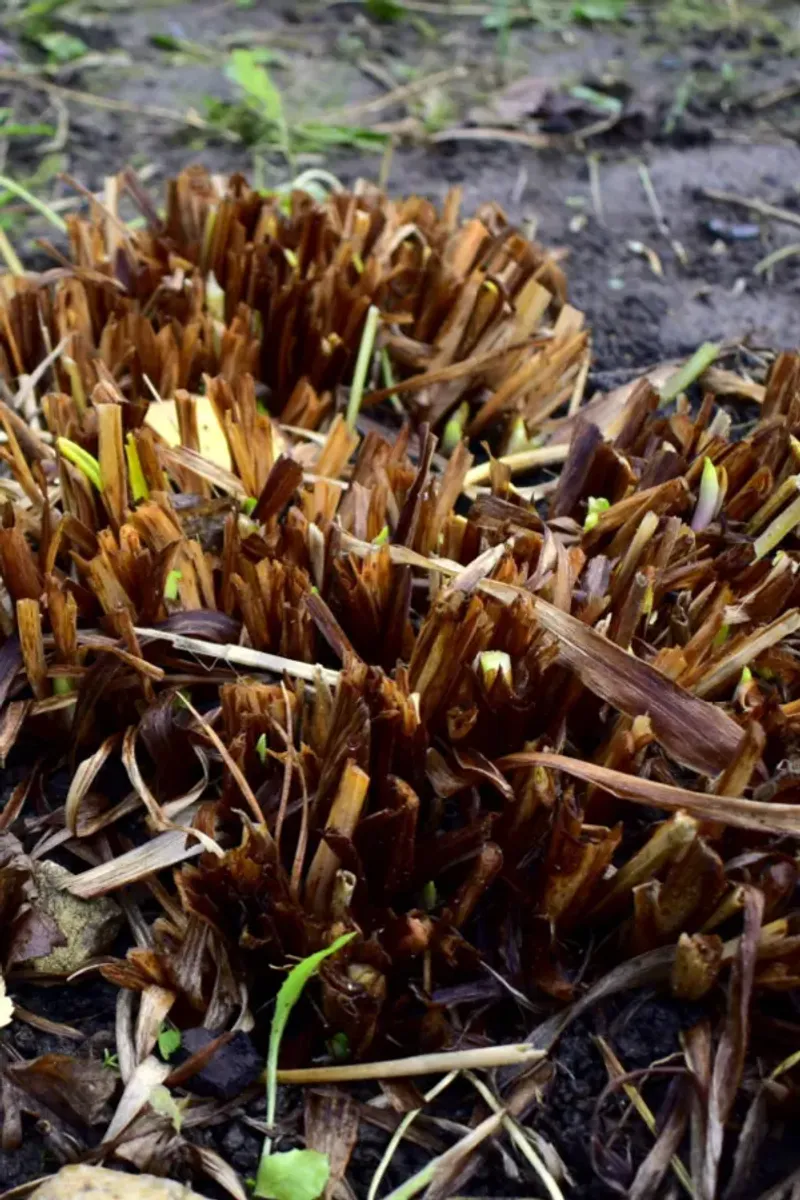
Think of this as the final sweep after the party. Even with the daylily leaves trimmed, piles of fallen tree leaves and old weeds can collect right around the clumps.
Those soggy layers give pests and disease a damp place to wait out the cold. Rake them away, pull any weeds, and toss out anything that looks moldy or spotted.
When spring arrives, new shoots can come up through clean ground into bright sunshine. A tidy bed now is one of the easiest ways to help your daylilies come back strong.