
Plant Garlic Cloves This Month And You’ll Pull Fat, Full Heads From Your Bed Next July
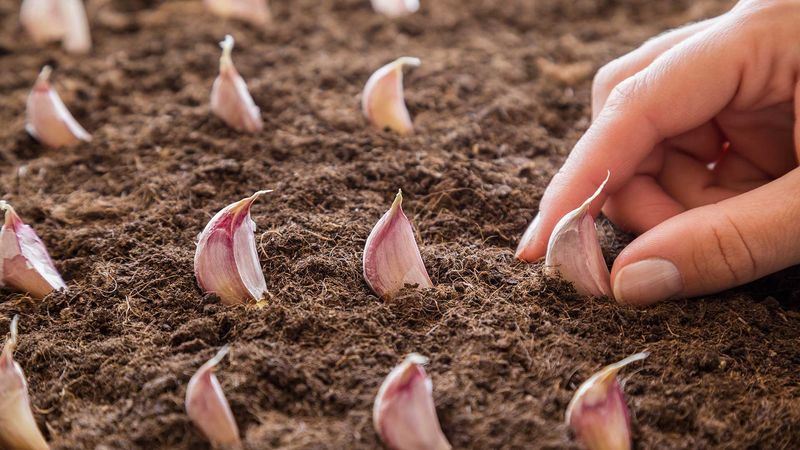
Garlic is one of the easiest crops to tuck into the ground and then mostly forget until the next summer. But when you plant, which cloves you pick, and how you care for them all change what comes out of the soil.
Many gardeners hear one planting month and one harvest month, and real calendars are not that tidy. Here is how to give your garlic its best shot at making solid, well-formed bulbs where you live.
Garlic Timing Depends on Where You Garden
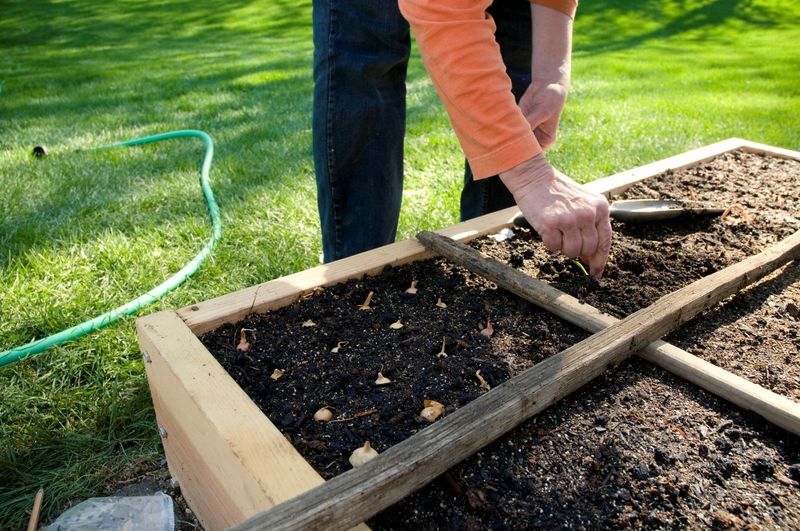
Fall planting works well in many parts of the country because cloves can grow roots before winter, rest through the cold, and start growing again in spring. The catch is that “this month” is not the right answer everywhere.
Your local extension office is the best place to find your planting window.
Regional advice uses different cues. Penn State Extension suggests planting about three weeks before the ground freezes, while Illinois Extension points to four to six weeks before ground freeze.
Minnesota Extension says to plant after the first killing frost.
Warmer states run on another schedule. University of Georgia guidance runs from late September into November, and Texas A&M AgriLife gives dates that vary by region within the state.
Fall is preferred, but it is not the only option. Spring planting can work in some places, though Utah State Extension says it commonly produces small bulbs in Utah.
Harvest time varies too, so July is a possibility for some gardeners and not a promise for anyone. Planting on the right date for your area simply gives the crop a fair start.
Choose Large, Healthy Planting Cloves
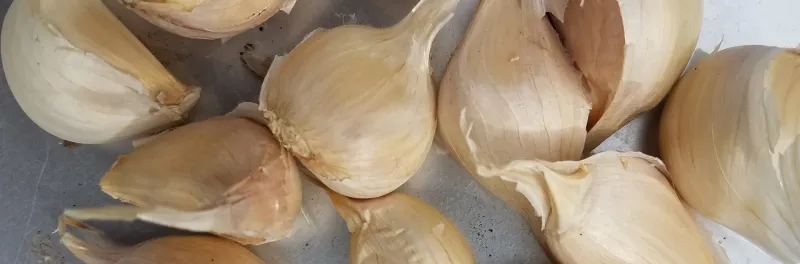
Start with the biggest, firmest cloves from healthy bulbs. Skip any that are soft, moldy, shriveled, or marked with blemishes.
Break the bulb apart just before planting and keep the papery skins on.
Clove size matters. In a Cornell Cooperative Extension trial, garlic grown from large-bulb seed yielded 50% more than garlic from small or medium bulbs.
That number comes from that trial, so treat it as a hint about your odds, not a promise.
Where you buy matters as well. Reputable seed garlic from a nursery or a local grower is usually your safest bet, because it is sold for planting and often suited to home-garden conditions.
What about a bulb from the grocery store? It is not automatically a dud.
Illinois Extension notes it may grow but can give less desirable results. Penn State and Washington State Extension raise the same concerns: some store garlic may be treated, carry disease, or be a type that does poorly in your climate.
If you do experiment with store garlic, plant it in a spot separate from your main bed. Good seed stock is one piece of the puzzle, along with variety, soil, spacing, and care.
Plant Cloves in a Sunny, Well-Drained Bed
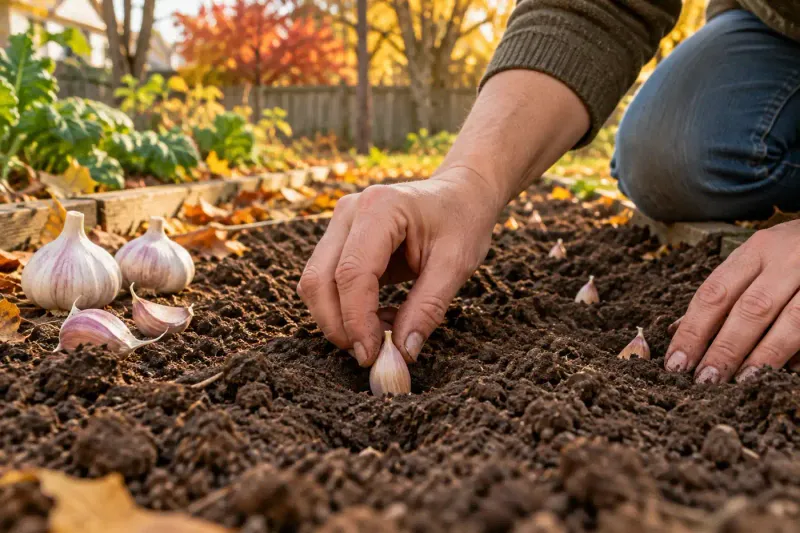
Pick a spot that gets full sun and drains well. Garlic sitting in soggy soil over winter can rot, so a raised bed or a gently sloped bed is a smart choice if your yard holds water.
Loosen the soil, then split the bulb into individual cloves. Leave the papery wrapper on each one.
Set every clove pointy-end up, with the flat root end facing down.
Depth advice is not the same everywhere. Illinois Extension recommends 1 to 2 inches, while Utah State Extension suggests 2 to 3 inches.
Colder, drier climates often favor deeper planting, so check what your own extension office says and use that number.
Give each clove room. Crowded plants compete for water and nutrients, and Utah State cautions that dense planting can reduce bulb size unless moisture and nutrients are adequate.
Following the spacing in your local guide is a simple way to avoid that problem.
Firm the soil lightly over each clove and label the rows. Garlic is easy to forget about once the bed looks empty, and a tag saves you from digging into it by accident next spring.
Use Mulch to Buffer Winter Conditions
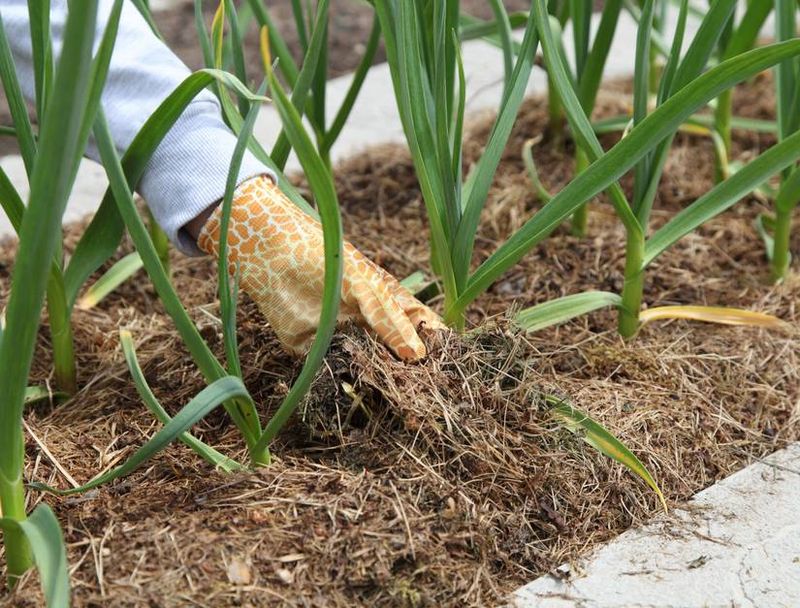
Once cloves are in the ground, a blanket of mulch gives them some protection. It can soften swings between freezing nights and mild days, hold in soil moisture, and keep weeds from taking hold.
Those temperature swings are rough on shallow cloves, especially in climates where the soil freezes and thaws repeatedly. A cover of leaves or straw keeps the soil more even so roots can keep settling in.
University of Minnesota Extension recommends 3 to 4 inches of leaf or straw mulch for its cold climate. Treat that as regional advice.
A gardener in a milder area may need far less, and a thick pile in a wet climate could hold too much moisture.
Choose clean material. Shredded leaves and weed-free straw are common picks, while hay often carries seeds that sprout into more weeds.
In spring, watch for green shoots poking through. If the mulch seems heavy or matted, pull it back a little so the sprouts can reach the light.
Support Active Growth With Water and Weed Control
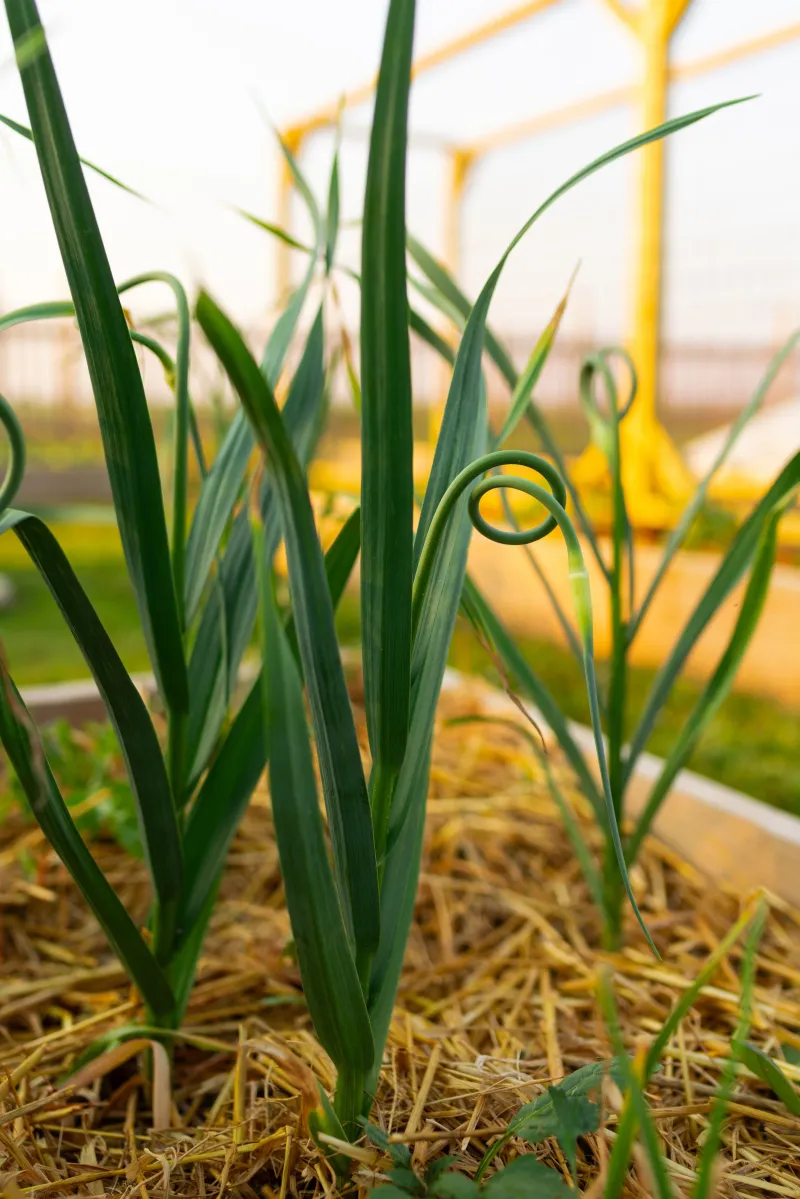
When spring warms up and the leaves race upward, garlic needs steady moisture. Uneven watering can slow the plants down, and Utah State Extension warns that drought stress can reduce yield and bulb size.
Minnesota Extension suggests roughly one inch of water per week during the growing season, then stopping about two weeks before harvest. That is guidance for its region, so adjust for your rainfall and soil.
Weeds are poor neighbors for garlic, which has thin leaves and does not shade the ground well. Pull them early and by hand when you can, so you do not nick the shallow roots.
Fertilizer is trickier than it sounds. A soil test tells you what your bed actually needs, and Minnesota Extension notes that repeated high-phosphorus fertilizer can build up excess phosphorus.
More is not always better. In Cornell’s trials, higher spring nitrogen rates did not raise yield under those specific conditions.
Extra fertilizer is no shortcut to big bulbs.
Treat Hardneck Scapes as a Separate Choice
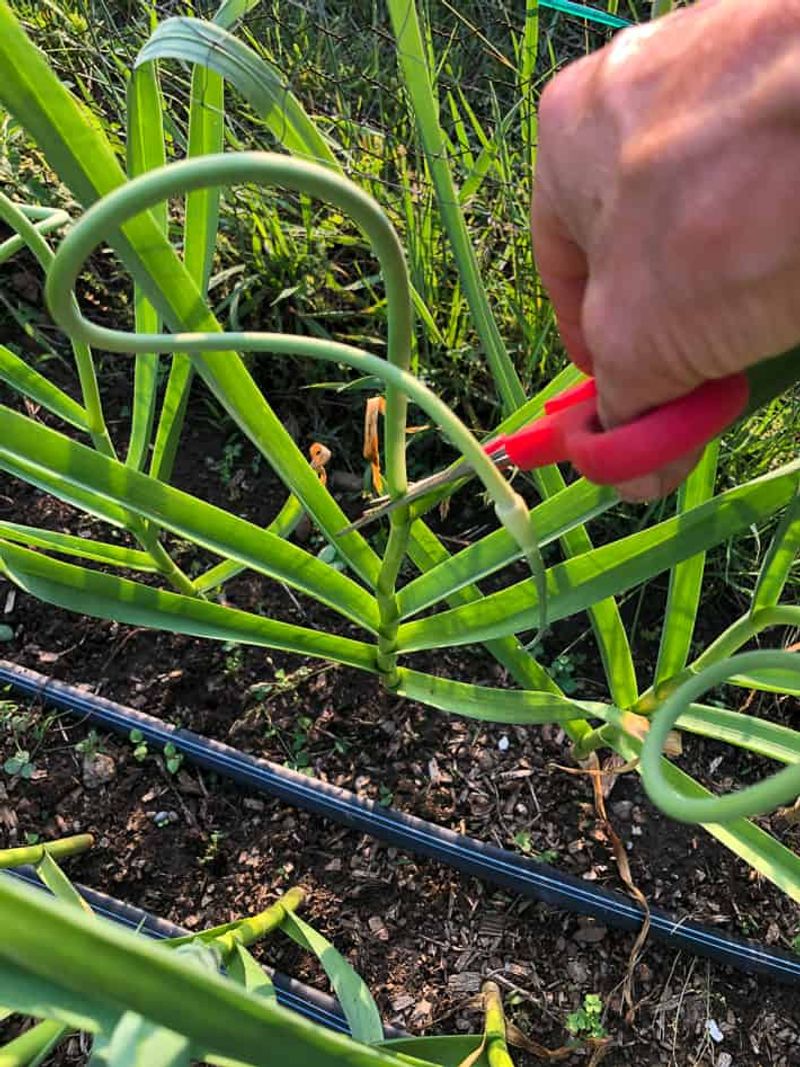
Around late spring, some garlic plants send up a curling green stalk topped with a bud. That stalk is called a scape, and only hardneck varieties make one.
Softneck types generally do not, so if yours never produce them, there is nothing to cut.
For hardnecks, removing scapes is a choice you make, not a requirement. The plant can put energy into the scape and its bud, or toward the bulb underground.
Maine Extension reports on research in Growing Garlic in Maine where leaving scapes on reduced harvested bulb size by as much as 48%. That result belongs to that research.
It does not mean cutting scapes will boost every gardener’s bulbs by that amount.
If you decide to cut them, snap or snip each scape once it has made a loop or two. Cutting on a dry day may help keep the wound clean.
Do not toss the scapes. They are tender and mild, and they work well in stir-fries, pesto, or scrambled eggs.
Harvest by Maturity Cues, Not a Fixed Month
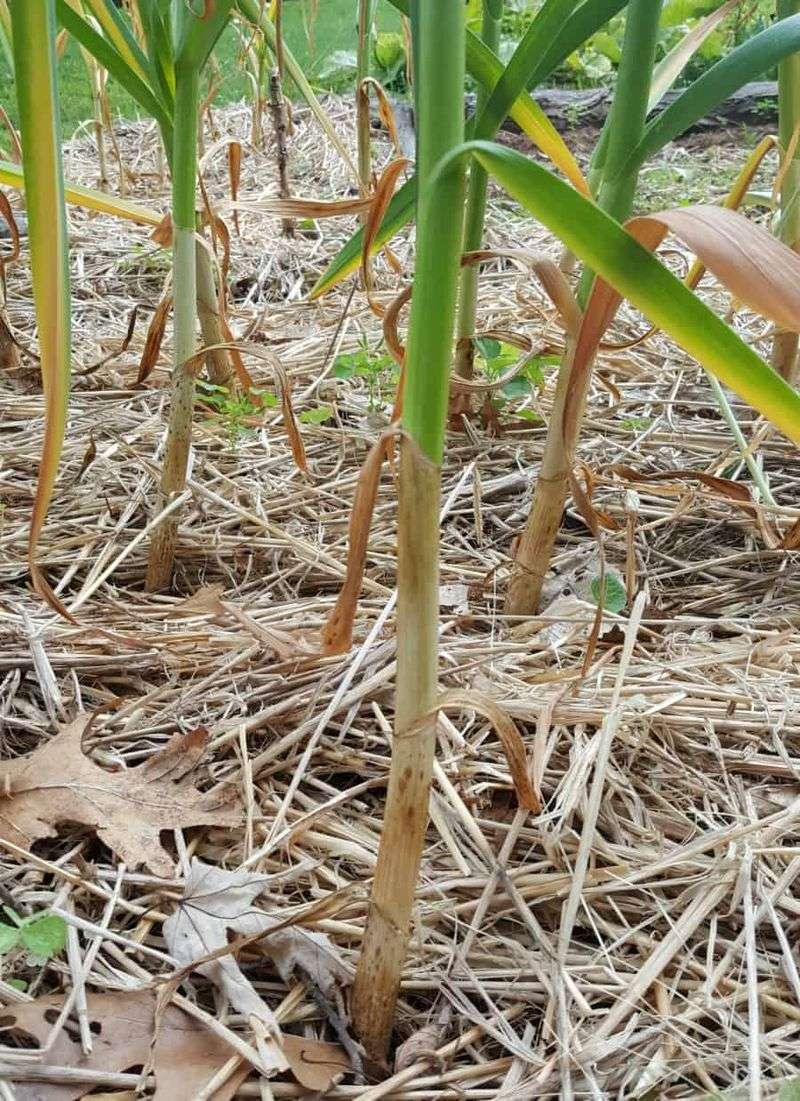
The plants will tell you when they are ready better than a calendar will. Minnesota Extension says to begin when the lower leaves turn brown while about half or slightly more of the upper leaves are still green.
Timing matters in both directions. Dig too early and the bulbs may be small.
Wait too long and the cloves can start to separate, which makes the heads less tidy and harder to store.
Calendar ranges differ widely, so use them only as examples. Georgia guidance spans late May to mid-July, while Minnesota’s runs from late June to late July.
A practical trick is to dig one test bulb when the leaves begin to brown. Check whether the head looks plump and the wrapper feels papery, then decide whether the rest need more time.
Lift bulbs gently with a fork instead of pulling them, so the necks do not snap. Local timing and careful tending can improve your odds of a good crop, but the soil always gets the last word.