
Overwintering Your Tender Bulbs Indoors? These 13 Get Stored Dry In A Paper Bag Until Spring
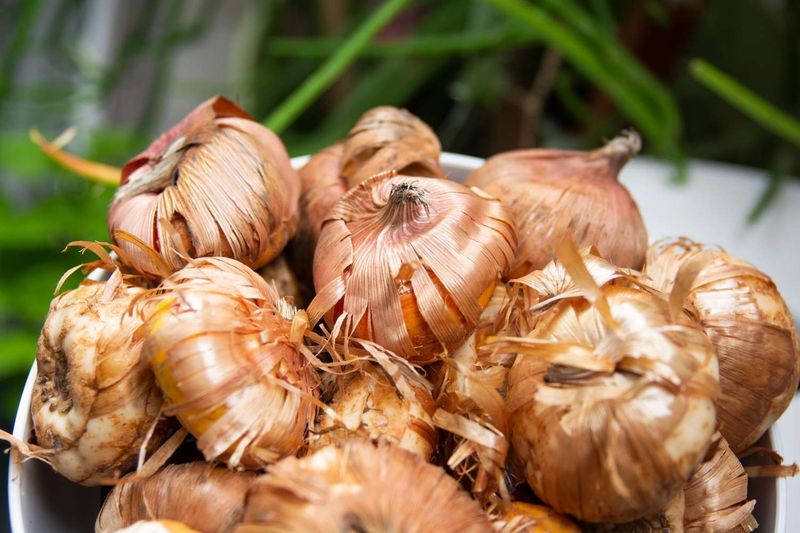
Every fall, lots of gardeners lose their favorite dahlias and glads to one simple mistake: storing them wet or sealing them in plastic. Tender bulbs, tubers, and corms can’t survive a hard freeze in the ground in much of the US, so they need a cozy spot indoors.
The good news is that many of them only ask for a short drying time and a plain paper bag in a cool, dark place. Here are 13 that do great with this easy, low-cost method, plus the small tricks that keep them firm until spring.
1. Dahlias
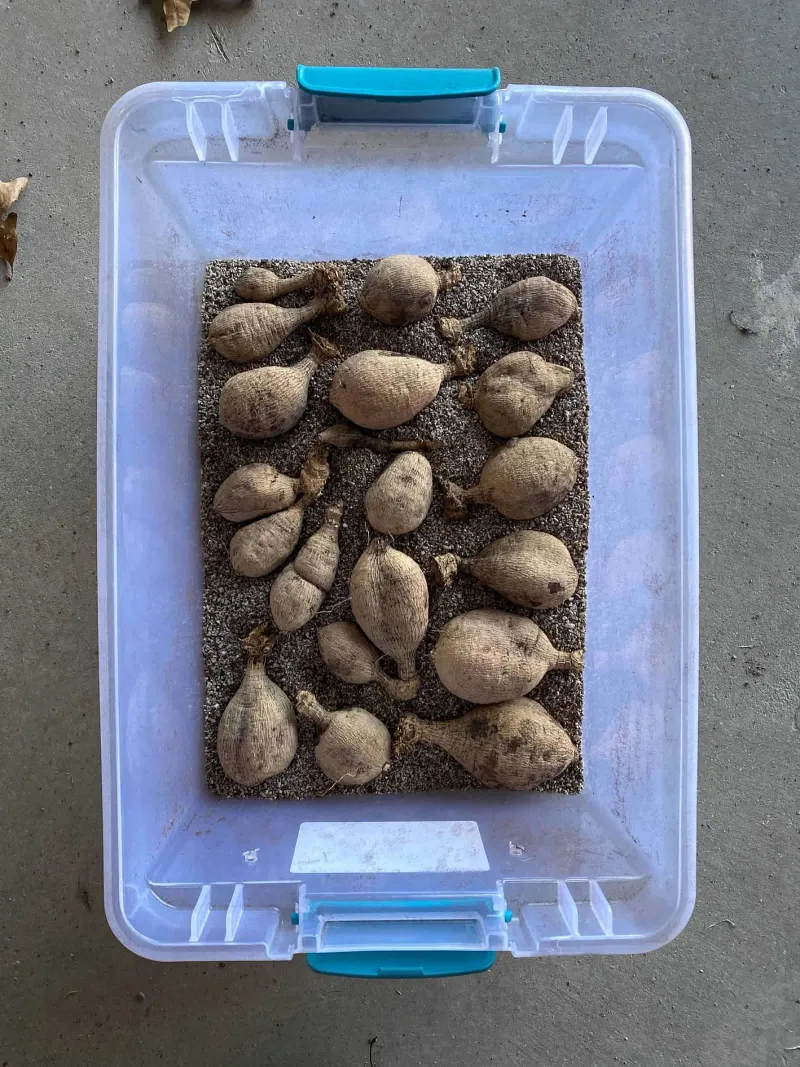
Nothing stings quite like opening a bag in March and finding mushy dahlia tubers. Most of the time, the culprit is moisture trapped during storage, not the cold.
After frost blackens the foliage, cut stems to a few inches and dig the clumps gently with a fork. Rinse or brush off soil, then let them cure in a dry, airy spot for a few days until the skins feel papery.
Flip the clumps upside down so water can drain from the hollow stems.
Tuck each clump into a paper bag with a handful of shredded paper, dry peat moss, or sand. The packing material may help buffer humidity so tubers don’t shrivel or rot.
Aim for a spot around 40 to 50 degrees Fahrenheit, like a basement or cool closet.
Check once a month. A slightly wrinkled tuber can be misted lightly, while any soft or moldy piece should be cut away right away so it doesn’t spread to its neighbors.
2. Tuberous Begonias
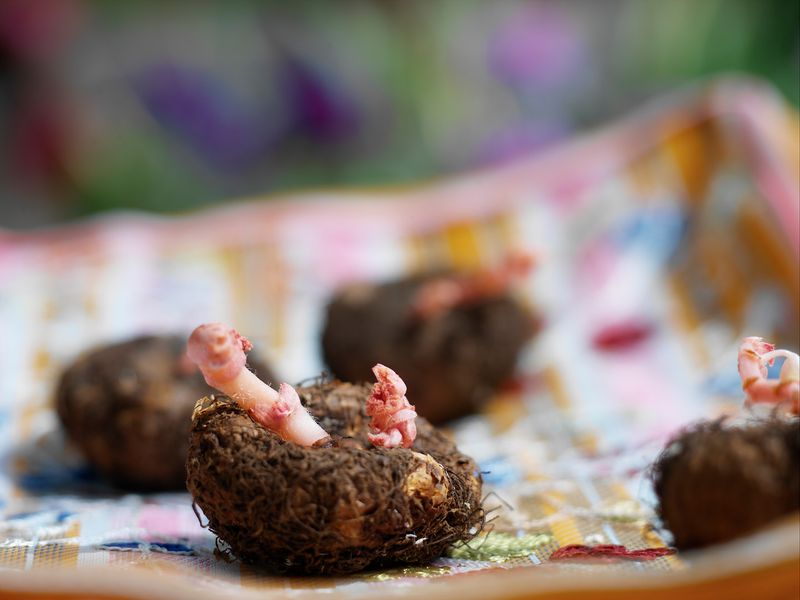
Those ruffled, rose-like blooms come from a tuber about the size of a cookie. Treat it gently and it can come back bigger every year.
Once the leaves yellow in fall, or just before frost, lift the tubers and let the stems fall off naturally as they dry. Pulling stems off too early can leave open wounds where rot sneaks in.
Give them a week or two in a warm, shaded, dry place.
Many gardeners love the brown lunch bag trick. Drop one tuber per small bag, write the color on the outside, then group the little bags inside a larger one.
Store them somewhere dark and dry, ideally between 45 and 55 degrees.
Come late winter, you’ll see pink buds on the concave top side. That’s your signal to pot them up indoors for an early start.
3. Gladiolus
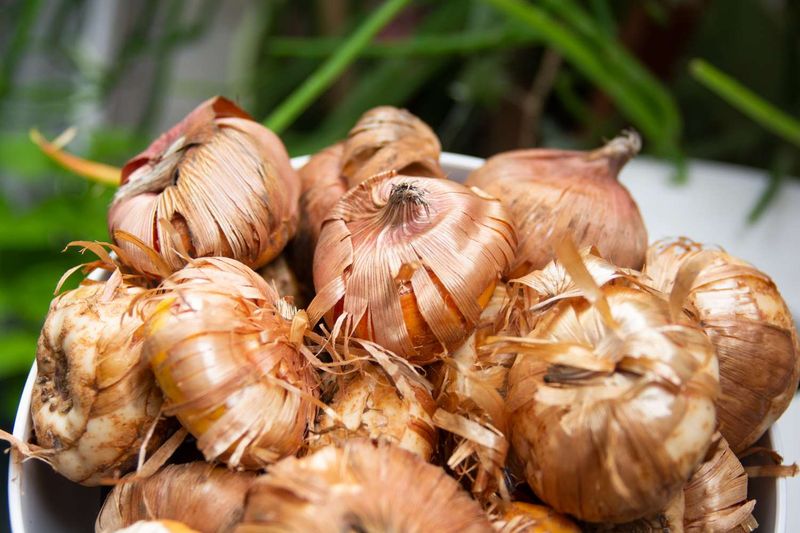
Grandma’s glads probably spent every winter hanging in an onion sack in the cellar. That old-school approach still works because gladiolus corms simply want to stay dry.
Dig them about six weeks after flowering, or when leaves turn brown. Cut the foliage to an inch and spread corms out to cure for two to three weeks in a warm, airy spot.
You’ll notice the old, flattened mother corm underneath the new one, so snap it off and toss it.
Drop the plump new corms into paper bags or mesh sacks. A light dusting of fungicide is optional, but sorting out any bruised or spotted corms first can reduce disease problems.
Keep them cool, around 35 to 45 degrees, and dark.
Fun bonus: those tiny cormels clinging to the base can be saved too. They’ll take a couple of seasons to bloom, but they’re free plants.
4. Caladiums
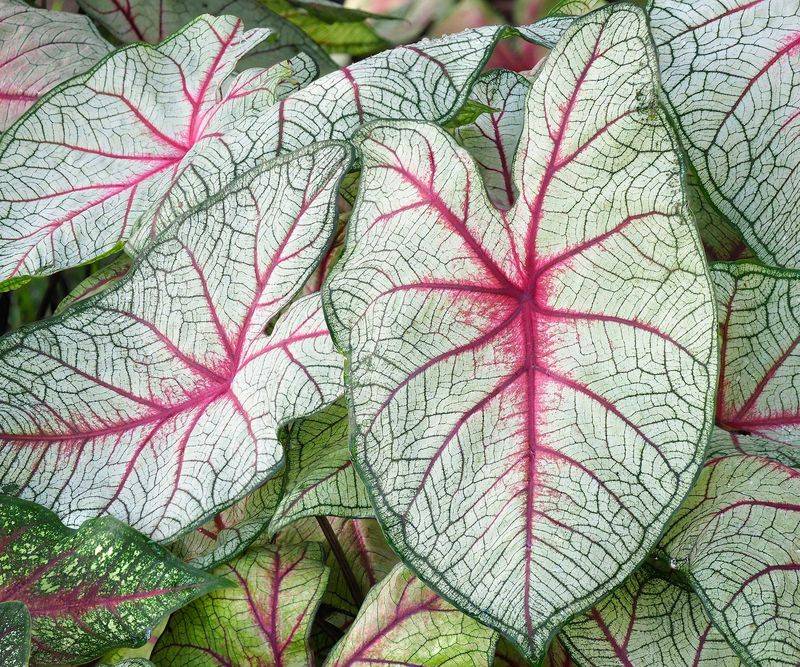
Here’s the twist with caladiums: they hate the cold far more than most bulbs on this list. Chilly storage below about 50 degrees can damage them quietly over winter.
Lift the tubers when nights start dipping toward the 50s, well before frost. Let the leaves wither, then cure the tubers for about a week in a warm, dry place.
Pack them into a paper bag with dry peat moss, vermiculite, or sawdust. Skip the garage and the basement floor.
A closet in a heated part of the house, around 60 degrees, suits them much better.
Short on time? Some folks simply let the potted plant dry out completely and stash the whole pot indoors.
Either way, the rule is the same: warm, dark, and bone dry.
5. Eucomis (Pineapple Lily)
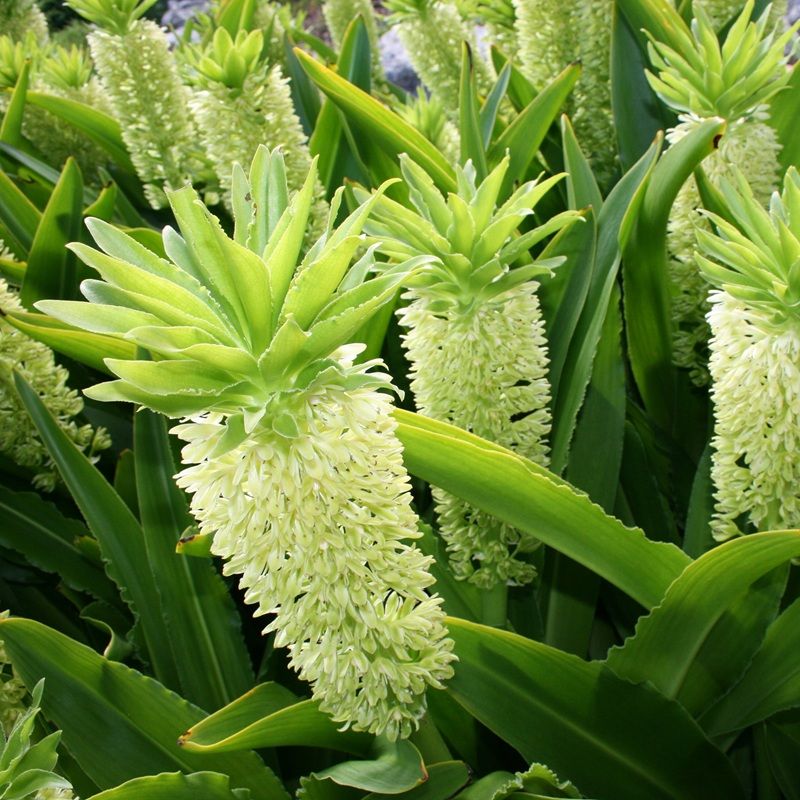
A flower that looks like a tiny pineapple tends to get people talking at summer cookouts. Keeping that conversation piece alive through winter is refreshingly simple.
Hardy only in warmer zones, eucomis bulbs should come out of the ground after flowering once foliage fades in fall. Shake off the soil and let them air-dry for about a day.
Their fleshy outer layers don’t need a long cure.
Nestle them in a paper bag or box with dry peat moss. Pick a cool, dry spot away from drafts, since swings in temperature can trigger early sprouting.
Did you know? These bulbs grow quite large, often the size of a fist.
Give them a little room in the bag so they aren’t jammed together.
6. Calla Lilies
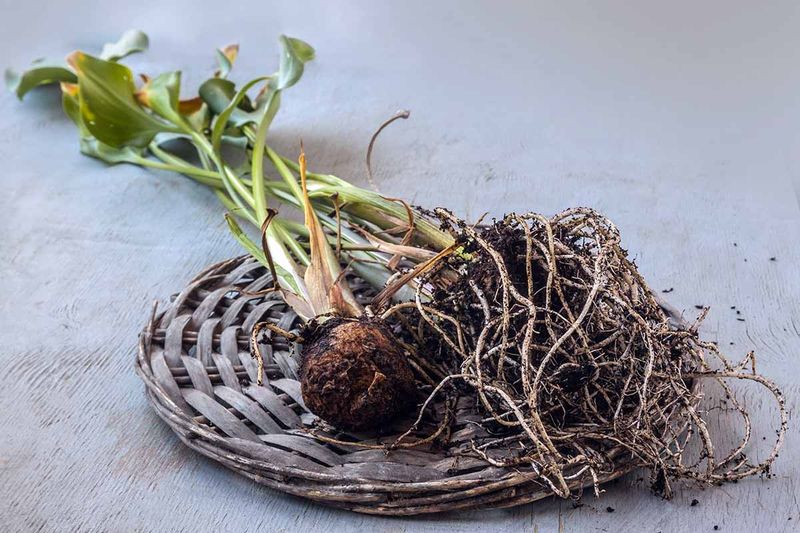
Calla lily rhizomes look tough, but they bruise easily, so handle them like eggs when you dig. A nick in the skin is an open door for rot.
Lift them after the first light frost touches the leaves. Cut back the foliage and leave the rhizomes to dry for one to two weeks.
Patience matters here, because a rushed cure is the most common reason callas turn soft in storage.
Once the skins are dry, bury them in vermiculite, sawdust, or peat moss inside a paper bag or ventilated box. A frost-free spot between 50 and 60 degrees keeps them happy.
Peek in every few weeks. Firm and slightly shrunk is fine, while squishy spots mean it’s time to trim or toss.
7. Tuberose
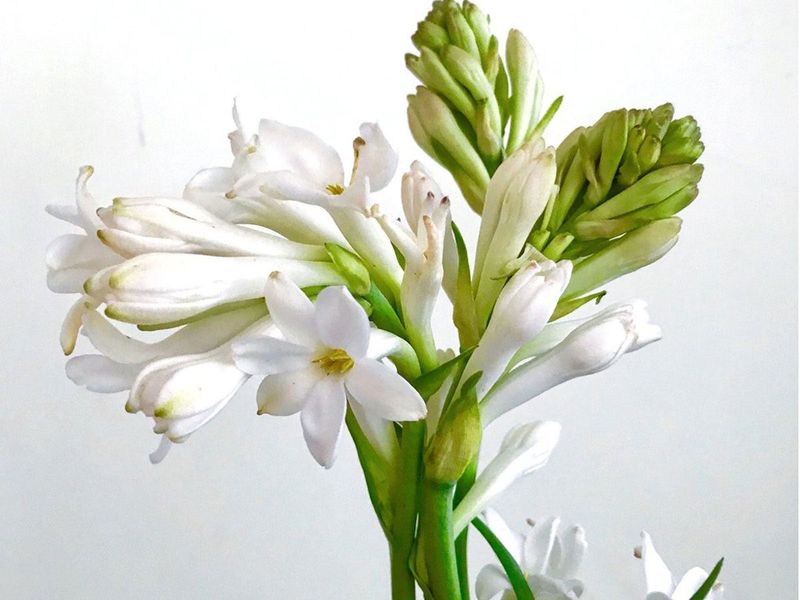
One whiff of tuberose on a warm evening and you’ll understand why perfumers have prized it for centuries. Growing it outside the Deep South, though, means bringing the bulbs inside.
Wait until frost kills back the foliage, then dig the clumps and let them dry in the sun for a few days. Separate the offsets gently.
Older bulbs that already bloomed won’t flower again, so the plump offsets are the ones worth keeping.
Store them in a paper bag or a cardboard box with dry peat moss at roughly 45 to 55 degrees. A dark corner of the basement works well.
Tuberose blooms late, so give it a head start by potting bulbs indoors a month before your last frost.
8. Canna Lilies
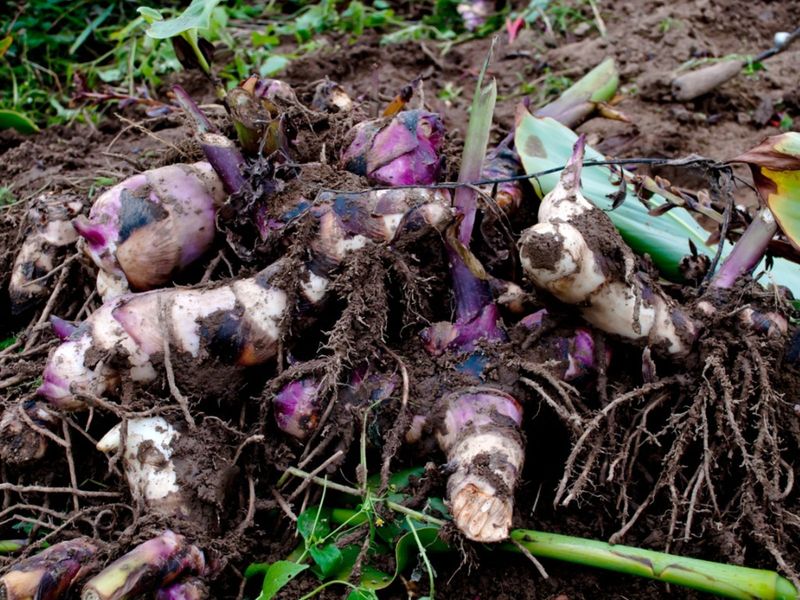
Cannas multiply like crazy, so a single rhizome you planted in May might come out as a hefty clump in October. Consider it a free bonus for next year.
Let the first frost blacken the leaves, then cut stems to about six inches and dig. Leave some soil clinging to the rhizomes if you like, as many gardeners find it helps prevent shriveling.
Dry them for a few days somewhere sheltered.
Paper grocery bags are perfect for these bulky roots. Store them at 45 to 55 degrees in a dark place, and don’t divide the clumps until spring, since fresh cuts heal better in warm weather.
9. Elephant Ears
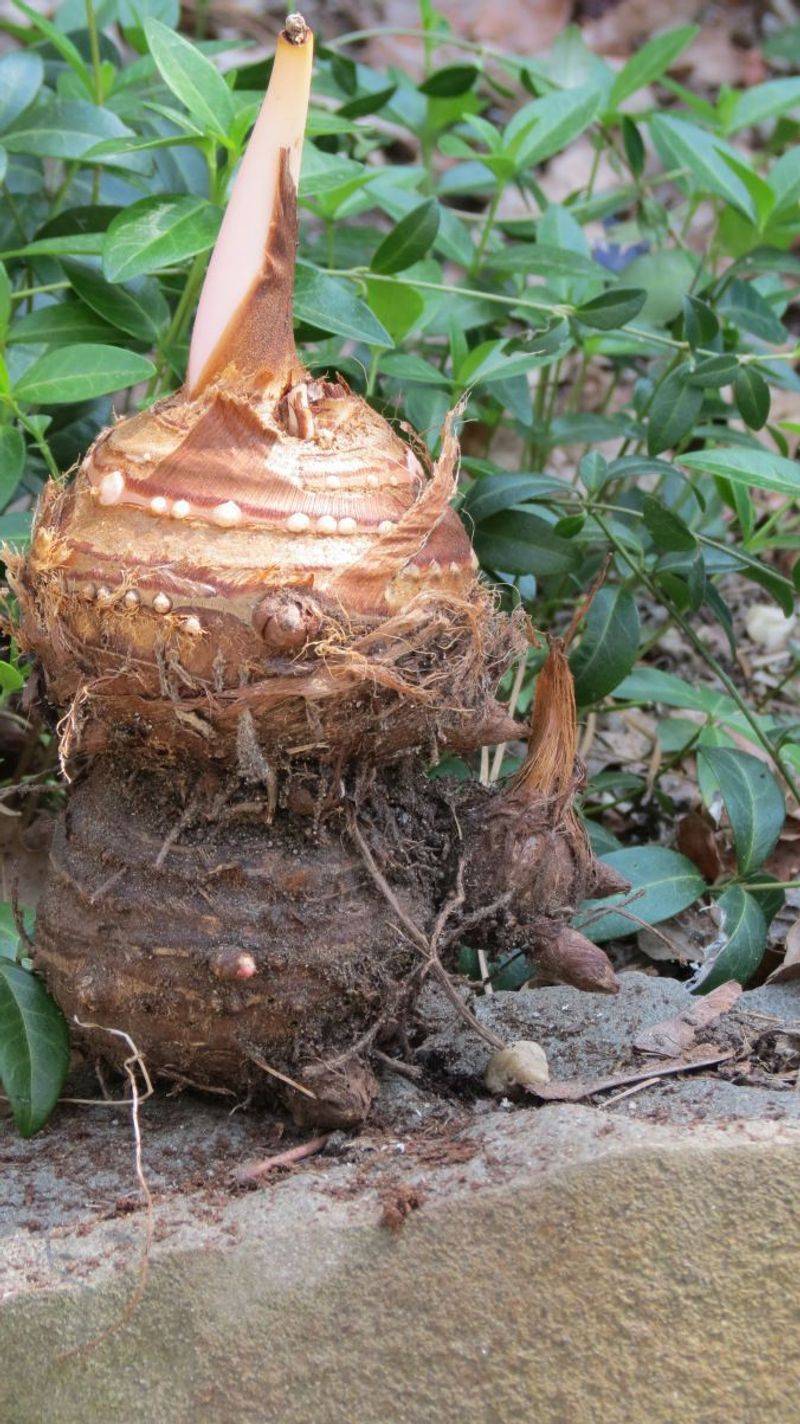
Ever tried lifting a mature elephant ear tuber? Some feel like a small bowling ball, and they hold a surprising amount of water.
Dig Colocasia and Alocasia before frost touches them, since cold damage spreads fast into these soft tubers. Cut the leaves back and set the tubers in a warm spot for a week or so to dry the surface.
Pack them in dry vermiculite, peat moss, or sawdust inside a sturdy box or heavy paper bag. Like caladiums, they prefer storage on the warmer side, around 50 to 60 degrees.
Quick tip: if a tuber is simply too big to store, many gardeners keep the whole plant as a houseplant instead and let it rest near a bright window.
10. Crocosmia
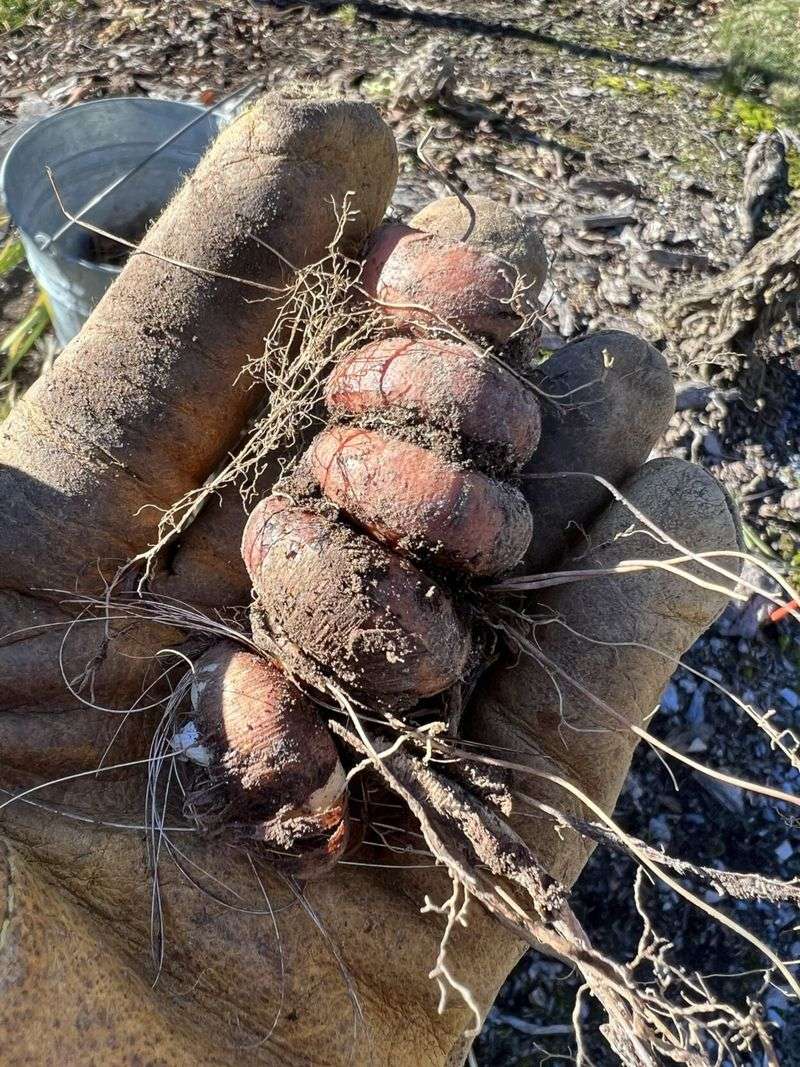
Dig up crocosmia and you’ll find something odd: corms stacked on top of each other like a string of beads. Each year’s new corm forms right above last year’s.
In zones colder than about 6, lifting them before a hard freeze is the safer bet. Shake off soil and let them dry for a week or two.
You can leave the chains intact or separate them, though the top corms tend to bloom best.
Drop them into a paper bag and store in a cool, dry place. They’re forgiving and rarely give trouble, which makes them a great first try for anyone new to saving bulbs.
11. Peacock Orchid
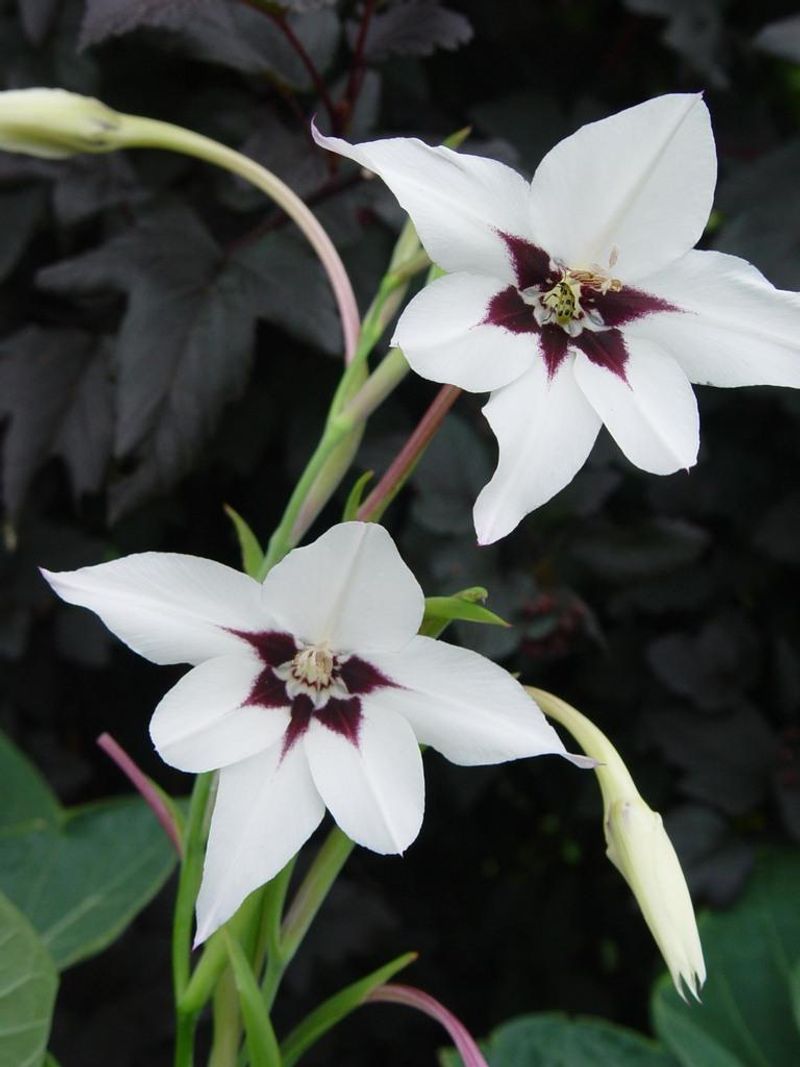
Not a true orchid at all, the peacock orchid is a cousin of the gladiolus, now called Gladiolus murielae. Its white, purple-throated blooms smell sweet in late summer.
Treat it exactly like a glad. Dig the corms before frost, cure them for a couple of weeks, and remove the old shriveled base.
The corms are smaller and look a bit like hazelnuts.
Paper bags give them the airflow they need, much like mesh bags do. Keep them frost-free and dry, ideally in the 40s or low 50s.
Late bloomers by nature, they appreciate an early indoor start in spring.
12. Ranunculus
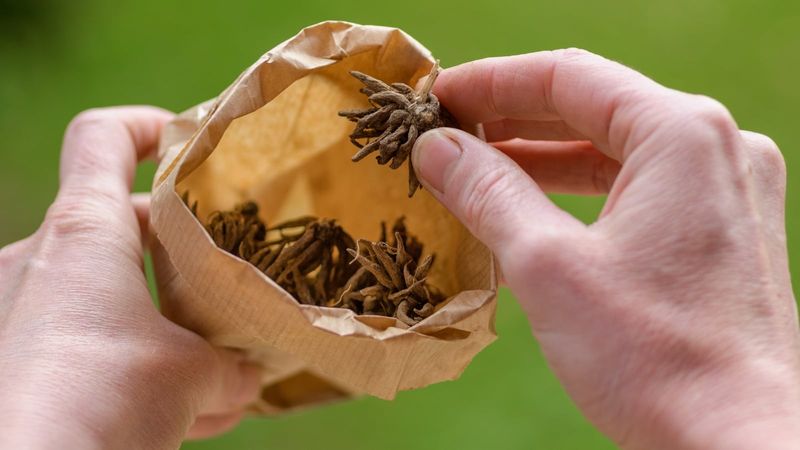
Ranunculus corms look like tiny dried octopuses, and honestly, that’s how you want them to look before storage. Hard and crisp is the goal.
Dig them once the foliage yellows and dies back. Rinse off soil and lay them out in a shady, breezy spot until they’re completely dry, which may take a week or more.
Any lingering moisture invites mold.
Store them in brown paper bags in a cool, dry room. Before planting next season, soak them in water for a few hours to plump them up.
Many flower growers say a pre-sprout in damp soil can boost success.
13. Anemone
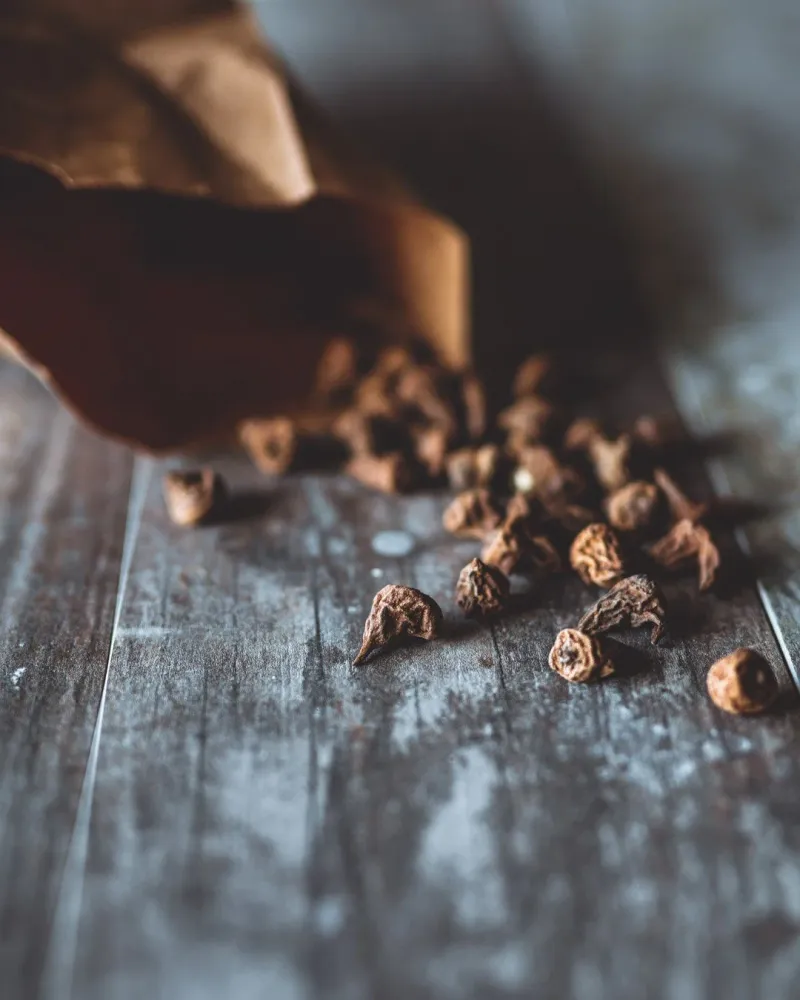
Anemone corms are so small and wrinkly that people sometimes toss them by accident, thinking they’re bits of bark. Label everything!
After foliage dies down, dig them up and dry them thoroughly. Once they’re rock hard, pack them into paper bags, never plastic, and set the bags in a cardboard box for extra protection.
A cool, dry, frost-free closet or basement shelf does the trick. Just like ranunculus, give them a soak before replanting so they wake up ready to grow and bloom.