
Do These 7 Things For Your Hydrangeas Before Winter And Next Summer’s Blooms Come Back Bigger
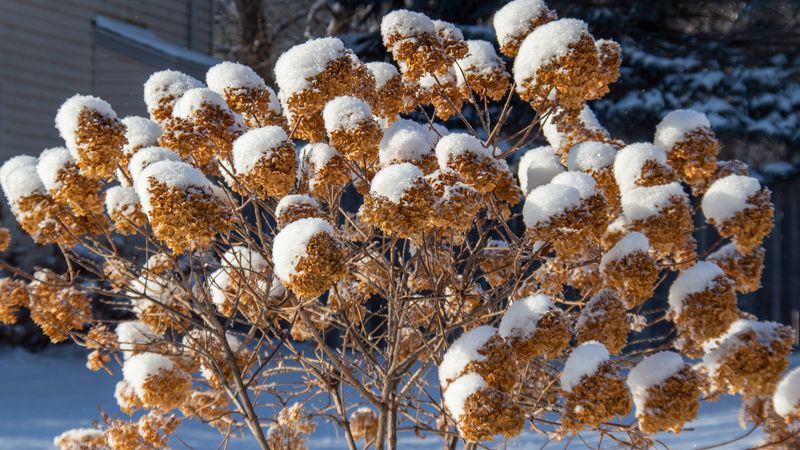
Next summer’s hydrangea flowers are already sitting on your shrub right now, tucked inside tiny buds you can barely see. What you do in the next few weeks decides whether those buds survive the cold or turn brown and die.
A few simple fall chores can protect them without costing much money or time. Here are seven easy steps that can help your hydrangeas come back fuller and more flower-packed than ever.
1. Figure Out Which Hydrangea You Have
Picture two neighbors pruning their hydrangeas on the same October afternoon. One gets a yard full of flowers next July, and the other gets nothing but leaves.
The difference usually comes down to knowing the plant’s type.
Bigleaf hydrangeas (mopheads and lacecaps) and oakleaf hydrangeas bloom on old wood. That means next year’s flower buds formed on the stems back in late summer, and they are waiting there right now.
Panicle hydrangeas, with their cone-shaped blooms, and smooth hydrangeas like Annabelle bloom on new wood, so they grow fresh flowering stems each spring.
Not sure which one you own? Check the plant tag, or look at the flower shape.
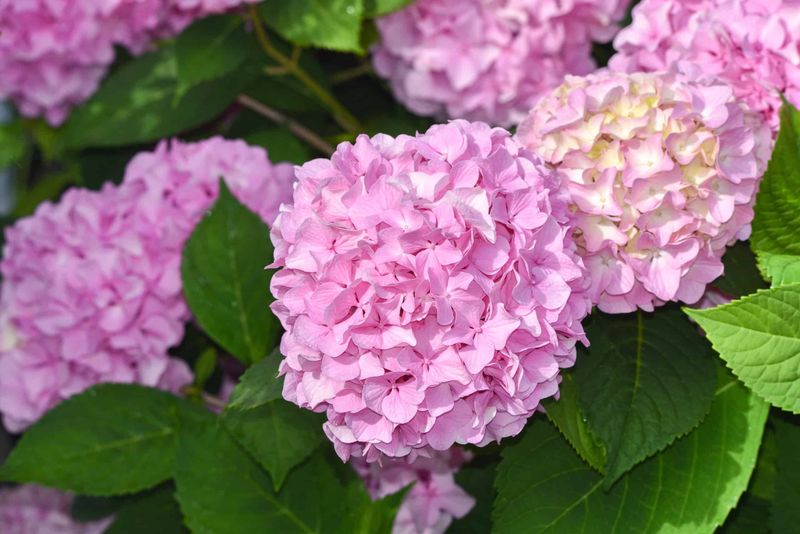
Round blue or pink balls usually mean bigleaf, while white cones point to panicle. Some newer reblooming types flower on both old and new wood, which gives you a little more wiggle room.
2. Put Down the Pruners (Mostly)
Fall pruning is the number one reason bigleaf hydrangeas skip a year of blooms. It feels like tidying up, but every stem you chop may carry next summer’s flowers.
For old-wood bloomers, the right time to prune was right after flowering ended in summer.
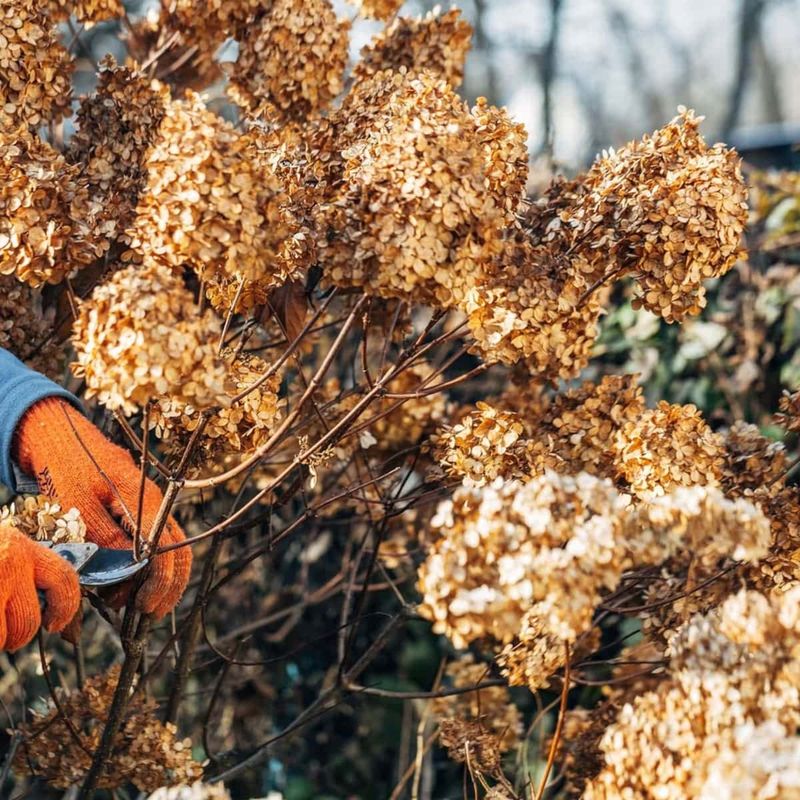
That doesn’t mean you can’t touch the plant at all. Go ahead and remove dead, broken, or diseased stems, since those won’t bloom anyway.
A dead stem snaps easily and looks gray and brittle inside.
Panicle and smooth hydrangeas are more forgiving. Save their pruning for late winter or early spring, before new growth shows up.
Cutting them back then can actually lead to sturdy stems and big flower heads.
3. Keep Watering Until the Ground Freezes
Thirsty roots make for a rough winter. Hydrangeas are famous water lovers, and that need doesn’t vanish just because the weather cools off.
Dry fall soil is a real risk, especially during a rainless stretch. A well-watered shrub handles freezing temperatures better because its tissues and roots aren’t already stressed.
Aim for a deep soak every week or two when rain is light.
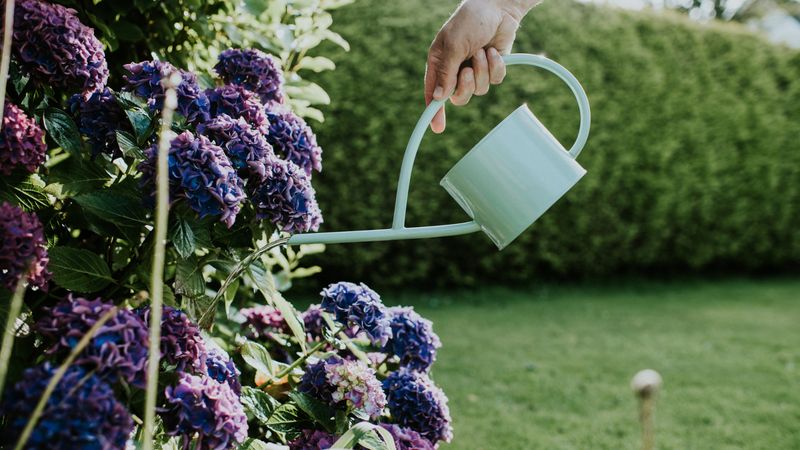
Water at the base, not over the leaves, and let the hose run slowly so the moisture sinks deep. Keep going until the ground freezes solid.
Then you can coil up the hose and call it done for the season.
4. Pile On a Thick Blanket of Mulch
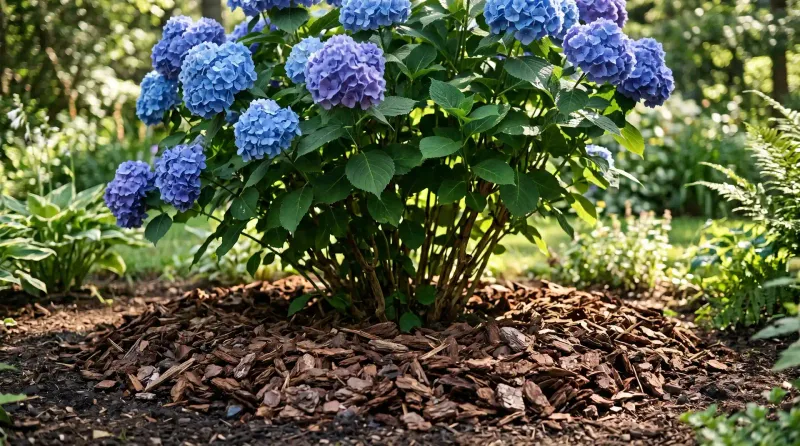
Think of mulch as a cozy winter coat for the root zone. Out of all seven steps, it may give you the most bang for your buck, especially if you use free shredded leaves from your own yard.
In late fall, or once the ground starts to freeze, spread a thick layer of organic mulch around the base. Shredded leaves, pine needles, straw, or bark all work, and colder regions can go as deep as 6 to 12 inches.
That layer helps keep soil temperatures steady and may reduce damage from the freeze-thaw swings that heave roots.
One caution: don’t pile mulch right against the stems. Leave a small gap so air can move and the bark stays dry.
Mulch touching wood can invite rot.
5. Skip the Fall Fertilizer
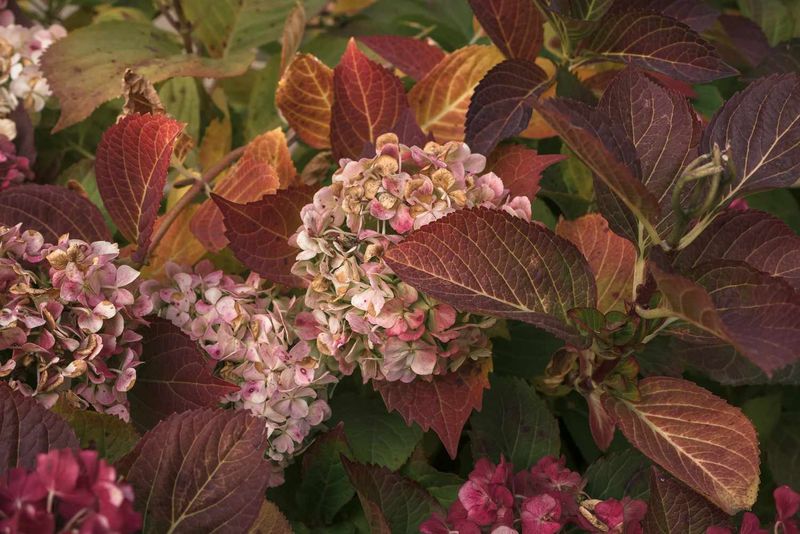
Here is a mistake made with the best intentions. You want to reward your hydrangea, so you sprinkle on fertilizer in October.
Unfortunately, nitrogen tells the plant to push out soft new growth right when frost is coming.
That tender growth can get zapped by the first hard freeze. A stressed plant heading into winter is not set up for a big bloom show.
Save the fertilizer for spring when the shrub is waking up.
If you still want to feed the soil, a layer of well-rotted compost is a gentler option. It breaks down slowly through winter and can improve soil structure by spring.
Your hydrangea gets a treat without the risky growth spurt.
6. Wrap Tender Shrubs and Shelter Potted Ones
Winter in Minnesota is a very different beast than winter in Georgia. If you garden in USDA zone 6 or colder, or your forecast dips below 0°F, bigleaf hydrangeas may need extra help to keep their flower buds alive.
A simple trick works well. Push four stakes around the shrub, wrap them with chicken wire, and fill the cage with dry leaves or straw.
Loosely wrapping the plant in a couple layers of burlap is another option, but avoid plastic, which traps moisture.
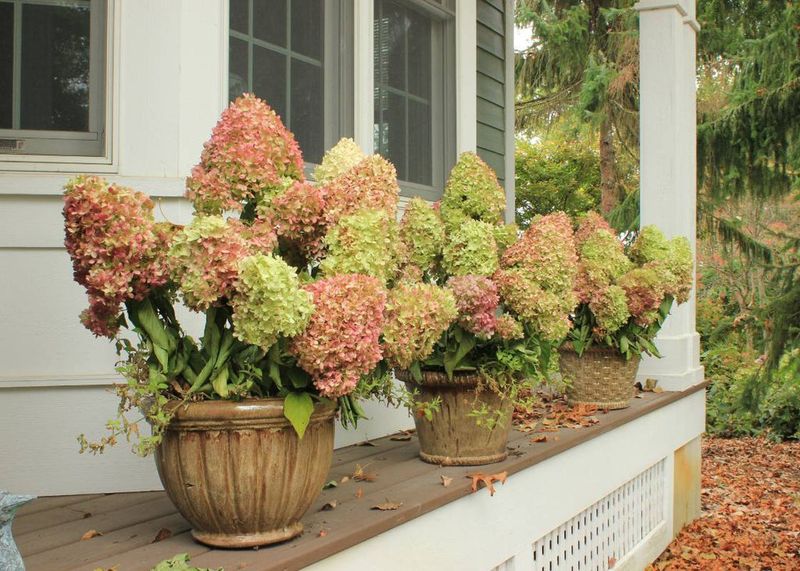
Potted hydrangeas are even more at risk, since their roots sit above ground with little protection. Move pots into an unheated garage or shed once the plant goes dormant.
If they must stay outside, wrap the containers in bubble wrap or burlap and group them against a wall out of the wind.
7. Leave the Dried Flower Heads Alone
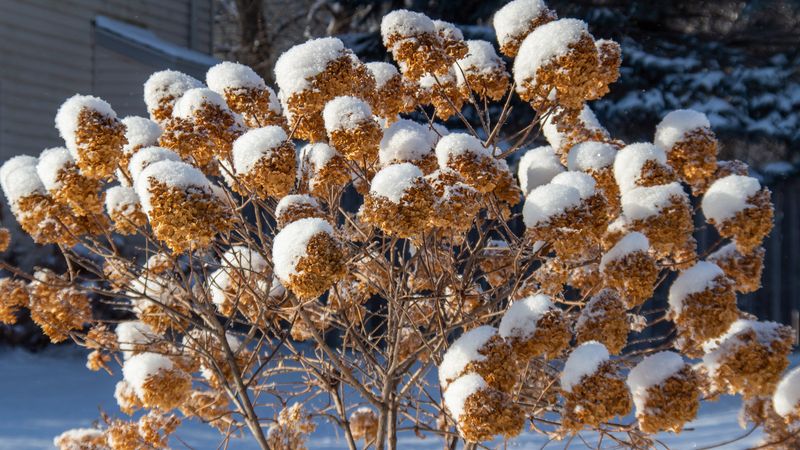
Good news for busy gardeners: this step means doing less. Those faded, papery blooms aren’t just pretty with a dusting of snow.
They may also offer a bit of shelter for the buds tucked just below them.
Old flower heads can act like a small umbrella, helping buffer wind and cold on the tips of the stems. Many gardeners also love the winter look, and dried hydrangeas hold their shape for months.
Birds sometimes perch among them too.
Wait until early spring, once hard frosts have passed and green buds start swelling. Then snip the old heads off just above the first healthy pair of buds.
Your shrub will be ready to put all its energy into a fresh round of big summer blooms.