
Skip The Plastic Wrap On Your Potted Perennials – 13 Simple Ways To Get Containers Through Winter Without Cracked Pots Or Dead Roots
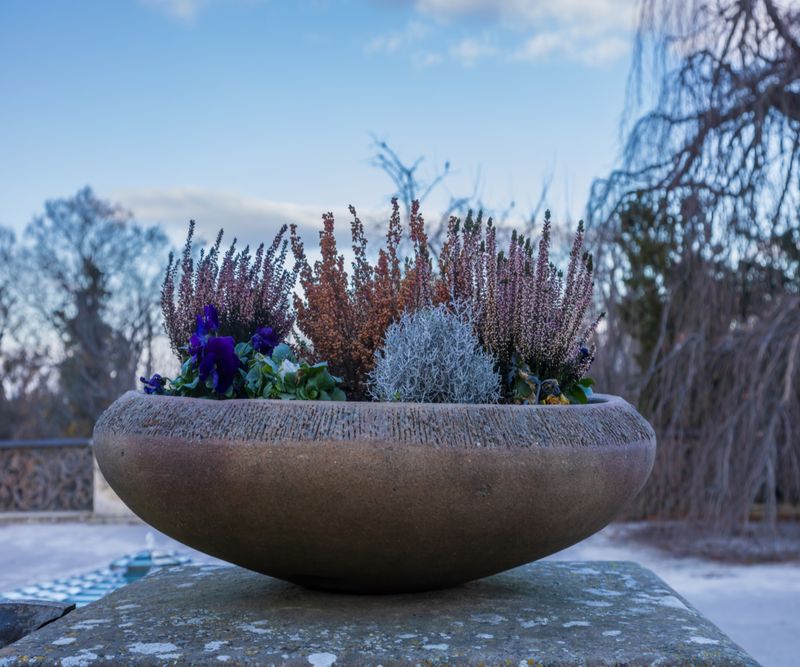
Plastic wrap looks like a cozy blanket for your pots, but it can trap water, cause rot, and still let roots freeze. Roots in a container sit above ground, so they feel the cold much more than roots in a garden bed.
A few cheap, simple steps can keep your hydrangeas, geraniums, and clematis alive until spring. Here are 13 easy ways to protect both your plants and your pots this winter.
1. Move Tender Plants Into an Unheated Garage or Shed
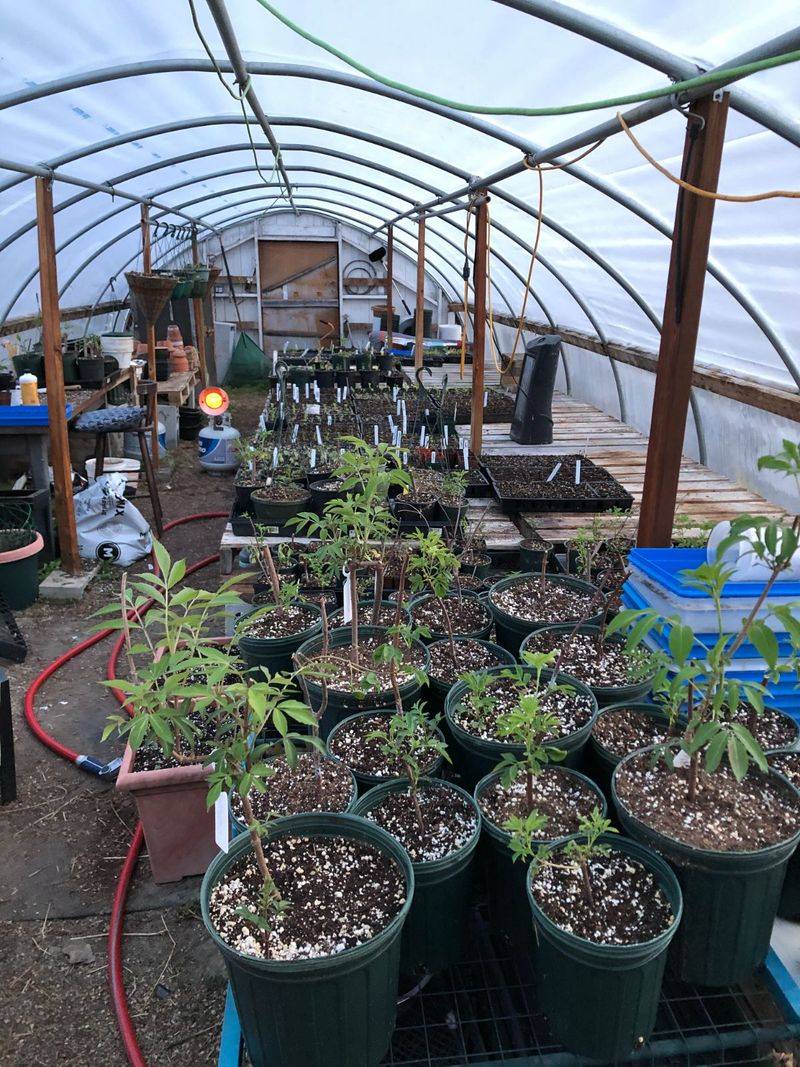
A garage is basically a free greenhouse for winter that most of us use to store bikes. It stays colder than the house but warmer than the open yard, which is exactly what a dormant perennial wants.
Slide your less hardy pots inside after the first hard frost. Check the soil about once a month and give a small drink only if it feels dry an inch down.
Soggy soil in a cold garage is a fast path to root rot, so go easy with the watering can. A basement or cold frame works just as well if you have one.
2. Bury the Whole Pot in the Garden
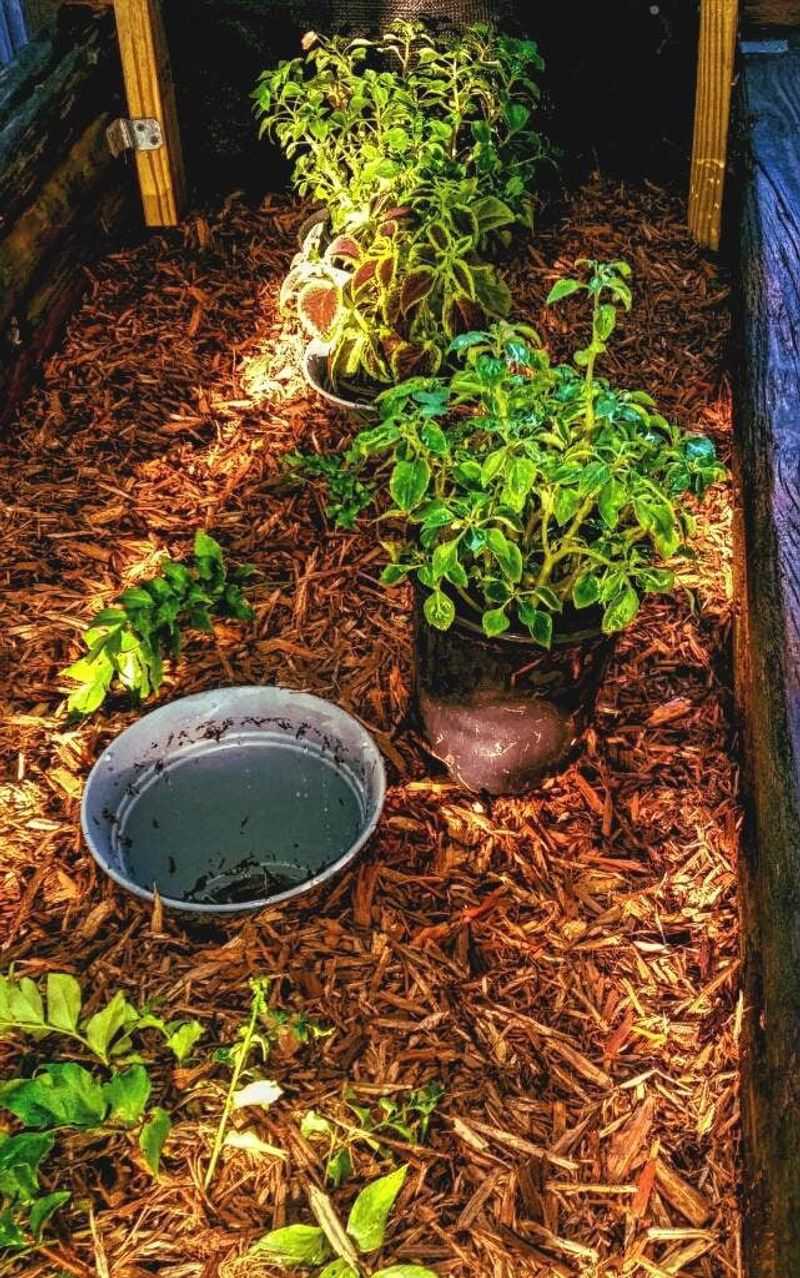
Old-time gardeners called it heeling in, and it works like magic. Dig a hole in an empty garden bed, drop the container in, and backfill until just the rim peeks out.
The soil around it acts like thick insulation, keeping roots at the same steady temperature as plants growing in the ground. Pick a spot that drains well so the pot does not sit in a puddle.
In spring, simply lift the pot out and set it back on the patio. Plastic nursery pots handle this best.
3. Pile On a Thick Layer of Mulch
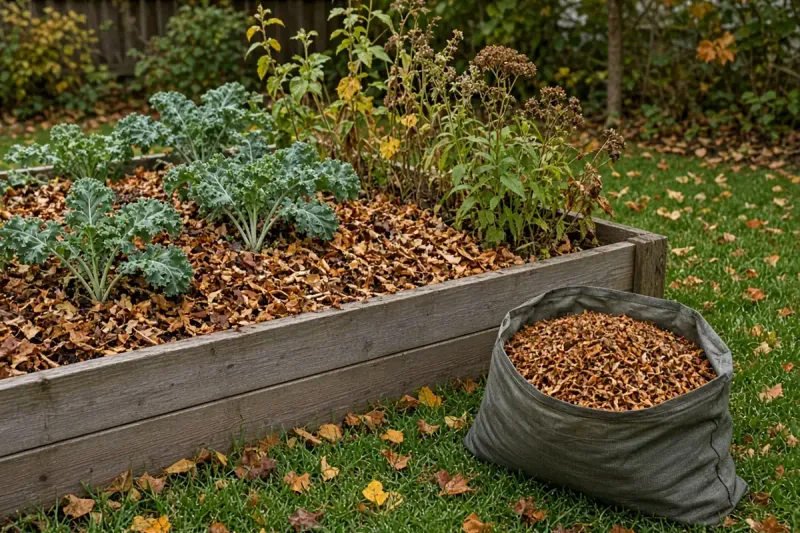
Shredded leaves are the best free winter gear you own. Rake a pile, run the mower over it, and tuck several inches over the soil in each pot.
Straw, pine needles, and bark mulch all do the same job. The layer slows down freezing and thawing at the root zone and helps the soil hold moisture.
Keep mulch a little away from the crown of the plant so the stem can breathe. Pull it back gently once new shoots appear in spring.
4. Wrap Pots in Burlap Instead of Plastic
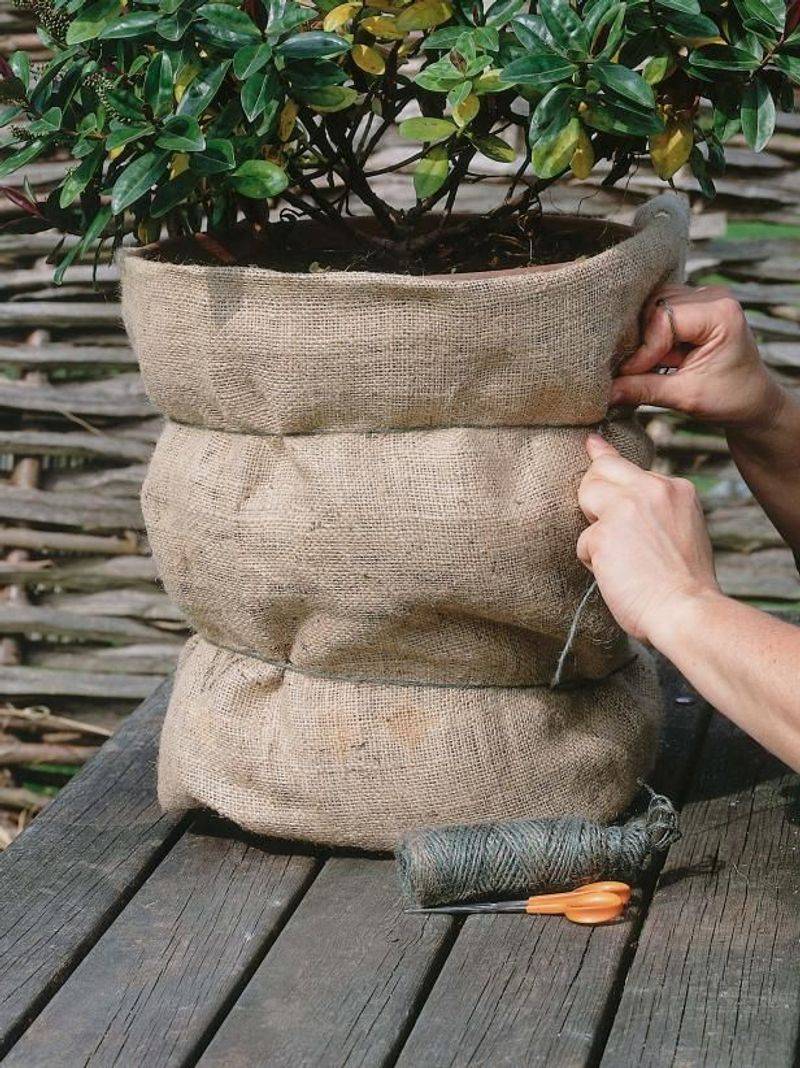
Burlap breathes, and plastic does not. That one difference is why burlap is the smarter choice for winter pots.
Wrap two or three layers around the sides of the container and tie it with garden twine. Moisture can escape, wind gets blocked, and the roots get a little extra buffer from the cold.
As a bonus, it looks charming on a porch. Toss a few pinecones on top and your neighbors will think you planned it as decor.
5. Try Reflective Foil Insulation
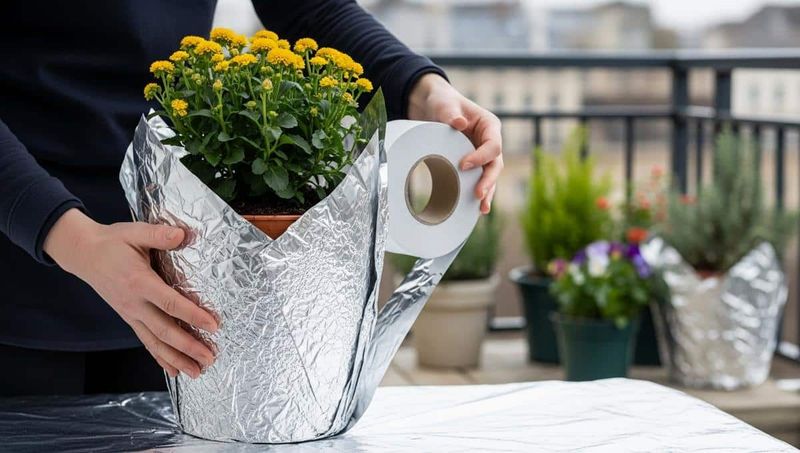
Picture the shiny emergency blanket in a first aid kit. Reflective bubble insulation from the hardware store works in a similar way for your pots.
Cut a strip, wrap it around the outside of the container with the foil facing out, and tape the seam. Leave the bottom open so drainage holes stay clear.
It is lightweight and reusable for years. If the look bothers you, slip a layer of burlap over the top.
6. Set Up a Box-Inside-a-Box
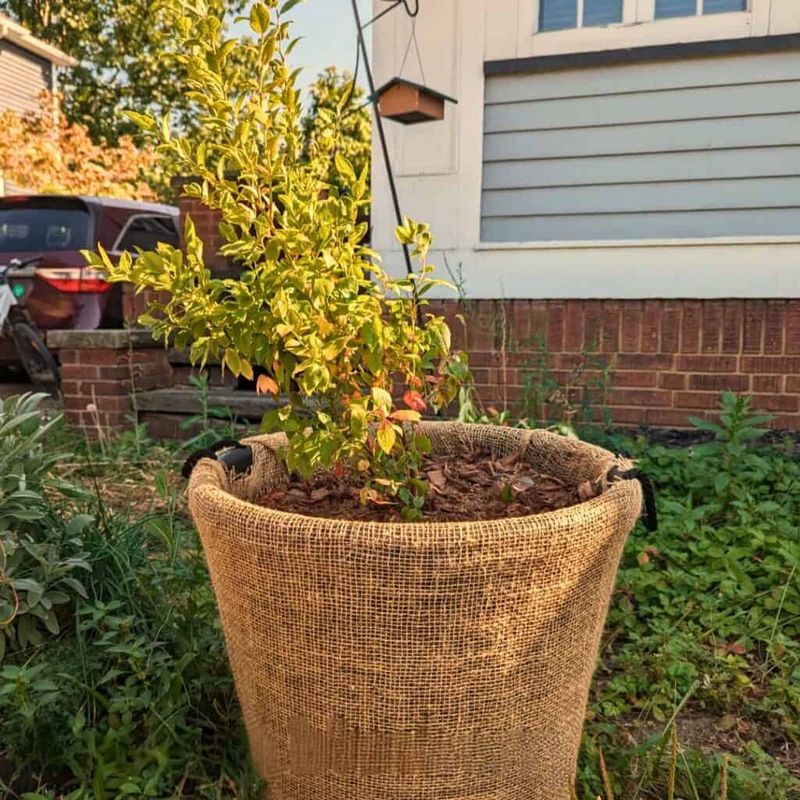
Think of how you ship a fragile gift. You put it in a bigger box and stuff the gap with padding.
Do the same with a prized pot. Set it inside a larger crate, cardboard box, or bushel basket, then fill the space with straw, shredded paper, or dry leaves.
That padding holds warmth and blocks wind from every side. It is a great trick for a single special plant, like a potted clematis you have babied for years.
7. Huddle Containers Together
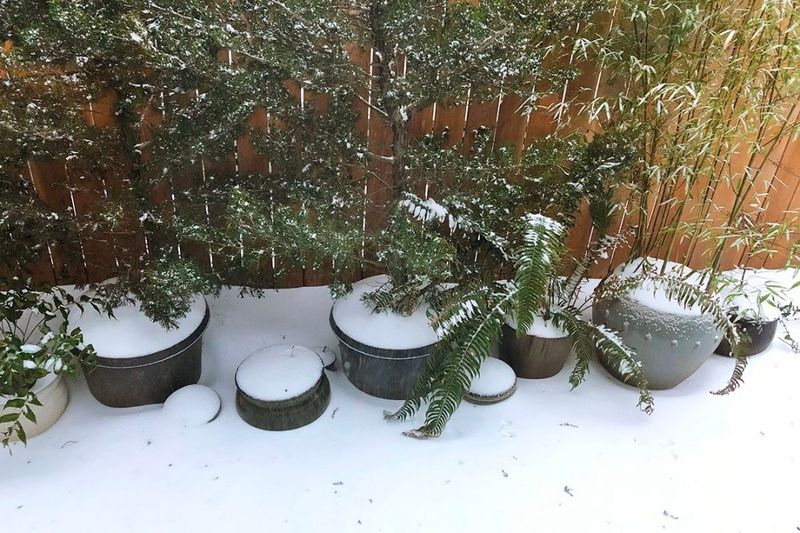
Penguins have it figured out. Huddle together and everyone stays warmer.
Push small pots into a tight group in a protected corner, with the most tender ones in the middle. Fewer pot sides face the cold air, so less heat escapes.
Stuff leaves or straw into the gaps for even more protection. It takes ten minutes and costs nothing.
8. Lift Pots Onto Feet or Bricks
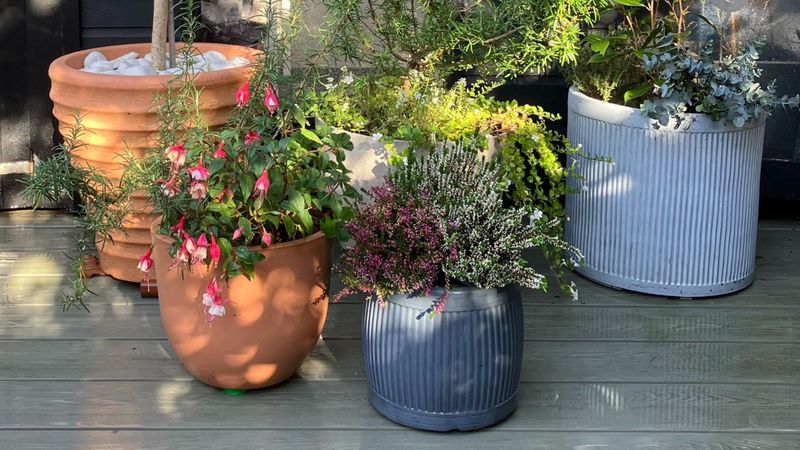
Plenty of cracked pots never cracked from the cold air at all. They froze to a wet patio, then split when the ice expanded underneath.
Raising containers a couple of inches with pot feet, bricks, or wood blocks lets water drain freely. Dry pots are far less likely to crack.
It also keeps drainage holes open so roots are not sitting in icy water. A small change with a big payoff.
9. Water Deeply Before the Big Freeze
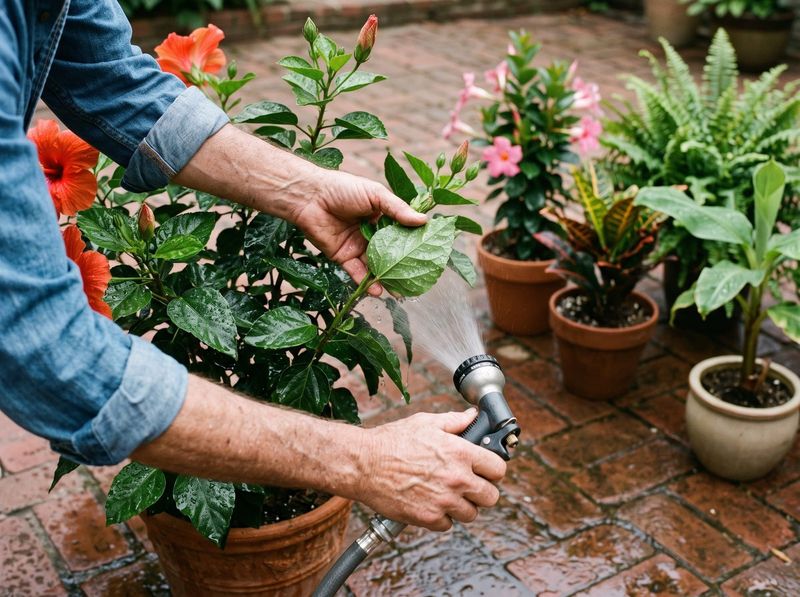
Here is a surprise for many gardeners: dry soil freezes harder than moist soil. Damp soil holds heat better, so roots get a gentler ride through a cold snap.
Give your pots a long, deep soak in late fall before the ground starts freezing for good. Water until it runs out the bottom.
Once plants go dormant, cut way back. Winter roots need very little, and too much water invites rot.
10. Pick Pot Materials That Handle Frost
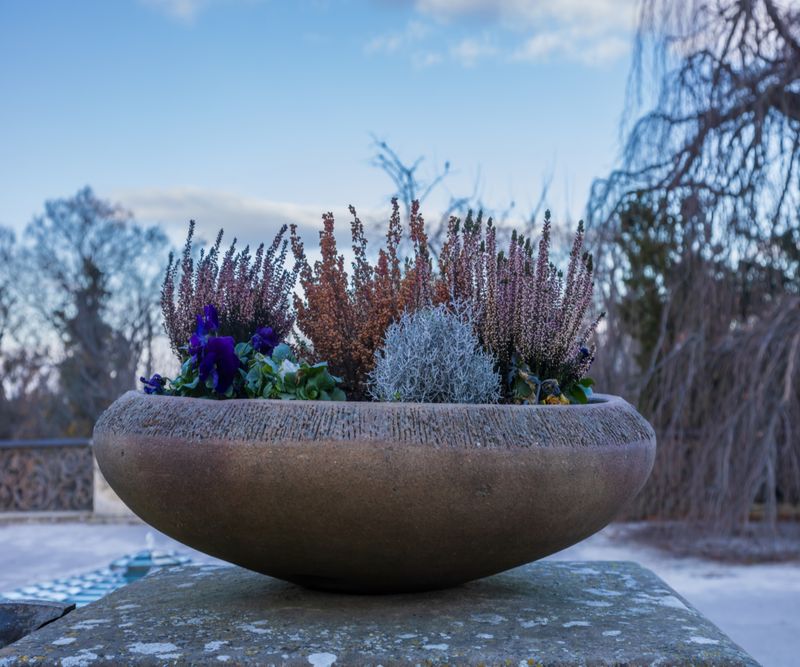
Terracotta is beautiful, but it drinks water like a sponge. When that water freezes, the clay can flake or split.
If you are buying new pots for perennials that stay out all year, look for resin, thick plastic, wood, fiberglass, or concrete. These hold up far better to freeze and thaw.
Save your favorite clay pots for summer annuals. Empty and store them dry in the garage for winter.
11. Shelter Pots From Winter Wind
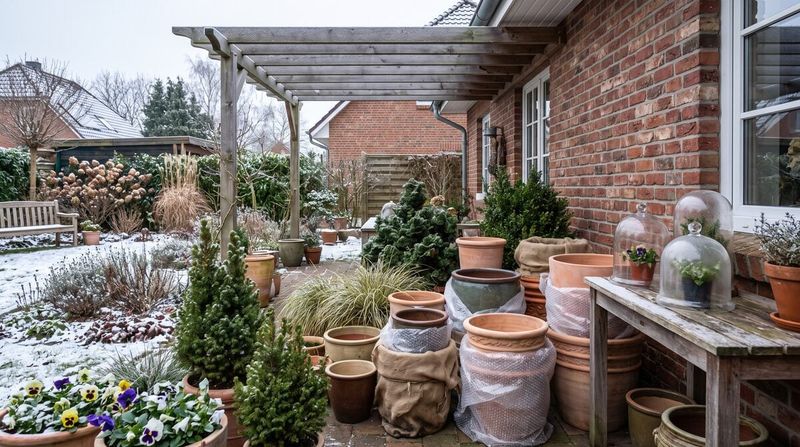
Wind is the sneaky thief of winter. It pulls moisture from stems and chills pots faster than still air.
Move containers next to a south or west wall, behind a fence, or under a covered porch. A house wall also gives off a little stored warmth on cold nights.
Watch that spot for melting snow dripping from a roof, though. Constant soaking can undo the benefit.
12. Seal Clay and Ceramic Pots
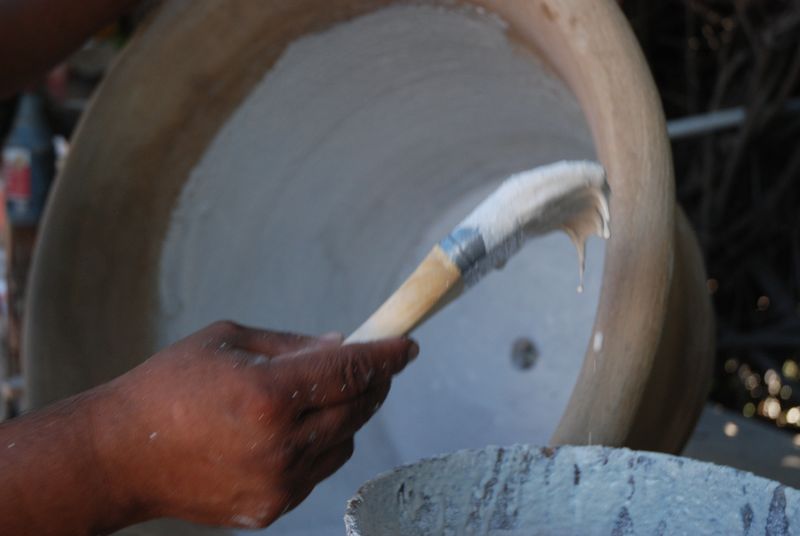
Got a heavy glazed pot you cannot move? A sealant may help it last.
Brush a clay pot or masonry sealer on the inside of terracotta or ceramic containers. It can reduce how much water soaks into the walls, which lowers the risk of freeze damage.
Let it dry fully before planting. It is not a guarantee, but paired with pot feet and mulch, it gives fragile pots a fighting chance.
13. Give Hydrangeas, Geraniums, and Clematis Custom Care
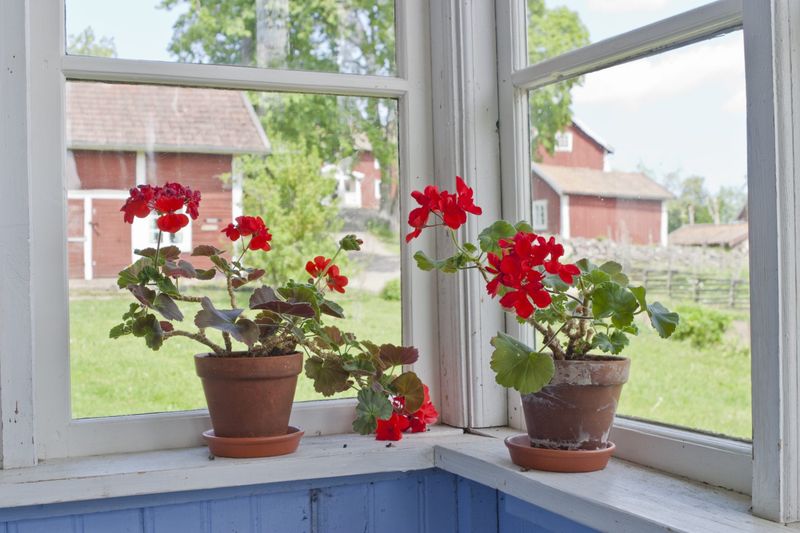
Your favorite plants each have their own winter wish list. A potted hydrangea that blooms on old wood needs its buds protected, so mound up to 12 inches of shredded leaves around the base, or move it to the garage.
Geraniums can come indoors to a sunny, cool window around 60 to 65 degrees. Trim them back by a third to a half first.
Clematis does best in a frost-proof pot against a warm wall, with heavy mulch added after the soil freezes. Give it a good soak before hard frosts, then water sparingly.