
Lots Of Mint Spreading Into Your Lawn Every Spring? 13 Ways To Fence It In Before It Takes Over Again
Mint smells wonderful in a glass of iced tea, but in the yard it can act like a bully that never goes home. Every spring, its hidden roots creep under the soil and pop up in your grass, your flower beds, and places you never planted it.
The good news is that you do not have to rip it all out or give up on growing it. With a few simple barriers and habits, you can keep your mint right where you want it.
1. Grow It in a Pot on a Hard Surface
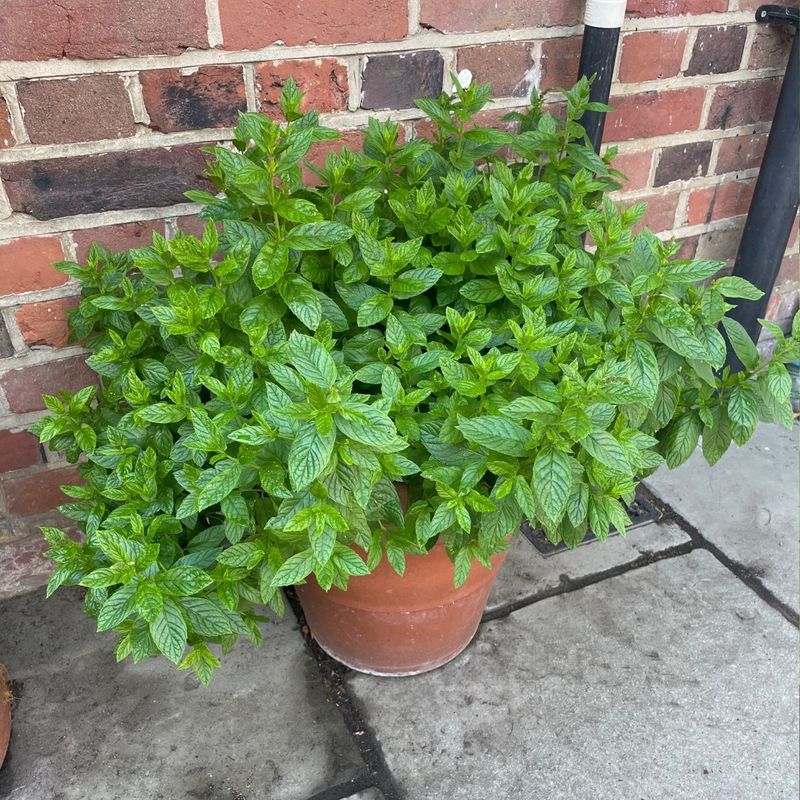
Picture a pot of mint sitting on a stone patio, totally surrounded by pavement. It can grow as wild as it likes, and it still has nowhere to go.
That is the simplest form of mint control there is.
Mint spreads through underground stems called rhizomes, plus runners that root anywhere they touch dirt. When the pot sits on soil, those roots can sneak out the drainage hole and settle into your lawn.
A patio, deck, or concrete slab cuts off that escape route completely.
Choose a container at least 12 inches wide so the plant does not dry out too fast in summer. Water often, since potted mint gets thirsty quicker than mint in the ground.
Check under the pot now and then to make sure no brave root is reaching for a crack.
2. Pick Containers Without Drainage Holes
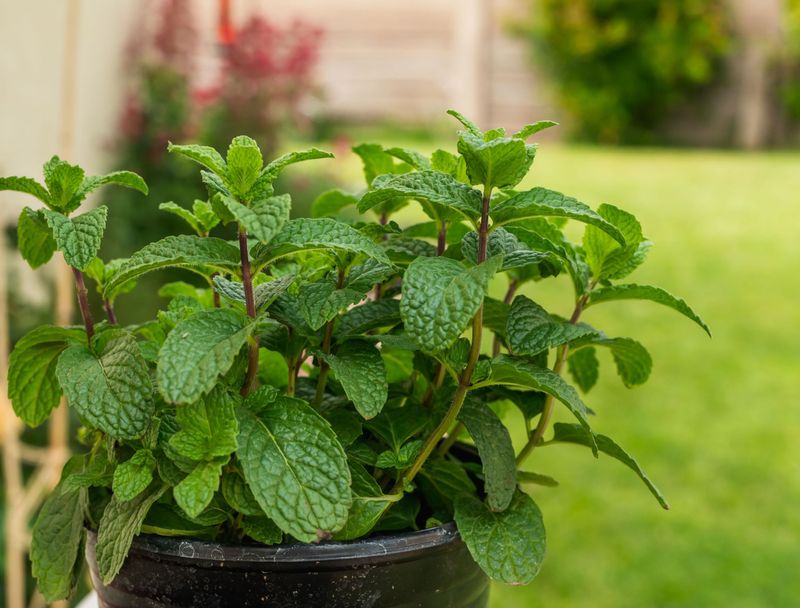
No hole, no escape. It sounds almost too easy, and in a way it is.
A sealed container means there is zero chance of roots slipping out the bottom. The catch is water, because mint hates sitting in soggy soil for days.
Add an inch or two of gravel at the base and water a little at a time, letting the top inch of soil dry slightly before the next drink.
After heavy rain, tip the pot to drain off any extra water. Yellow lower leaves usually mean the roots are too wet.
Treat that as your signal to ease up, and your mint will stay green and contained all season.
3. Try a Strawberry Jar
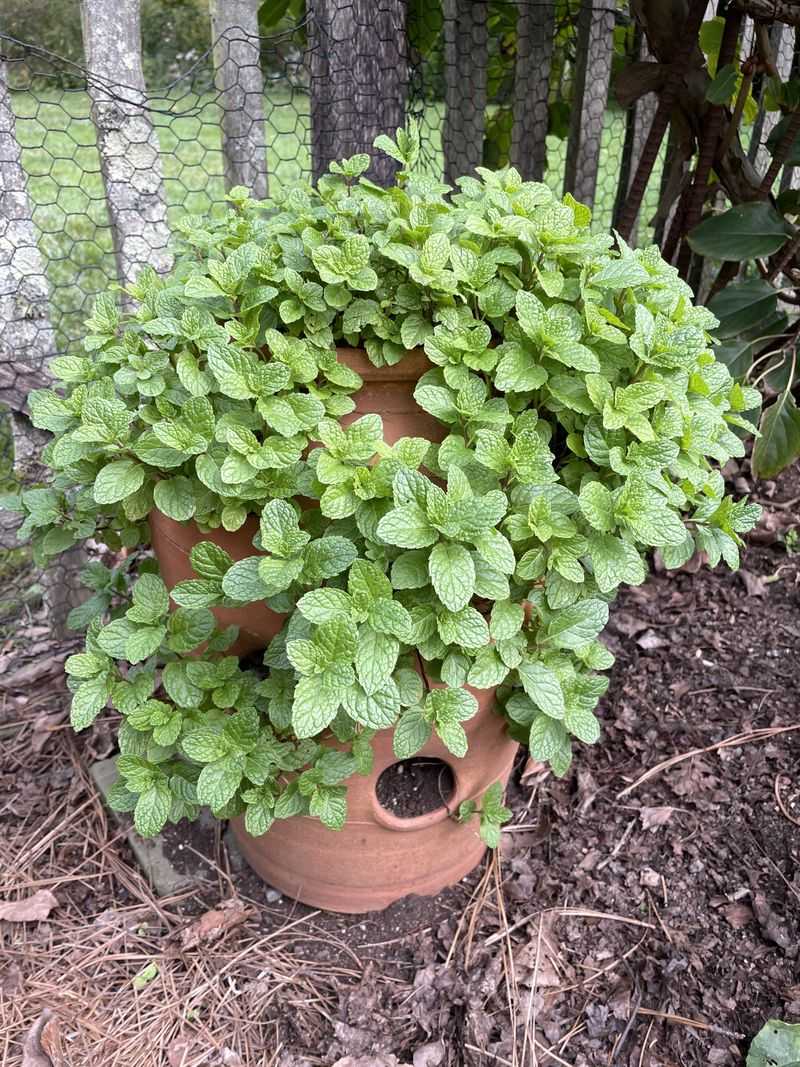
Strawberry jars were made for berries, but mint seems to love them just as much. Those little side pockets give each sprig its own window to lean out of.
The result looks charming and stays tidy.
The trick is the bottom hole. Plug it with a piece of mesh topped with a flat stone, or set the jar on pavers so roots cannot reach the ground below.
Fill with good potting mix and tuck a cutting into each pocket.
You can even plant different mints, like spearmint, peppermint, and chocolate mint, in separate pockets. Just know that the strongest one may slowly crowd the others.
Trimming each pocket keeps the peace.
4. Bury a Deep Pot With the Rim Showing
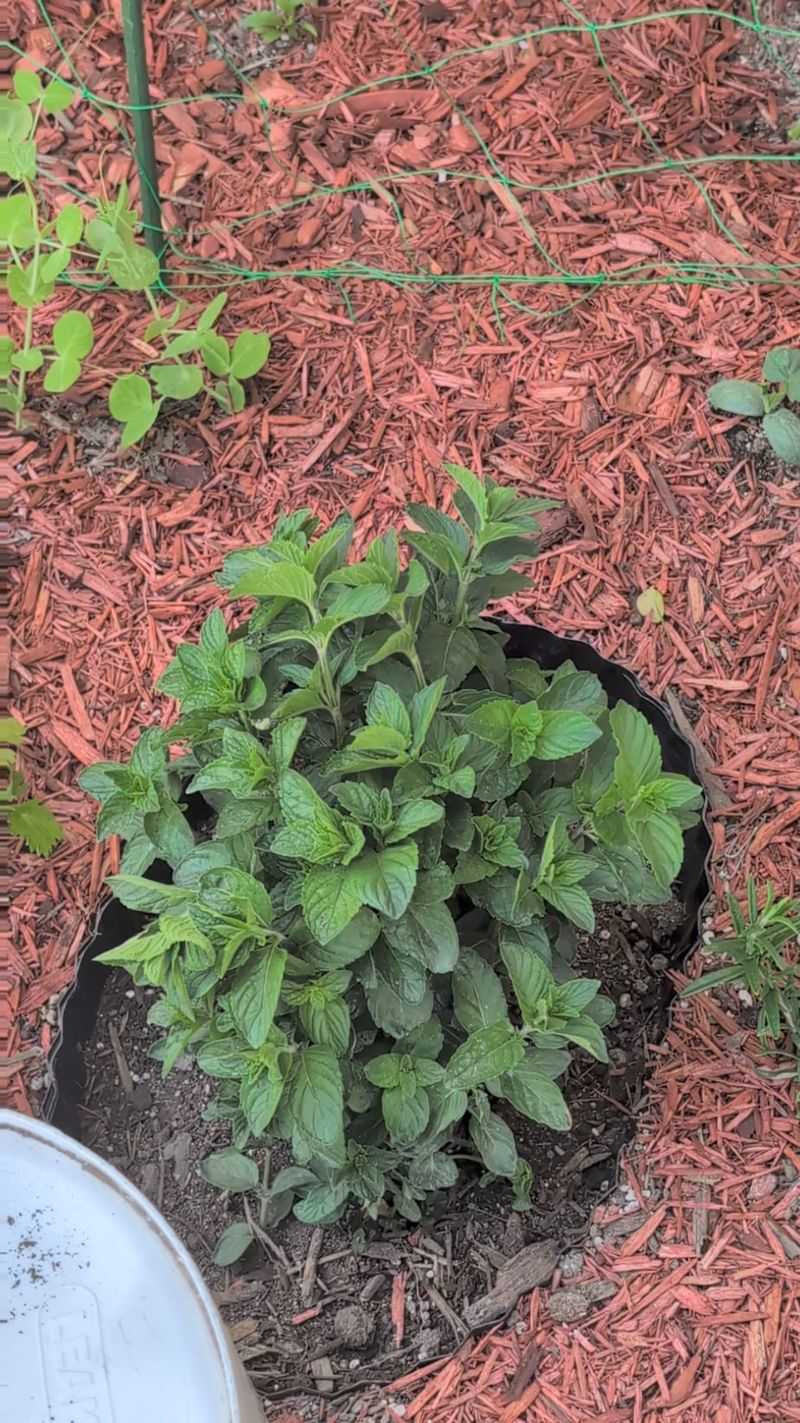
Want mint in the garden bed without letting it run the place? Sink it in a pot.
This method gives you the in-ground look while keeping the roots in a cage.
Use a container at least 18 inches deep. Dig a hole, drop the pot in, and leave 1 to 2 inches of the rim sticking up above the soil line.
That raised lip matters more than people think, because mint runners love to crawl right over the top of a buried edge.
Do not cover the rim with mulch, or you erase the barrier. Every few weeks, look for stems hanging over the edge and snip any that touch the soil outside.
A quick glance on your morning coffee walk is enough.
5. Give Buried Pots a Quarter Turn
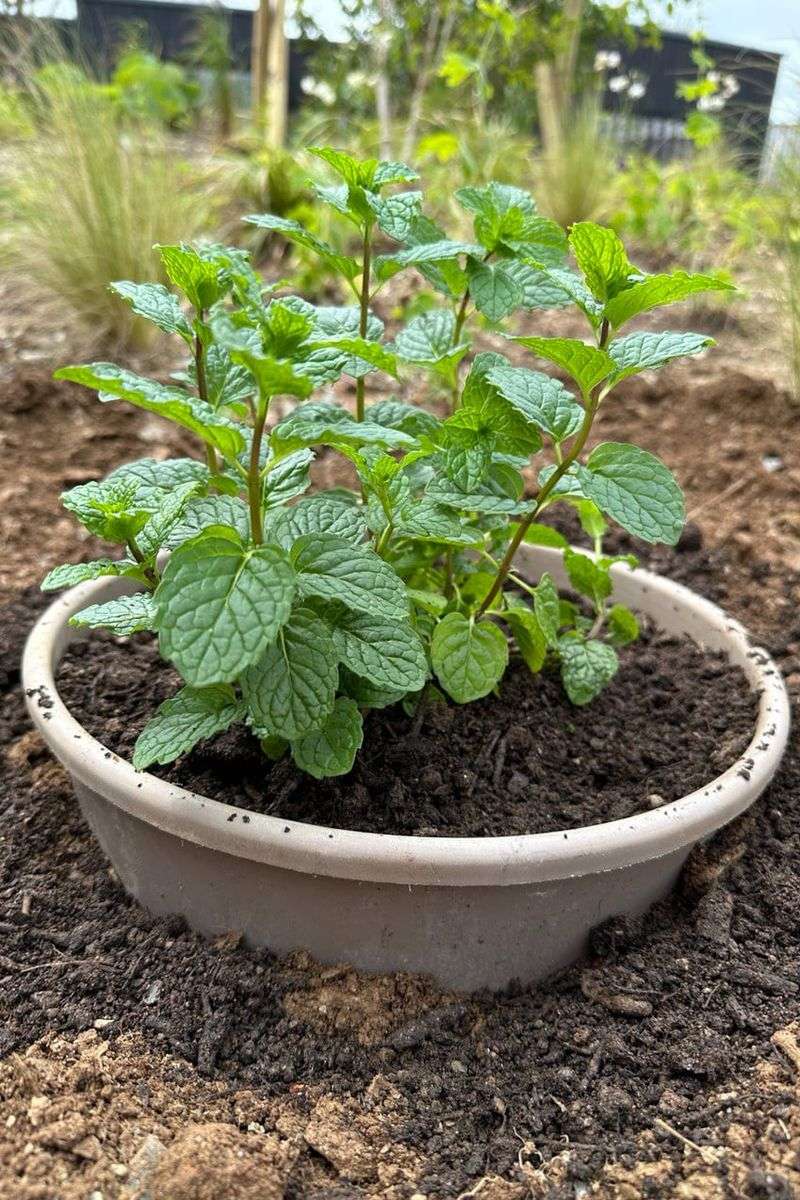
Here is a little habit that pays off big. If your buried pot has drainage holes, roots will eventually find them and push out into the soil around it.
Every two to three weeks during the growing season, grab the rim and twist the pot about a quarter turn. That motion snaps off any young roots poking through before they get thick and woody.
It takes five seconds.
If the pot will not budge, roots may already be anchored outside. Lift it, trim what escaped, and pull any stray mint growing nearby.
Then set a phone reminder, because this chore is easy to forget once summer gets busy.
6. Use a Bottomless Pot as a Root Collar
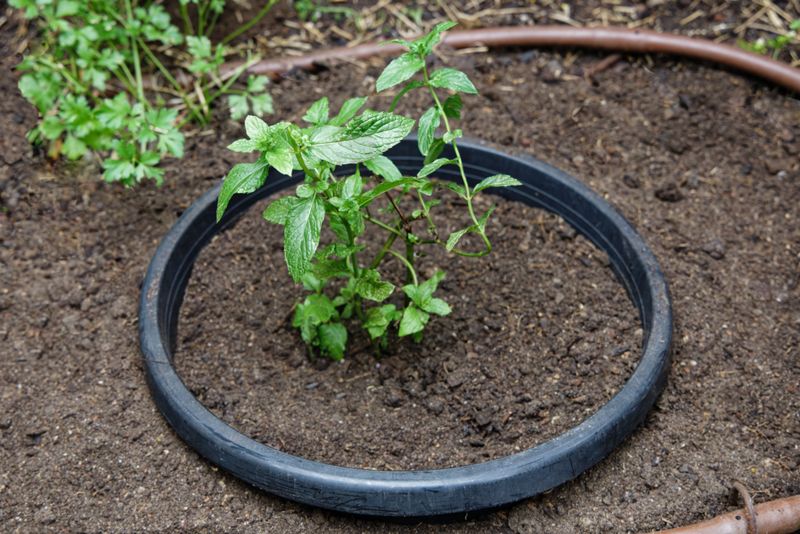
Cut the bottom out of a big plastic pot and you get something surprisingly useful: a collar that blocks sideways spread but lets roots go deep for water.
Pick a pot at least 12 inches wide. Bury it so about 2 inches of the rim stays above ground, then plant your mint inside.
Because mint mostly spreads sideways near the surface, the walls do most of the work.
Deep-rooted mint in a collar handles summer heat better than mint in a sealed pot. Still, a determined runner can sometimes dive under the edge in loose soil.
Deeper collars, around 18 inches, may reduce that risk.
7. Install a Plastic Root Barrier
Got a mint patch that already feels like a small field? A pot will not cut it.
You need a wall.
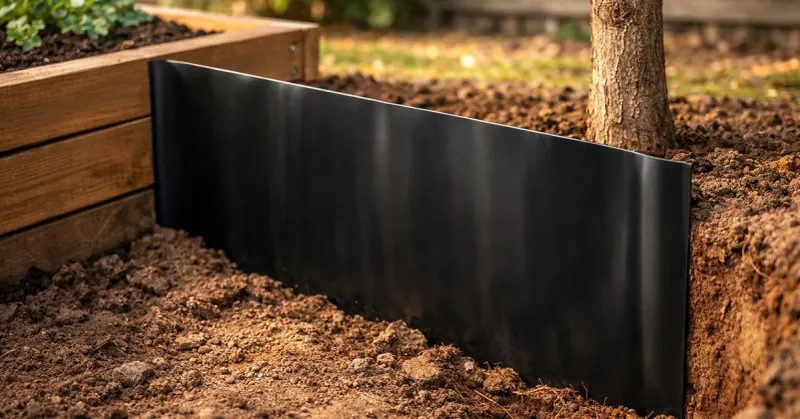
Thick plastic root barrier, the kind sold for bamboo, works well. Dig a narrow trench around the patch at least 12 to 18 inches deep, set the sheeting in upright, and leave a few inches above the soil.
Overlap the ends by a foot and seal them so roots cannot squeeze through the seam.
Thin landscape fabric will not hold up, since mint can push through it. Spend a bit more on sturdy material once and you can skip the yearly battle.
Spring, before new growth takes off, is the best time to install it.
8. Go Heavy Duty With Metal Edging
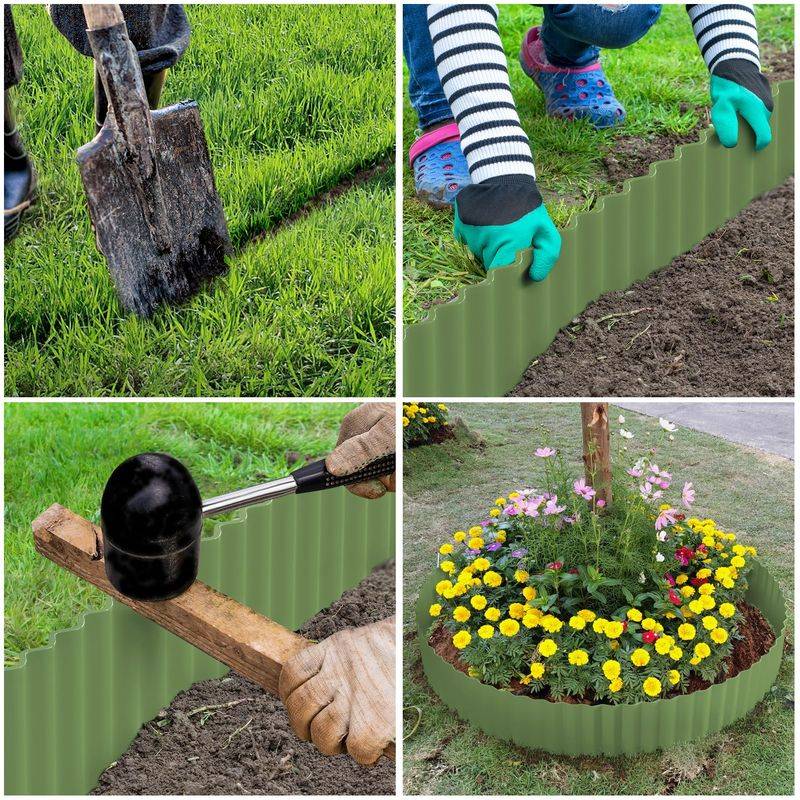
Metal does not crack in the cold or get brittle in the sun. If you want a barrier that may outlast your lawn mower, steel or galvanized sheet metal is the answer.
Bury it 12 to 18 inches deep, just like plastic, with a lip above the surface. Corten steel or galvanized edging also gives a crisp, polished border between the mint and the grass.
Wear gloves, since cut edges can be sharp.
Metal costs more up front. But for a permanent herb corner you plan to keep for years, the sturdiness is hard to beat.
9. Upcycle Old Stuff Into Barriers
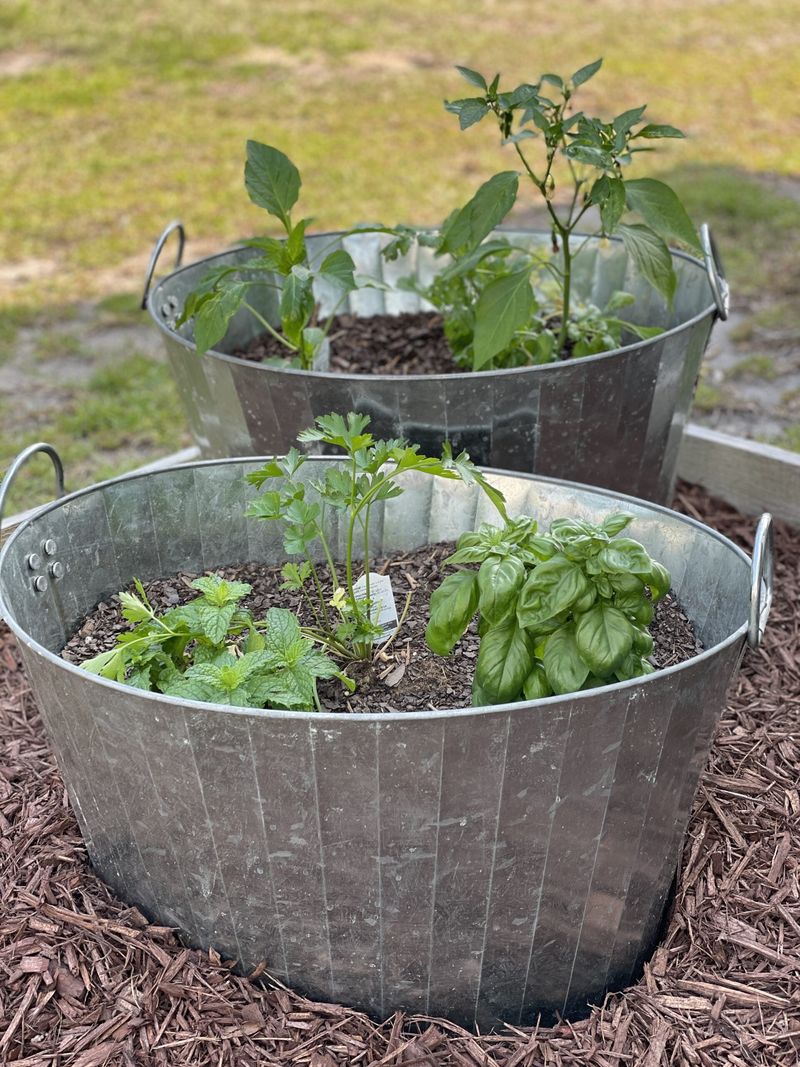
That cracked storage bin in the garage? The rusty washtub?
Old metal roof panels? Any of them might become your next mint fence.
A bin with the bottom cut out works like a bottomless pot. Leftover metal sheeting can line a trench.
Even an old five-gallon bucket, holes drilled away from the bottom, can hold a small patch.
Avoid anything that held chemicals, since you will be eating these leaves. Otherwise, reusing what you have saves money and keeps junk out of the trash.
Your mint will not care how pretty the barrier is.
10. Dig a Trench Barrier
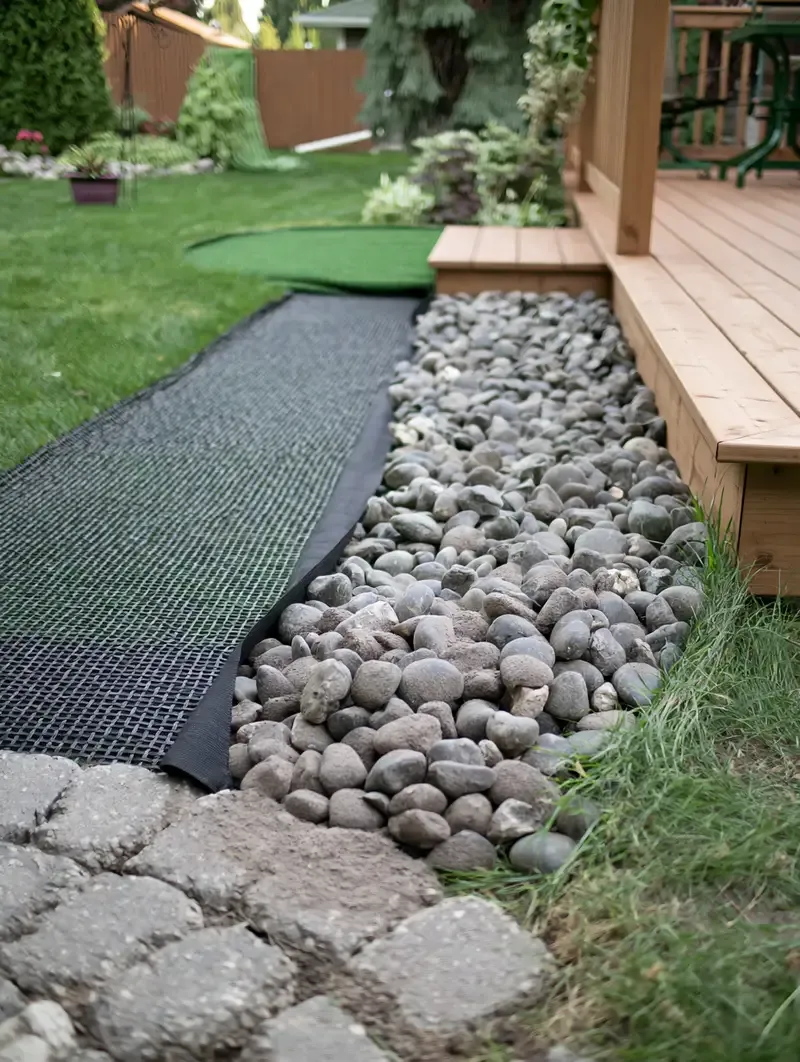
Old-time gardeners had a sturdy fix: a trench. Dig around the mint, then fill it with something roots cannot cross.
Some people pour concrete for a permanent wall. Others line the trench with plastic garden liner, then fill it with bricks or gravel.
The gravel version also makes a neat little path you can walk on.
Aim for at least a foot deep. Gravel alone will not stop roots, so the liner is the real barrier.
Pull any sprouts that show up in the stones right away.
11. Prune Hard and Often
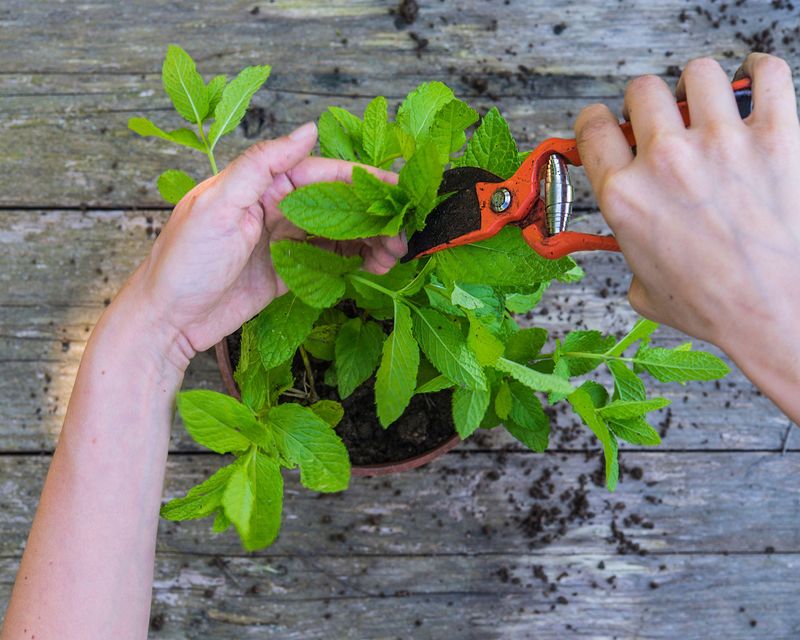
Think of pruning as a monthly haircut your mint actually needs. Cut it back at least once a month during the growing season, and do not be shy.
Trimming keeps the plant bushy and upright instead of sprawling across the ground. Sprawling stems are the ones that touch soil and root in new spots.
Snip any stem flopping toward the lawn.
Bonus: you get piles of fresh leaves for tea, mojitos, or freezing in ice cube trays. Mint usually bounces back fast, so a hard cut will not hurt it.
12. Snip Off the Flower Spikes
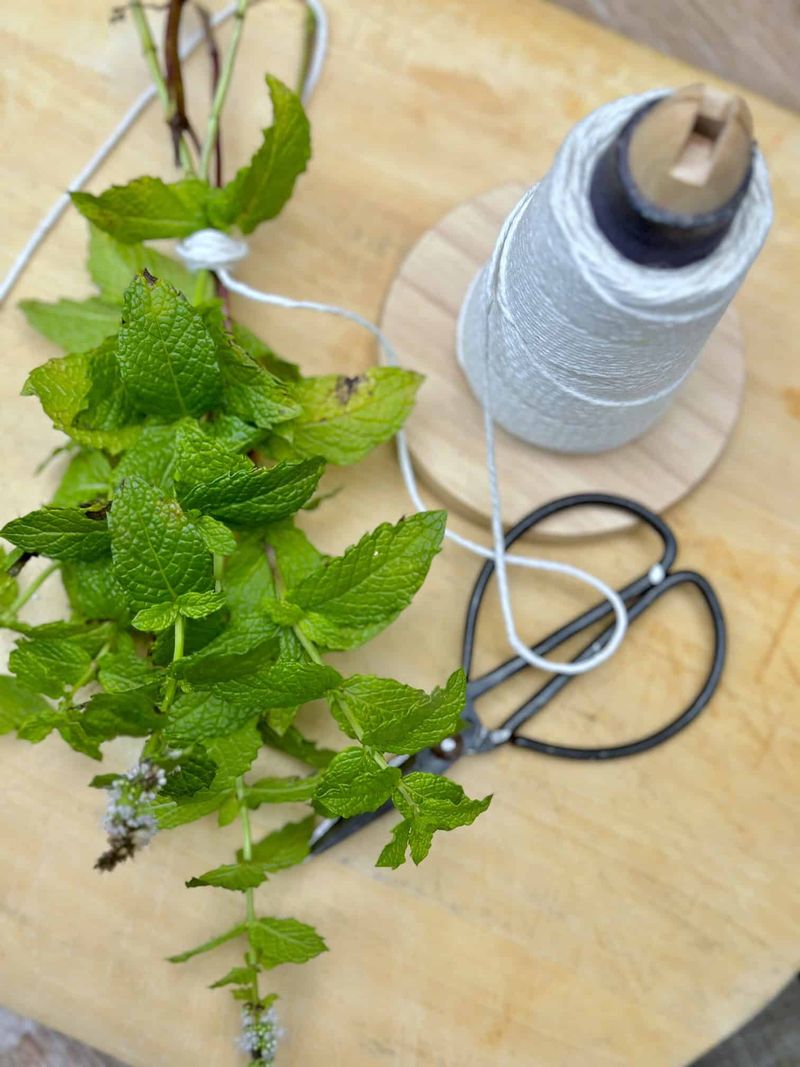
Those fuzzy purple flower spikes attract bees and butterflies, and they look lovely. They also bring a small extra risk.
Mint spreads mostly by roots, but some types can drop seeds too. Cutting spikes before they set seed may help prevent surprise seedlings.
It also pushes the plant to make more tasty leaves.
If you want to feed pollinators, let a few bloom and remove them as they fade. That balance keeps bees happy and your lawn clean.
13. Keep a Wide Mowed Grass Strip
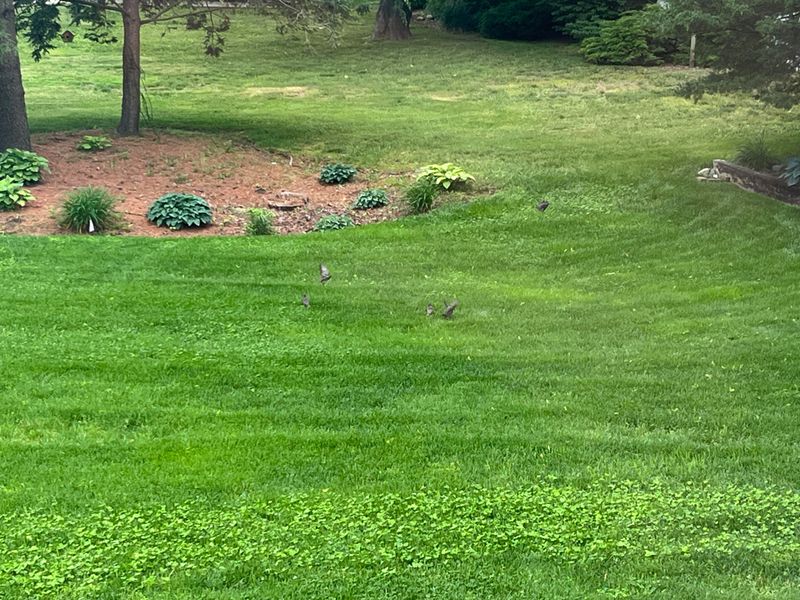
Sometimes your lawn mower is the best fence you own. If your mint lives in its own patch, surround it with a strip of grass at least 3 feet wide.
Mow that strip every week. Runners that sneak in get chopped again and again, and constant cutting can weaken them before they settle.
It is low-cost and works with what you already do.
Pair it with an edging barrier for extra protection. For a big, old patch, this may be the easiest long-term plan you can keep up with.