
How to Propagate Rosemary From Cuttings: What to Expect and How to Help Them Root
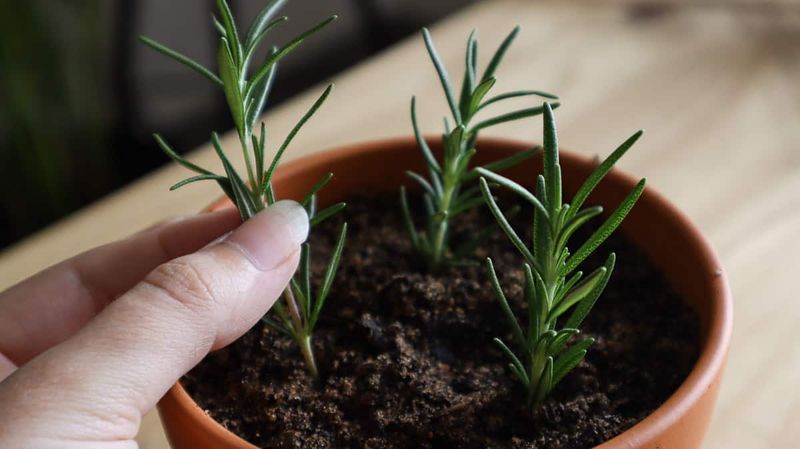
Your rosemary bush may be hiding a few free plants right on its stems. Snipping cuttings is simple, but rosemary can be fussy about wet soil and bad timing.
A few small choices decide whether a cutting grows roots or just turns brown. Here is how to give yours the best shot, and what to expect along the way.
One rosemary plant can make several starts—but not a guaranteed row
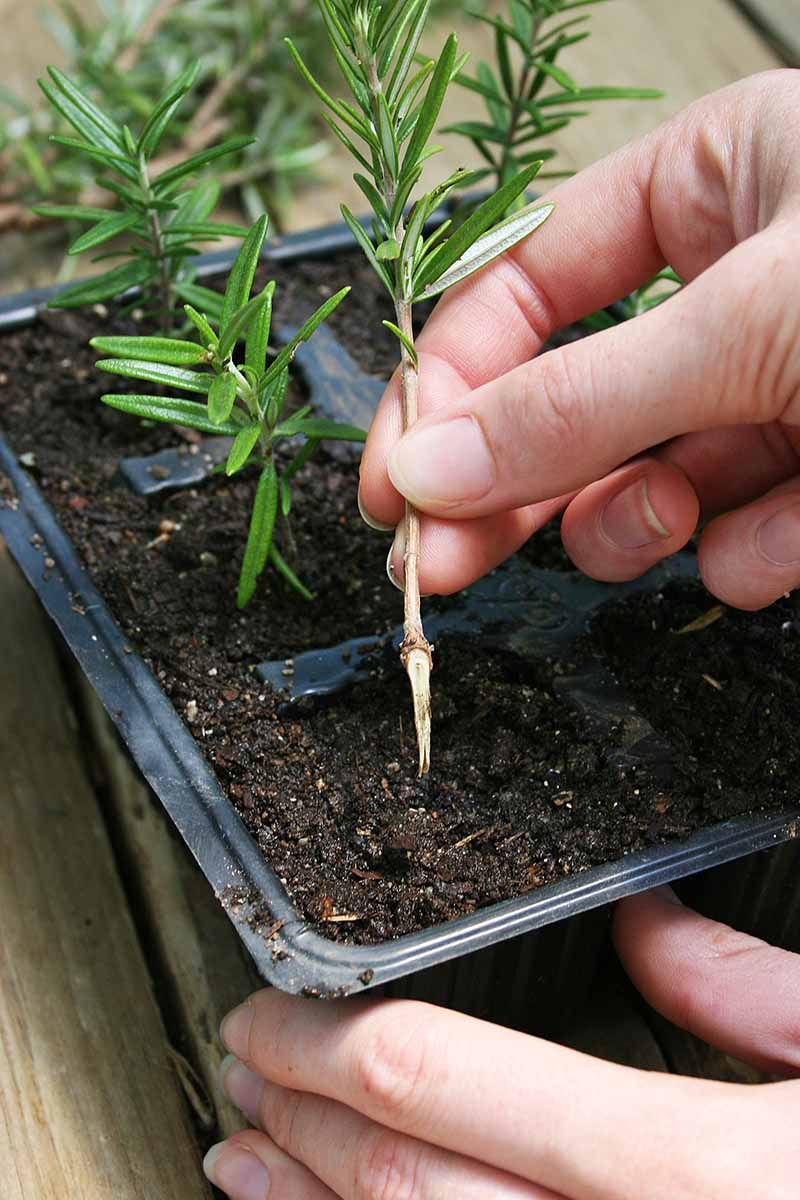
Picture your rosemary bush giving you a handful of new plants for free. That is possible, and many gardeners do it.
A whole row by spring, though, is a hope rather than a promise.
Not every cutting will take. N.C.
Cooperative Extension estimates a 30 to 50 percent rooting rate for its method. It also advises taking two to three times as many cuttings as the number of plants you want.
If you hope for four new rosemary plants, plan on snipping eight to twelve stems.
There is a nice bonus here. A cutting is a clone of its parent, so the new plant keeps the traits you already like, such as the flavor, the growth habit, and the look of the leaves.
The NC State Extension Gardener Handbook explains that vegetative cuttings preserve the parent plant’s characteristics. Plants grown from seed do not necessarily match their parent that way.
One more thing to keep in mind is that rooting is only the first step. A cutting that grows roots still has to be potted up, hardened off, and matched to your local weather.
Some will be sturdy outdoor plants by spring, and some will need more time in a pot. Think of every rooted cutting as a bonus rather than a sure thing.
When should you take rosemary cuttings?
If you have seen advice to snip rosemary right now, hold that thought. Reliable sources do not agree on one best date.
Your timing depends on the shoot, your setup, and your climate.
Extension guides from Wisconsin and North Carolina both point to fresh tip growth in late spring to early summer. That is when stems are soft, leafy, and actively growing.
A University of Georgia propagation reference tells a different story. It lists fall and winter for semi-hardwood rosemary cuttings, using mist or an open bench.
Those are special setups that keep humidity steady, which many home gardeners do not have.
So how do you decide? Start by looking at the stem itself.
Is it fresh, leafy, and flexible, or older and stiff? Then think about where the cuttings will sit.
A bright, sheltered spot with steady conditions gives you more freedom than a cold porch.
If you do not have mist or a bench, the late-spring-to-early-summer window described by Wisconsin and North Carolina is a friendlier match. If you try fall or winter cuttings, expect that results may vary and keep extras going.
Choose healthy, leafy shoots
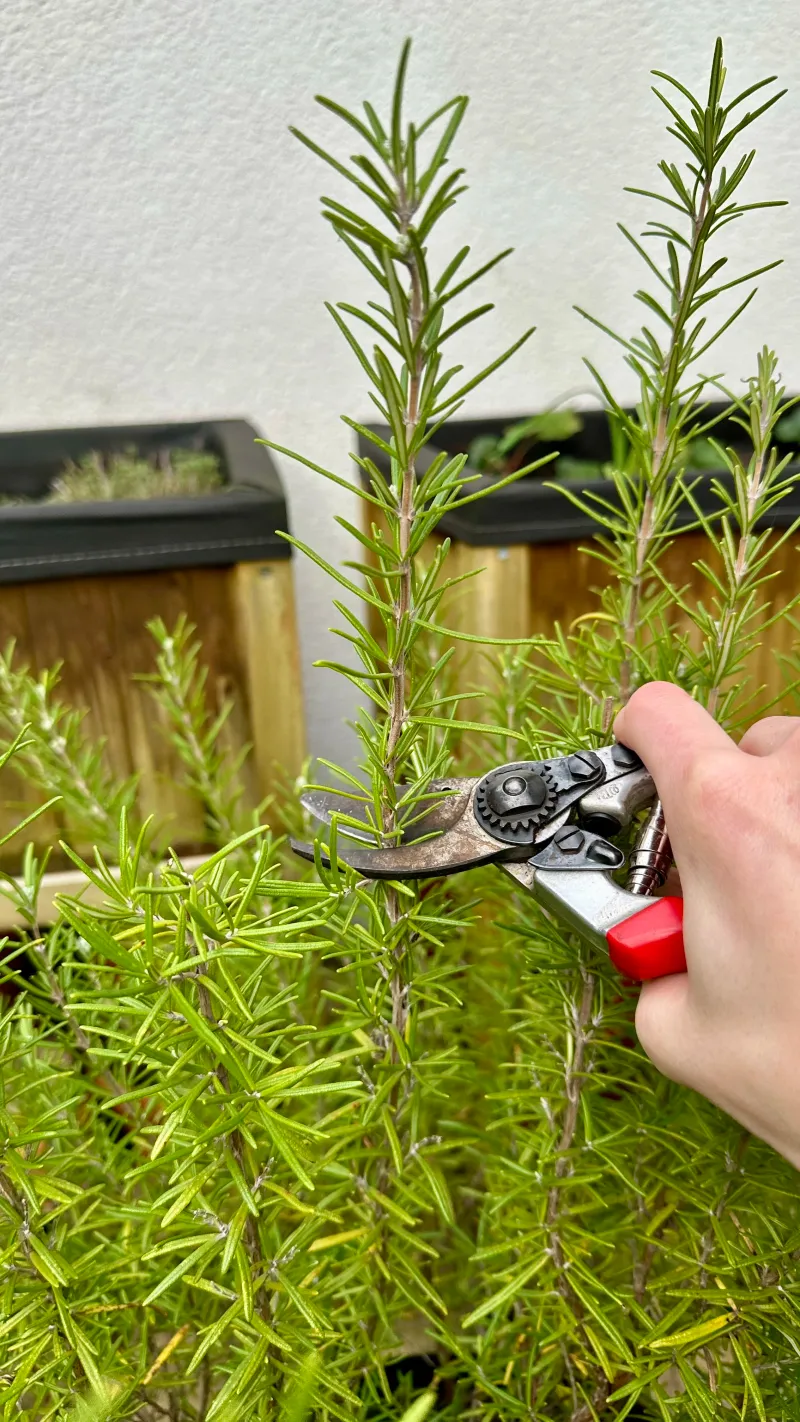
Good cuttings begin on the parent plant. Look for a healthy shoot that is not flowering and has leafy new growth.
Skip old, fully woody stems, since they are a poorer bet.
Length varies a bit between sources, so there is no single magic number. N.C.
Extension recommends 3 to 5 inches. Wisconsin Extension suggests 4 to 6 inches.
Anywhere in that overlap, around 4 to 5 inches, is a sensible target.
Wipe your snips or scissors clean before you cut. Dirty tools can carry trouble from one plant to another, and a clean cut gives the stem a better start.
Once you have your stems, strip the leaves from the lower portion, the part that will sit below the rooting medium. Leave the foliage at the tip.
Leaves buried in damp mix tend to rot, so removing them takes away an easy problem.
Remember the numbers game from earlier and cut extras. If a stem looks limp or has flower buds, set it aside.
Choosing carefully now saves you from watching a tray of cuttings fade later.
Set each cutting in a clean, well-drained medium
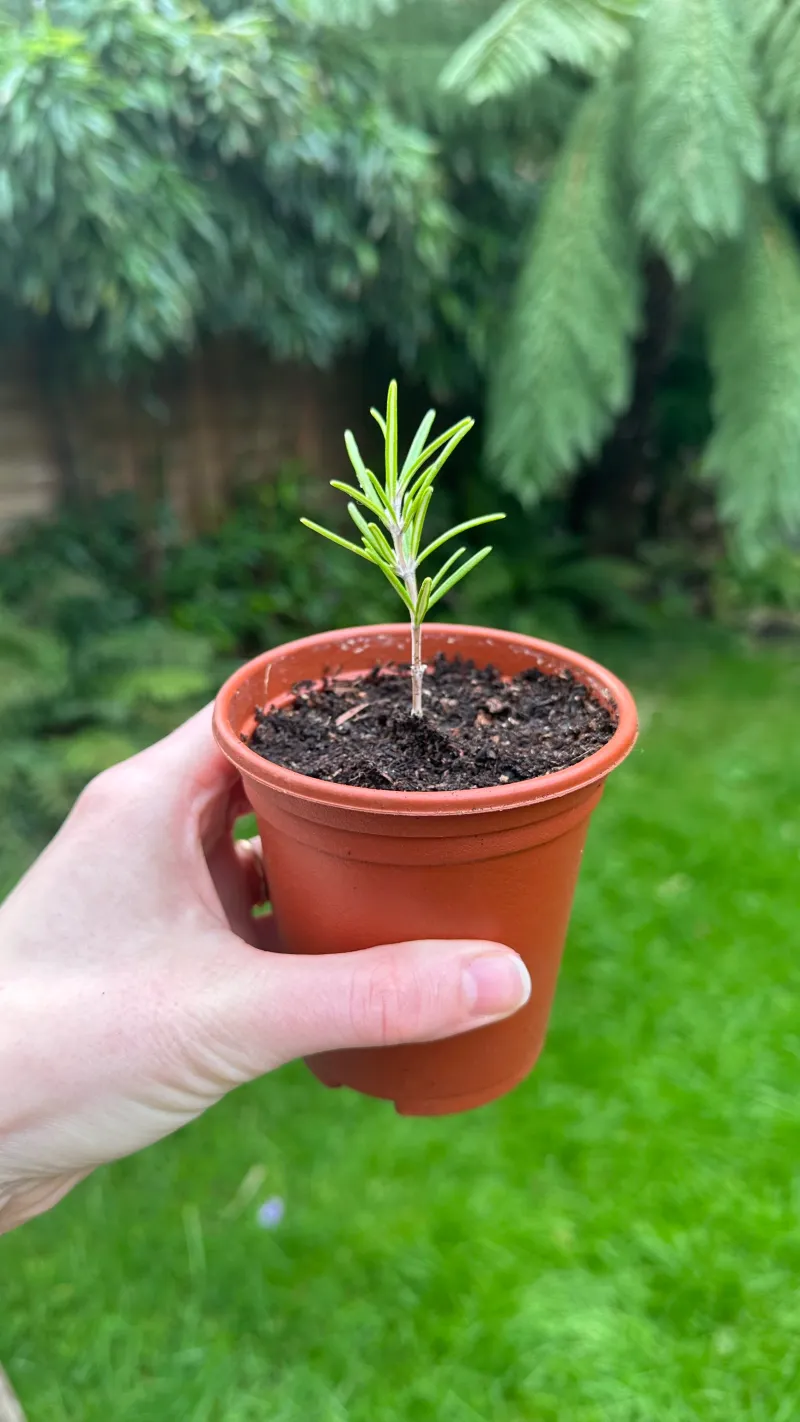
Now for the planting setup. Grab a clean pot with drainage holes, since standing water is rosemary’s biggest enemy.
A pot that held something else last year is fine if you scrub it first.
The rooting medium should be light and drain fast. Guidance from N.C.
Extension and the University of Georgia points to options such as perlite or a suitable soilless mix. Heavy garden soil packs down and holds too much water.
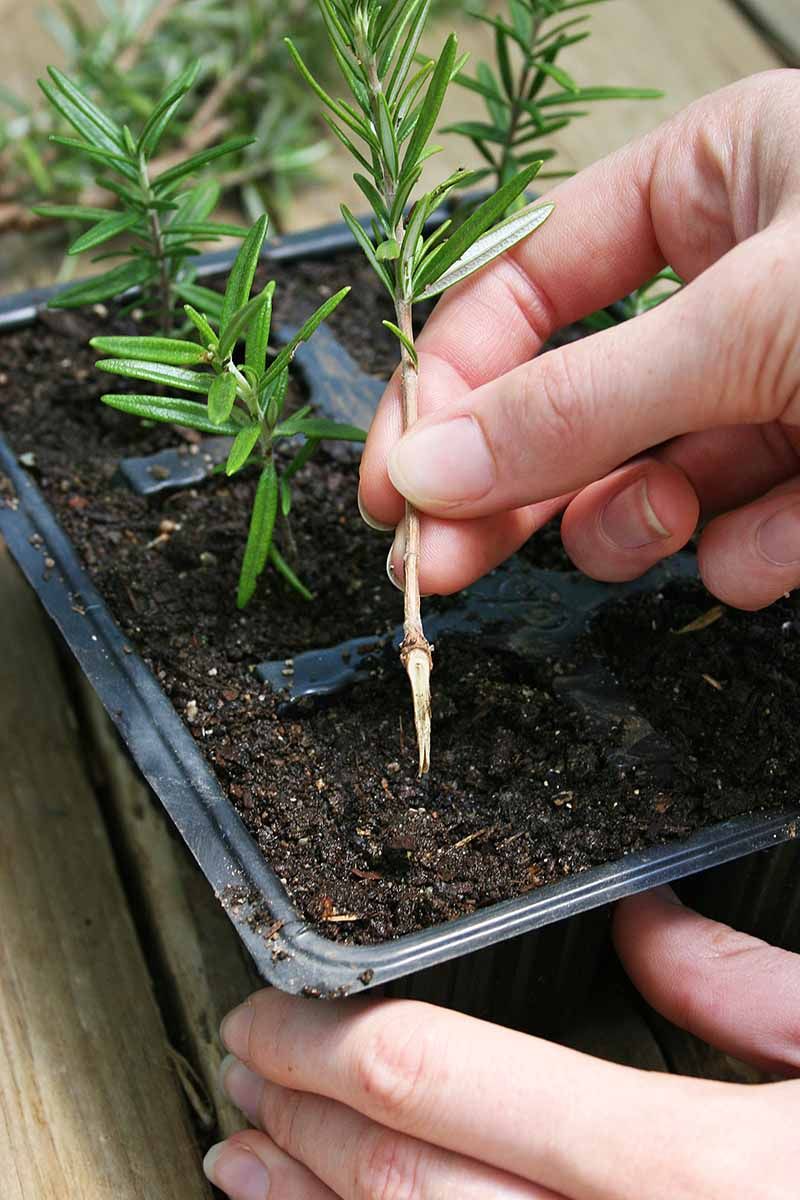
Moisten the mix lightly before you start, then poke a hole with a pencil so the stem does not get scraped. Slide the stripped end in and firm the mix gently around it.
The leafy tip should sit above the surface.
Rooting hormone is optional. Wisconsin Extension says it can improve rooting speed, but it is not required.
If you do not have any, you can still go ahead.
You can put several cuttings in one pot or give each its own. Just leave a little space so leaves are not crowded and air can move between them.
Maintain humidity without soaking the cuttings
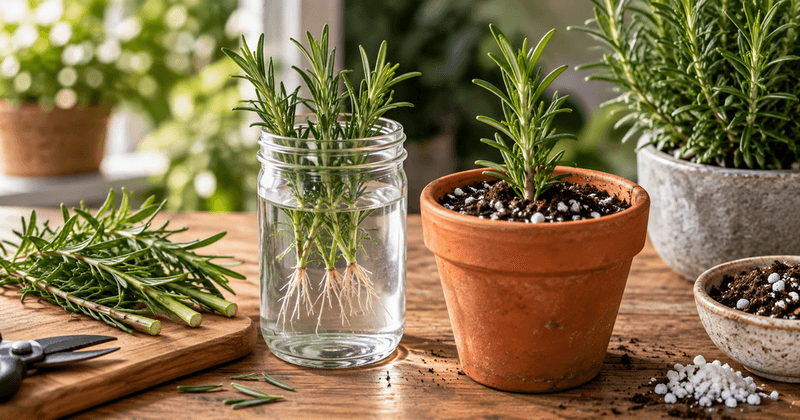
Here is where many rosemary cuttings go wrong. Cuttings with no roots cannot drink much, so they need humid air and a moist medium.
They do not need a soggy one.
Aim for mix that feels damp like a wrung-out sponge, never swampy. Wisconsin Extension notes rosemary is prone to problems from overwatering, and the N.C. guide calls for a moist medium, not a wet one.
A stem that turns dark and mushy near the base is a warning sign of rot.
To keep the air humid, you can set a loose clear cover over the pot, such as a plastic bag propped up with sticks. Leave it loose so some air gets in.
Do not seal it tight and never park it in direct sun, where it can cook the cuttings.
Place the pot in a bright, sheltered spot out of direct sun and wind. A bright windowsill with filtered light often works well.
Check the medium every few days. Press a finger in a half inch.
If it feels dry, water lightly. If it feels wet, wait.
Wait for established roots before potting up
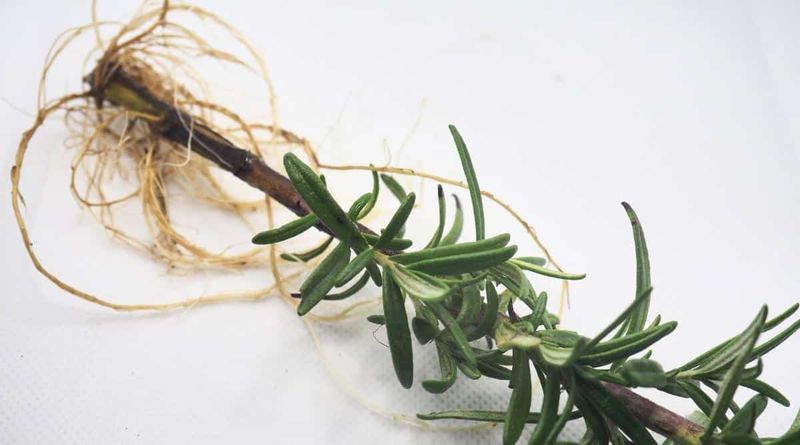
Patience pays off here. N.C.
Extension says its cuttings should root in about 4 to 6 weeks. That is an estimate for one method, not a deadline, and your cuttings may be faster or slower.
Instead of counting days, look for signs. New leaf growth at the tip can be a hint.
A light tug that meets gentle resistance suggests roots are gripping. You can also check carefully by easing a cutting out to look.
Once roots are established, pot each cutting separately in a well-drained mix. Choose a small pot with drainage holes so the mix does not stay wet too long.
If your cuttings have been under a cover, do not whisk it away in one day. General University of Georgia guidance describes gradually opening and then removing the cover so plants can adjust.
For example, prop it open an hour or two at first, then longer each day.
Cuttings that never grow roots are normal, so do not blame yourself. Toss the ones that turn black and focus on the healthy ones.
Let local conditions guide spring planting
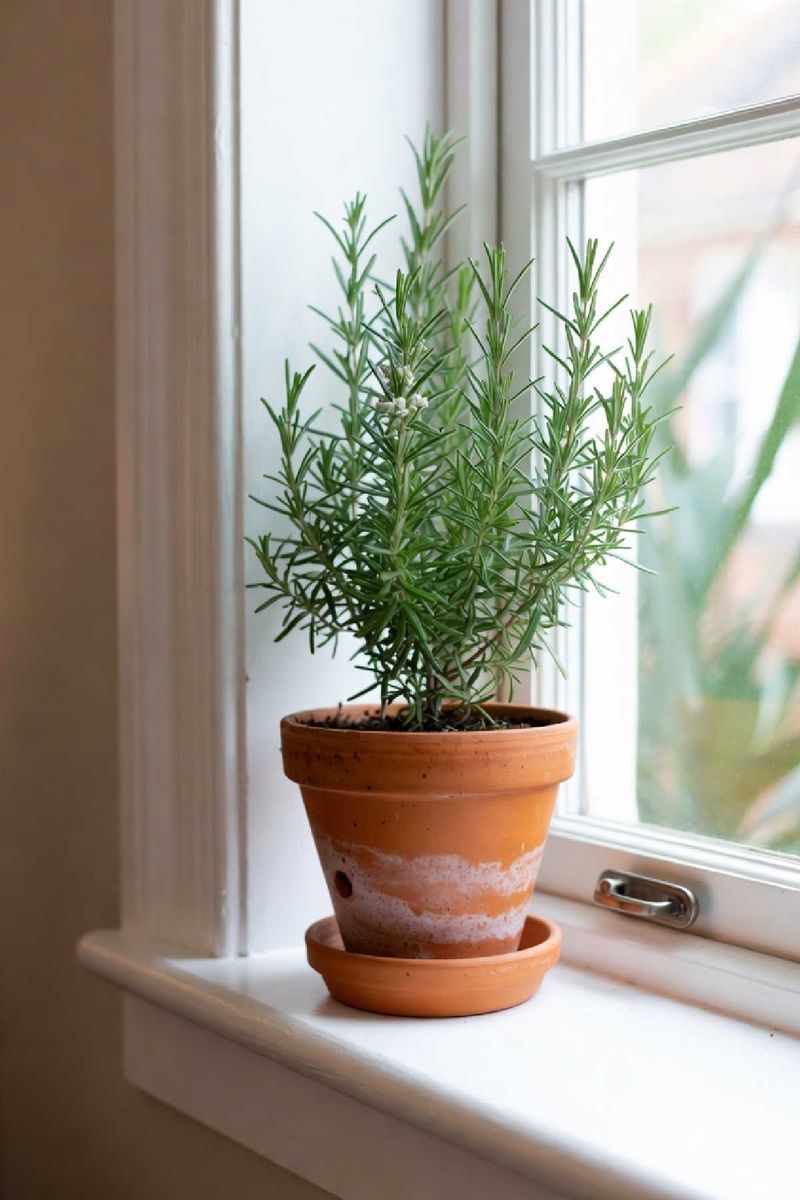
A rooted cutting is not automatically ready for the garden. It may still be small and tender, and it needs time to grow before it faces wind, heat, or cold.
Rosemary’s winter survival depends on the cultivar and where you live. Wisconsin Extension says rosemary there is generally grown as a potted plant and brought indoors before frost, and that some cultivars are hardier than others.
That is a good example of why your own local guidance matters.
Before planting out, check your area’s frost dates and ask a local nursery or extension office how your rosemary variety handles winter. In colder places, keeping it in a pot that can move indoors may be the safer plan.
So start more cuttings than the number of plants you want, and treat spring planting as something that depends on your weather. A few extra pots now cost very little.
Rosemary rewards the gardener who watches the forecast more than the calendar.