
If Your Peace Lily Keeps Growing Brown Tips, Here’s The Watering Habit Quietly Causing It
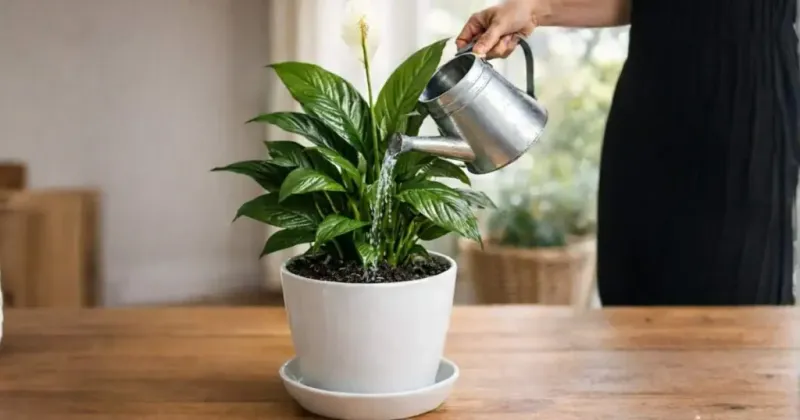
Brown tips on a peace lily can be frustrating, especially when you feel like you’re doing everything right. The truth is, no single watering mistake explains every case, but certain habits are common enough that checking your routine is always a smart first step.
Understanding what your plant actually needs, rather than following a rigid schedule, can make a real difference in how your peace lily grows.
The watering routine is worth checking—but it is not the whole diagnosis
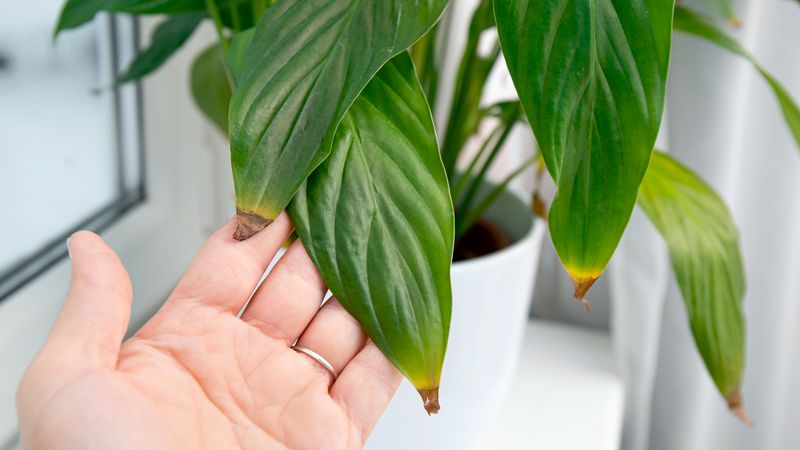
Brown tips on a peace lily rarely point to one single cause, and that matters before you change anything about your care routine. University of Missouri Extension research on houseplant tipburn identifies inconsistent watering, excess fertilizer, and fluoride sensitivity as separate contributors that can look nearly identical on the leaf.
Assuming one habit explains everything can lead you to overcorrect and create a new problem.
That said, your watering routine is a reasonable place to start because several specific patterns can contribute to tip browning. Watering by a fixed calendar, regardless of what the soil actually feels like, is one pattern worth ruling out.
Waiting until the plant collapses into a dramatic wilt before watering is another, and these two habits are not the same thing even though both involve timing.
Two more patterns are worth separating out: adding small amounts of water repeatedly without ever thoroughly soaking the root ball, and keeping the pot or its decorative outer container sitting in water between waterings. Clemson Extension’s peace lily guidance recommends keeping the potting mix moist but not waterlogged, and allowing it to dry slightly between waterings rather than staying perpetually saturated.
The practical fix this article covers is straightforward: read the potting mix directly, check drainage, and adjust from there. University of Maryland Extension’s indoor watering guidance reinforces that soil inspection is more reliable than any calendar or visual cue from the foliage alone.
If the routine checks out and browning continues, the cause likely lies elsewhere, and later sections cover exactly where to look.
Check the soil instead of trusting the calendar or wilt
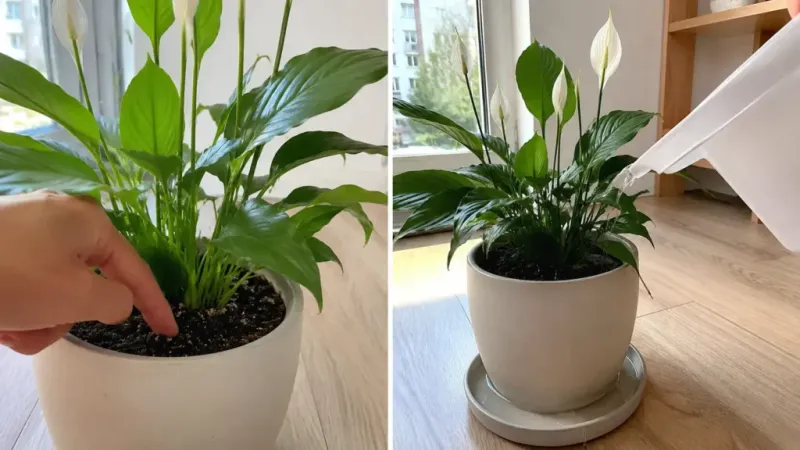
Sticking a finger about one to two inches into the potting mix is the most reliable watering check available to any indoor gardener. University of Maryland Extension recommends this simple test over calendar-based schedules because watering needs shift with pot size, potting mix type, light levels, room temperature, humidity, and season.
What worked every seven days in March may be too frequent by January when the heat runs and the air dries out.
Peace lilies prefer soil that stays moderately and evenly moist, not bone dry between sessions and not perpetually soggy. Iowa State University Extension’s houseplant care guide describes this as keeping the mix consistently moist without allowing standing water to linger.
The goal is a middle ground that your finger can detect far better than any weekly reminder on your phone.
One thing worth knowing: a dry surface does not always mean the root zone is dry. Potting mix can crust or dry unevenly, leaving deeper layers still moist while the top inch looks parched.
That is exactly why pushing a finger a couple of inches down gives you a more accurate reading than glancing at the soil surface or lifting the pot to guess by weight alone.
Wilting might seem like an obvious signal, but it can mislead you in both directions. A plant that has been overwatered can wilt just as dramatically as one that is too dry, because damaged roots cannot move water up through the stems even when the soil is wet.
Relying on wilting as your primary cue means you may water a plant that already has too much moisture, compounding the problem rather than fixing it.
Thoroughly wet the root ball when the mix has dried somewhat
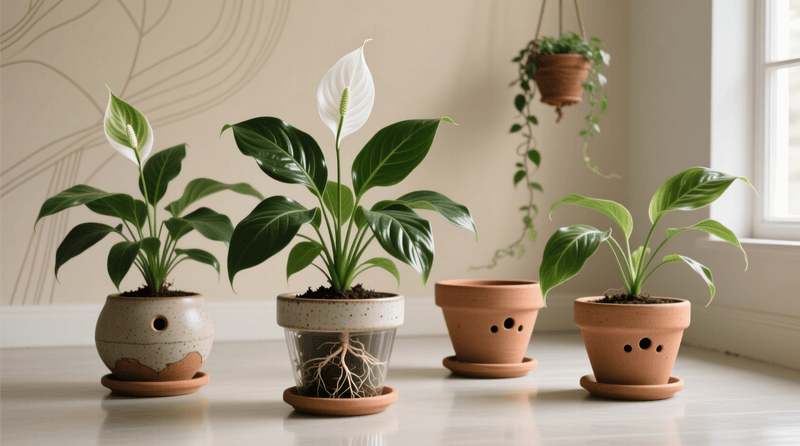
Once the soil at one to two inches below the surface feels somewhat dry, it is time to water, and the method matters as much as the timing. Apply water slowly and evenly across the entire surface of the potting mix until you see water flowing steadily out of the drainage holes at the bottom of the pot.
That outflow tells you the water has moved all the way through the root ball rather than just wetting the top layer.
Small, frequent additions of water often create a false sense of security. If you add just enough to moisten the surface each time, the center and lower portions of the root ball may stay dry for extended periods.
Extension Ask guidance on houseplant watering supports the principle that a thorough, complete soaking is more beneficial than repeated shallow applications, because the entire root zone needs access to moisture, not just the top inch.
This matters especially when the potting mix has started to dry unevenly. Roots distributed throughout the pot need moisture to function, and consistently under-watering the lower root zone can stress the plant even when the surface appears damp.
Tip browning can follow because the leaf edges are often the first place to show stress when roots are not receiving what they need.
University of Maryland Extension emphasizes watering until excess drains from the bottom as a standard practice for container plants. The goal with each session is one complete, thorough watering rather than a series of partial ones.
After that, let the mix return to the slightly dried state your finger check can confirm before watering again.
Drain every watering to protect the roots
Watering thoroughly is only half the job. What happens after the water drains out matters just as much for root health.
Once excess water has run through the pot and collected in the saucer or decorative outer container, it needs to be emptied promptly rather than left to sit beneath the plant.
Clemson Extension specifically advises against leaving a peace lily standing in water, because prolonged contact with pooled moisture keeps the potting mix saturated longer than the roots can tolerate. Moist soil and waterlogged soil are not the same condition.
Roots need both moisture and air, and when the mix stays continuously saturated, oxygen is displaced and root tissue can begin to deteriorate.
Root rot is a real risk when drainage is consistently poor or when the saucer is routinely ignored. University of Maryland Extension connects prolonged wetness with root stress in container plants, noting that damaged roots reduce the plant’s ability to take up water and nutrients even when both are available.
That kind of root damage can produce brown tips that look identical to those caused by drought stress, making it harder to identify the real problem without inspecting the roots directly.
Decorative cachepots are a common culprit. Many people slip a plastic nursery pot inside a ceramic or wicker outer container without realizing that water accumulates at the bottom where it is invisible.
Ask Extension houseplant guidance recommends checking that outer containers are emptied after each watering. Tipping out the cachepot or using a turkey baster to remove collected water are both practical solutions that take less than a minute and can meaningfully protect root health over time.
Rescue mix that has shrunk away from the container
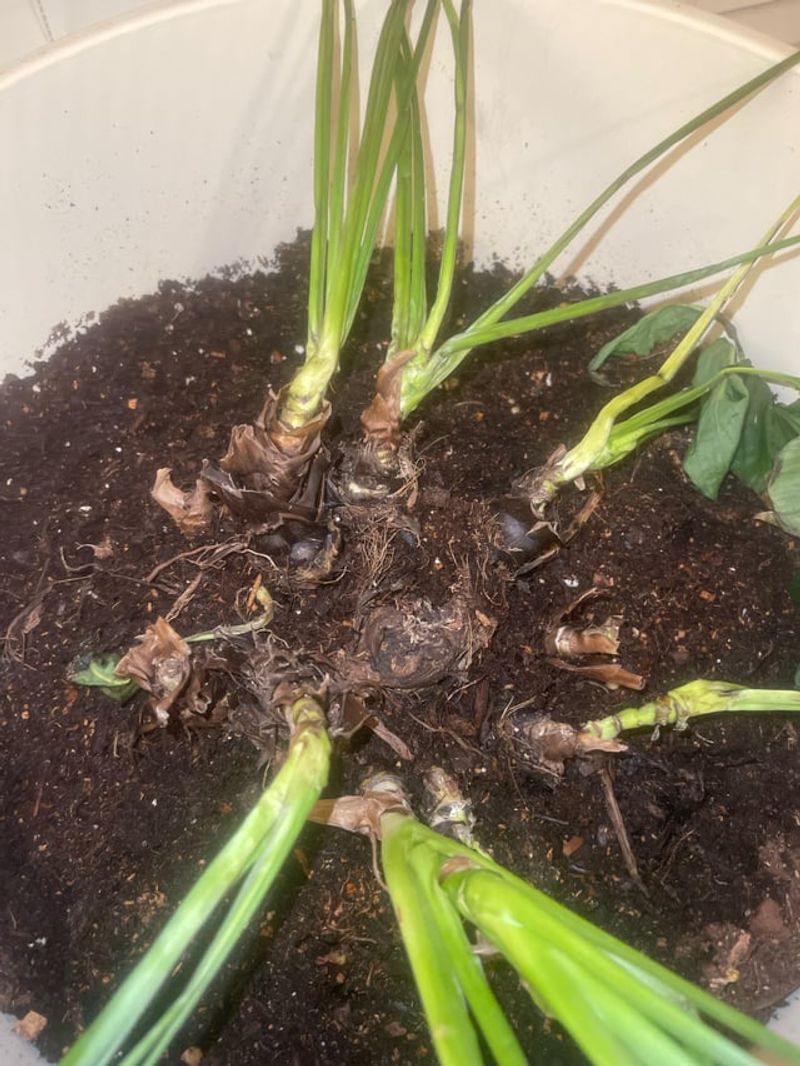
Occasionally a peace lily gets neglected long enough that the potting mix dries out severely and begins to pull away from the container walls. When that gap opens up, water poured in from the top tends to run straight down the sides of the pot and out the drainage holes without ever reaching the root ball in the center.
The plant looks like it was watered, but the roots may receive very little of it.
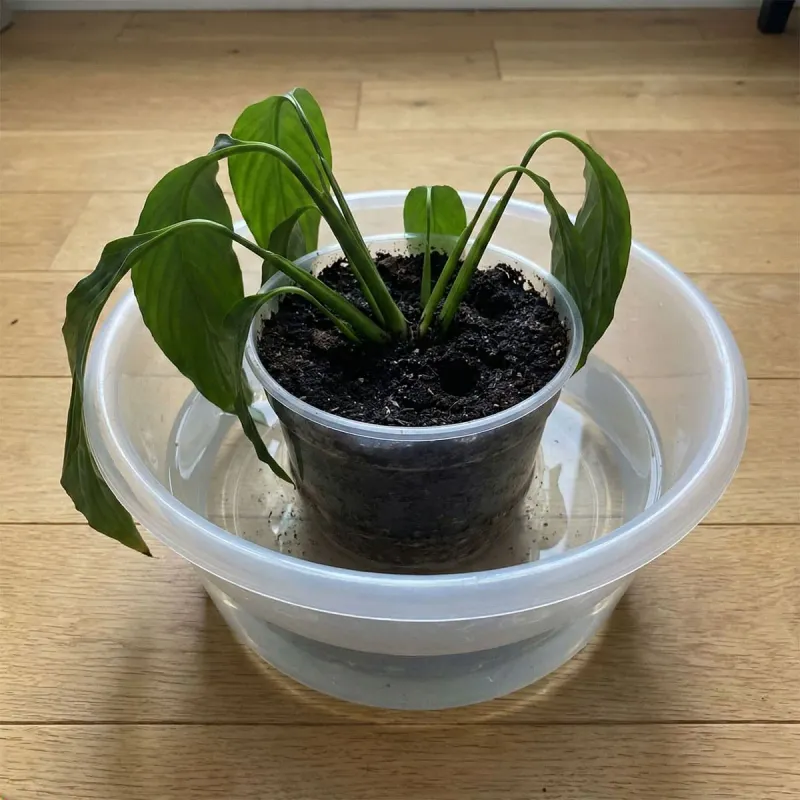
This situation calls for a different approach than your normal watering session. Washington State University Extension’s houseplant handbook recommends submerging the pot in a basin or bucket of water and letting it soak until air bubbles stop rising to the surface.
Those bubbles indicate that dry air pockets in the mix are being displaced by water as the root ball slowly rehydrates. Once the bubbling stops, the mix has absorbed what it can hold.
After soaking, lift the pot out and allow it to drain completely before returning it to its saucer or cachepot. This is a rescue technique for an exceptional situation, not a replacement for regular soil checks.
Repeatedly letting the mix reach this extreme before watering puts ongoing stress on the plant and makes it harder to maintain the even moisture that peace lilies prefer.
Once the potting mix has been rehydrated, resume normal soil-based checks going forward. Press a finger one to two inches into the mix every few days and water the next time that zone feels somewhat dry.
Treating the rescue soak as a reset point rather than a recurring method gives the plant a better chance of developing without repeated cycles of severe drought stress.
Trim the old damage and watch the new growth
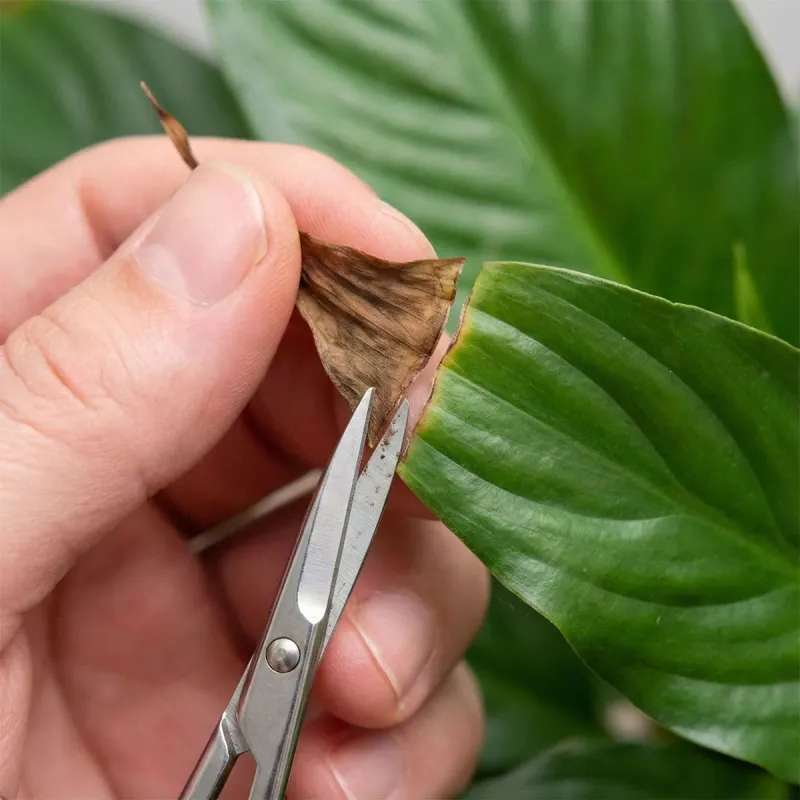
Brown leaf tissue does not recover. Once the tip of a peace lily leaf has turned brown and crispy, that portion of the leaf is gone regardless of what you change about your care routine.
Trimming it off with clean, sharp scissors improves the plant’s appearance and removes the visual distraction, but the trim itself does nothing to address whatever caused the browning in the first place.
University of Missouri Extension’s tipburn resource makes clear that controlling the underlying cause is the only way to stop new browning from appearing. Cutting the existing damage is cosmetic maintenance, not a fix.
When trimming, follow the natural shape of the leaf tip rather than cutting straight across, which leaves a blunt edge that can look just as conspicuous as the original brown.
New growth is the real indicator of whether a correction is working. After you adjust your watering routine, give the plant a few weeks and watch the leaves that emerge after the change.
Iowa State University Extension’s guidance on brown leaf tips and edges supports using new growth as the practical test: if fresh leaves come in clean, the correction addressed the problem. If new tips continue to brown at the same rate, the underlying cause has not been resolved.
Continued browning on new growth after a watering adjustment is a signal to broaden your investigation rather than repeat the same fix. The next section covers where to look when moisture and drainage are no longer the most likely explanation.
If new tips still brown, investigate water quality and the room
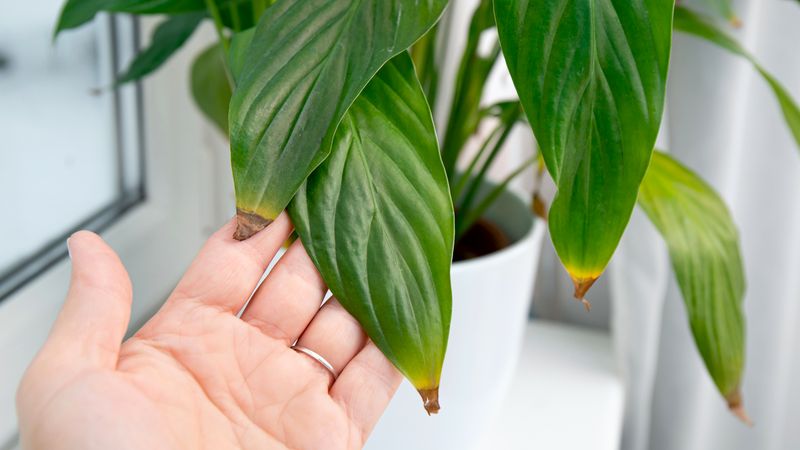
When your watering routine is consistent, drainage is working properly, and new leaves still develop brown tips, the cause is likely somewhere else in the plant’s environment. Several factors deserve a closer look before assuming the watering needs further adjustment.
Water quality is one reasonable next variable to examine. University of Illinois Extension and University of Missouri Extension both identify fluoride sensitivity as a documented cause of leaf-tip burn in sensitive houseplants.
Tap water is not automatically harmful, since water chemistry varies by municipality, but fluoride, accumulated fertilizer salts, or hardness can contribute to browning in some plants over time. A limited trial using rainwater or distilled water for several weeks can help determine whether water quality is a factor.
If new tips come in clean during the trial, that is useful evidence. If browning continues unchanged, water quality is probably not the primary issue.
A few water-treatment approaches are worth clarifying. Letting tap water sit overnight can help dissipate free chlorine, but WSU Extension distinguishes chlorine from fluoride sensitivity, and Nebraska Extension notes that standing water is not a reliable method for removing chloramine.
Standard activated-carbon filters address taste and some organic contaminants but should not be assumed to remove fluoride without verifying the system’s specifications. Reverse osmosis and distillation are more dependable options when fluoride is genuinely suspected, according to EPA guidance on home water treatment.
Softened water is worth avoiding entirely, because sodium from the softening process can accumulate in the potting mix and stress roots over time.
Low humidity is another established contributor to brown tips. Iowa State University Extension’s humidity guidance recommends grouping plants together or using a humidifier as the most effective strategies.
Pebble trays can help modestly when the pot is elevated above the water line. Daily misting, by contrast, produces only a brief effect and may spread fungal issues rather than meaningfully raising ambient humidity.
Moving the plant to a bathroom is not a universal solution either, since many bathrooms have inadequate light or inconsistent temperatures.
Beyond water quality and humidity, Clemson Extension’s houseplant disorder resource points to direct sun exposure, hot or cold drafts, excess fertilizer, poor drainage, and root damage as additional causes of browning. Peace lilies prefer bright, indirect light and should be kept away from heating and cooling vents.
Fertilizer should be used sparingly and according to specific product directions, since salt buildup from overfeeding can cause tip burn that looks nearly identical to moisture stress.
Make soil moisture your repeatable watering habit
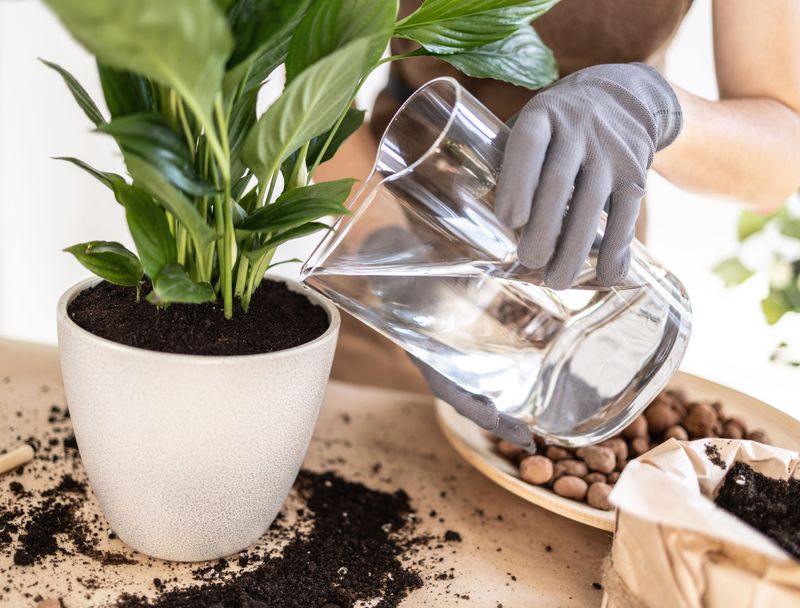
A simple, repeatable routine is the practical takeaway from everything covered here. Every few days, press a finger one to two inches into the potting mix.
Water when that zone feels somewhat dry, not before and not after the plant has wilted from thirst. When you water, apply enough to wet the full root ball until excess drips steadily from the drainage holes, then empty the saucer or outer pot completely.
This approach replaces both a rigid weekly calendar and emergency wilt-based watering with something more responsive to what the plant actually needs. Clemson Extension and University of Maryland Extension both support soil inspection as the foundation of sound indoor watering practice, and the habit takes only seconds once it becomes routine.
Keep in mind that your watering frequency will naturally shift across seasons, so the finger check remains useful year-round rather than just during the adjustment period.
After making the change, watch the new leaves that emerge over the following weeks. Clean growth on fresh foliage is the clearest sign the correction is working.
If browning continues on new tips despite consistent moisture and proper drainage, University of Missouri Extension supports broadening the investigation to include water quality, humidity, light, fertilizer, and root condition. A peace lily that stops producing brown tips on new growth is a peace lily whose environment finally matches what it needs.