
Small, Woody Beets Every Year? 17 Growing Tips That Turn Tiny Seeds Into Fat, Juicy Roots
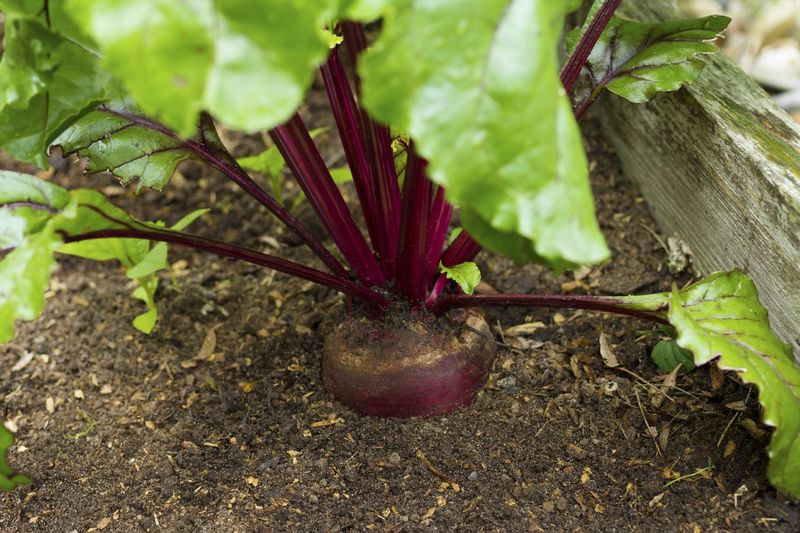
You pull up a beet you waited two months for, and it is the size of a marble and tough as a cork. That letdown happens to a lot of backyard gardeners, and it usually comes from a few small mistakes that are easy to fix.
Beets are picky about soil, water, spacing, and timing, but once you know what they want, they are one of the most rewarding crops you can grow. The 17 tips below walk you from seed to harvest so your next batch comes out round, sweet, and tender.
1. Plant During Cool Weather
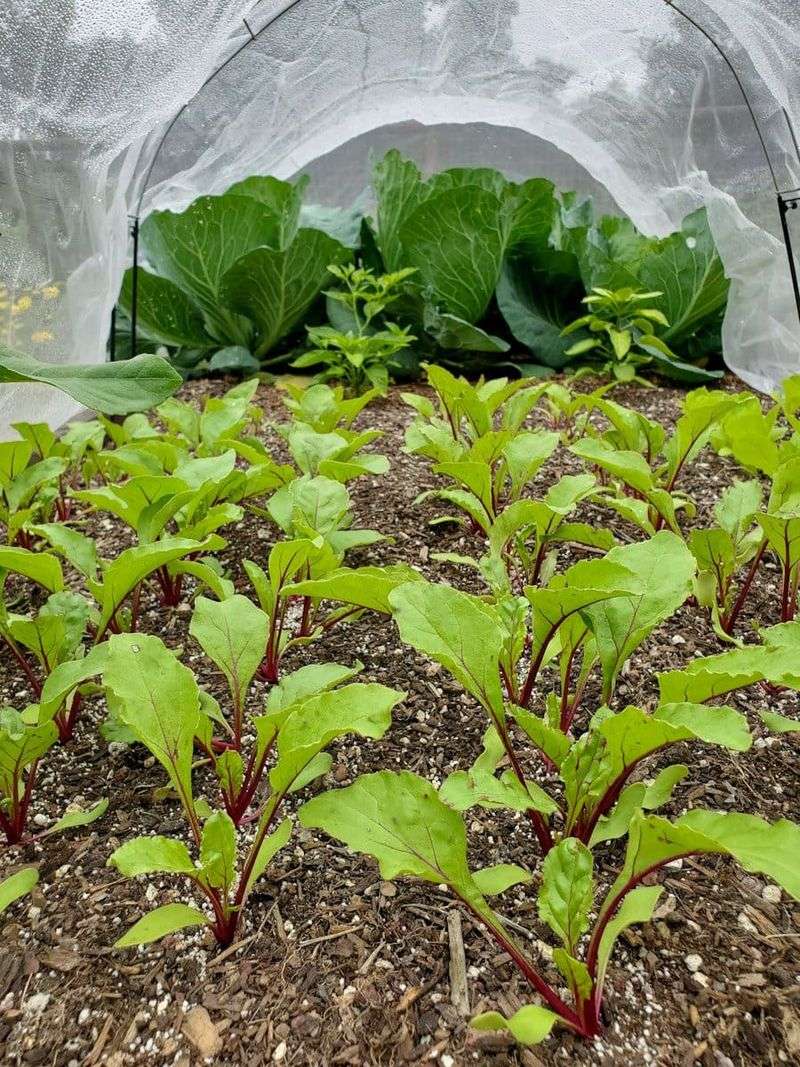
Timing alone can make or break a beet crop. Beets love the cool, mild days of spring and fall, with temperatures between about 50 and 75 degrees Fahrenheit.
For a spring crop, sow seeds two to four weeks before your last frost date. For fall, sow again in mid to late summer so the roots finish growing as nights turn crisp.
When beets mature in summer heat, the roots often turn tough and pale with stringy rings. Shifting your planting date a few weeks earlier or later may be the easiest fix on this whole list, and it costs nothing at all.
2. Pick a Proven Variety
Not every beet is built the same. Some varieties bolt quickly in warm spells, while others hold their tender texture longer.
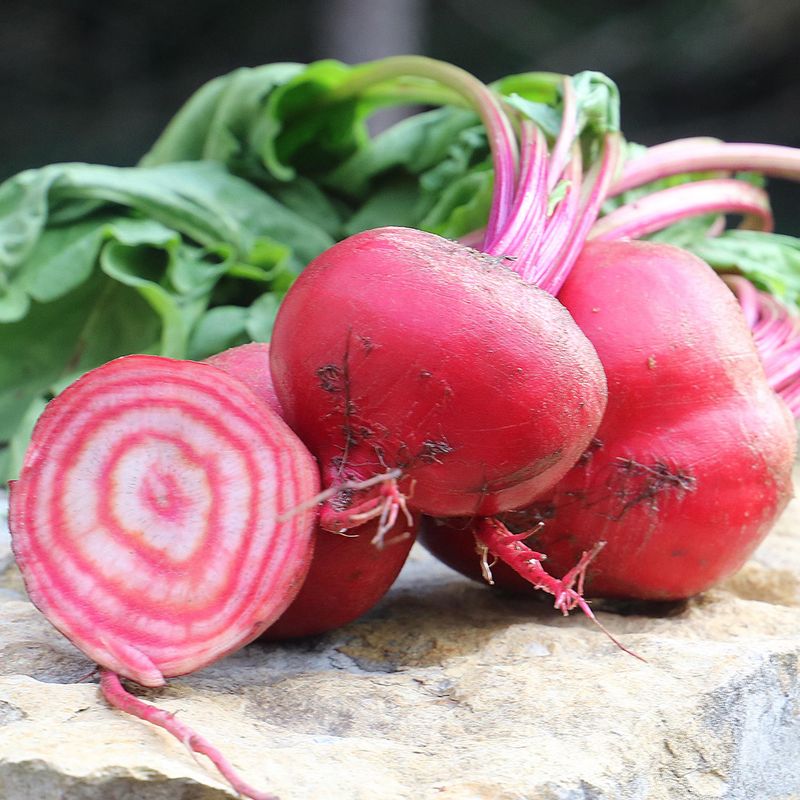
Detroit Dark Red is a classic for good reason, growing smooth, round roots in many US gardens. Chioggia brings pretty candy stripes, and golden types offer a milder taste.
Varieties labeled bolt-resistant are a smart choice if your springs warm up fast.
Fun fact: sugar beets, a close cousin, supply a big share of the sugar made in the United States. Your garden beets carry that same sweet streak when grown well.
3. Give Them Full Sun
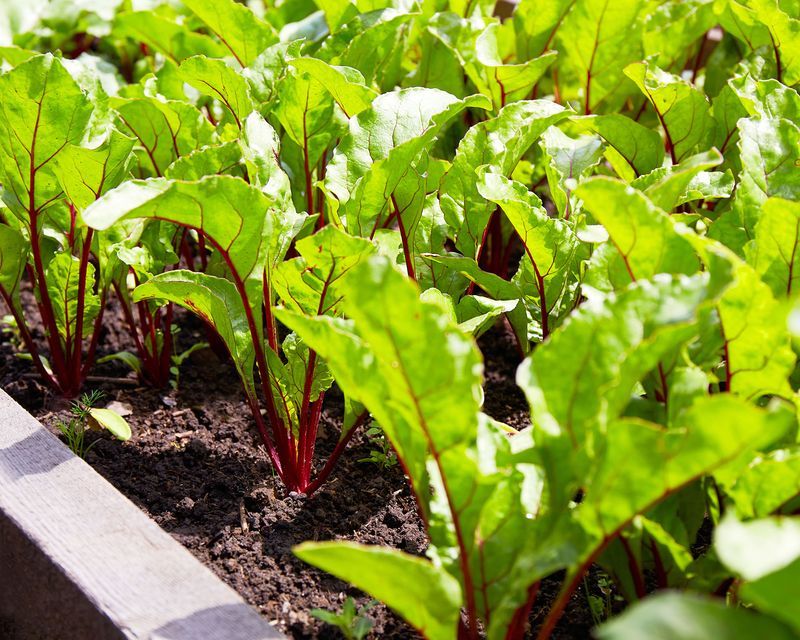
Leafy tops can fool you. Beet greens will look lush in partial shade, yet the roots underneath stay small because the plant lacks energy to fill them out.
Aim for six to eight hours of direct sun each day. Sunlight fuels the sugars that get stored in the root, which is exactly what makes a beet fat and sweet.
If your only open spot gets morning sun and afternoon shade, that can still work in hot regions. Just avoid tucking beets under trees or along a north-facing wall.
4. Loosen the Soil Deeply
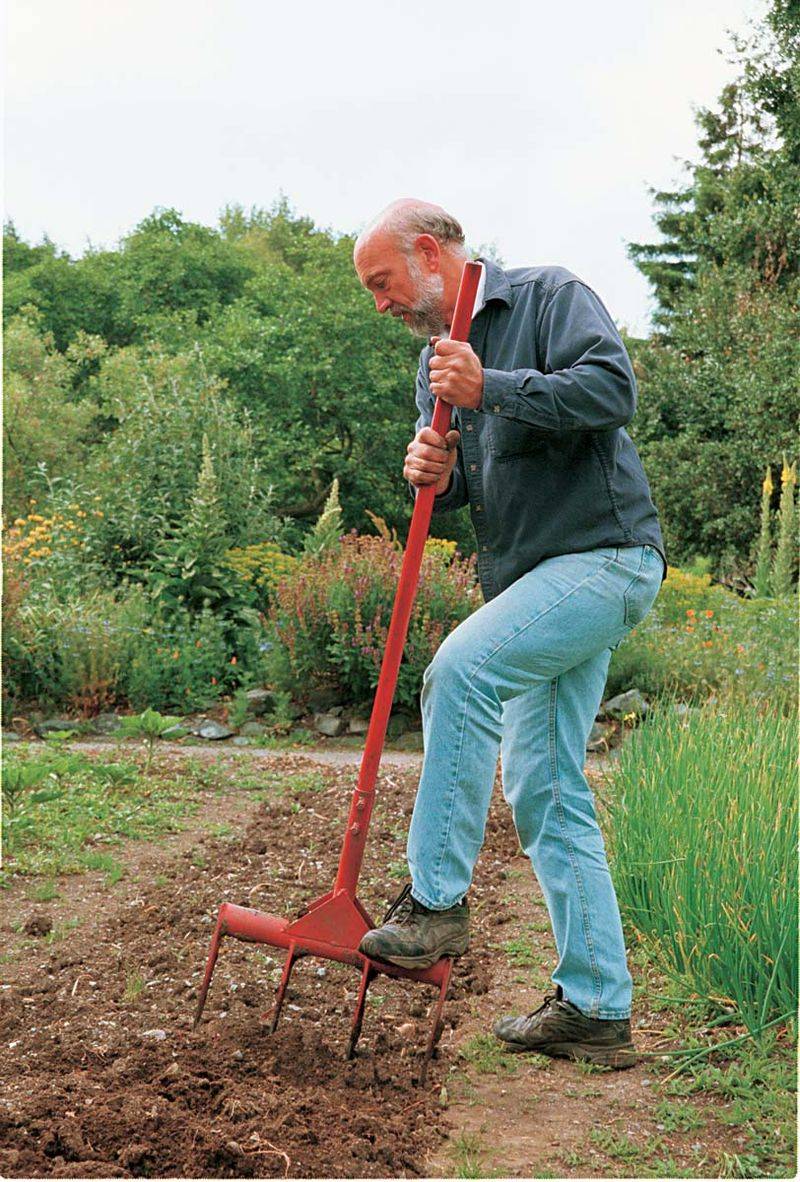
Picture a beet trying to swell inside packed clay. It simply cannot push outward, so it stays small, lopsided, or forked.
Before planting, loosen your bed 8 to 12 inches deep with a digging fork. Pull out rocks, old roots, and hard clumps as you go.
Loamy, well-drained soil is the goal. If your yard is mostly heavy clay, a raised bed filled with a loose mix may save you years of frustration.
5. Mix in Compost
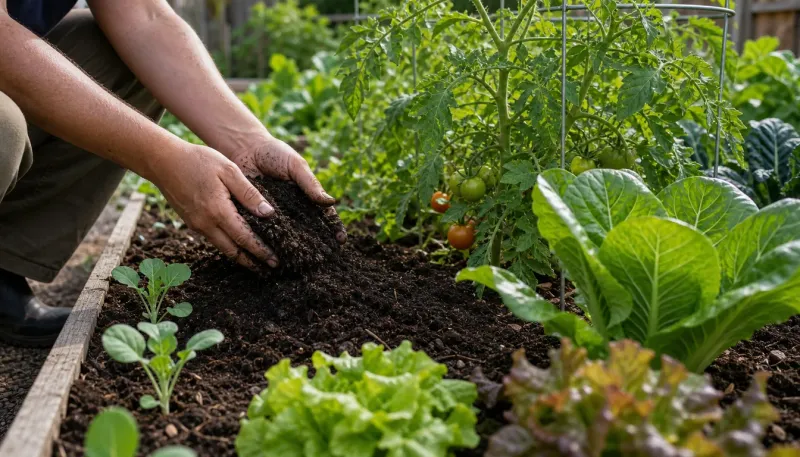
Compost is the quiet hero of good beets. Spread 2 to 3 inches over the bed and work it into the top 6 to 8 inches of soil.
It does several jobs at once. Compost loosens heavy soil, helps sandy soil hold water, and slowly feeds the plants as it breaks down.
Use well-finished compost that smells earthy, not sour. Fresh manure is too strong and may cause hairy, misshapen roots.
6. Check Your Soil pH
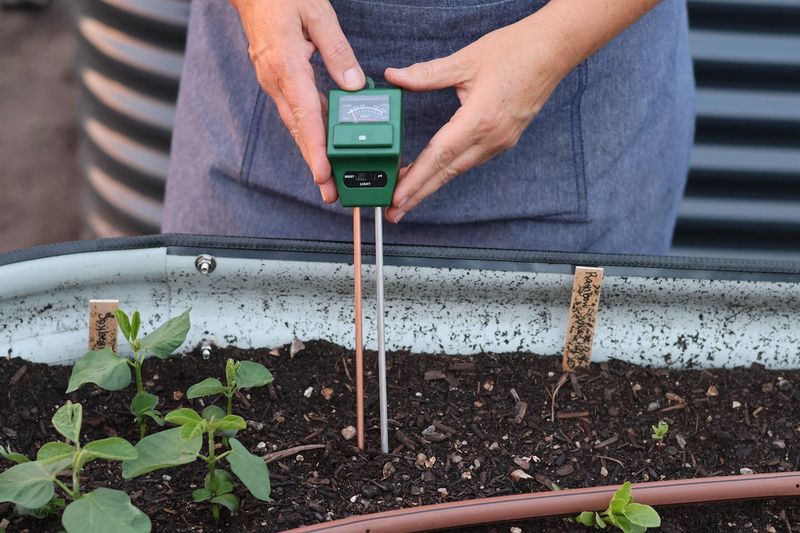
Here is a sneaky cause of stunted beets that many gardeners never suspect. When soil is too acidic, beets struggle to take up nutrients even when those nutrients are present.
Beets prefer a pH between 6.0 and 7.0. A simple test kit or a sample sent to your county extension office will tell you where you stand.
If the reading is below 6.0, garden lime can raise it. Add it in fall or several weeks before planting, since lime works slowly.
7. Soak Seeds Overnight
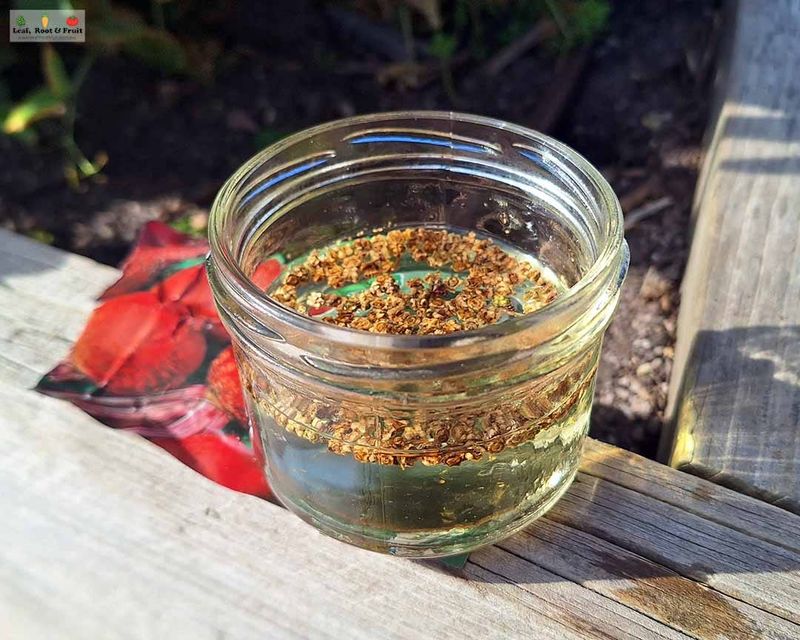
Beet seeds look like tiny, crinkly corks, and their tough outer shell can slow sprouting. A simple soak softens that shell.
Place seeds in a bowl of room temperature water for up to 24 hours before planting. Then sow them right away while they are still damp.
Faster, more even germination means your seedlings start together and grow at the same pace. That makes thinning and watering much easier later.
8. Sow at the Right Depth
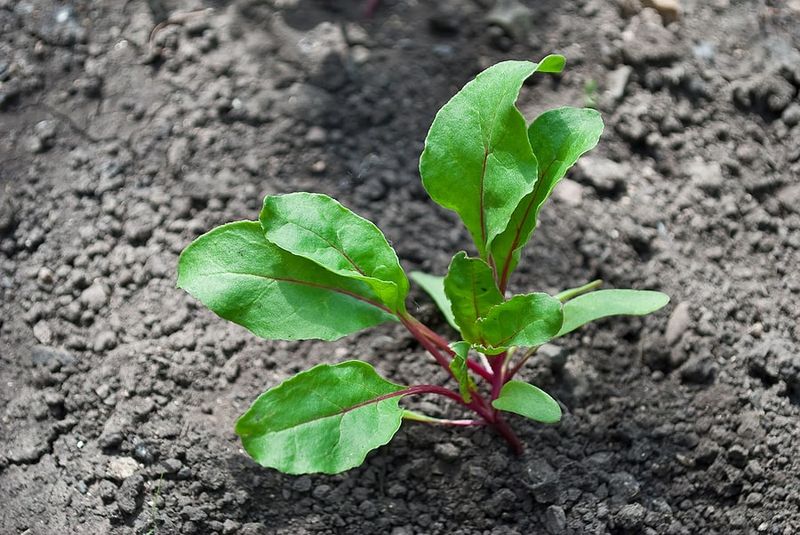
Too deep and seeds may never reach daylight. Too shallow and they dry out before sprouting.
Plant beet seeds about half an inch to three quarters of an inch deep, roughly 1 to 2 inches apart. Leave 12 to 18 inches between rows so you have room to weed and water.
Firm the soil gently with your palm and water with a soft spray. Keep the surface damp until sprouts appear, usually within one to two weeks.
9. Thin Without Mercy
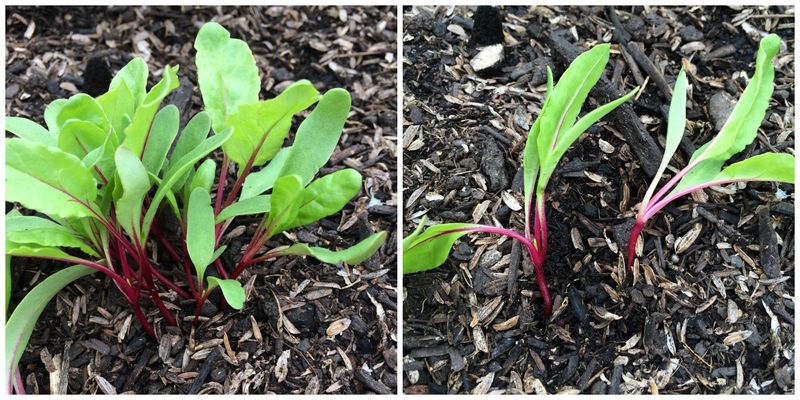
Ever notice beet seedlings popping up in little clumps? That is because each wrinkled seed is actually a cluster holding several seeds.
Left alone, those crowded sprouts fight for space and every root stays tiny. Overcrowding is one of the most common reasons gardeners end up with marble-sized beets.
When seedlings have two or three true leaves, thin them to 3 to 4 inches apart. Snip extras at the soil line with scissors instead of pulling, so you do not disturb the keepers.
Toss the tender thinnings into a salad.
10. Water Deeply and Evenly
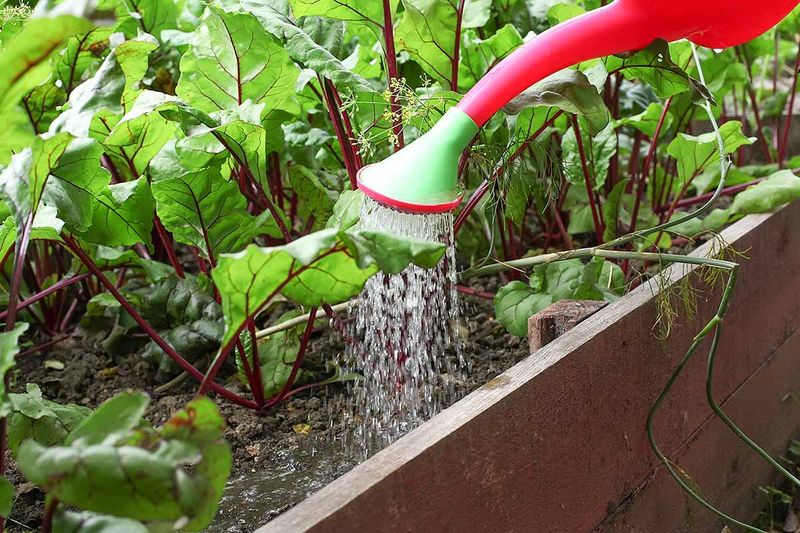
Woody, cracked beets often trace back to one thing: a cycle of drought followed by a heavy soak. Roots that dry out toughen up, and a sudden flood can split them.
Give beets about 1 inch of water per week, enough to moisten soil 6 to 8 inches down. Check by pushing a finger into the soil, and water when the top inch feels dry.
In hot, dry stretches, you may need to water more often. Morning watering helps leaves dry before evening, which can reduce disease problems.
11. Spread a Layer of Mulch
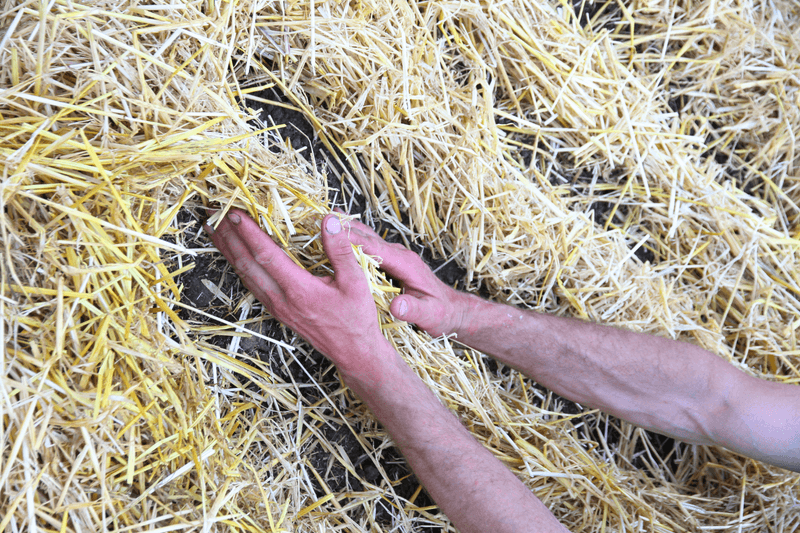
Think of mulch as a blanket that keeps the soil calm. It holds in moisture, keeps roots cooler, and blocks many weeds.
Once seedlings are a few inches tall, spread 2 to 3 inches of straw or chopped leaves around them. Keep it slightly away from the stems.
Mulch pairs perfectly with steady watering. Together, they help prevent the up-and-down moisture swings that turn beets tough.
12. Feed Roots, Not Leaves
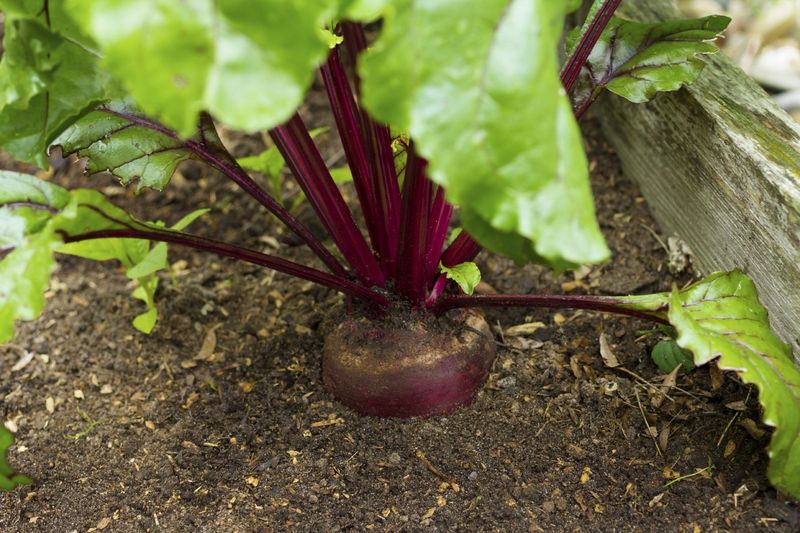
Huge, glossy tops with skinny roots below? That is a classic sign of too much nitrogen.
Nitrogen pushes leafy growth, while phosphorus and potassium support root development. Before planting, mix in a balanced fertilizer such as 10-10-10 or an organic blend with bone meal and kelp.
Midway through the season, side-dress with compost or a gentle organic feed. Skip high-nitrogen lawn fertilizer near your beet patch.
13. Shield Beets From Heat
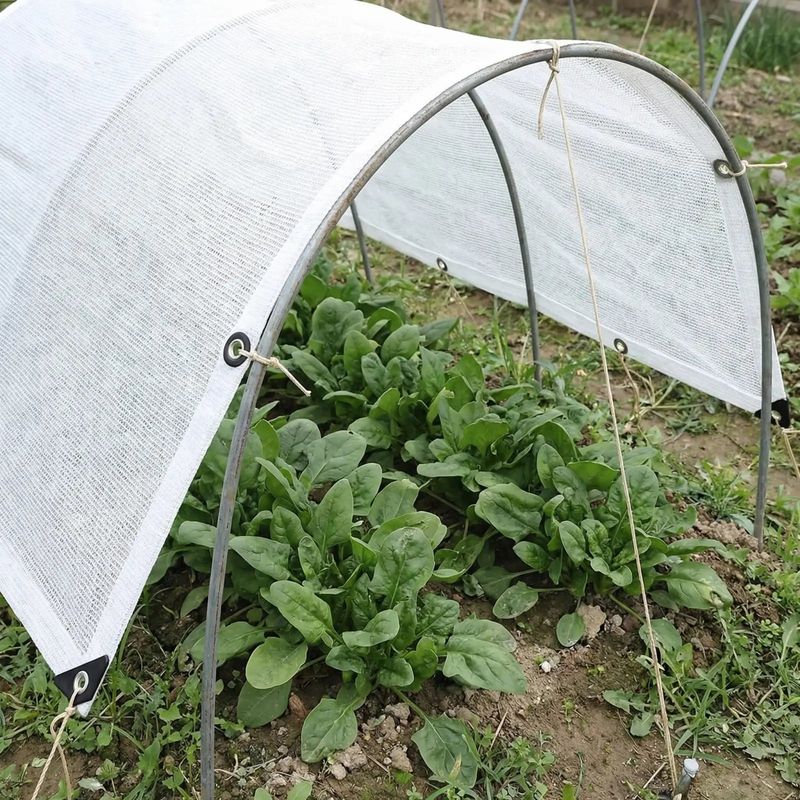
A hot spell can turn a promising crop into fibrous disappointments in just a couple of weeks. High soil temperatures cause beets to toughen and lose sweetness.
If summer arrives early, stretch shade cloth over the bed during the hottest afternoon hours. Keep mulch thick and moisture steady.
Gardeners in the South often have the best luck with fall and winter beets. Let the calendar work for you instead of fighting the heat.
14. Stay Ahead of Weeds
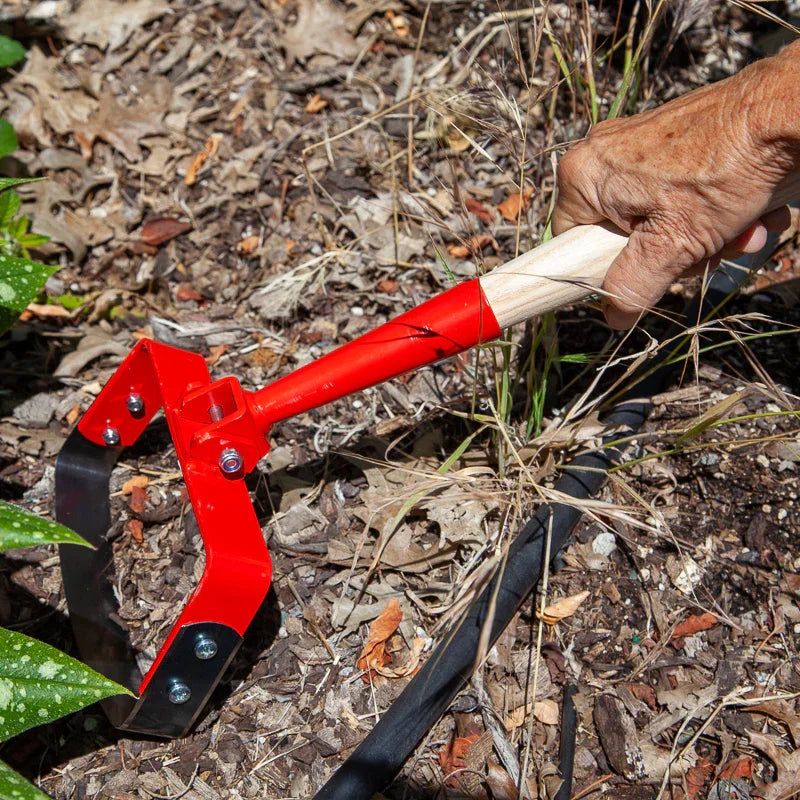
Weeds are thieves. They steal water, food, and sunlight that your beets need to bulk up.
Young beets are slow starters, so early weeding matters most. Pull weeds by hand or use a shallow hoe, since beet roots sit close to the surface and scrape easily.
A few minutes every couple of days beats a big weeding session once the bed is overrun. Mulch makes this chore much lighter.
15. Grow in Deep Containers
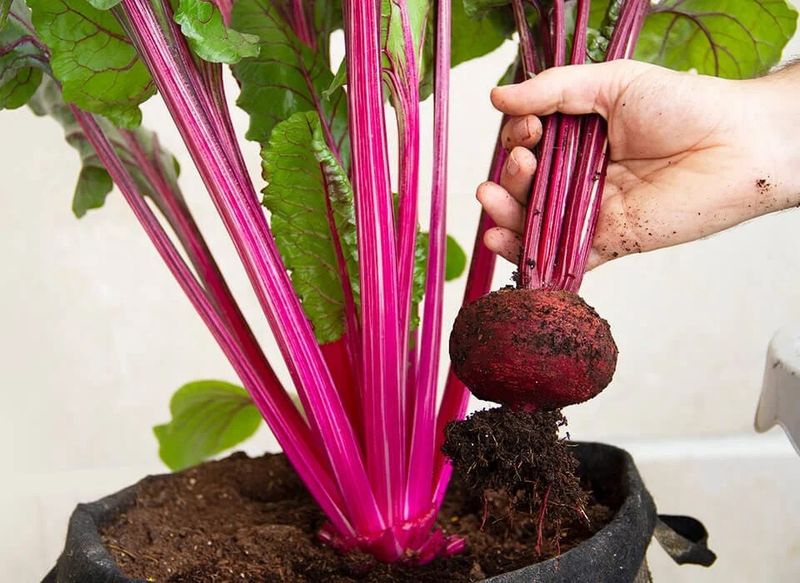
No yard? No problem.
Beets do surprisingly well on patios and balconies.
Choose a container at least 12 inches deep with drainage holes. Fill it with a light, quality potting mix rich in organic matter, not heavy garden soil.
Pots dry out faster than beds, so check moisture daily in warm weather. Round, compact varieties tend to shine in containers.
16. Rotate Where You Plant
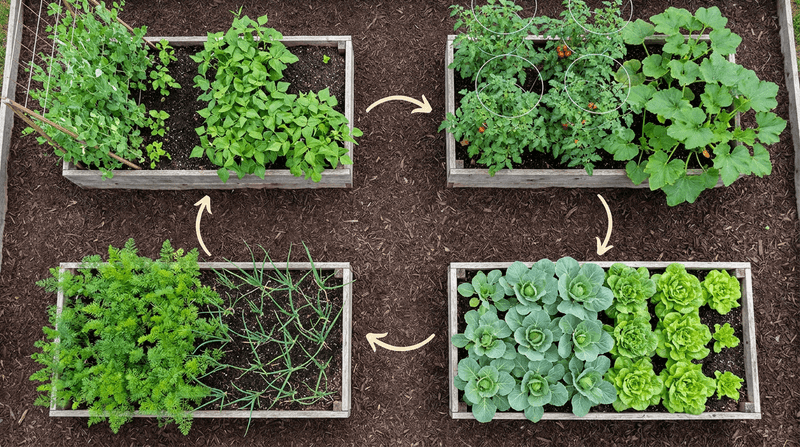
Beets have relatives you might not expect. Swiss chard and spinach belong to the same plant family and can share pests and diseases.
Avoid planting beets where any of these grew in the last couple of years. Moving them around may help reduce problems like leaf spot and leaf miners building up in the soil.
A simple notebook sketch of each season’s layout makes rotation easy to track.
17. Harvest at the Sweet Spot
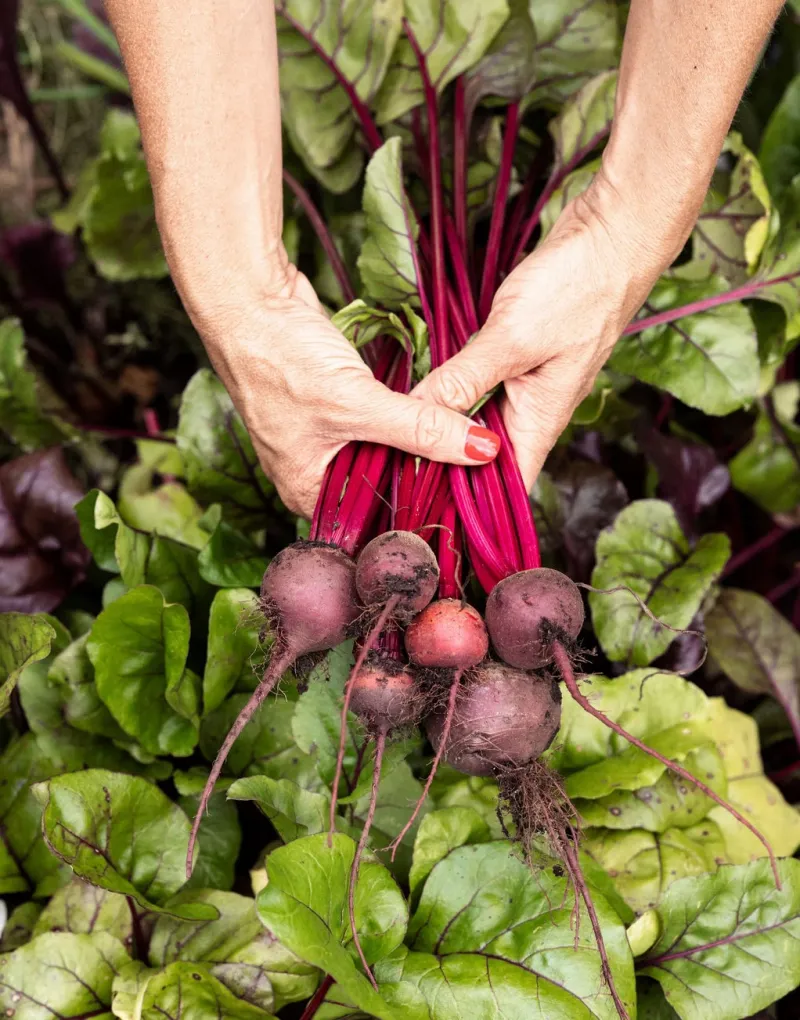
Bigger is not always better with beets. Roots left too long in the ground often grow tough and woody.
Pull them when they reach about 1 to 3 inches across, roughly golf ball to tennis ball size. That usually happens 50 to 70 days after planting.
You can also snip a few young greens along the way, taking just two or three leaves per plant. Leave the rest so the roots keep growing fat and juicy.