
The One Thing North Carolina Garden Beds Need Under Their Mulch This Fall Or Weeds Take Over By Spring
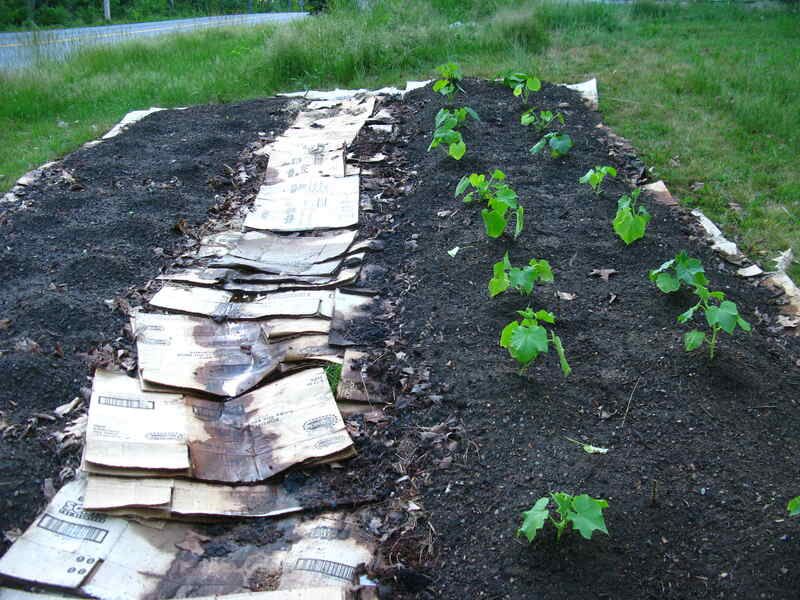
Pulling weeds out of a spring garden bed is one of those chores that never seems to end, but a simple fall step can make the job a lot easier next year. For homeowners creating a new bed or clearing out an overgrown one, placing clean cardboard or overlapping newspaper under an organic mulch layer before winter gives the ground a head start on smothering weeds while you are not even thinking about the garden.
This sheet-mulching method is not a magic fix, and it works best on new or renovated beds rather than every bed in the yard. Get it right this fall and you can expect noticeably less weeding come spring, even if a few stragglers still find their way through.
Use a paper barrier for new or renovated beds
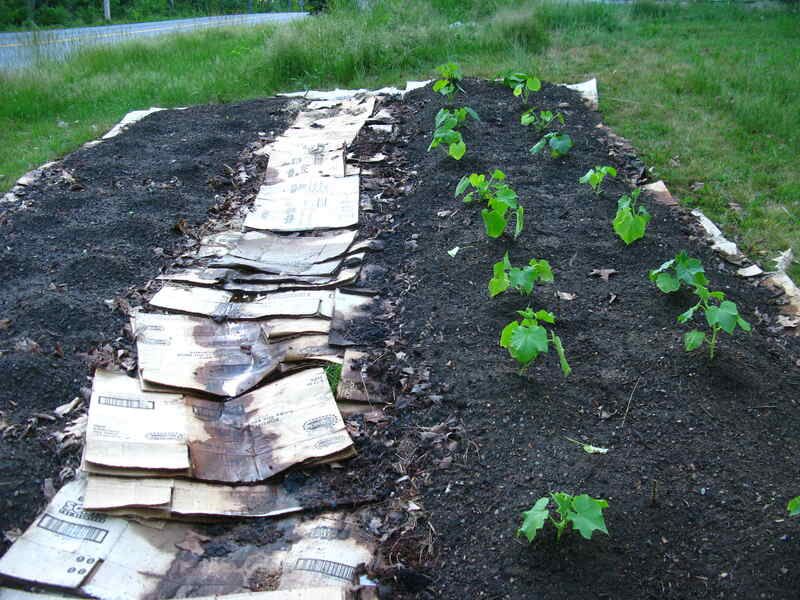
Sheet mulching is not a universal fall chore for every garden bed on your property. It is most useful when you are starting fresh: converting a patch of lawn into a planting area, expanding an existing bed into new turf, or renovating a section that has gotten away from you over the summer.
The idea is straightforward. You lay clean cardboard or overlapping newspaper directly on the ground, cover it with organic mulch, and let the whole setup rest through the cooler months.
NC State Extension’s organic gardening handbook recommends newspaper or cardboard covered with pine bark, shredded hardwood, or pine straw as an effective approach to weed suppression in new beds. The paper layer works by cutting off light to existing vegetation, while the mulch on top holds it in place and adds another barrier between weed seeds and the soil below.
What this method does not do is permanently weed-proof a bed. Seeds blow in, gaps open up, and some weeds are simply too tough for any paper barrier to stop on its own.
Think of sheet mulching as giving yourself a significant advantage heading into spring, not a one-time fix that eliminates future weeding. NC State’s Piedmont sheet-mulching guide specifically identifies fall as a practical time to start because the bed can rest undisturbed for several months before you are ready to plant.
If your goal is to refresh mulch around shrubs or perennials that are already established, skip the cardboard layer and focus instead on depth and placement around existing plants. Penn State Extension’s sheet-mulching guide draws the same distinction, framing the full paper-and-mulch treatment as a lawn-to-bed conversion method rather than a routine maintenance step.
Let the barrier block light through winter
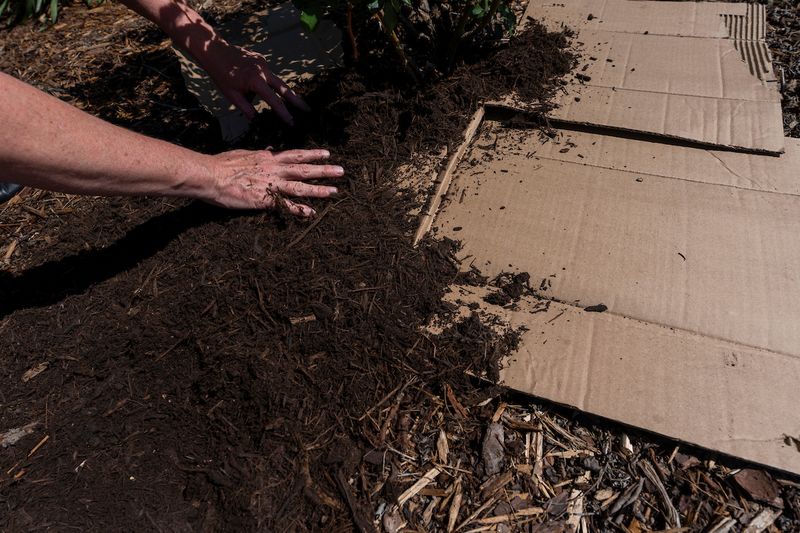
Weeds need light to sprout and grow. When you lay cardboard or newspaper flat on the ground and cover it with mulch, you cut off that light supply for months at a stretch.
Most turf grasses and many annual weeds cannot push through a solid paper barrier in the dark, so they gradually exhaust themselves and break down into organic matter.
NC State’s planting guide describes organic mulch as a first line of defense against annual weeds in landscape beds, primarily because it excludes the light those weeds depend on for germination. Adding a paper layer underneath the mulch doubles down on that effect during the critical fall-to-spring window.
The mulch layer does more than just weigh the cardboard down. It adds its own light-blocking depth, helps keep the paper from drying out and curling at the edges, and begins contributing organic matter to the soil as it slowly decomposes through the winter.
NC State’s organic gardening guidance notes that newspaper or cardboard paired with pine bark, shredded hardwood, or pine straw provides excellent weed suppression, precisely because the two layers work together rather than either working alone.
The fall installation timeline matters. NC State’s Piedmont sheet-mulching article explains that biodegradation takes roughly six months, which means a bed you cover in October or November has time to break down and settle before a May planting.
That resting period is where much of the method’s value comes from, giving the paper enough time to smother what is underneath while slowly becoming part of the soil itself.
Clear persistent weeds before you cover the ground
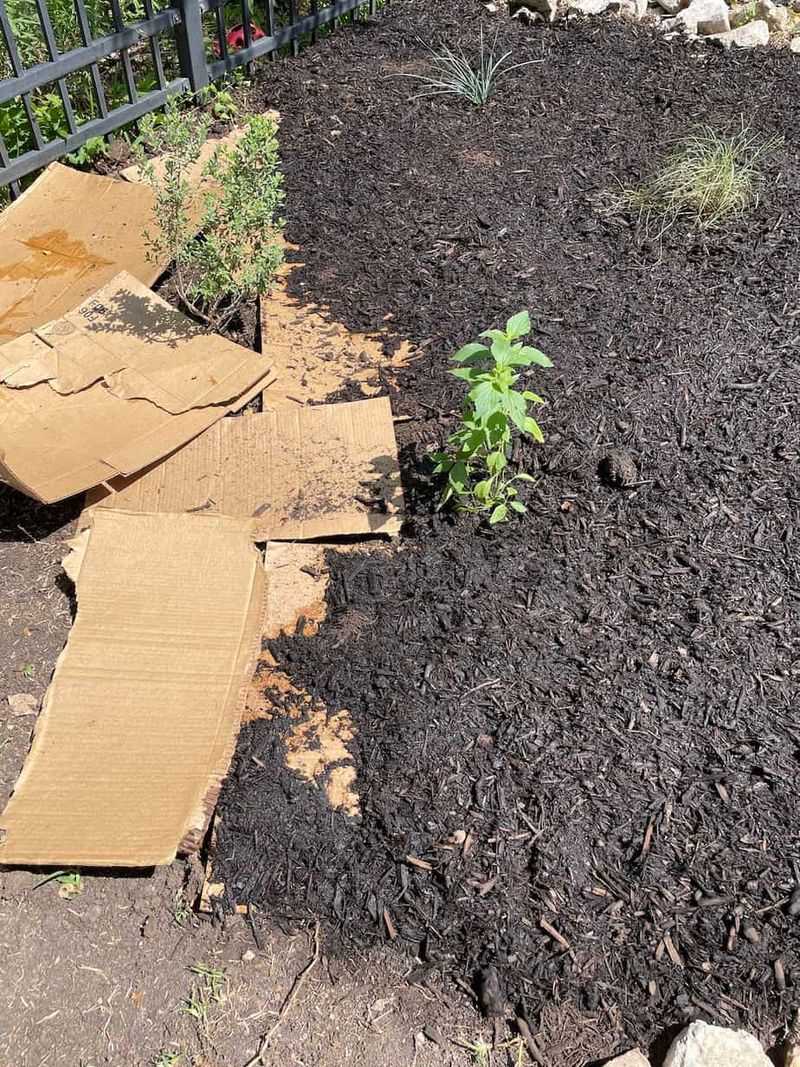
Laying paper over a weedy mess without any preparation is a common mistake that sets the whole project back. Before you unroll a single sheet of cardboard, cut existing vegetation as short as possible and pull out any large perennial weeds you can reach by hand or with a digging fork.
The more you remove now, the less the barrier has to fight on its own.
Penn State Extension’s three-step sheet-mulching process starts with cutting vegetation short before any paper goes down, and that sequence matters. Tall, dense growth can create air pockets under the cardboard that let light sneak through and give stubborn plants room to regroup.
Sheet mulching works reasonably well against turf grasses and many annual weeds, but it is far less reliable against plants that spread through underground or creeping structures. Bermudagrass, nutsedge, ground ivy, and similar weeds can push through or around a paper barrier because their rhizomes, stolons, tubers, or bulbs store enough energy to keep growing in the dark.
NC State’s plan-before-you-plant resource specifically calls out these weeds as requiring separate management rather than simple mulch suppression.
NC State’s weed management handbook and NC State’s landscape weed management guidance both identify bermudagrass and nutsedge as among the most difficult weeds to control in North Carolina landscape beds, noting that their underground structures make them largely immune to light exclusion alone. If your new bed area is heavily infested with either, address those plants directly before or during site preparation rather than expecting the barrier to solve the problem for you.
A cleared, short-cut surface gives the cardboard its best chance to lie flat, seal off light, and break down evenly. Taking an extra hour or two on prep work in fall typically saves considerably more time pulling weeds the following spring.
Install clean paper with overlapping seams
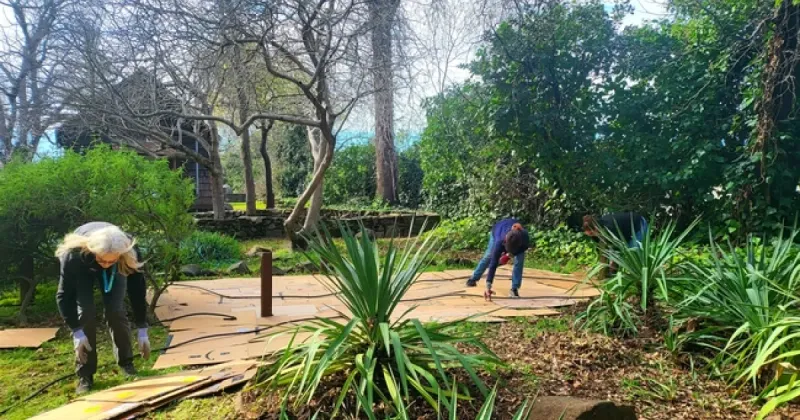
Plain brown corrugated cardboard is the workhorse of sheet mulching, and most of it comes free from appliance stores, moving companies, or your own recycling pile. Before you lay a single sheet, spend a few minutes stripping off plastic tape, removing staples, peeling away labels, and discarding any boxes that are waxed, glossy, or heavily printed.
Those nondegradable materials do not break down cleanly in the soil, and waxed or coated surfaces can resist moisture and slow the decomposition you are counting on.
Oregon State Extension’s sheet-mulching guide and Iowa State Extension’s mulching guidance both specify plain, uncoated brown cardboard and caution against using materials with heavy ink, wax coatings, or plastic components. If cardboard is not available in sufficient quantity, several overlapping layers of plain newspaper work as an alternative, though they decompose faster and may need extra thickness to match the barrier effect of corrugated board.
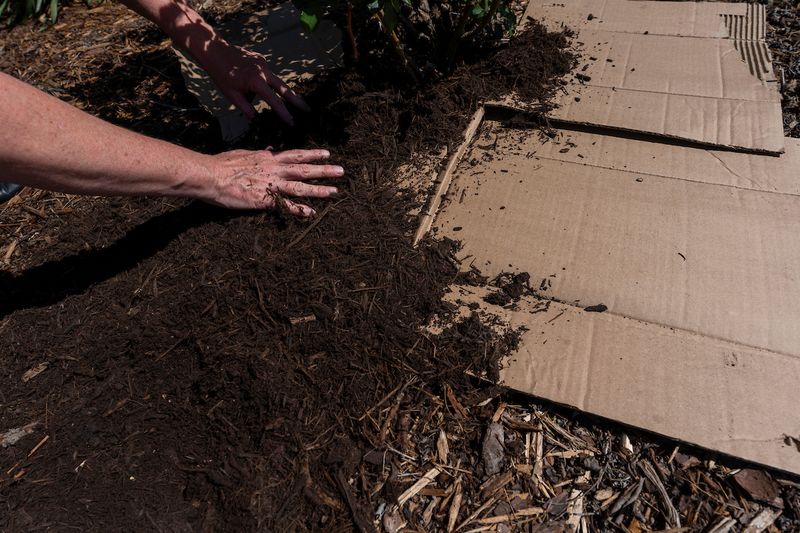
Lay sheets in a single or double layer and overlap every seam by at least six inches, ideally more. Gaps are the enemy here: any exposed strip of soil or vegetation lets light through and gives weeds a foothold.
Work methodically across the bed so that no edge is left uncovered, and tuck the paper snugly against bed borders rather than leaving a gap at the perimeter.
Once the paper is in position, wet it thoroughly with a garden hose. Clemson Extension’s cardboard landscaping guide recommends anchoring cardboard and wetting it so it conforms to the soil surface and stays in place.
A dry sheet of cardboard can curl, shift in wind, and open gaps before the mulch goes on top. Wet cardboard also begins softening immediately, which helps it mold around any minor surface irregularities and start decomposing sooner.
Cover the wet paper with your chosen organic mulch promptly, before wind or foot traffic disturbs it. Penn State Extension’s sheet-mulching steps treat the mulch layer as both a physical anchor and the second barrier in the system, so applying it the same day you lay the paper keeps the installation working as intended.
Choose an organic top layer that fits the site
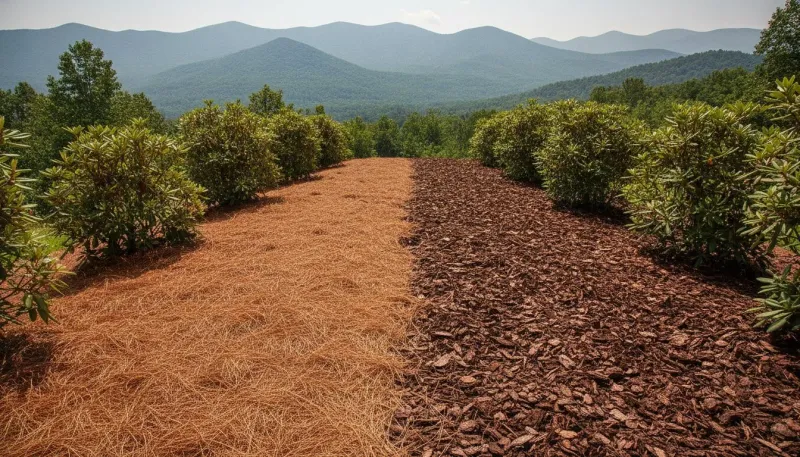
Once the paper barrier is down and wet, the organic mulch you spread on top does double duty: it holds the cardboard in place and adds its own layer of weed suppression. Both pine straw and bark-based mulches are common choices in North Carolina, and each has real strengths depending on where you are gardening and how much maintenance you want to do.
NC State’s organic gardening handbook lists pine bark, shredded hardwood, and pine straw as suitable top layers when used over a cardboard or newspaper base. All three can work, but they do not behave identically once they are on the ground.
Pine straw is widely available across the Piedmont and Coastal Plain, easy to spread, and breaks down into the soil over time. Its main drawback is that it can scatter in wind, particularly on slopes or in open beds, and it generally needs topping off more often than bark-based products to maintain an effective depth.
University of Georgia Extension’s weed control publication and University of Florida Extension’s mulch guidance both note that pine straw requires more frequent reapplication than longer-lasting bark mulches.
One thing pine straw does not do is meaningfully change your soil’s pH just by sitting on top of it. Virginia Tech research clarifies that pine needles do not alter soil acidity unless they are incorporated as a soil amendment, so do not avoid pine straw on that basis if it otherwise suits your site.
University of Florida research comparing mulch materials found that pine bark and pine straw outperformed shredded wood mulch against weed seeds placed on top of the mulch in greenhouse and outdoor tests, partly because shredded wood retained more moisture and sometimes allowed weeds to germinate within the mulch layer itself. That finding reflects specific test conditions rather than a universal rule, but it suggests that particle size and moisture retention are worth considering when you choose a material.
For most North Carolina homeowners, the practical choice comes down to what is locally available, affordable, and realistic to maintain. Either pine straw or bark can cap a sheet-mulched bed effectively when applied at the right depth.
Match mulch depth to the job
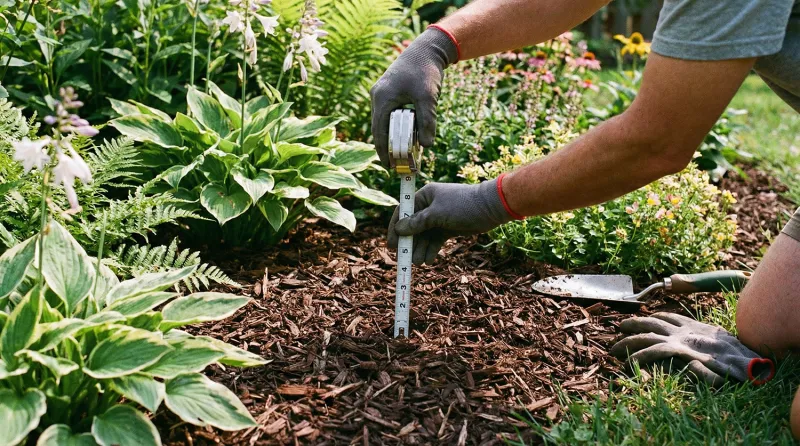
Depth is where a lot of well-intentioned mulching projects go sideways. More is not automatically better, and the right depth depends on what you are trying to accomplish and what is already growing in the bed.
For a new bed being smothered over existing lawn, Penn State Extension’s sheet-mulching guidance recommends roughly 4 to 6 inches of total organic covering over the cardboard layer during the smothering period. That thicker application is temporary and specific to the lawn-conversion project.
It is not a standard you should apply everywhere in your yard.
Around established plants, shrubs, and trees, Sampson County Cooperative Extension and other NC county offices commonly recommend 2 to 3 inches of pine straw, bark, or composted mulch for routine top-dressing. NC State’s landscape planning resource suggests 3 to 4 inches for perennial and woody beds, while noting that exceeding 4 inches can encourage weed growth within the mulch layer and restrict oxygen to plant roots.
For planning purposes, NC State’s Extension Gardener Handbook notes that a cubic yard of mulch covers approximately 100 square feet at a 3-inch depth. That estimate helps you calculate how much material to order before you start, so you are not left with a half-covered bed or a mountain of leftover mulch.
Henderson County Extension’s plant health alert on excessive mulch warns that piling mulch too deep can create a low-oxygen environment around roots, hold excess moisture against stems and trunks, and ironically encourage weeds to establish within the mulch itself. Use the thicker application only where the smothering job calls for it, and keep depth in check everywhere else.
Let a new fall bed rest before planting
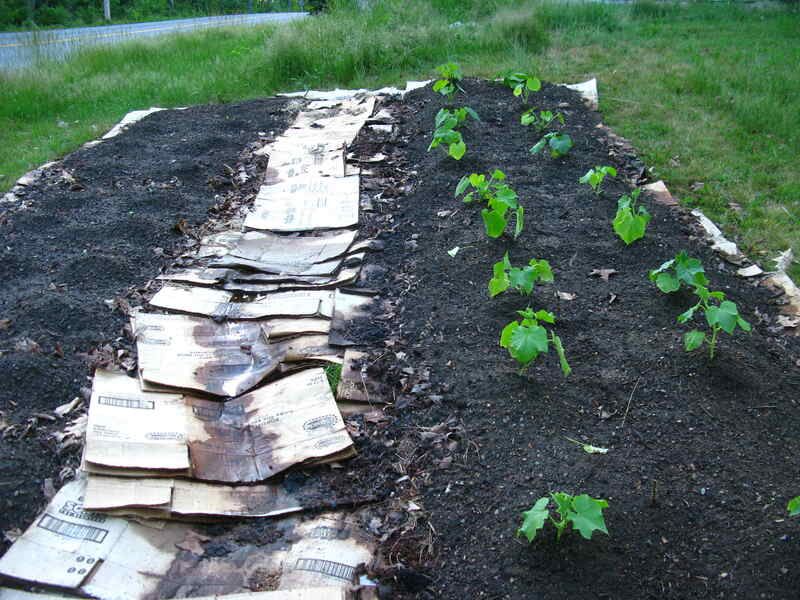
Patience is part of the method. After you lay the paper and cover it with mulch, the most productive thing you can do is leave the bed alone and let decomposition work through the cold months.
Trying to plant into a freshly sheet-mulched area right away undermines the smothering process and puts roots into mulch rather than soil.
NC State’s Piedmont sheet-mulching article states that a bed started in November may be ready for planting by May, and that the biodegradation process takes roughly six months. That timeline fits a fall installation naturally into the North Carolina growing calendar, giving the cardboard time to break down, the turf underneath time to die back, and the soil time to begin improving before you ask it to support new plants.
When spring arrives and the bed is ready, plant into the soil beneath the mulch layer rather than into the mulch itself. Pull back or part the mulch at each planting spot, set the plant at the correct depth in the soil, and draw the mulch back around the stem without piling it against the crown.
Roots need to anchor in mineral soil, not in a loose organic layer that dries out quickly and offers little structural support.
Penn State Extension similarly recommends allowing four to six months before planting into a sheet-mulched lawn conversion. Both timelines point to the same practical conclusion: the fall-to-spring rest is not wasted time.
It is where the method earns its keep, and rushing the schedule reduces the payoff you set up back in October or November.
Adapt the method for established beds
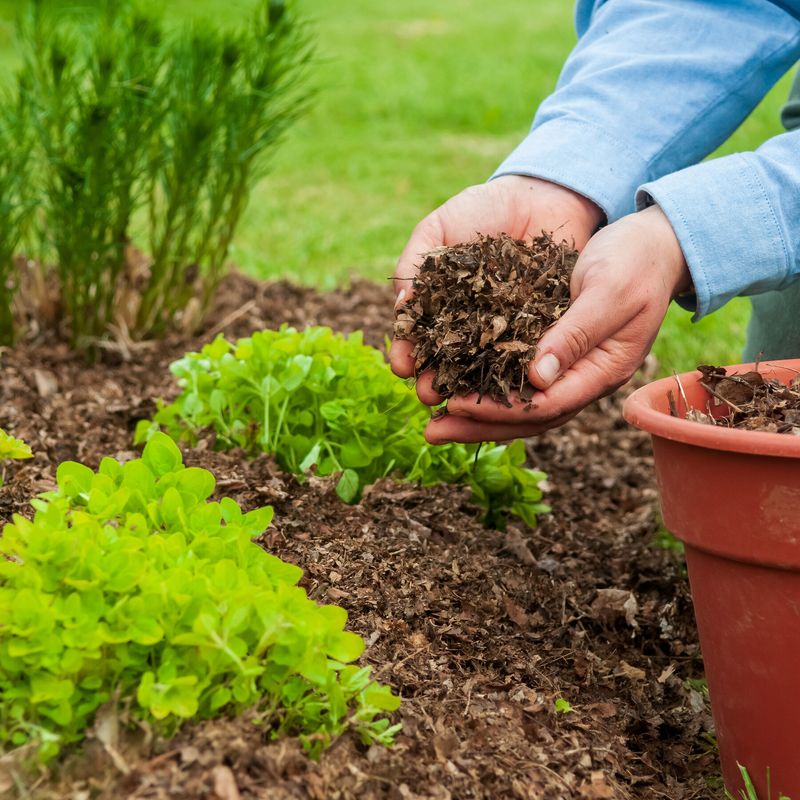
Established beds with shrubs, perennials, and ground covers already in place call for a different approach than a bare patch of lawn you are converting for the first time. Full sheet mulching across a planted bed can do more harm than good if the cardboard covers plant crowns, blocks spreading ground covers, or traps moisture against stems and trunks.
Before adding any mulch to an established bed, remove existing weeds by hand. Pull them roots and all where possible, especially any perennial species you can identify.
NC State’s Piedmont sheet-mulching resource makes clear that the full paper-and-mulch treatment is aimed at new planting areas and bed renovation, not at covering ground already occupied by mature plants.
If you want to use cardboard in an established bed to suppress weeds in open gaps between plants, cut the cardboard to fit those specific areas and keep it well clear of any crown, stem, or trunk. The paper can go around individual plants in open sections of the bed, but it should never be tucked under a shrub or layered across a spreading ground cover that needs room to grow.
NC State’s planting guide notes that established beds need careful placement to protect existing plants from mulch-related stress.
Even a well-installed barrier in an established bed will not stop every weed from returning. Wind carries new seeds onto the surface of the mulch, where they can germinate in the organic layer without ever touching the cardboard below.
NC State’s weed management handbook and Iowa State Extension’s mulching guidance both describe this surface-germination pathway as a reason why mulch suppresses weeds rather than eliminating them. Perennial weeds with deep root systems can also push through or around the barrier from below.
Plan on spring inspection and occasional hand weeding as part of the ongoing routine, not as a sign the method failed.
Protect plants and keep barriers from foundations
A few placement rules can prevent a well-planned sheet-mulching project from causing problems that outweigh its benefits. The most consistent guidance from North Carolina Extension offices concerns what mulch and cardboard should never touch: trunks, stems, plant crowns, and the foundation of your home.
Henderson County Extension’s excessive mulch alert and Pender County Extension’s mulch depth guidance both warn that mulch piled against trunks or stems holds moisture against the bark, restricts oxygen to roots, and can contribute to rot, fungal problems, and other plant-health issues over time. Keep a clear gap of several inches between any mulch or cardboard and the base of trees, shrubs, and perennial crowns.
Keep cardboard and mulch away from your home’s foundation and any structural wood. Moist organic material near a foundation can attract insects and create conditions that increase risk, particularly where wood is in contact with or close to soil.
Extension’s termite risk guidance and University of Florida Extension’s termite resource treat structural risk as conditional on moisture, drainage, soil-to-wood contact, and existing pest activity rather than on cardboard use alone. Cardboard does not inevitably cause a termite problem, but placing it against a foundation adds unnecessary risk.
Keep the sheet-mulched area at least a foot or two from any structure.
Landscape fabric deserves a separate mention because it is sometimes proposed as an under-mulch alternative to cardboard. NC State’s planting guide and NC State’s landscape weed management resource acknowledge that geotextiles can suppress annual weeds when properly installed, while noting that perennial weeds can grow through them and that weeds establishing in the organic matter above the fabric become difficult to remove.
UC ANR’s mulch guidance and Extension’s landscape fabric FAQ suggest that fabric has a more defensible use beneath rock or gravel, where it separates stone from soil and is not being asked to coexist with plant roots and organic matter. In an ordinary planted bed, biodegradable cardboard is generally the better choice because it improves the soil as it breaks down rather than creating a persistent layer that roots and weeds eventually work around.
Reduce spring weeds without expecting a one-time fix
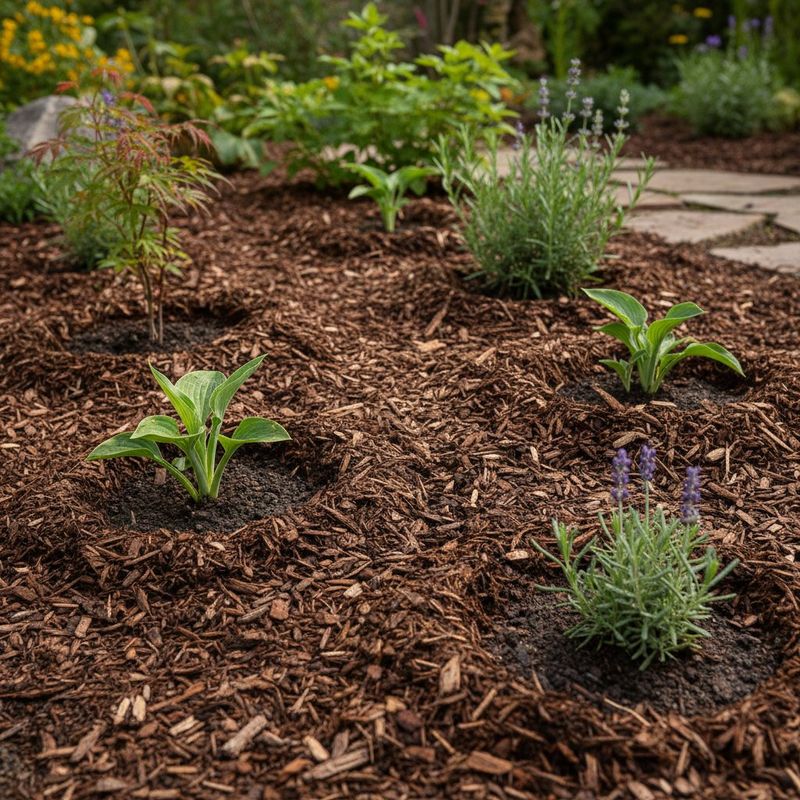
Here is the short version of everything this project asks you to do: clear the area, cut vegetation short, pull large perennial weeds, lay clean overlapping cardboard with generous seam overlap, wet it thoroughly, and cover it with 4 to 6 inches of organic mulch for a new bed or 2 to 3 inches for established sections. Then let a new bed rest through winter before planting into the soil beneath the mulch in spring.
NC State’s sheet-mulching guidance frames this as weed suppression, not weed eradication, and that distinction matters when you walk out to the bed in April. NC State’s weed handbook and Iowa State Extension’s mulch resource are consistent on this point: seeds arrive on top of mulch from wind and birds, gaps can open as cardboard decomposes unevenly, and perennial weeds with underground structures can push through or around any barrier.
NC State’s plan-before-you-plant resource recommends treating spring inspection and occasional hand weeding as a normal part of bed management, not a failure of the method.
Done correctly this fall, sheet mulching can meaningfully reduce the number of weeds you face in spring. The beds that reward the effort most are the ones you keep watching afterward, pulling the occasional newcomer before it sets seed and fills the bed all over again.