
The Ultimate Guide To Growing Tall, Gorgeous Hollyhocks (It All Comes Down To One Simple Secret)
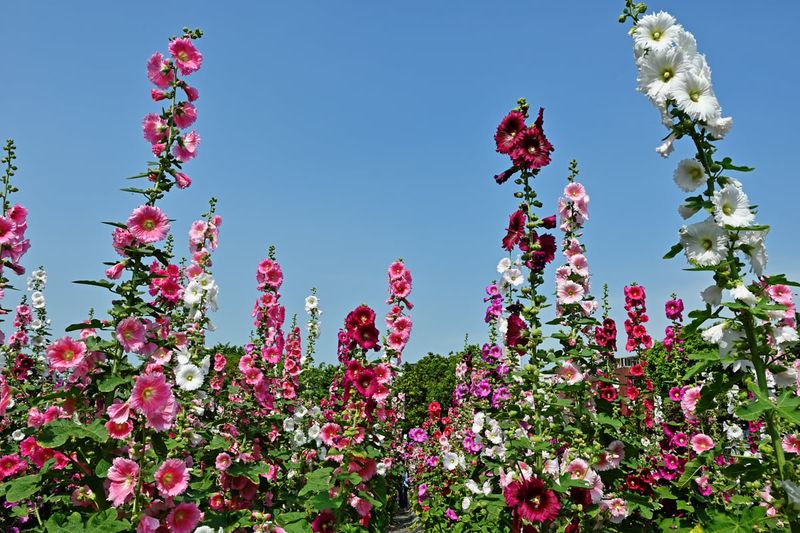
Hollyhocks are one of those old-fashioned flowers that stop people in their tracks, sending spikes of blooms towering above fences and garden borders. If yours have been shorter, weaker, or rustier than you hoped, you are not alone, and you are probably not missing some exotic trick.
The real answer is simpler and more satisfying than a magic product: getting a handful of everyday basics consistently right is what separates struggling hollyhocks from the ones neighbors ask about.
The real secret is consistent basic care—not more fertilizer
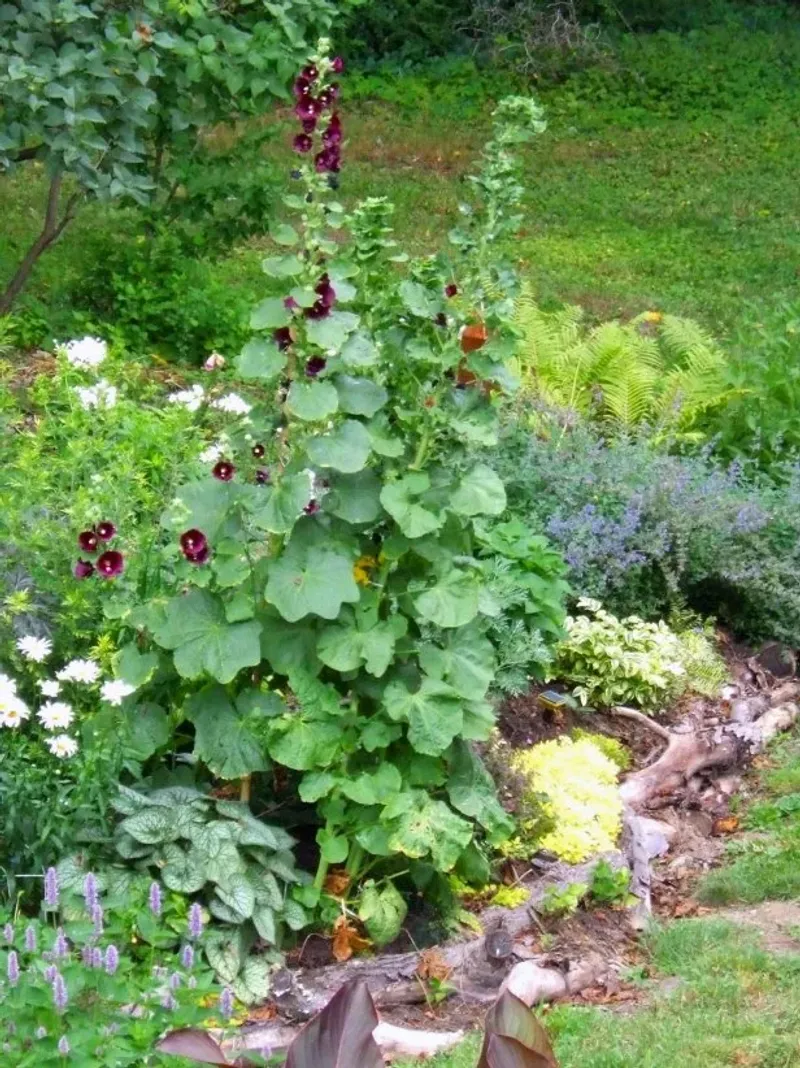
Plenty of gardeners suspect there is one fertilizer, one pruning cut, or one product that unlocks those towering spikes they see in magazine photos. There is not.
The strongest case for exceptional hollyhocks points to a combination of plant selection and reliable everyday practices, not a single treatment.
Start with the plant itself. North Carolina State Extension notes that common hollyhock, Alcea rosea, can reach impressive heights, but cultivars and related species vary considerably in their mature size.
A compact ornamental variety will never match a naturally tall species no matter how carefully you tend it, so choosing a cultivar known for strong vertical growth is the first practical step.
Once you have the right plant, the practices that matter most are full sun, soil that drains between waterings without drying out completely, adequate spacing between plants, and watering at the base rather than overhead. University of Wisconsin Extension specifically recommends fertilizing only when the soil calls for it, based on a fertility test, rather than applying heavy feeding as a standard routine.
Excess or unnecessary fertilizer does not reliably produce taller stems and can shift your focus away from the cultural factors that actually matter.
Think of consistent basic care as removing the obstacles that hold hollyhocks back. Good light, sound drainage, open spacing and careful watering all work together to let the plant express its natural potential.
The sections ahead cover each of those practices in plain terms, along with realistic guidance on the biennial life cycle, staking and the persistent challenge of hollyhock rust. None of them require expensive products, and together they form the closest thing to a real secret these plants have.
Choose a sunny site with soil that drains between waterings
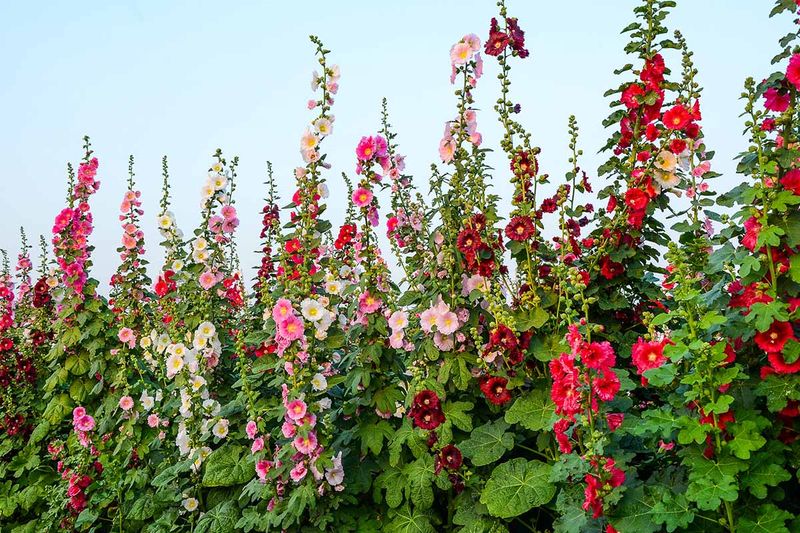
Light is the single biggest site factor for hollyhocks. Full sun, meaning roughly six or more hours of direct sunlight daily, gives the plant the energy it needs to push up strong stems and produce abundant flowers.
NC State Extension notes that hollyhock foliage can wither in intense summer heat, so gardeners in the hottest parts of the country may notice some leaf stress during peak summer even when sunlight is plentiful. That is a sign to monitor moisture carefully, not to move the plant into shade.
Hollyhocks can tolerate a little light shade, but reduced sun is consistently associated with weaker, less upright growth. If your existing plants are leaning toward a light source or producing thin stems, shade from a nearby structure or tree canopy is worth investigating before you change anything else about your care routine.
Soil matters almost as much as light. Missouri Botanical Garden describes the preferred growing medium as average, medium-moisture, well-drained soil.
NC State similarly points to moist, well-drained conditions with organic matter. The key distinction is between soil that holds some moisture between waterings and soil that stays soggy.
Hollyhocks dislike both extremes: chronically dry soil stresses the plant, while waterlogged soil, especially during winter, can damage or kill the roots.
If your garden beds tend to stay wet after rain, raising the planting area slightly or working in organic matter can improve drainage without creating a bone-dry environment. Adding compost supports the moisture balance hollyhocks prefer without prescribing a complicated amendment formula.
Check drainage by digging a small hole after a heavy rain; if standing water remains for more than a few hours, that bed needs attention before hollyhocks will thrive there.
Give plants room for airflow and healthier foliage
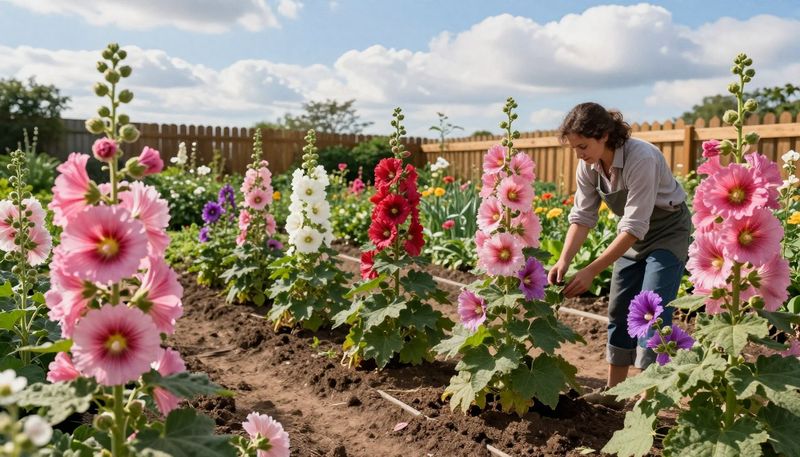
Crowding hollyhocks together creates a warm, still, humid pocket around their leaves, and that environment is exactly where foliar disease takes hold. Spacing plants properly is primarily a health and disease-management decision, not a shortcut to extra inches of height.
Penn State Extension and UC Cooperative Extension both support a spacing range of roughly 12 to 24 inches between hollyhock plants. That range is a starting point rather than a fixed rule.
Mature plant size, the specific cultivar, and whether you are direct-sowing seed or transplanting established plants can all shift what works best for your situation.
What open spacing actually accomplishes is straightforward: sunlight reaches more of each plant, air moves between stems, and wet foliage dries faster after rain or dew. All three of those outcomes reduce the conditions that favor rust and other leaf problems.
A dense planting may look impressive early in the season, but by midsummer the interior leaves of a crowded group are often the first to show disease pressure.
When seedlings germinate thickly or an established clump has grown congested over a season or two, thinning is worth the effort. Pull or transplant the extras rather than leaving them to compete.
If relocating a mature plant is not practical mid-season, removing the weakest stems and improving airflow around the remaining ones is a reasonable middle step. The goal is a planting where each stem has breathing room and sunlight, not a wall of green that traps humidity at its center.
Water the soil line while keeping moisture moderate
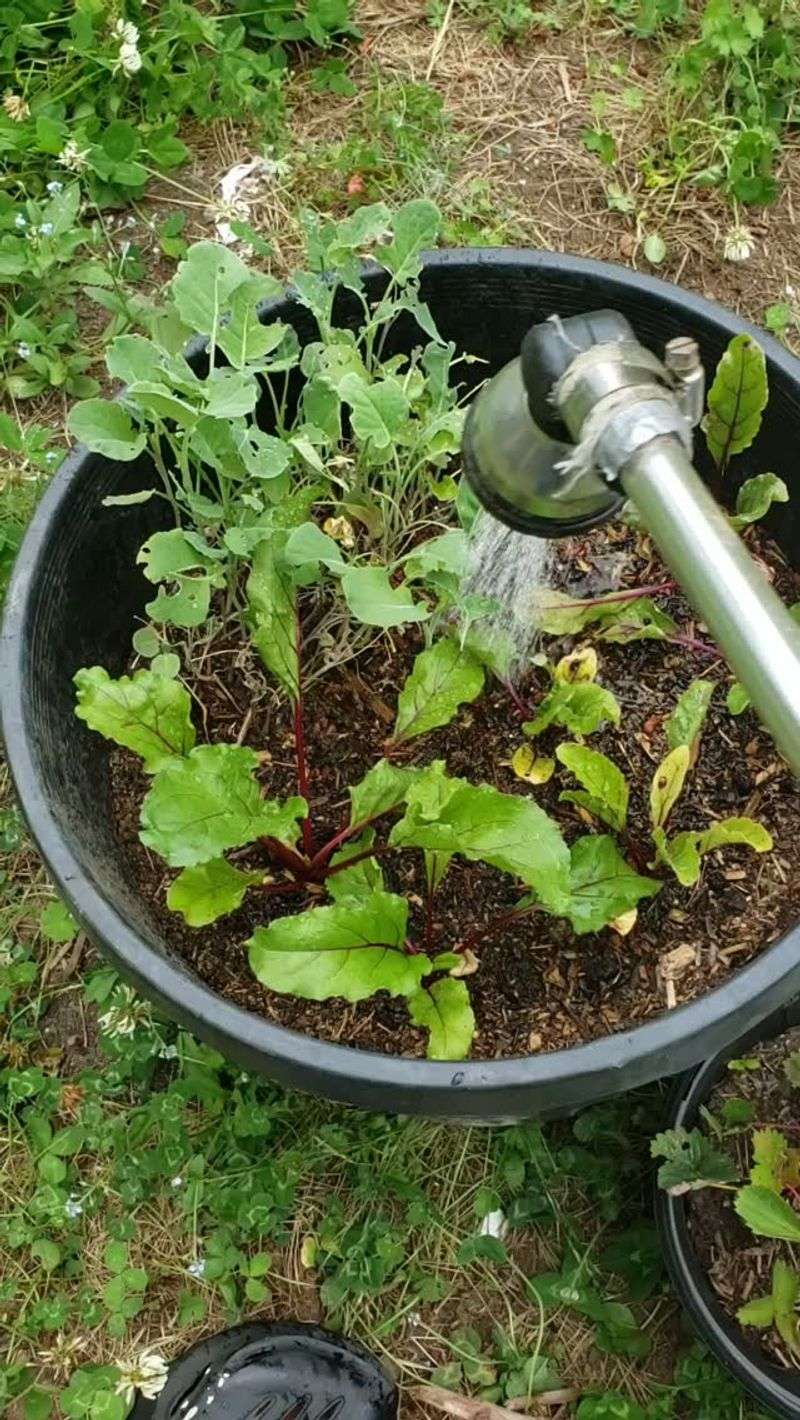
How you deliver water to hollyhocks matters as much as how much you give them. Drip irrigation, a soaker hose, or careful hand-watering aimed at the base of each plant keeps moisture where the roots can use it while leaving the foliage dry.
Wet leaves, especially when combined with crowding and humid weather, create favorable conditions for hollyhock rust, the fungal disease that produces orange pustules on leaf undersides and can defoliate plants by midsummer.
The Royal Horticultural Society identifies wet conditions and poor airflow as key factors that encourage rust development. Washington State University Hortsense echoes that guidance, noting that overhead irrigation increases disease risk by keeping foliage moist.
Watering at the soil line does not prevent rust entirely because the spores travel on air currents and can land on leaves regardless of your watering method, but it does reduce one of the conditions that helps the disease establish and spread.
The right amount of water depends on your soil type, local rainfall, summer temperatures and drainage. Sandy soils dry out faster than clay-heavy beds, and a week of rainy weather changes the calculation completely.
Rather than following a fixed schedule or a prescribed volume, check the soil a few inches down before watering. If it still feels slightly moist, wait.
If it is dry, water thoroughly at the base and let it drain before the next cycle.
NC State Extension supports moderate, consistent moisture for hollyhocks rather than extremes in either direction. Letting plants cycle between adequately moist and bone-dry stresses the root system and can weaken stems over time.
The practical target is soil that stays moist enough to support growth without staying wet long enough to invite root problems or encourage the humid leaf environment that rust exploits.
Know that many hollyhocks flower after their first year
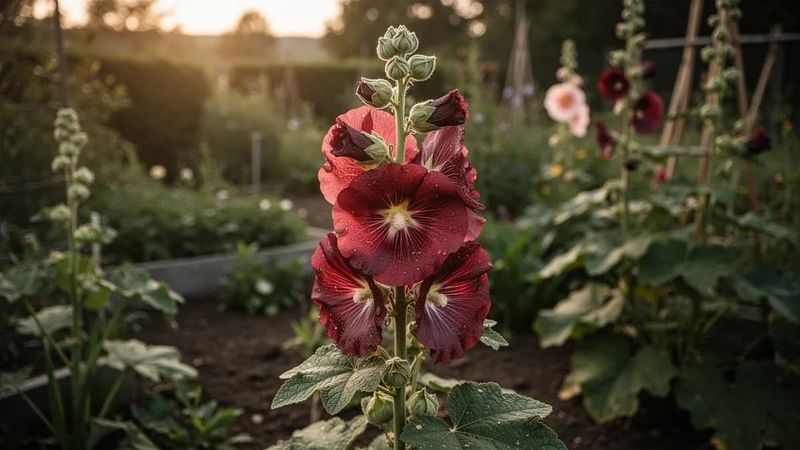
One of the most common sources of hollyhock frustration is planting in spring and waiting for flowers that never come that season. Many hollyhocks are biennials, meaning they spend their first growing season building a leafy rosette close to the ground, survive winter, and then send up their flowering spike in the second year.
If your new plants produced nothing but leaves last summer, that is almost certainly why.
Missouri Botanical Garden describes common hollyhock as a biennial or short-lived perennial. Some cultivars or individual plants may flower in their first year under favorable conditions, and certain types behave more like short-lived perennials, returning for a few seasons before declining.
The schedule is not universal, so checking the specific cultivar you are growing is a reasonable first step when setting expectations.
UC Cooperative Extension points out that hollyhocks self-seed readily, which explains why an established planting can appear to return faithfully every year even when the original plant is biennial and does not survive long after flowering. What looks like the same plant coming back is often a new seedling that germinated from the previous season’s dropped seed.
Gardeners who want reliable blooms every summer have two practical options. First, allow mature plants to set and drop seed so a new generation is always coming up behind the current one.
Second, WSU Extension supports staggering plantings across two consecutive years so that first-year and second-year plants are always present at the same time. Either approach keeps flowers appearing on a dependable schedule without requiring the original plant to live indefinitely.
Stake exposed flower spikes when conditions demand it
Hollyhock spikes are often sturdier than gardeners expect. NC State Extension notes that hollyhock flower spikes are typically rigid enough that staking is not always necessary.
Many well-grown plants in a sheltered location stand perfectly upright through the entire bloom season without any support at all.
The situation changes in exposed or windy sites. Missouri Botanical Garden acknowledges that staking may be needed in those conditions.
A six-foot spike carrying dozens of open flowers acts like a sail in strong wind, and stems that blow over or snap near the base will not recover. The decision to stake should come from watching how your specific plants behave in your specific yard, not from a rule that tall plants always need support.
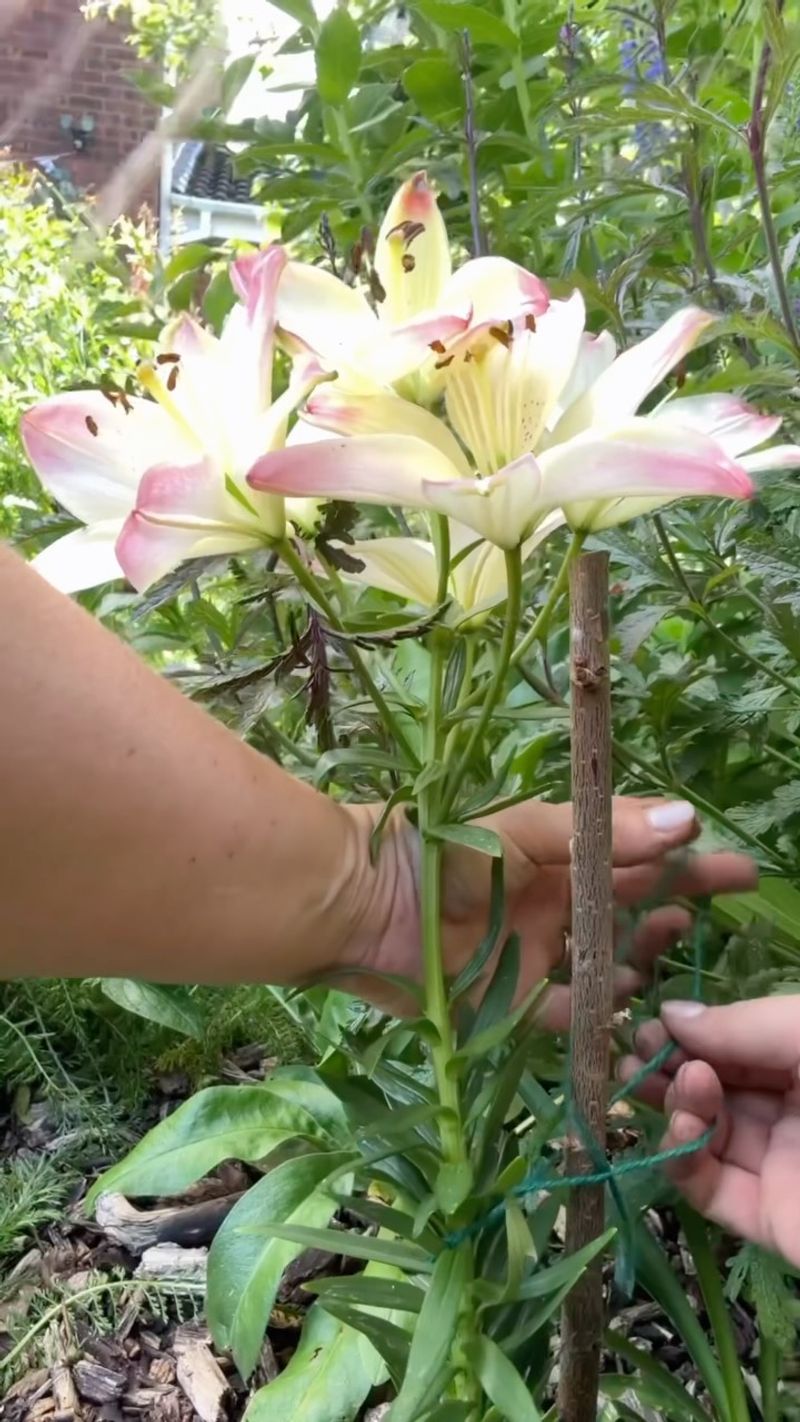
When staking makes sense, a few practical points help. Use a stake that reaches at least two-thirds of the expected spike height, set it firmly in the ground before the stem grows past it to avoid disturbing the root zone, and attach the stem loosely with soft twine or stretchy garden tape.
A tie that is too tight can damage the stem or restrict natural flex, which plants use to manage wind load. One tie at the midpoint is usually enough; a second higher up is worth adding if the spike is unusually tall or the site is particularly exposed.
Staking protects what the plant has already produced. A well-supported spike stays upright through storms and continues flowering normally.
That is the goal, not adding height or changing how the plant grows.
Manage rust early without promising a cure
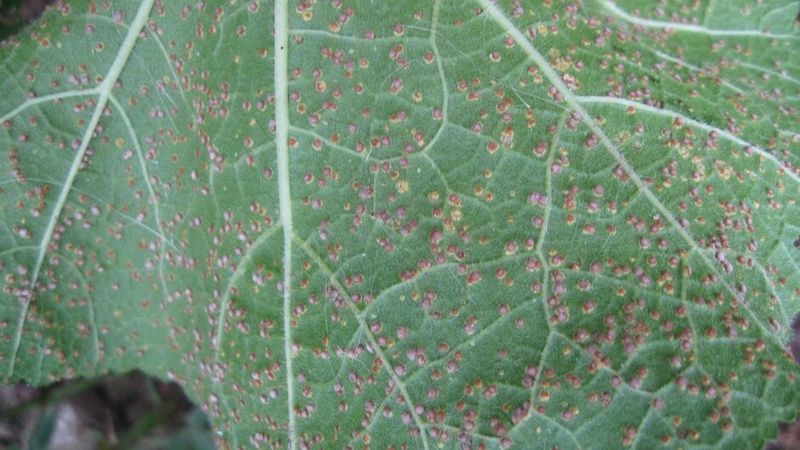
Orange or yellow spotting on hollyhock leaves is a familiar sight in most backyard gardens, and hollyhock rust, caused by the fungus Phragmidium malvacearum, is the most common culprit. That said, spotted or brown foliage can have more than one cause, and the University of Wisconsin Plant Disease Diagnostics Clinic cautions that very few plant diseases can be accurately identified by appearance alone.
If you are uncertain whether what you are seeing is actually rust, your local cooperative extension office or a plant diagnostic lab can confirm the diagnosis before you take action.
When rust is confirmed or strongly suspected, the most useful first response is removing badly infected leaves and clearing fallen debris from around the base of the plant. University of Wisconsin Extension explains that sanitation reduces the amount of overwintering inoculum available to reinfect plants the following season.
Do not compost diseased material. Dispose of it according to your local extension authority’s guidance, and check local ordinances before considering burning, which is restricted in many areas.
Sanitation helps but does not guarantee that rust disappears. The spores travel on air currents and can arrive from neighboring gardens, so even a thorough cleanup leaves some risk.
Choosing more resistant species is another layer of protection. University of Minnesota Extension identifies Russian hollyhock, Alcea rugosa, and figleaf hollyhock, Alcea ficifolia, as more resistant than common hollyhock, Alcea rosea.
Resistance is relative, not absolute, and may not hold against every variant of the rust pathogen.
Fungicides are a supplementary tool, not a solution. WSU Hortsense and Wisconsin Extension both describe fungicides as preventative or suppressive, meaning they may protect healthy tissue or slow the spread of disease but cannot repair leaves that are already damaged.
Before applying any product, confirm that its current label covers hollyhocks, hollyhock rust, and your specific location. USDA ARS guidance on pesticide use is clear: the label is a legal document, and following it is both a safety requirement and a legal obligation.
Do not apply a product based on general recommendations without reading the label for your specific situation.
Use a simple routine to help hollyhocks reach their potential
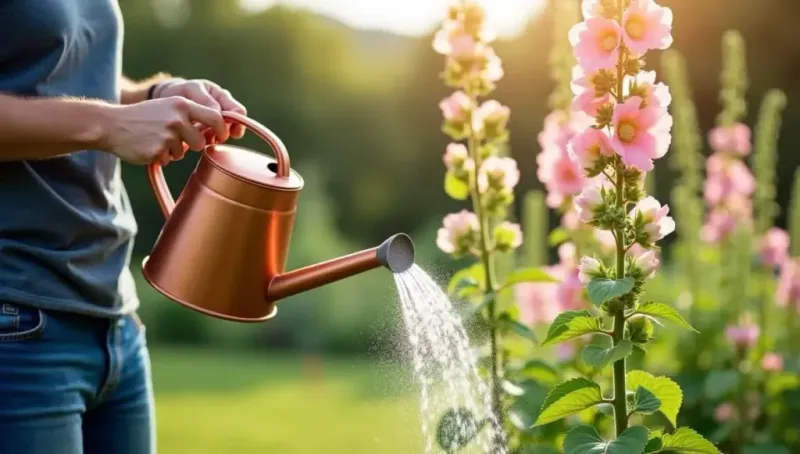
Putting it all together is more straightforward than it might seem. Choose a naturally tall cultivar or species, site it in full sun with soil that drains between waterings, and space plants so air can move between stems.
Water at the base rather than overhead, adjusting frequency and volume for your soil, rainfall and summer temperatures. Account for the biennial life cycle by allowing self-seeding or staggering plantings so flowers appear reliably each season.
Stake flower spikes only when your site and the stem’s behavior call for it. Watch for rust early in the season, remove infected leaves and debris promptly, and follow local disposal guidance.
If you consider a fungicide, verify the label covers your plant, disease and location before applying anything.
NC State Extension and University of Wisconsin Extension both support this kind of practical, culture-first approach. Consistent care removes common obstacles to healthy growth, but cultivar genetics, weather and site conditions still shape the final result.
The gardener who gets the basics right gives their hollyhocks the best realistic chance at reaching their natural height, and that turns out to be a pretty satisfying place to land.