
Why Weeds Keep Coming Back Between Your Pavers (And a Simple Joint Repair That Can Help Them Return Less Often)
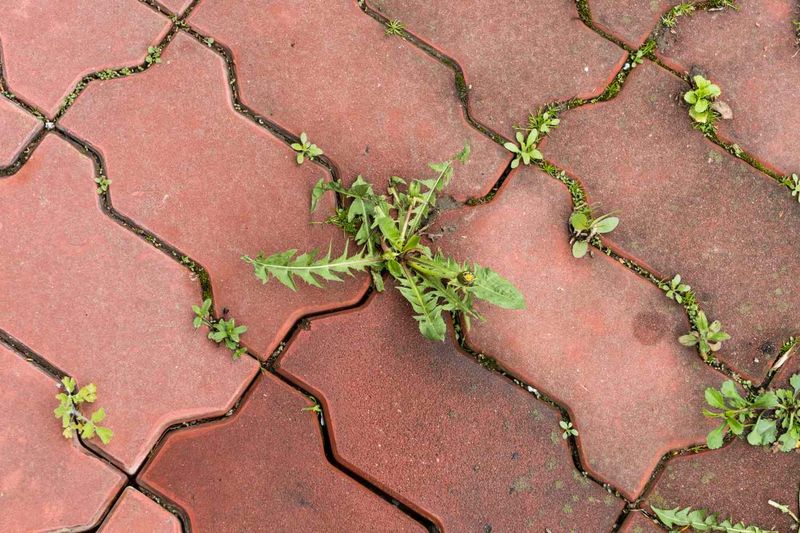
You pull every weed from your patio pavers on Saturday, and by the next few weeks, green shoots are back in the same cracks. It feels like you are doing something wrong, but you are not.
The real trouble often sits in the joints, not just in the plants you can see. A little joint repair can help make weeds less likely to return.
Pulling removes the weed, not the conditions for the next one
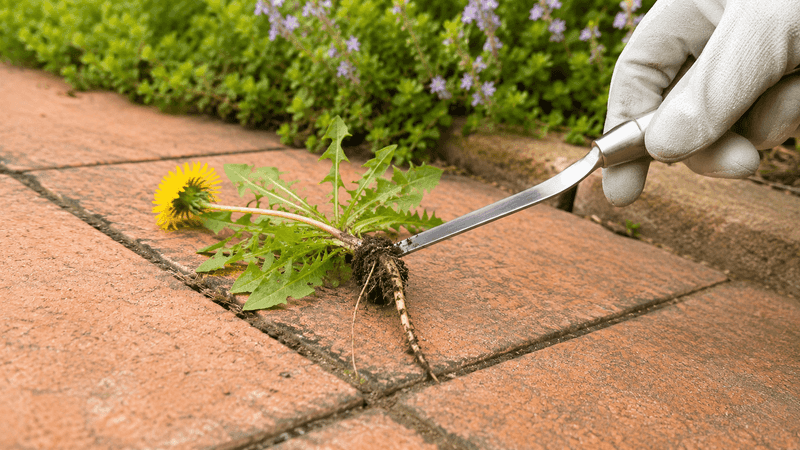
Yanking a weed out feels satisfying, and sometimes it works well. Iowa State Extension guidance notes that some weeds growing between pavers have restricted root systems and can be pulled by hand.
So pulling is not a wasted effort, and there is no need to believe every weed is anchored deep below your patio.
The catch is what pulling leaves behind. You remove the plant you can see, but the joint stays open and ready for the next visitor.
Seeds can blow in, wash in, or drop from nearby plants, and they land in the same gap you just cleared.
Weeds can also creep in from the sides. Cornell turf and landscape weed guidance points out that weeds can spread inward from the edges of hard surfaces, and some that spread by stems or roots can grow in from nearby areas.
If you have a lawn strip or garden bed along your walkway, that is a likely source.
That is why the joint matters as much as the plant. A joint that is empty, worn down, or full of loose material gives new seeds an easy place to settle.
Think of pulling as the first step, then look closely at the gap itself. The next sections walk through what builds up there and how to repair it without harming nearby plants or the paving.
No fix keeps every weed away forever, and that is okay. The goal is fewer weeds, easier cleanup, and less time spent bent over the patio.
What collects in the joints—and where weeds can come from
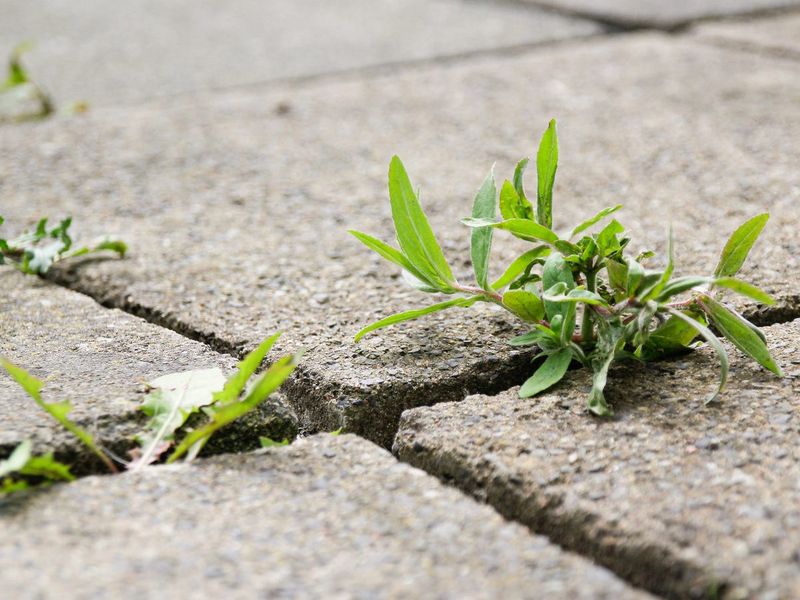
Look closely at a weedy paver joint and you will rarely see clean sand. Over time, sediment, soil, grit, leaf bits, and other debris wash or blow into the gaps.
That mix works like a tiny planter, giving seeds a spot to settle, hold a little moisture, and sprout.
Organic matter like leaf litter is part of the story, but it is not the whole thing. Dust and soil washed off nearby beds count too.
So does fine material that settles on pavers after rain, and Federal Highway Administration guidance on permeable pavement highlights surface sediment as something that needs ongoing attention.
Seeds can come from several directions. Wind carries them across the yard, birds and rain move them around, and weeds growing nearby drop them right at the edge of your patio.
A seed does not need much to start growing, just a bit of debris and some moisture.
Creeping weeds work differently. Cornell’s weed guide notes that weeds can spread in from the edges, and some plants that reproduce by stems or roots can even grow under pavement.
If a weed shows up in a line starting at a flower bed or lawn, it may be crawling in from there.
Here is the useful takeaway. A weed poking up from a joint does not prove that roots pushed up from below the pavers.
Often the seed arrived from above or the plant spread in from the side. Checking which pattern you have helps you choose between cleaning joints, adding fill, or trimming back a nearby creeper.
Clear weeds and debris before repairing a joint
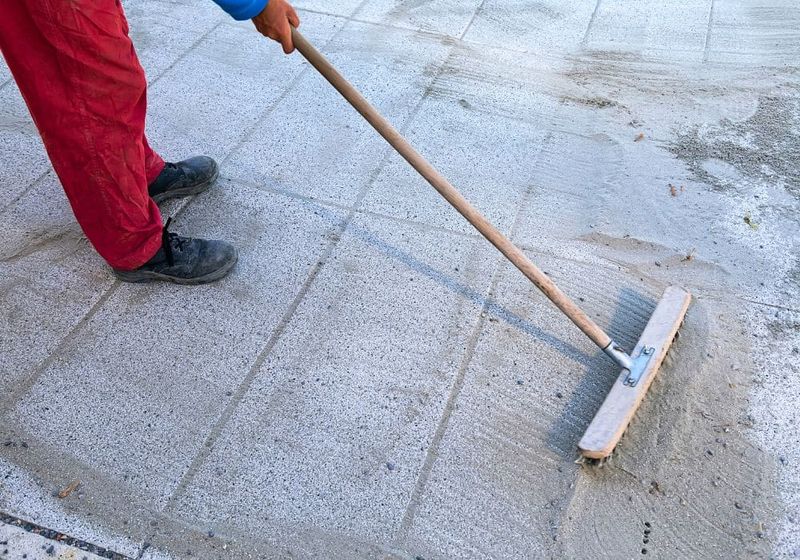
Before you add anything new to a joint, get rid of what is already in there. Fresh fill on top of weeds and loose soil just gives the next seedlings a head start.
A clean gap gives you a better repair.
Start with the weeds themselves. Pull the ones that come out easily, and use a narrow scraper or a joint tool for stubborn ones.
Take care not to chip the paver edges or dig so deep that you disturb the bedding layer below.
If you can, remove weeds before they form seed heads. Cornell’s guidance recommends pulling or scraping weeds and sweeping out debris before it builds up.
Catching a weed early keeps it from dropping a fresh batch of seeds into the joints.
Next, clear the loose material. A stiff brush, a small hand tool, or a shop vacuum can lift out soil, grit, and plant bits.
Work along each joint, and look for gaps that have lost sand or look worn down. Those are the spots that most need attention later.
Bag up what you remove rather than sweeping it into nearby beds, where it may carry seeds. Also tread carefully near garden plants.
Pulling by hand and scraping avoids the splash and drift risks that come with spraying anything near your hydrangeas, tomatoes, or flower borders.
Homemade sprays are not a simple shortcut either. Vinegar, salt, and boiling water each come with limits and risks, so stick with hand removal for this step.
For conventional pavers, restore suitable joints with the right fill
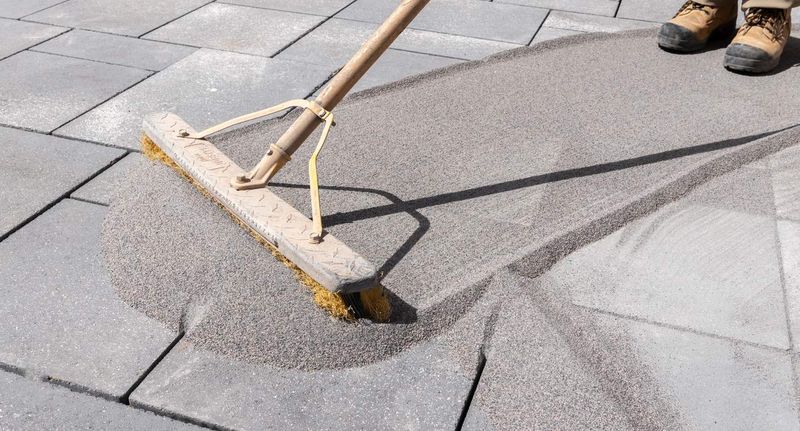
Once the joints are clean, empty or worn gaps in conventional pavers can be refilled. Polymeric jointing sand is one option.
It is a sand mixed with binders that harden slightly after watering, which can make it harder for new weeds to establish in the filled joint.
It is not a weed killer, though, and it cannot promise lasting control. Product data sheets, like Quikrete’s polymeric sand data sheet, describe it as a joint-filling material, not a guarantee of a weed-free surface.
Seeds can still land on top, and joints can wear down over time.
Requirements vary by product, so read the label on the one you buy. Check the suitable joint width and depth, how to prepare the surface, and whether the pavers must be fully dry.
Look at how the product wants you to compact the sand, how to clear sand off the paver faces before wetting, and how to water it.
Temperature and rain timing matter, too. Quikrete, for example, calls for thorough compaction and careful watering after the paver faces are cleared.
A different brand, like the one in the Polybind reference guide, may list its own steps and conditions. Treat each product’s directions as the rule for that product, not a universal recipe.
Sweep leftover sand off the surface so it does not harden into a haze on the pavers. Then keep the area free from rain for as long as the instructions say.
Done carefully, this repair can leave you with fewer weeds to chase.
Permeable pavers need their designed aggregate joints
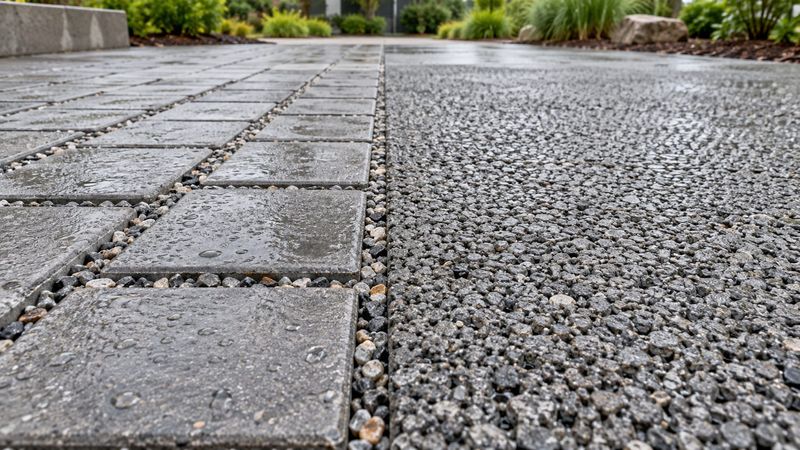
Not every paver surface works like a standard patio. Permeable interlocking concrete pavement is built to let water pass through the joints and into the layers below.
Those joints are filled with small aggregate stone, not regular jointing sand.
That design is the reason you should not treat them like a conventional patio. Federal Highway Administration guidance calls for maintaining the aggregate-filled joints and removing sediment from the surface so water can keep draining.
Filling those gaps with a binding product could interfere with how the system works.
So if you have a permeable driveway, walkway, or patio, check the paving system’s specifications before you add anything. Do not swap in polymeric sand on a hunch.
If you are not sure which type you have, look at your installation paperwork or ask the installer or the paver manufacturer.
Maintenance guidance such as the Concrete Masonry and Hardscapes Association maintenance guide focuses on keeping the surface and joints clear and the aggregate topped up as needed. Weeds can still show up in these joints, especially where sediment collects.
Removing weeds and surface sediment, then restoring the right aggregate, fits the system better.
One quick clue is how the surface handles rain. If puddles soak in fast through visible stone-filled joints, you may have a permeable system.
Confirm before you buy anything.
Regular sweeping can help keep the cycle from restarting
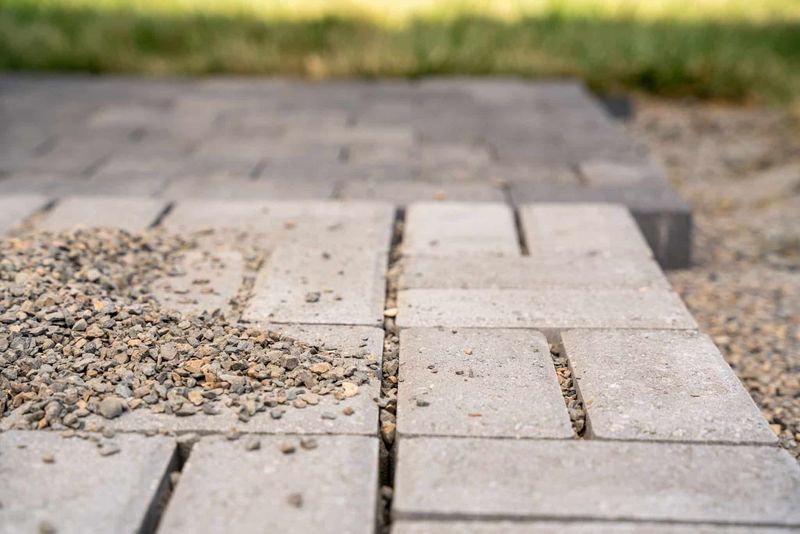
A short sweep every week or two does more than most people expect. Cornell’s guidance recommends sweeping to limit material building up in joints and filling gaps as preventive steps.
Less debris means fewer places for seeds to take hold.
Pair that with a quick walk-through. When a new weed appears, pull it before it sets seed, if you can.
Small seedlings come out easily, and you stop them from sharing seeds with the rest of the joints.
Restoring suitable joints can lower the chances that weeds establish, but it will not wipe out every source. Seeds will still blow in and creeping plants may still push in from the edges.
A little upkeep keeps the problem small.
Before you buy any joint material, work out what kind of paving you have. Conventional and permeable systems need different fill, and the right choice protects both your pavers and your nearby plants.
A tidy joint is a hard place for a weed to start.