
Your Cannas Look Done For The Year – 8 Jobs Before Frost That Bring Back Bigger Blooms Next Summer
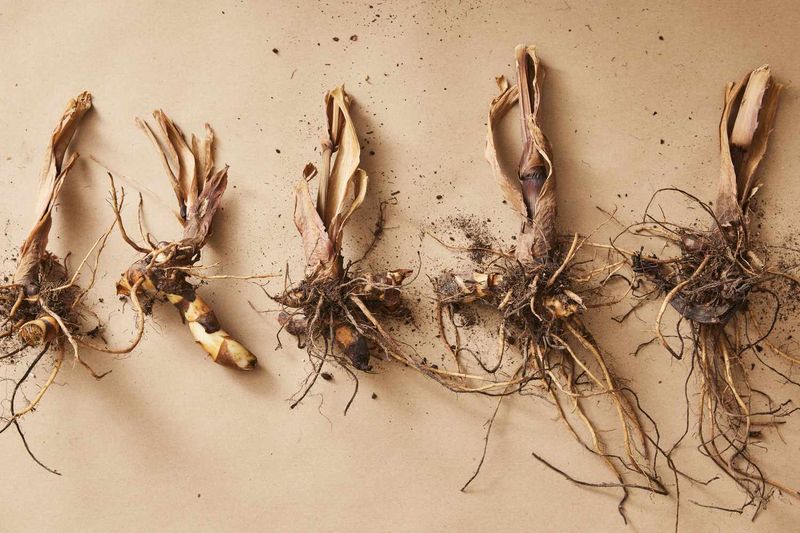
Those tall canna stalks that looked so bold in July are probably floppy, brown, and tired right now. It is easy to think they are finished, but the thick roots under the soil are still alive and full of stored energy.
If you live where winters freeze, a few simple fall jobs decide whether those roots rot or come back stronger. Get these eight steps right, and next summer’s flowers can be bigger and brighter than this year’s.
1. Wait for Frost to Blacken the Leaves
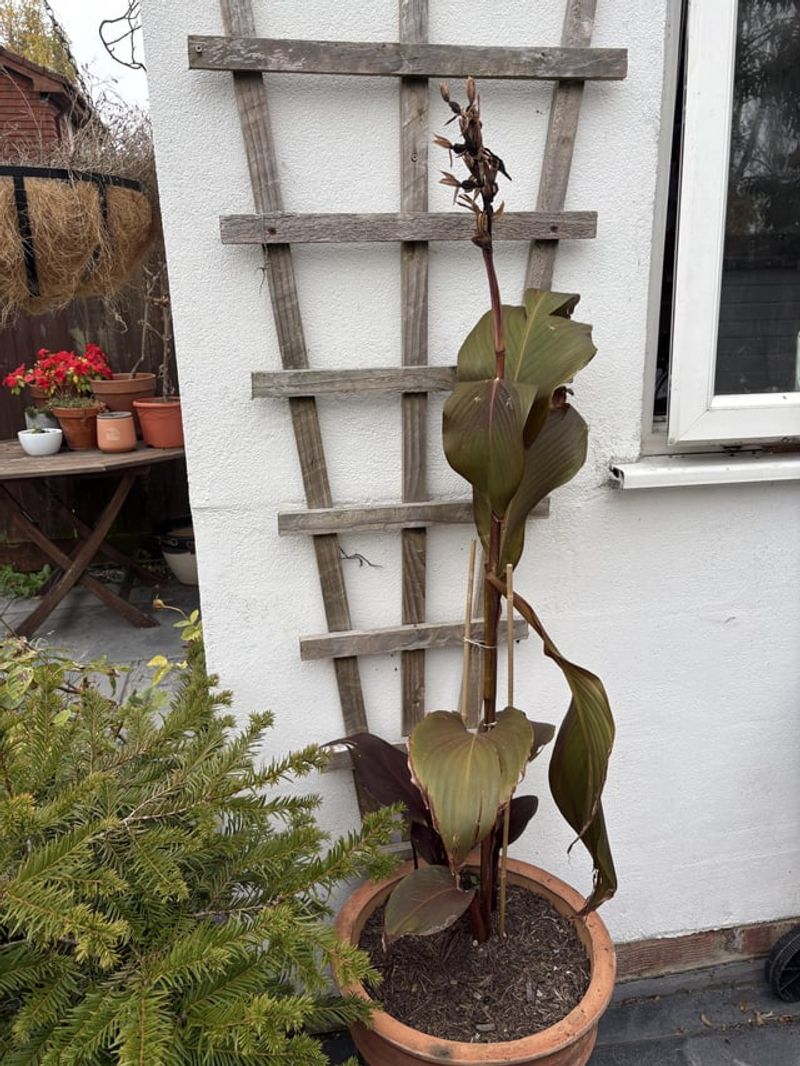
Patience pays off here more than any tool in your shed. Many gardeners rush to dig cannas the moment the leaves look ragged, but those leaves are still feeding the rhizomes underground.
In USDA Zones 7 and colder, the best signal is the first light frost. Overnight, the foliage turns dark and mushy, and that is your green light.
By then the plant has pulled as much energy as it can back into its roots for winter.
Just keep one eye on the forecast. You want to dig after that first blackening frost but before the ground freezes solid, since frozen soil makes lifting hard and can damage the roots.
Gardeners in Zones 8 and warmer can often leave cannas in the ground with a thick layer of mulch instead.
2. Cut the Stalks Down Short

Picture trying to carry a bundle of wet, six-foot banana leaves to the basement. Not fun.
Trimming first makes every job after it easier.
Once frost has killed the top growth, cut the stalks down to about 2 to 6 inches above the soil. Leave a little stub, since it works like a handle when you lift the clump and helps you see where each plant sits.
Toss the cut leaves into the compost only if they looked healthy all season. Leaves with spots, holes, or streaks belong in the trash so problems do not hang around your yard until spring.
3. Dig Wide With a Garden Fork
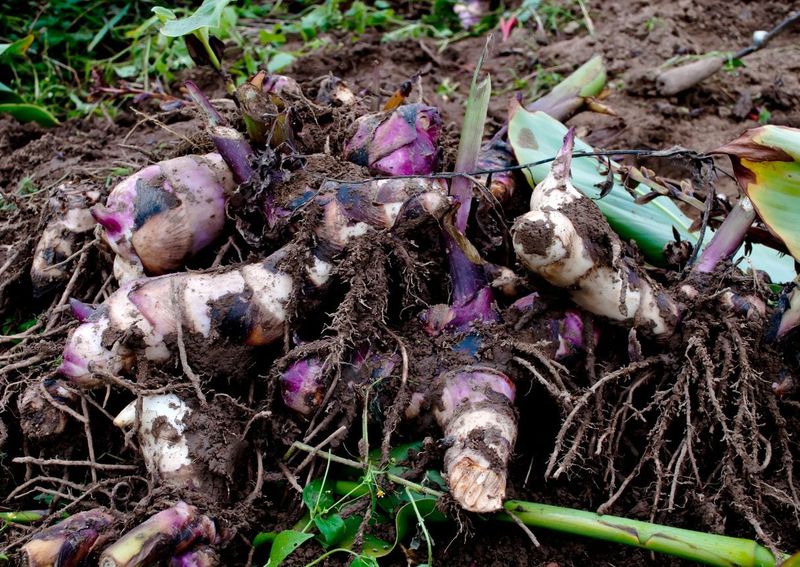
Canna rhizomes are fleshy and juicy, a lot like fresh ginger root. One careless stab with a shovel can slice right through them, and a cut rhizome is an open door for rot in storage.
Start digging about 6 to 12 inches away from the base of the plant. Work your way around in a circle, loosening the soil before you try to lift.
A garden fork is gentler than a spade because the tines slide between roots instead of chopping them.
Rock the fork back and forth, then lift the whole clump from underneath. Do not yank it up by the stalks.
Clumps often grow huge in one season, so take your time and ask for a hand if needed.
4. Clean and Inspect Every Rhizome
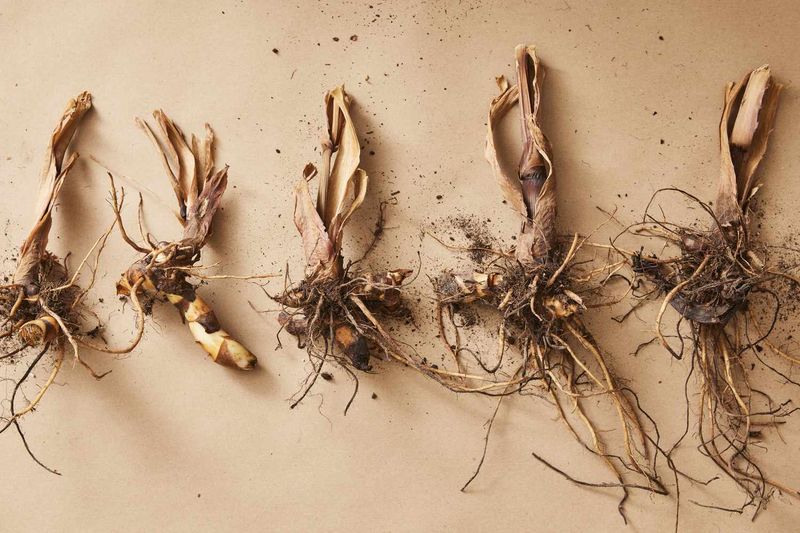
Think of this as a quick health checkup. Shake off loose soil first, then rinse gently with a hose if the clumps are caked in mud.
Now look closely. Healthy rhizomes feel firm, like a raw potato.
Soft, mushy, or smelly spots are signs of rot, and anything with holes or chewed edges may have pests.
Cut away bad sections with a clean knife, or throw out badly damaged pieces entirely. It feels wasteful, but one rotten rhizome can spread trouble to the healthy ones in the same box.
If your clump is very large, this is also a good time to note where it naturally breaks apart for dividing in spring.
5. Let Them Cure for a Few Days
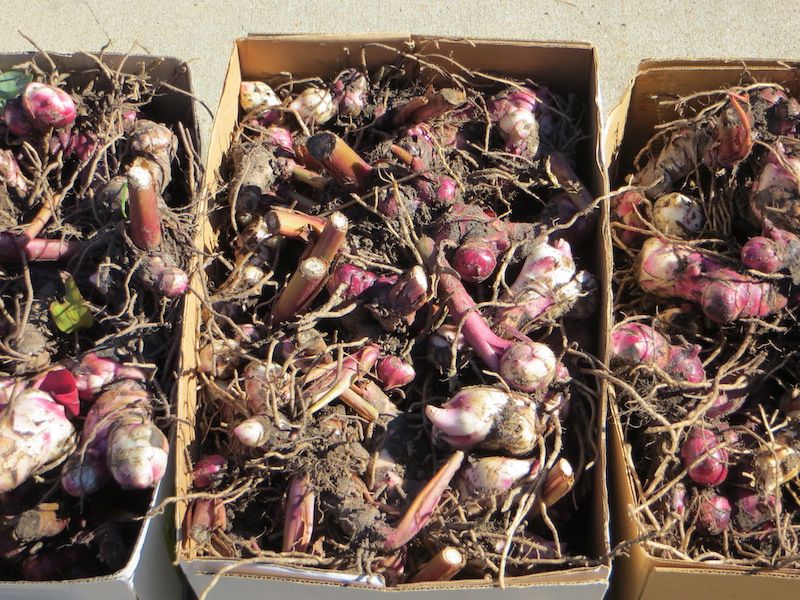
Here is the step most people skip, and it is often the reason cannas turn to mush by February. Curing simply means letting the rhizomes dry out on the surface before storage.
Spread them out in a spot with good airflow, ideally somewhere around 70 to 80 degrees Fahrenheit. A garage shelf, a screened porch, or a spare room works fine.
Leave them there for several days up to about a week.
During that time the outer skin toughens up and any small cuts seal over. That tougher skin can help keep moisture and rot out during the long winter rest.
Fun fact: cannas are not true lilies at all, and some kinds have been grown for their starchy roots as food in South America for centuries.
6. Pack Them Away Cool and Dark
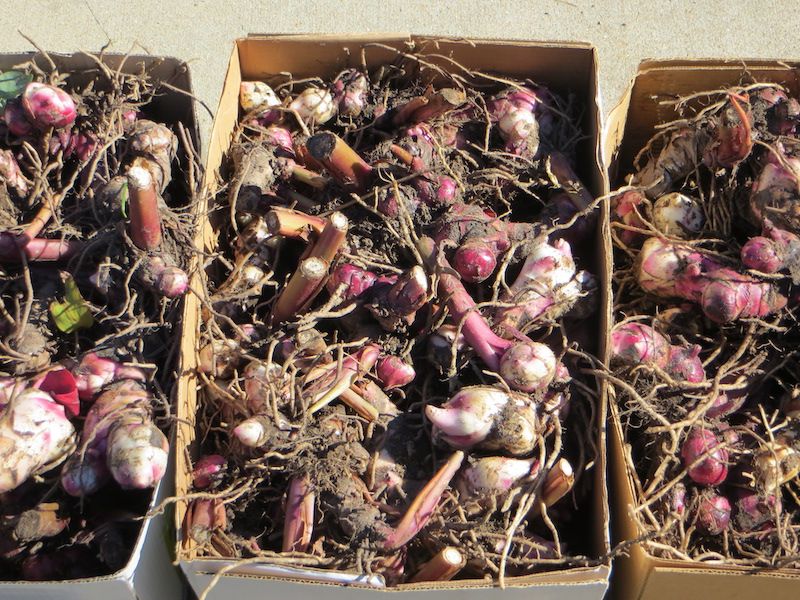
Your rhizomes want a long, boring nap. The sweet spot is a cool, dark, dry place that stays between about 40 and 50 degrees Fahrenheit all winter.
Unheated basements, cellars, and crawl spaces usually fit the bill. Avoid spots that freeze, and also avoid warm rooms, which can wake the roots up too early.
Nestle the rhizomes in a box, bin, or heavy-duty bag with slightly damp peat moss, wood shavings, or shredded newspaper. The packing keeps them from drying out without making them soggy.
Write the color or variety on each container, because every canna looks the same as a lumpy root in April.
7. Move Potted Cannas Indoors Whole
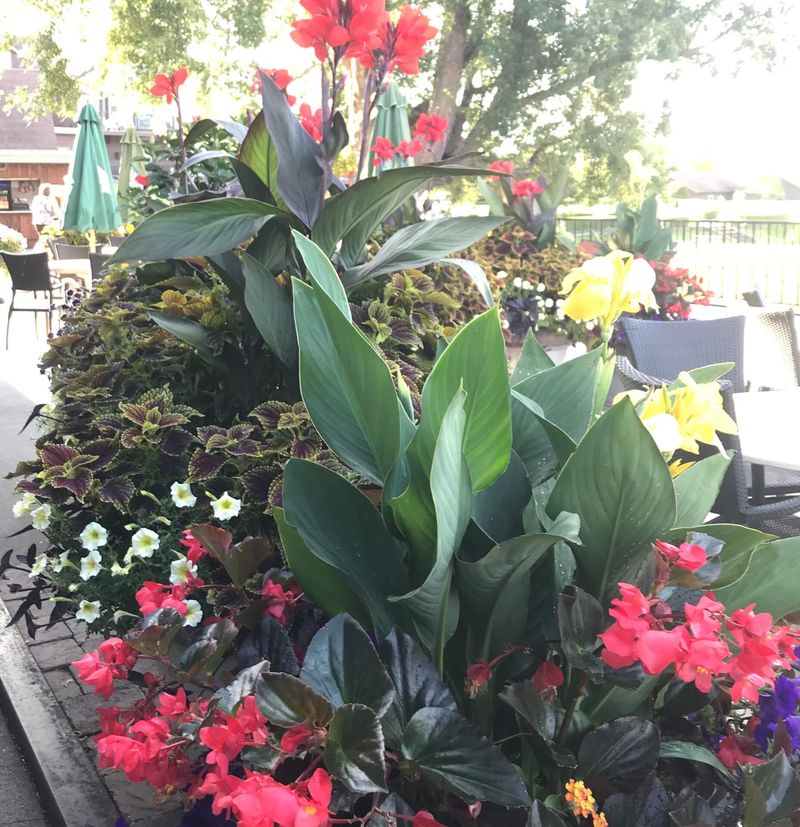
Good news for container growers: you get the lazy option. No digging, no cleaning, no curing.
After frost blackens the leaves, cut the stalks down to the soil line. Then roll or carry the whole pot into a frost-free space, like an unheated basement or attached garage.
Stop watering completely.
The soil in the pot acts like a cozy blanket for the dormant rhizomes. Just make sure the spot never dips below freezing, and set the pot on a board or old towel if your floor is cold concrete.
Come spring, start watering again and move it back into the sun once nights warm up.
8. Check on Them Every Few Weeks
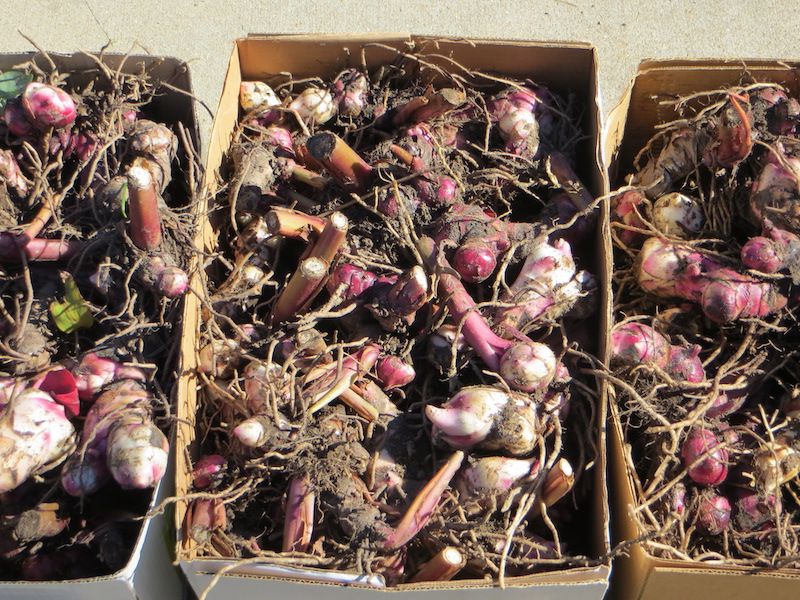
Out of sight should not mean out of mind. Set a phone reminder to peek at your stored cannas every few weeks through winter.
Shriveled, wrinkly rhizomes are too dry, so give the packing material a light mist of water. Soft, dark, or moldy ones are too wet or were not cured long enough, so pull them out right away before the problem spreads.
It only takes a couple of minutes each time. Those quick checks are what turn a box of roots into a row of tall, flower-packed cannas next summer, often bigger than before since a healthy clump keeps growing year after year.