
Your Clematis Is Quietly Setting Up Next Year’s Flowers – 8 Things To Do Before October Ends
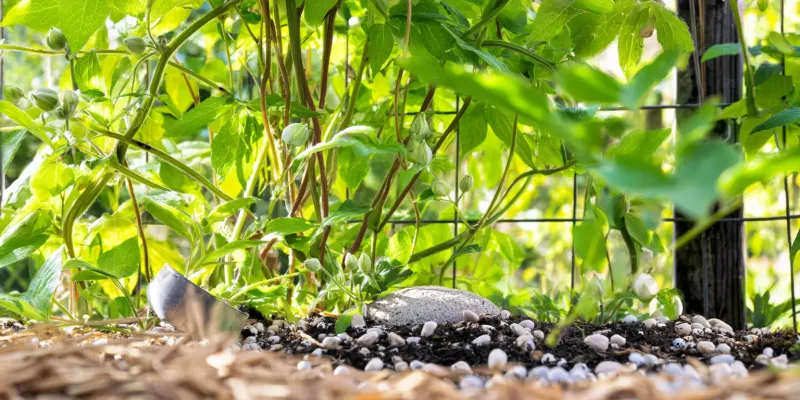
Your clematis may look tired and messy right now, but under the soil and along those woody stems, it is already getting ready for next spring. The buds that will become next year’s flowers are forming as the weather cools.
A few simple jobs before October ends can protect those buds and keep the roots safe through winter. None of these tasks take long, and most cost little or nothing at all.
1. Clear Away Debris and Spent Flowers
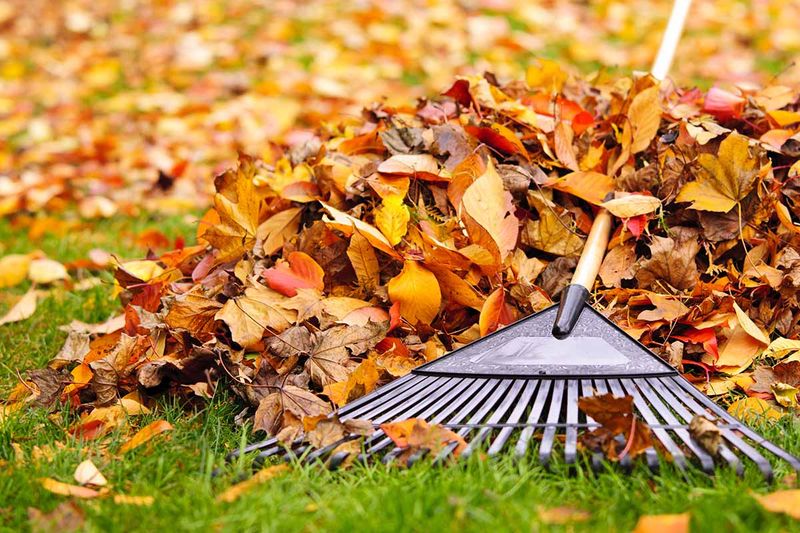
Picture a cozy hotel for fungus spores and slugs. That pile of soggy leaves and old blooms at the foot of your clematis is exactly that, and the guests plan to stay all winter.
Rake out fallen leaves, dropped petals, and any brown, shriveled foliage around the base. Clematis can suffer from a problem called clematis wilt, and leaf spot diseases also like to hide in old plant litter.
Clearing the ground may help reduce how many of those troubles come back in spring.
Toss diseased-looking material in the trash rather than the compost pile. Healthy leaves from other trees are fine to save for mulch later.
A clean base also lets you see the crown clearly, which matters for the next step on this list.
2. Check the Crown Depth
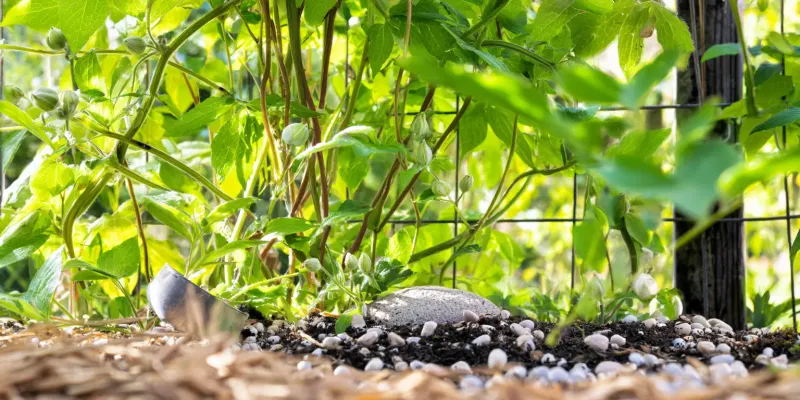
Kneel down and take a close look. The crown is the spot where the stems meet the roots, and it holds dormant buds that can sprout new shoots if the top of the plant ever gets damaged.
Over a summer of watering and rain, soil can wash away and leave that crown sitting high and exposed. If you see bare stem bases at or above the soil line, mound a few inches of compost or good topsoil around them.
Think of it as tucking a blanket around the plant’s ankles.
Fun fact: many clematis experts actually recommend planting clematis a little deeper than its nursery pot for this very reason. Those buried buds act like an insurance policy.
If wilt or a hard freeze knocks back the vine, the plant has backup shoots ready below ground.
3. Give One Deep Drink Before Hard Frost
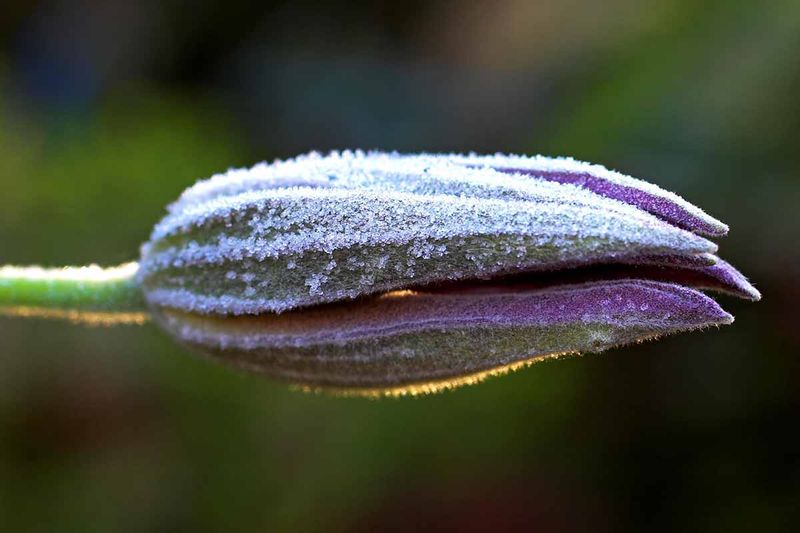
Cool air fools a lot of gardeners. The weather feels damp and gray, so it seems like the soil must be wet too, yet a dry fall can leave clematis roots surprisingly thirsty.
Push a finger about two inches into the soil near the plant. If it feels dry, let a hose trickle slowly at the base for a good long soak, or use a watering can several times.
Slow water sinks deep instead of running off.
Here is the neat part. Moist soil holds warmth better than dry soil, so a good soaking before the first hard frost can help cushion roots from wild swings between freezing and thawing.
One or two deep waterings are usually plenty, and then you can let nature take over.
4. Stop the High-Nitrogen Fertilizer
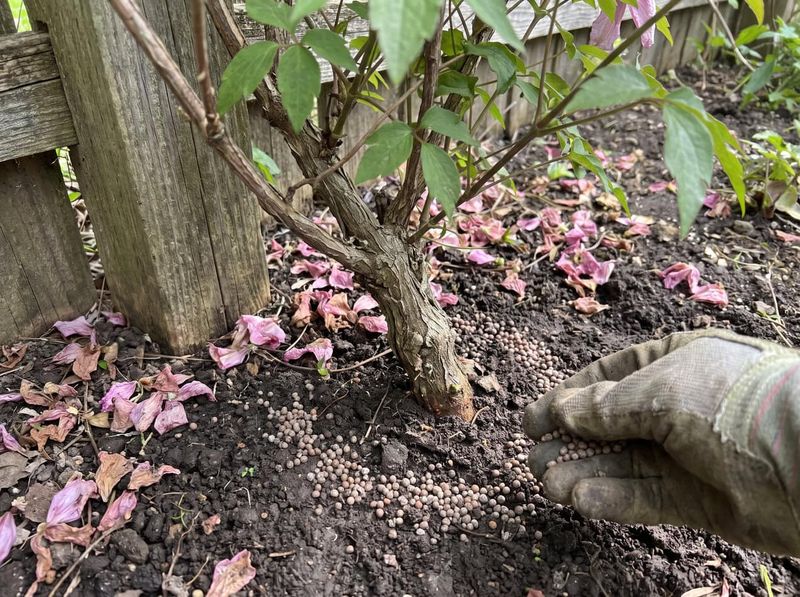
Feeding your clematis right now is a bit like handing a kid candy at bedtime. High-nitrogen fertilizer pushes soft, leafy growth, and that tender growth has no time to toughen up before frost hits.
Put the liquid plant food and the lawn-style fertilizers away until spring. Damaged new shoots can invite disease and waste energy the plant needs for its roots.
If you still want to give your vine something, spread an inch or two of compost over the root zone. Some gardeners add a light sprinkle of bone meal too.
Both break down slowly over winter, gently feeding the soil life and leaving a steady supply of nutrients ready for spring.
5. Spread a Thick Mulch Blanket
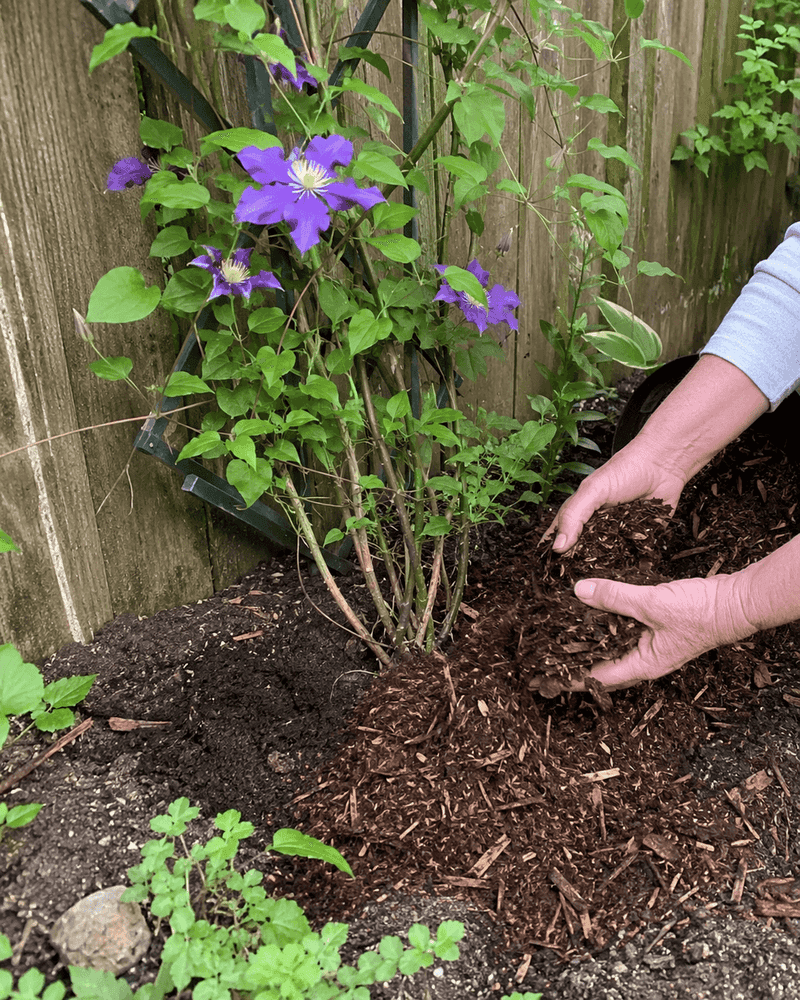
Clematis have a famous motto: head in the sun, feet in the shade. Mulch keeps those feet cool in summer, and in winter it works like a down comforter for the roots.
After your compost goes down, pile on four to six inches of shredded leaves, straw, or bark. A deep layer slows freezing and thawing, which can heave roots and tear fine root hairs.
It also holds in the moisture from your deep watering.
One rule matters a lot here. Leave a gap of a couple inches between the mulch and the stems so the bark stays dry and does not rot.
Free shredded leaves from your own yard work beautifully, so this step may not cost a cent.
6. Tie Loose Stems to Their Support
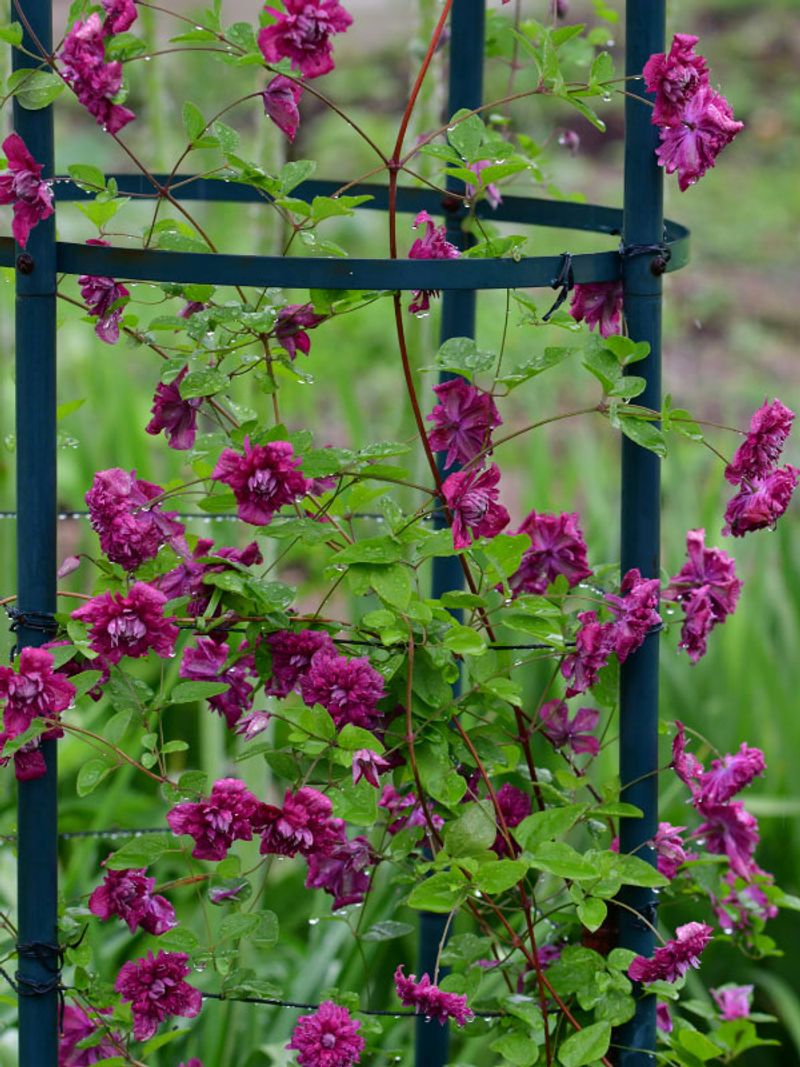
Ever stepped outside after a windy night and found half your vine dangling? Clematis stems turn brittle as fall goes on, and one gust or a heavy load of wet snow can snap them in a second.
Walk along your trellis, arbor, or fence and look for stems flopping loose. Use soft twine, old strips of T-shirt, or stretchy plant ties to fasten them gently in place.
Avoid wire or thin fishing line, which can cut into the stems as they sway.
Why bother with a few stems? For many clematis types, those woody vines carry the buds for next year’s flowers.
Save the stem, and you save the blooms on it.
7. Prune Lightly, If at All
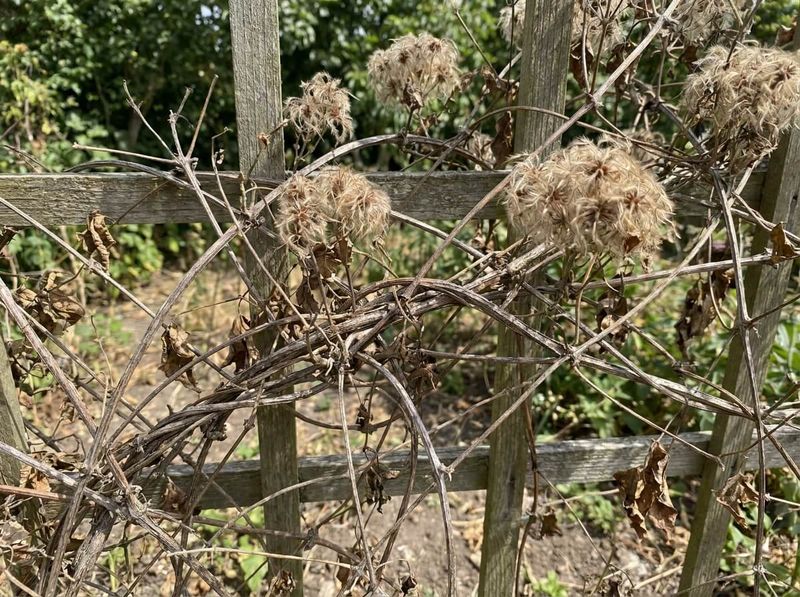
Hold those shears for a moment. More clematis lose next year’s flowers to an eager fall haircut than to cold weather.
Clematis fall into three pruning groups. Group 1 blooms in early spring on old wood, and Group 2 blooms in late spring or early summer on both old and new wood.
Cutting either one hard in fall can remove the very buds that were going to flower.
Group 3 types bloom in late summer on new growth and get their hard cut in late winter or early spring, not now. Not sure which group you have?
Play it safe and only snip off seed heads plus any stems that are clearly dead, damaged, or diseased.
8. Protect Clematis Growing in Pots
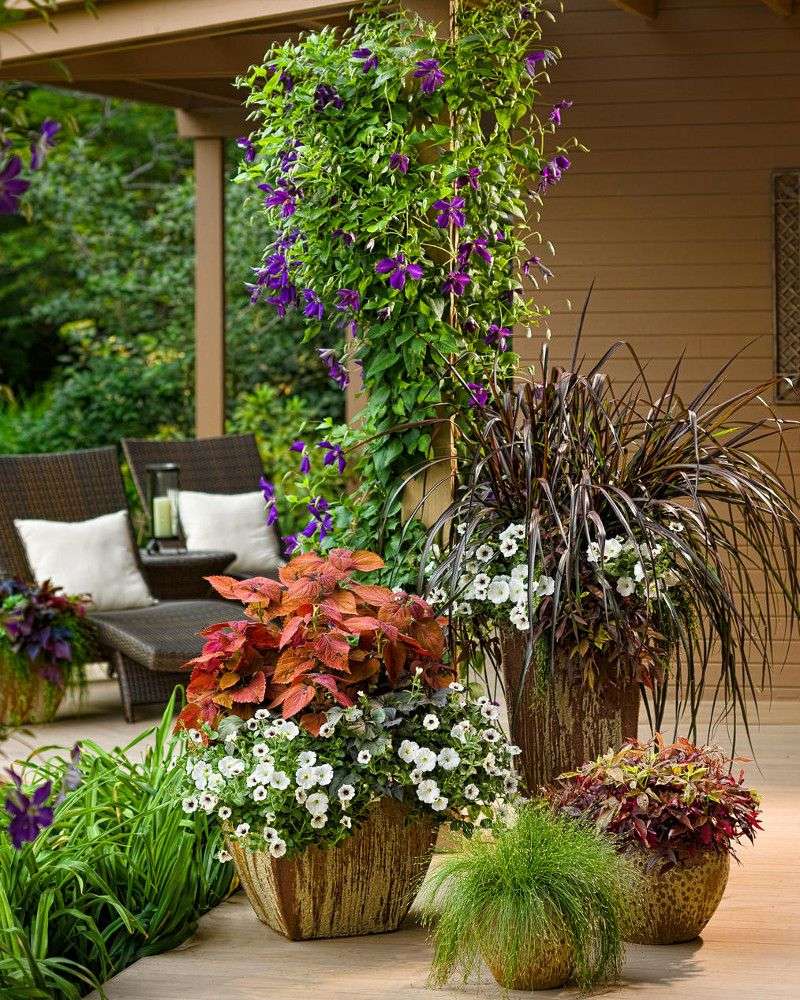
Roots in the ground have tons of soil around them for warmth. Roots in a pot have only a thin wall between them and the freezing air, which makes container clematis far more likely to suffer winter damage.
Move your pot to a sheltered spot, such as an unheated garage, a shed, or against a wall that blocks the wind. If it is too heavy to move, wrap the container in burlap or bubble wrap, or stack bags of leaves around it.
Check the drainage hole too. Roots sitting in soggy soil that freezes solid are in real trouble.
Raise the pot on feet or bricks so extra water can escape, and your potted vine has a much better shot at blooming next year.
Do these eight jobs over a couple of weekends, and you can relax all winter knowing your clematis has what it needs to put on a show next spring.