
15 Reasons Your Potted Hydrangeas Look Rough This Fall (Plus How To Get Them Through Winter Alive)
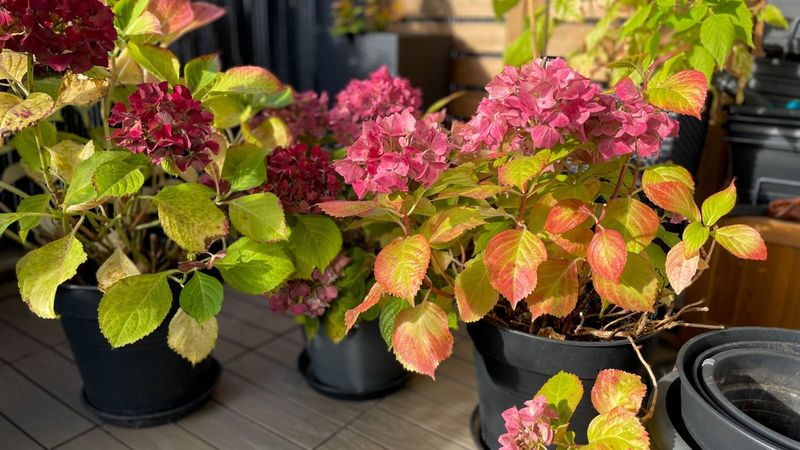
Your potted hydrangea looks ragged, and now you are wondering if it will make it to spring. Before you panic, know that some of what you see may be a normal part of the season.
The trick is telling a plant that is simply winding down from one that is in real trouble. Here is how to sort that out and give the roots a better shot at getting through the cold.
Fall leaf drop can be normal
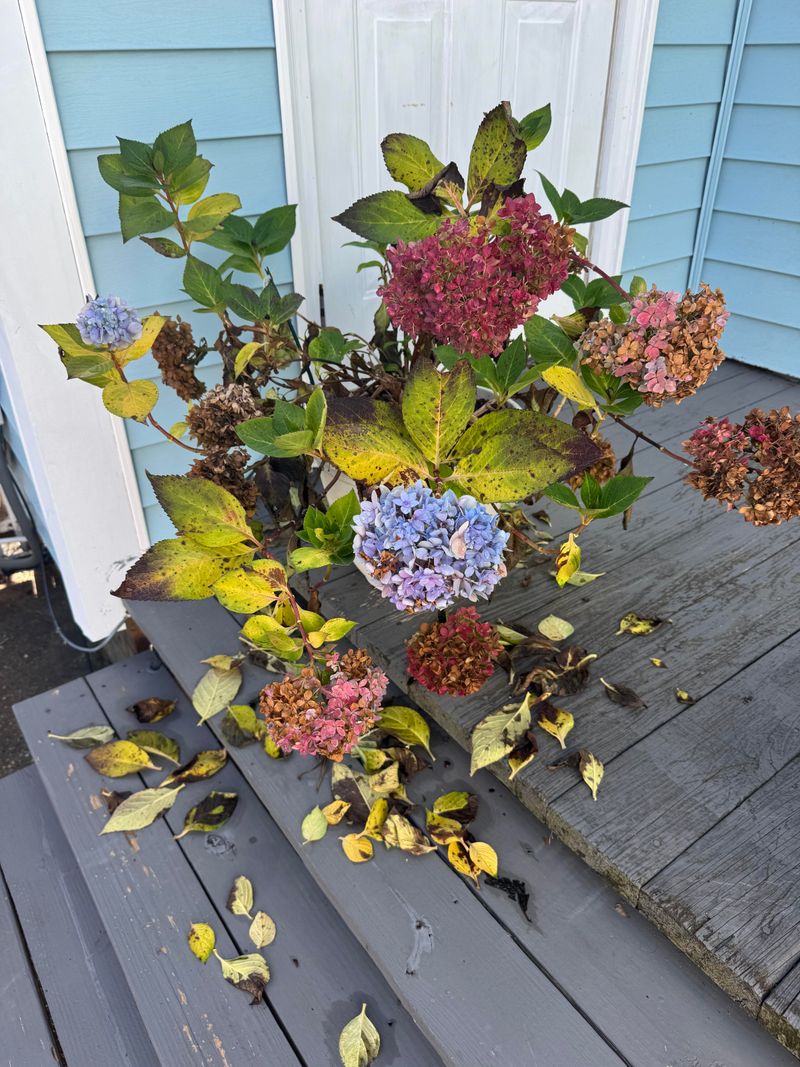
Ragged leaves in October can look alarming, but hydrangeas are deciduous shrubs. According to LSU AgCenter, leaf drop is common on hydrangeas in fall as they head into dormancy.
Yellowing, fading, and browning leaves can be part of that slow shutdown.
Think of it like a tree wrapping up its year. Cooler nights and shorter days tell the plant to stop growing and let go of its foliage.
A bare or tattered hydrangea in late fall is not automatically a sick one.
So what should you watch for? Seasonal change tends to be gradual and fairly even across the whole plant.
Leaves fade, then drop, and the stems stay firm. That pattern is very different from a plant that wilts and stays limp, sits in soggy soil, shows spots that keep spreading, or has stems that are truly dead.
Take a step back and look at the whole picture. Check the plant, the pot, and the soil before you grab a spray bottle or a bag of fertilizer.
Frost can also blacken leaves quickly, and that alone does not tell you what is happening below the soil line.
If the changes are slow and the stems look healthy, you can relax a little. If something persistent or spreading shows up, the next sections will help you narrow down the possibilities without jumping to conclusions.
Is the root ball too dry or too wet?
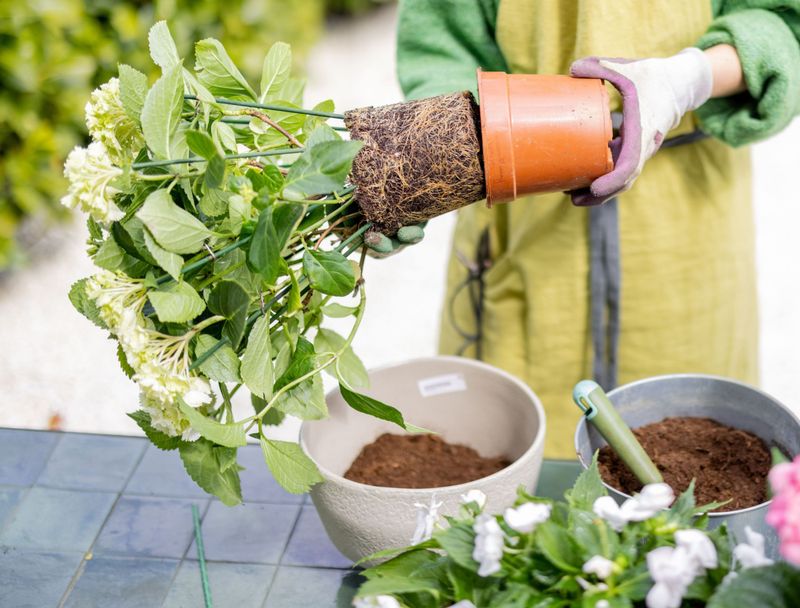
A drooping hydrangea makes most of us reach for the watering can. Hold off for a moment, because wilting alone does not tell you whether the mix is too dry or too wet.
Roots sitting in waterlogged mix can struggle to take up water, so the plant may wilt in both situations.
Start with your finger. Push it into the potting mix about an inch deep.
Per Illinois Extension, when the top inch is dry, water thoroughly and let the excess drain out of the bottom.
Next, look at drainage. Tip the pot slightly or peek underneath.
Are the drainage holes blocked by roots or sitting in a saucer of standing water? Constantly wet mix can starve roots of oxygen, which is a common reason a container plant looks poor.
On the other side, a severely dried-out mix can pull away from the pot’s edge and become hard to rewet. Water may run straight down the sides without soaking in.
If that sounds familiar, water slowly in stages so the mix can absorb it.
Pot material, weather, location, and plant size all change how fast a container dries. A hydrangea in a small clay pot on a sunny deck will dry much faster than one in a large glazed pot in the shade.
That is why a fixed schedule rarely works, and checking first does.
If the mix is soggy and the plant is still limp, empty the saucer, improve drainage, and give it time before changing anything else.
Read the pattern, not just the leaf color
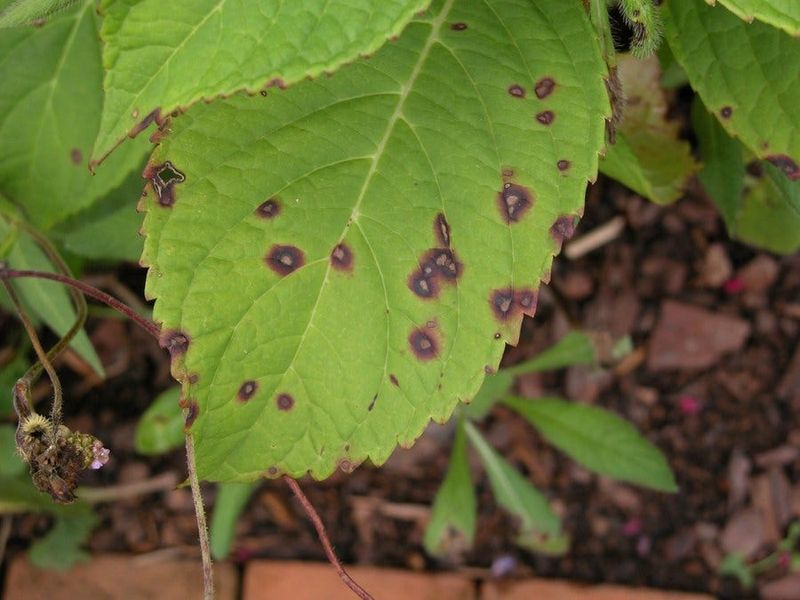
Brown or yellow leaves could mean many things, so color alone is a weak clue. Patterns tell you more.
Think of what follows as hints that help you narrow things down, not a diagnosis from a quick look.
Tan spots surrounded by reddish-brown halos can point to Cercospora leaf spot, according to Penn State Extension. White, powdery growth on the leaf surface can suggest powdery mildew.
Fine stippling with delicate webbing on the leaf undersides can fit spider mites.
The University of Minnesota diagnostic guide is a helpful place to compare what you see against several possible causes. Flip leaves over, use a hand lens if you have one, and note whether the problem is spreading from leaf to leaf.
Yellowing is the trickiest. Green veins against yellow new leaves can fit iron chlorosis, but sun exposure, water stress, and other factors can also cause yellow leaves.
Guessing wrong can lead you to treat the wrong problem.
That is why it pays to hold back on quick fixes. Oregon State Extension advises testing soil before acidifying it, rather than reacting to leaf symptoms alone.
Skip the fungicide and the soil acidifier unless you have identified a specific problem. If you are unsure, take clear photos and contact your local extension office.
Late in the season, many leaf spots look worse than they are, and removing fallen leaves can keep things tidy while you decide.
Fall fixes can create next season’s problems
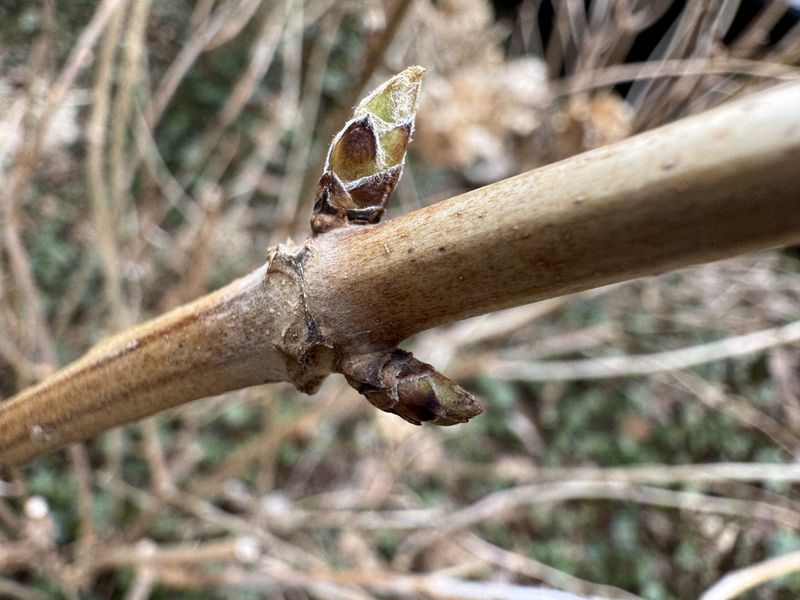
The urge to tidy up in fall is strong, but a big haircut can backfire. Many classic bigleaf hydrangeas set next season’s flower buds on old wood, so University of Georgia Extension notes that heavy fall pruning can remove the blooms you are hoping for.
Not all hydrangeas work that way. Panicle and smooth hydrangeas bloom on new wood and have different pruning windows.
Reblooming bigleaf varieties may flower on both old and new wood, as explained in University of Minnesota guidance on pruning hydrangeas. If you do not know which kind you have, leave the stems alone for now.
Removing only clearly dead stems is a safer choice once you can tell what is dead.
Flower color is another place people get nervous. Soil pH and available aluminum can affect bloom color in some hydrangeas, but a pink flower or a muddy blue one says nothing about whether the plant is healthy.
The same goes for fertilizer and pH products. A struggling plant in fall is heading into dormancy, and extra feeding is not a rescue.
Oregon State Extension recommends a soil test before acidifying, so you are not changing the mix blindly.
Your best move this time of year is patience. Identify the plant first, then decide whether any cutting or feeding makes sense in the right season.
The hydrangea’s identity changes the winter plan
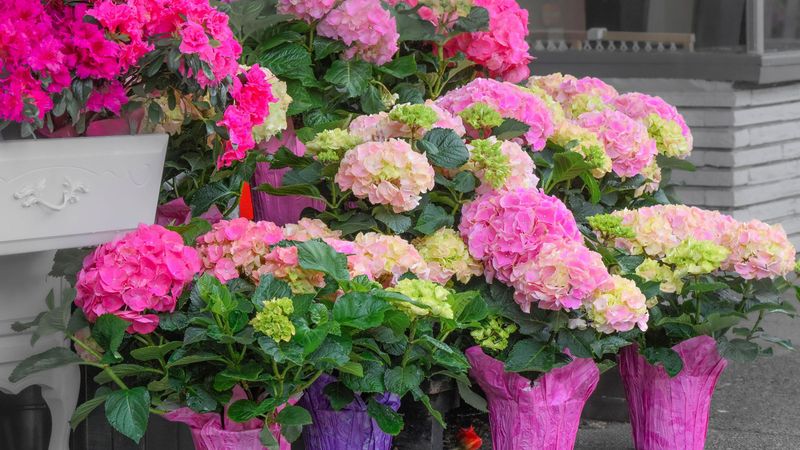
Two pots that look alike can need very different winter care. The word hydrangea covers several species and cultivars, and they differ in hardiness and in how they carry their buds.
Before picking a plan, find out what you have.
Start with the plant tag, the receipt, or the nursery’s website. If you have lost the label, a local garden center or extension office may help you narrow it down from photos of the leaves and flowers.
The bloom habit also matters, as the University of Minnesota explains that old-wood and new-wood bloomers behave differently.
One common trap is the florist hydrangea. Those gift plants, often wrapped in decorative foil, are not necessarily the same as landscape cultivars.
Iowa State Extension says florist cultivars are not reliably winter-hardy in Iowa, so outdoor wintering may not be a good bet in colder areas.
Local conditions count too. A hardy hydrangea in a mild climate faces different risks than the same plant in a cold, windy spot.
The University of Maryland’s Ask Extension answer reminds us that potted roots are more exposed than roots in the ground.
Do not assume every potted hydrangea can sit outside all winter. Check its identity and how well it suits your area, then choose a plan from there.
Give the roots a cold, sheltered place
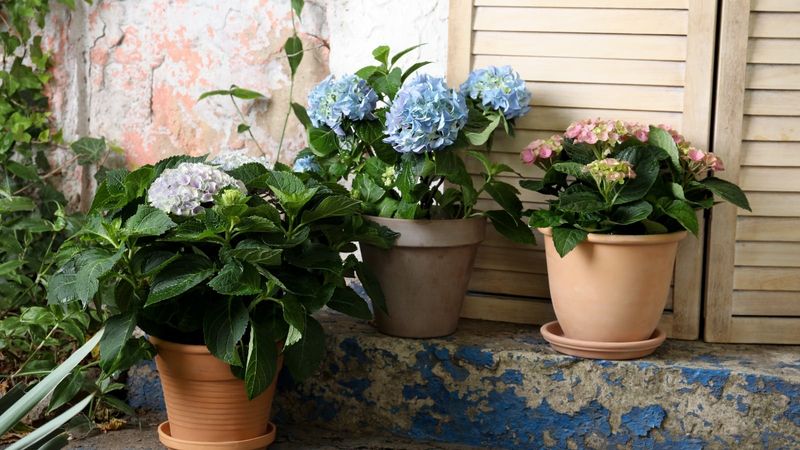
In a pot, roots lose the blanket of soil that protects plants in the ground. Illinois Extension explains that container roots have less insulation, so they can freeze and dry out more easily than in-ground roots.
For a hardy hydrangea, two options are well supported. One is heeling the pot into the ground: dig a hole in a protected spot, set the container in so the soil level around it is high, and surround it with soil.
The other is moving the pot to a cold, sheltered, unheated garage or shed.
The University of Maryland Extension recommends a cold, sheltered location for overwintering a dormant hardy hydrangea rather than bringing it into the house. A warm living room can interrupt the rest the plant is trying to take, and the plant may produce weak growth with little light.
That advice is for a dormant, hardy plant. A florist hydrangea may be different, and Iowa State Extension notes these may not be reliably hardy in colder areas.
Check what you have before relying on outdoor or unheated storage.
No option here is a guarantee. How well it works depends on your plant, your pot, and your local winter.
A garage that stays only a bit above the outdoor temperature may be fine in one region and risky in another, so think of these as ways to improve the odds.
If the pot must stay outdoors, reduce its exposure
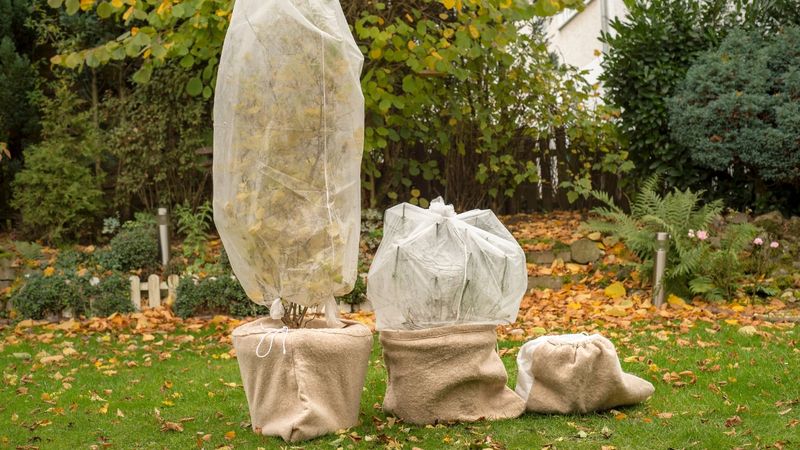
No garage or shed? You still have options for lowering the risk to the root ball.
None of them promise survival, but each one can cut down on exposure.
Size and position matter first. According to Illinois Extension, larger containers, grouping pots, placing them on the ground in a protected spot, and adding insulation or mulch can improve cold protection.
A pot sitting on a raised deck or an open patio is much more exposed to wind and cold.
Try moving the container against a sheltered wall, out of harsh wind. Set it on the ground rather than on a stand.
Then cluster several pots together so they shield each other’s sides.
Next, wrap the root ball’s surroundings. Pack mulch, shredded leaves, or similar material around and between the pots.
Insulating material around the container’s sides helps slow temperature swings. The Illinois Extension guide to overwintering plants in containers offers more background on protecting container plants.
Remember, the roots are the priority, not the bare branches. Focus your effort on the pot rather than fussing over the stems.
These steps reduce exposure but cannot guarantee the plant will make it. A very cold winter or a tender type may still win out, so keep your expectations realistic.
Check moisture through winter
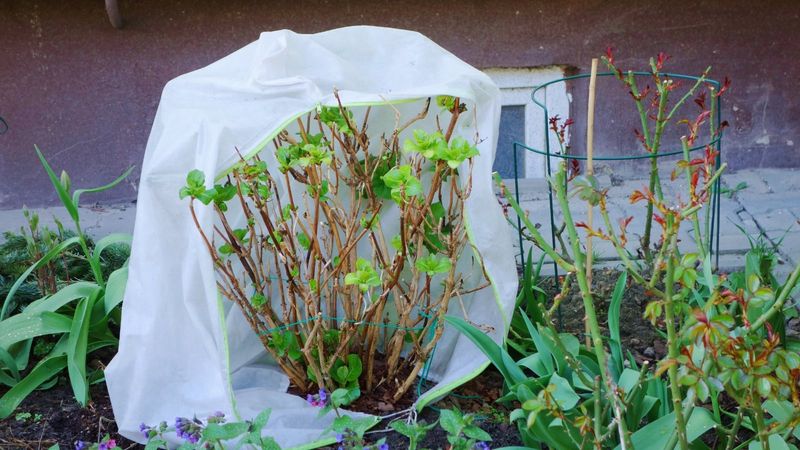
Once your hydrangea is tucked in, the job shifts to light, regular checks. Keep it in its chosen protected spot and peek at the mix every so often.
The University of Maryland Extension suggests checking at least weekly, while noting that actual watering needs vary.
Water only when the mix is no longer frozen and has become somewhat dry. Frozen mix cannot absorb water, and a soggy pot in a deep freeze is no help.
The same finger test from Illinois Extension still applies: feel the mix before you pour.
There is no fixed schedule that fits every yard. A pot in a windy spot or a garage may dry at a very different pace than one heeled into the ground.
If your hydrangea is bare now, try not to worry. Leaf drop alone is not a reason to panic.
Persistent problems like soggy mix, spreading spots, or dead stems deserve attention before you settle it in for winter.
A dormant hydrangea looks like a pot of sticks, and that is exactly what a resting plant should look like.