
17 Easy Ways To Bring A Struggling Clematis Back To Life When One Hidden Habit Is Holding It Back
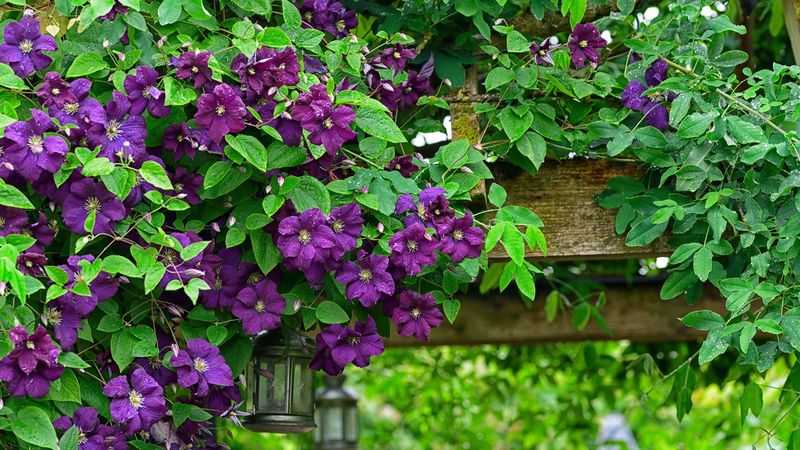
A clematis that once climbed proudly and burst with color can suddenly look sad, sparse, and half-dead, and it feels like a mystery when you thought you were doing everything right. The truth is that one small habit, usually leaving the roots exposed to hot sun, quietly holds many clematis back from thriving. The good news is that a stressed clematis is surprisingly forgiving, and a handful of simple fixes can turn a scraggly vine into a showstopper again. Here are 17 friendly, practical ways to help your clematis bounce back and bloom like it means it.
1. Shade the Roots While Keeping the Top in Sun

Old gardening wisdom sums up clematis perfectly: it likes its head in the sun and its feet in the shade. That single sentence explains the hidden habit sabotaging most struggling vines. When the root zone bakes in direct afternoon sun, the plant burns energy just trying to survive instead of putting out new growth.
The fix costs almost nothing. Tuck a low, leafy perennial like hardy geranium or heuchera at the base, or set a flat paving stone over the soil where the roots spread. Both trick the soil into staying cool without blocking the sunlight the leaves crave up top.
You might see a change faster than you expect. Cooler roots mean the plant can finally direct its energy upward, and within a few weeks that tired vine often pushes fresh green shoots. Correcting this one thing frequently does more than any fertilizer bottle promises.
2. Mulch the Base With a Cool Blanket
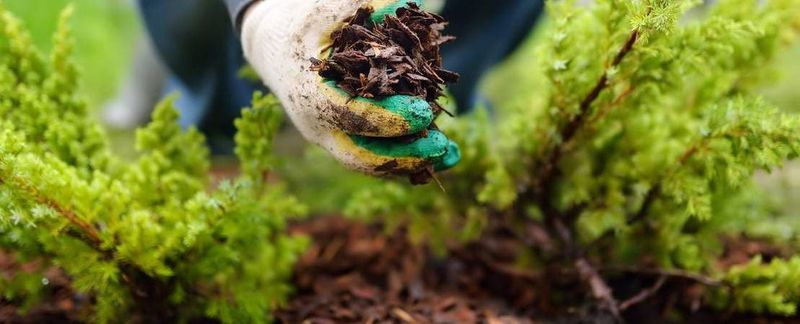
Think of mulch as a cozy sweater that also keeps things cool, which sounds backward until you feel bare soil versus mulched soil on a hot day. A two to three inch layer of shredded bark or compost over the root zone locks in moisture and steadies temperature swings that stress a recovering clematis.
Keep the mulch pulled back a couple of inches from the main stems. Piling it against the crown traps dampness and invites rot, which is the opposite of what a struggling plant needs.
Refresh it once a season and you build richer soil at the same time. As the mulch breaks down it feeds earthworms and beneficial life, slowly turning stubborn clay or sandy patches into the loose, humus-rich ground clematis roots love to spread through.
3. Figure Out Your Pruning Group First
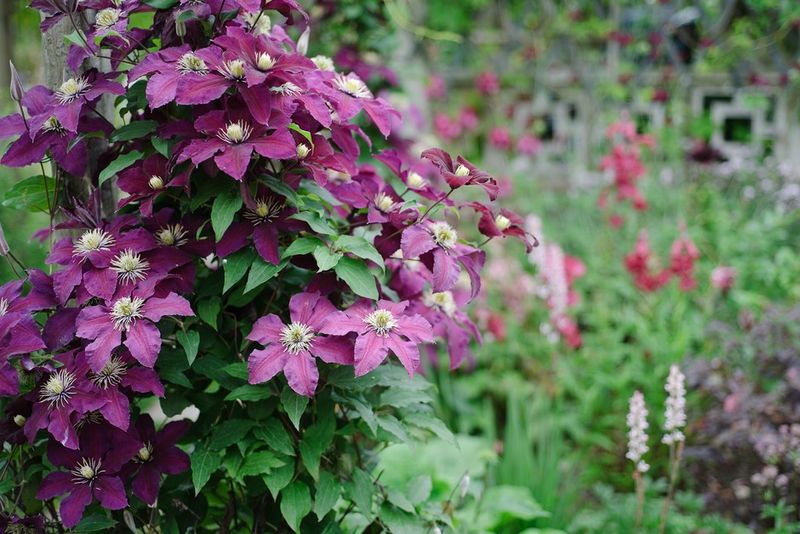
Here is a secret that saves countless clematis from a slow decline: not all of them are pruned the same way. Cutting a spring bloomer to the ground in late winter can erase an entire year of flowers and leave the plant sulking. Clematis fall into three pruning groups, and knowing yours changes everything.
Group 1 blooms early on old wood and needs only light tidying after flowering. Group 2 blooms on both old and new growth, so a gentle spring trim works best. Group 3 blooms on new wood and can be cut hard in late winter to spark vigorous fresh stems.
Match your cuts to the group and a confused, half-blooming vine often rights itself in a single season. If you truly do not know the group, prune lightly the first year and watch when it flowers to learn its habit.
4. Cut Back Hard to Force a Fresh Start
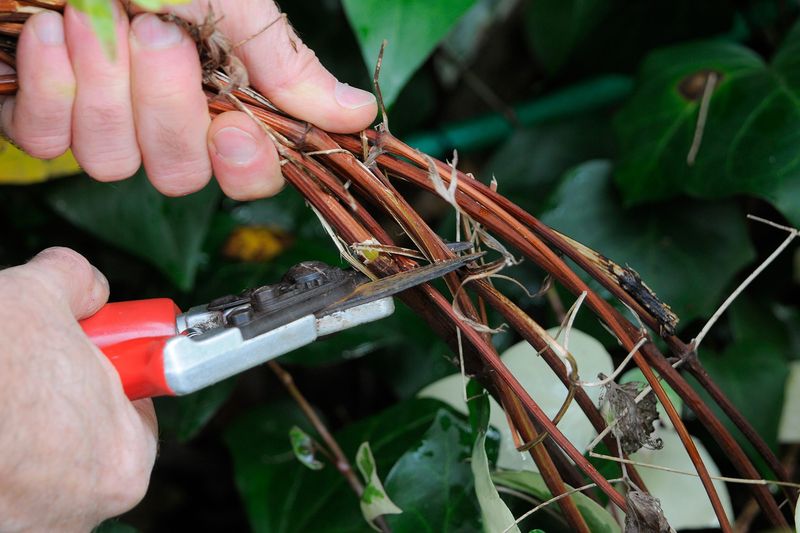
Sometimes the kindest thing you can do for a leggy, bare-bottomed clematis is take a deep breath and cut it way back. A vine that is all woody stem at the base with a tiny tuft of leaves way up high is begging for a reset, especially if it belongs to Group 3.
Trim the stems down to about twelve inches, cutting just above a plump pair of buds. It looks brutal, and yes, your neighbor may raise an eyebrow, but the plant reads it as a signal to send up strong new shoots from low down.
Within weeks those buds break and the vine fills out from the ground instead of stretching thin toward the sky. A hard cut on the right type of clematis can transform a straggly mess into a lush, well-clothed climber by the following bloom.
5. Read the Leaves for Early Warning Signs
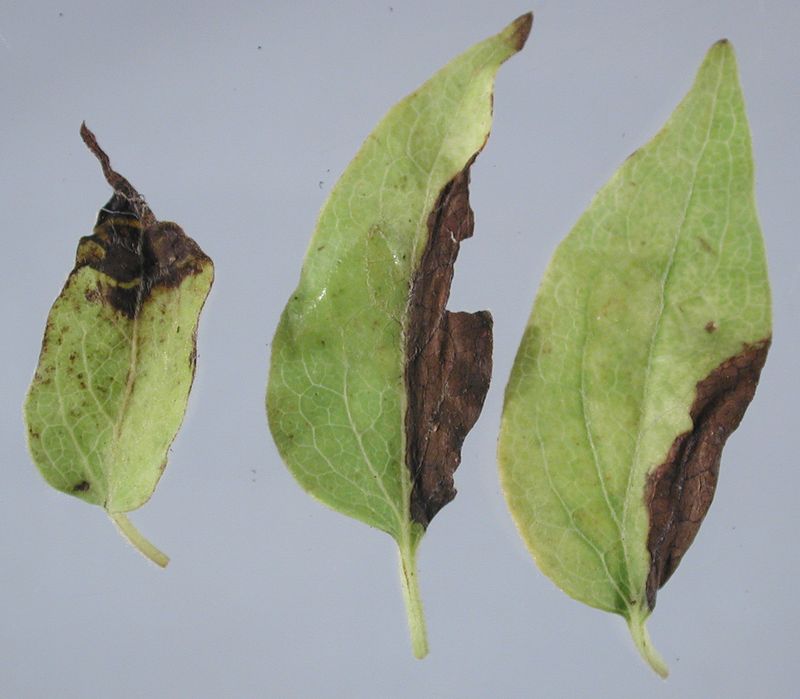
Your clematis talks to you through its leaves long before it collapses, and learning that language is a superpower. Pale yellow leaves often whisper about hungry soil or poor drainage, while crispy brown edges hint at scorched roots or thirst.
Spots ringed with dark halos can flag a fungal issue, and leaves that suddenly wilt from the top down may be shouting about clematis wilt, a common shock that looks scary but rarely kills an established plant. Checking foliage weekly turns you into a detective who catches trouble early.
Once you spot the pattern, the response is usually simple. Yellowing near the base often clears up with better drainage and a shot of balanced feed, while an isolated wilting stem can be snipped off below the damage so the rest keeps growing. Reading leaves early means small fixes instead of emergency rescues.
6. Deal With Clematis Wilt Calmly
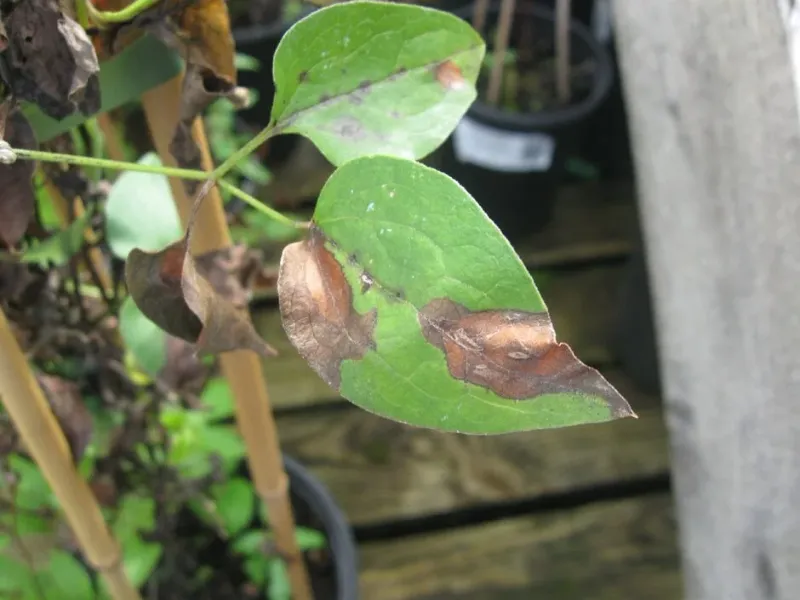
Few sights panic a gardener like a thriving clematis suddenly flopping over as if someone pulled its plug overnight. That dramatic collapse is usually clematis wilt, a fungal issue that terrifies beginners but almost never spells the end for a well-rooted plant.
Grab clean, sharp shears and cut the affected stems all the way down to healthy tissue, even to ground level if needed. Bag up and toss the trimmings rather than composting them so spores do not spread through your beds.
Then simply keep the roots cool and evenly moist and be patient. A healthy crown almost always pushes out new shoots, sometimes stronger than before, proving that a scary-looking wilt is really just a temporary setback rather than a death sentence.
7. Improve the Soil Drainage
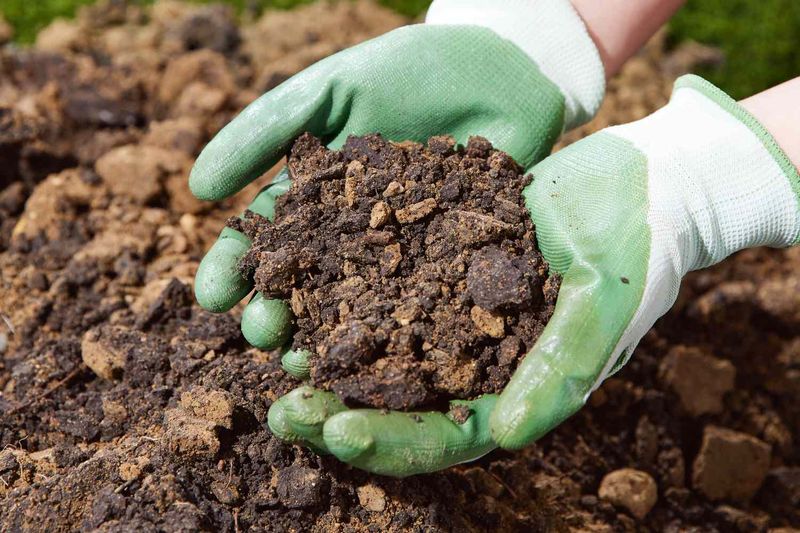
Clematis roots want to breathe, and soggy soil suffocates them faster than almost anything else. If your plant sits in heavy clay that stays wet for days after rain, the roots may be quietly rotting even while you fret about the leaves above.
Loosen the surrounding ground and work in generous handfuls of compost, aged bark, or grit to open up drainage channels. In stubbornly wet spots, planting on a slight mound or raised berm lifts the crown above standing water.
A vine that was gasping in the mud often perks up once air returns to the root zone. Better drainage also lets fertilizer and rain soak in evenly instead of pooling, giving your recovering clematis a steady, healthy foundation to rebuild from.
8. Water Deeply but Not Constantly
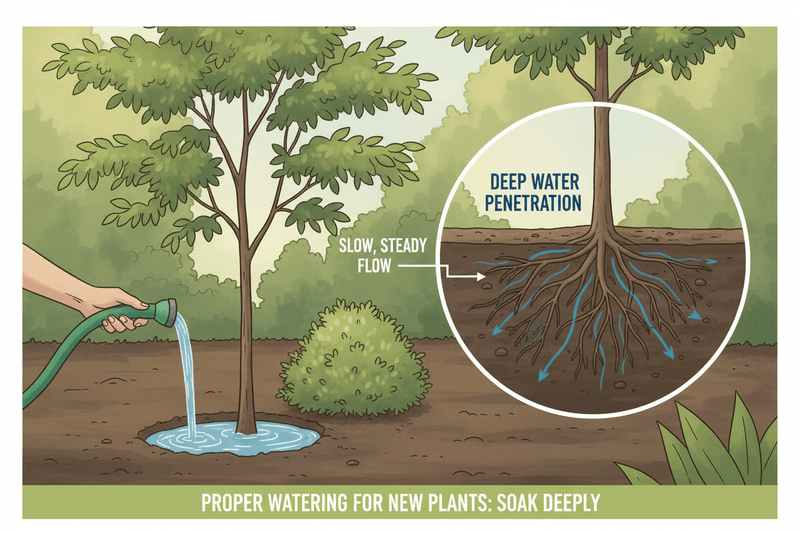
A struggling clematis usually wants a long, slow drink rather than frequent little sips. Shallow daily watering trains roots to stay near the hot surface, while a deep soak twice a week coaxes them to dive down where soil stays cooler and moisture lasts.
Aim the hose right at the base and let it run slowly until the ground is soaked six to eight inches down. Poke a finger into the soil the next day, and if it still feels damp an inch below, hold off on the watering can.
Getting this rhythm right rewards you with a plant that handles heat and dry spells far more gracefully. Deep, spaced watering builds a resilient root system, which is exactly what a recovering vine needs to power its comeback.
9. Feed With the Right Fertilizer at the Right Time
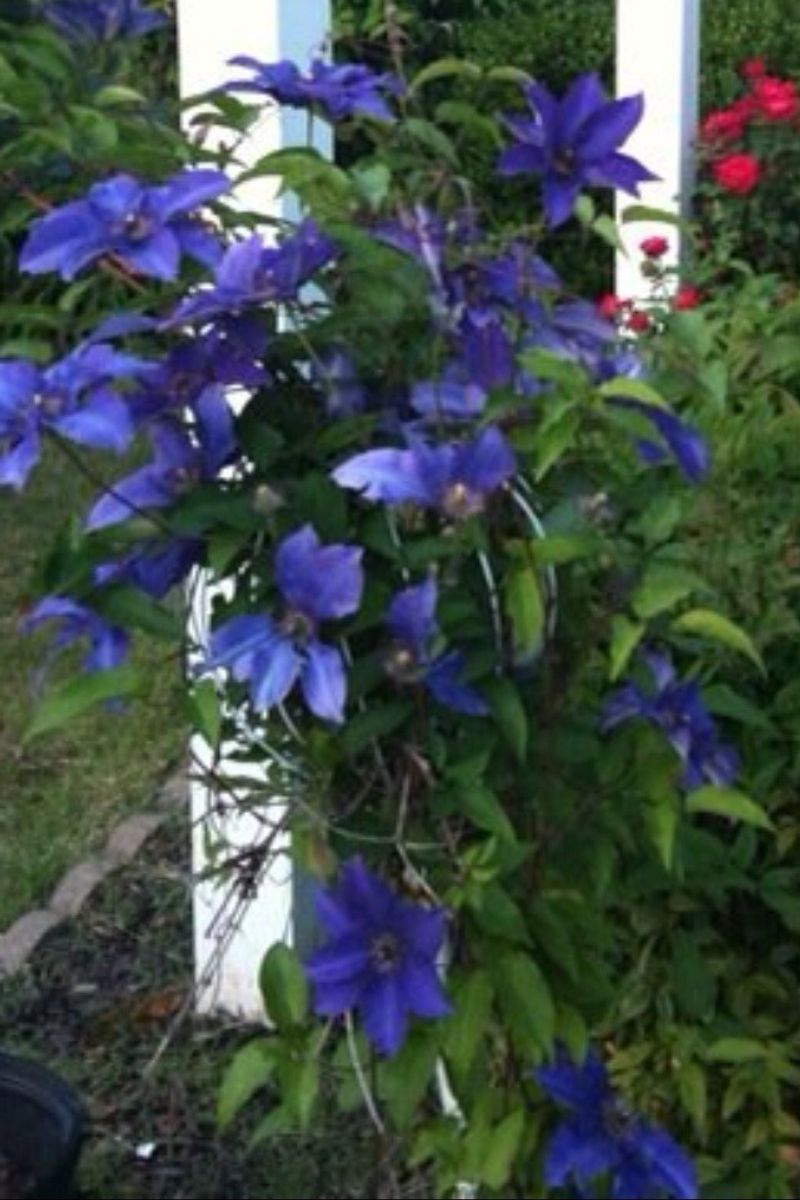
Hungry clematis are eager feeders once they start growing, and the right nutrients can turn a pale, flowerless vine into a blooming machine. A fertilizer too heavy in nitrogen, though, gives you a jungle of leaves and hardly any flowers, which frustrates a lot of gardeners.
Feed in early spring as new growth appears with a balanced or slightly phosphorus-rich formula, then follow up lightly after the first flush of blooms. A scoop of compost or well-rotted manure worked in each spring keeps the buffet going gently all season.
Ease off feeding as fall approaches so the plant can harden for winter. Timed feeding gives your clematis the fuel to rebuild without pushing tender growth at the wrong moment, keeping the comeback steady rather than rushed.
10. Give the Vine Something Proper to Climb
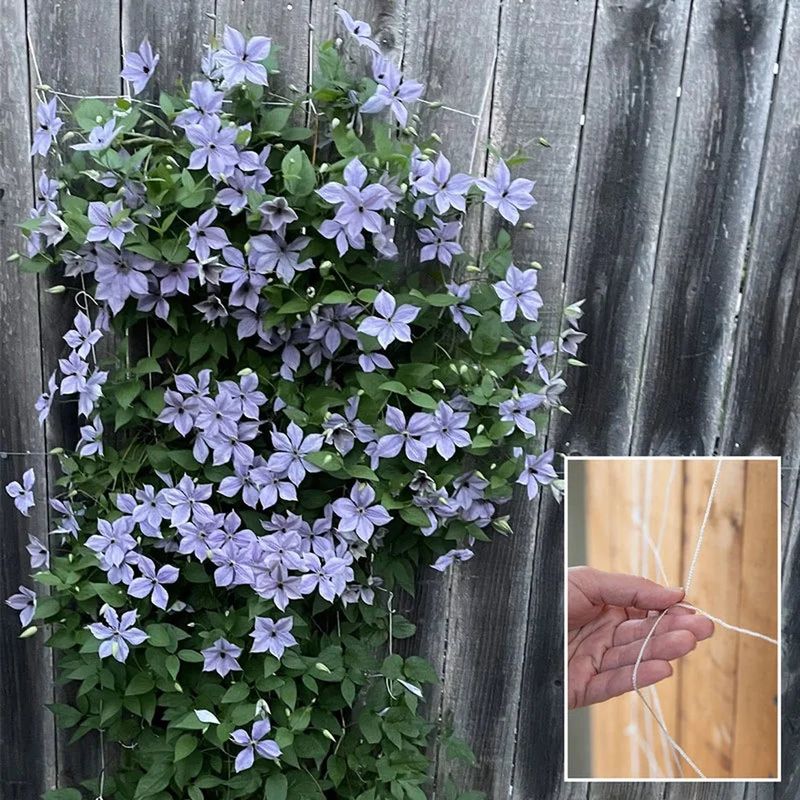
Clematis cling by wrapping their slender leaf stems around thin supports, and a support that is too fat leaves them slipping helplessly. A struggling vine flopping on the ground may simply have nothing skinny enough to grab.
Offer netting, twine, thin wire, or a lattice with narrow slats, and the tendrils will happily latch on. For the first few weeks you can gently guide and loosely tie new shoots to point them in the right direction.
Once it finds its footing, the plant climbs with almost comic enthusiasm, and lifting the foliage off the damp ground also cuts down on disease. Good support turns a sprawling, sad heap into an upright display that shows off every bloom.
11. Check for Pests Hiding on the Underside
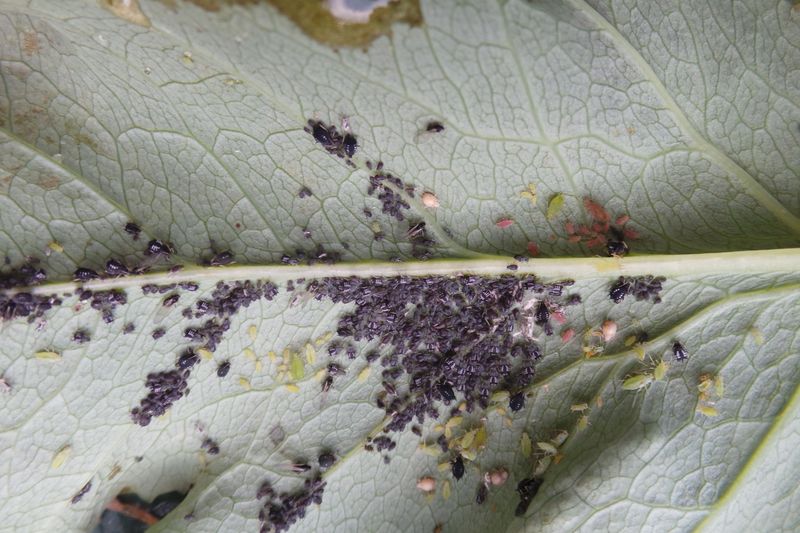
Aphids, earwigs, and spider mites love a stressed clematis, and they often gather where you least look, on the undersides of leaves and along tender new tips. A vine that seems to be failing for no reason may be feeding a tiny hidden crowd.
Flip a few leaves over and inspect them in good light. Clusters of green or black aphids, fine webbing, or chewed edges tell you who the culprit is before real damage sets in.
A firm blast of water knocks many pests off, and insecticidal soap handles the stubborn ones without harsh chemicals near your other plants. Clearing the freeloaders lets the clematis keep its energy for growing instead of endlessly repairing nibbled leaves.
12. Use Scents That Send Slugs and Bugs Packing
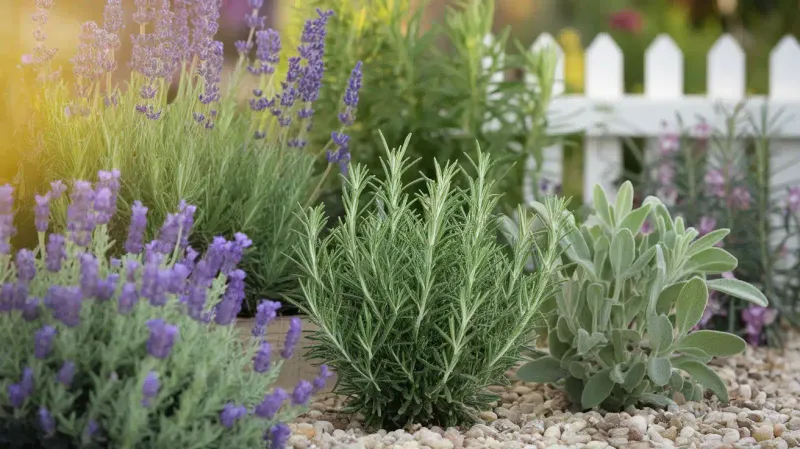
Slugs and beetles will happily shred fresh clematis shoots overnight, but certain smells they cannot stand make surprisingly effective bouncers. Tucking aromatic plants like garlic, chives, or lavender near the base may help deter the crawlers that target new growth.
Crushed garlic steeped in water and sprayed lightly around the crown, or a scatter of coffee grounds and crushed eggshells, can discourage slugs from sliming their way up the stems. The scent barrier bothers pests without poisoning the beneficial insects you want to keep.
Pairing a recovering clematis with fragrant companions does double duty by looking pretty and guarding the buffet. Fewer chewed shoots means the vine holds onto the leaves it needs to fuel its recovery.
13. Move It if the Spot Is Simply Wrong
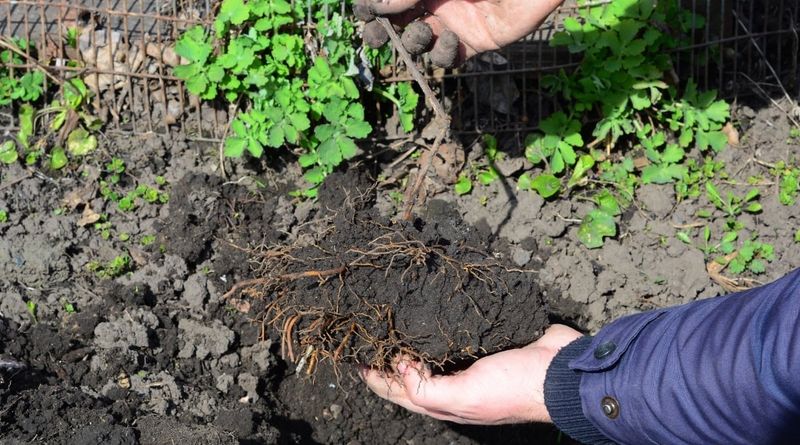
Every gardener has stubbornly kept a plant somewhere it hates, hoping it will adjust, and clematis will tell you loud and clear when the location is the problem. Too much shade, brutal wind, or competition from tree roots can keep a vine limping along for years.
Transplant in early spring or fall while the plant is dormant or slowing down, digging wide to save as many roots as possible. Set the crown two to three inches deeper than it grew before, which encourages extra shoots and a tougher plant.
Water it in well and give it a season to settle without expecting fireworks right away. A clematis relocated to the right conditions often rewards the effort with growth it never managed in its old, unhappy corner.
14. Plant the Crown Deeper Than You Think
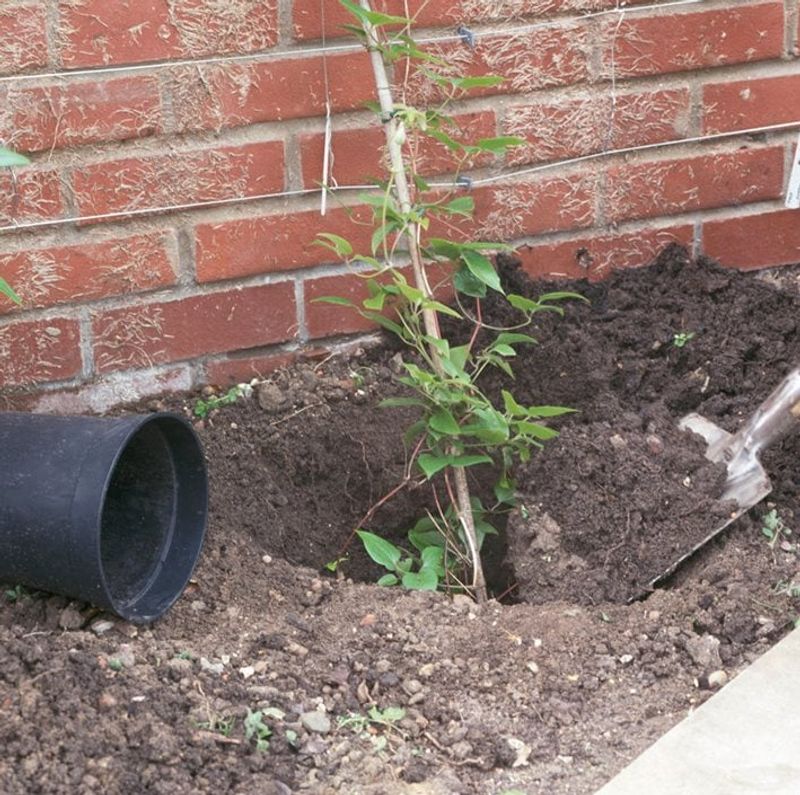
Here is a rule that breaks the usual planting habit: clematis actually want their crown buried deeper than they sat in the pot. Setting the crown two to three inches below soil level protects the growing points and creates a reserve of buds tucked safely underground.
Those buried buds become an insurance policy. If wilt or a hungry critter takes out the top growth, the plant can push fresh shoots straight from below the soil rather than starting over from scratch.
For a struggling shallow-planted vine, gently mounding a few inches of compost over the crown mimics deeper planting without a full dig-up. Deep crowns build the kind of tough, multi-stemmed plant that shrugs off setbacks and keeps coming back.
15. Clear Away Weeds Stealing Its Resources
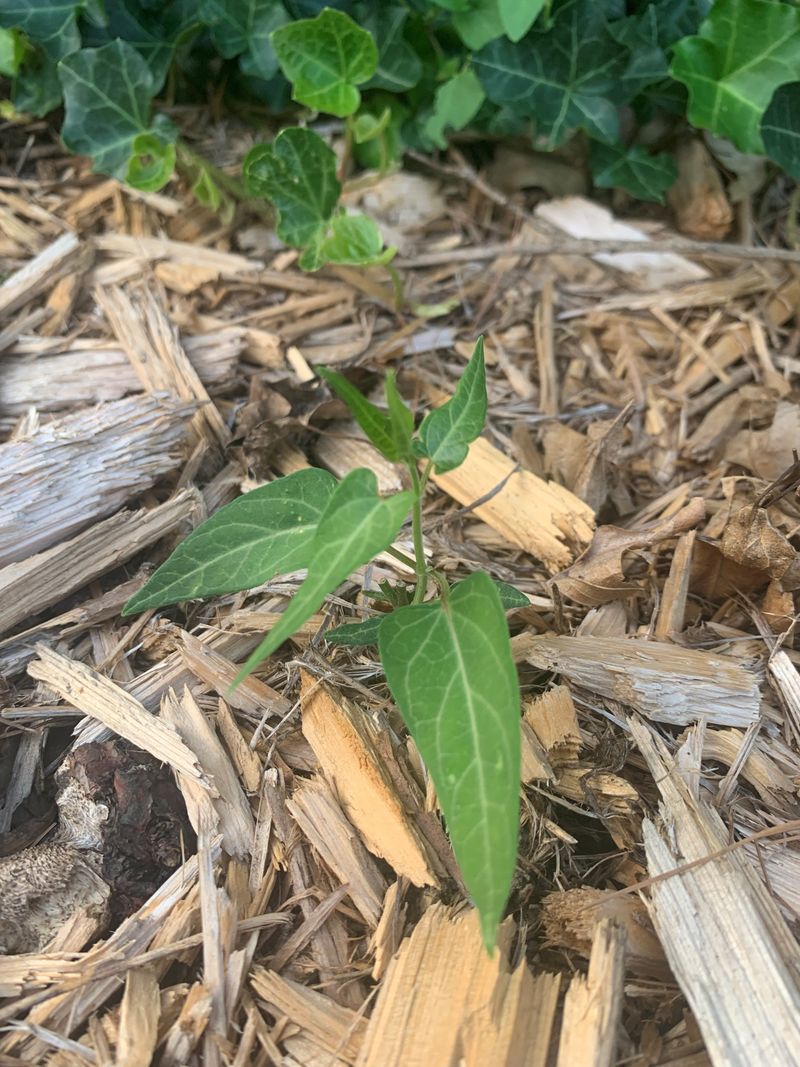
Weeds crowding the base of a clematis are quiet thieves, sipping up the water and nutrients your recovering vine desperately needs. A ring of grass and dandelions around the stems can starve a plant that otherwise has everything going for it.
Hand-pull weeds carefully so you do not disturb the shallow clematis roots, then keep the cleared circle topped with mulch to slow regrowth. A tidy, weed-free base also improves airflow, which cuts down on the damp conditions fungus loves.
Gardeners are often amazed how much a plant perks up once the competition is gone. Freeing the root zone lets every drop of water and every bit of feed reach the clematis instead of vanishing into the weeds.
16. Protect the Crown Through Winter
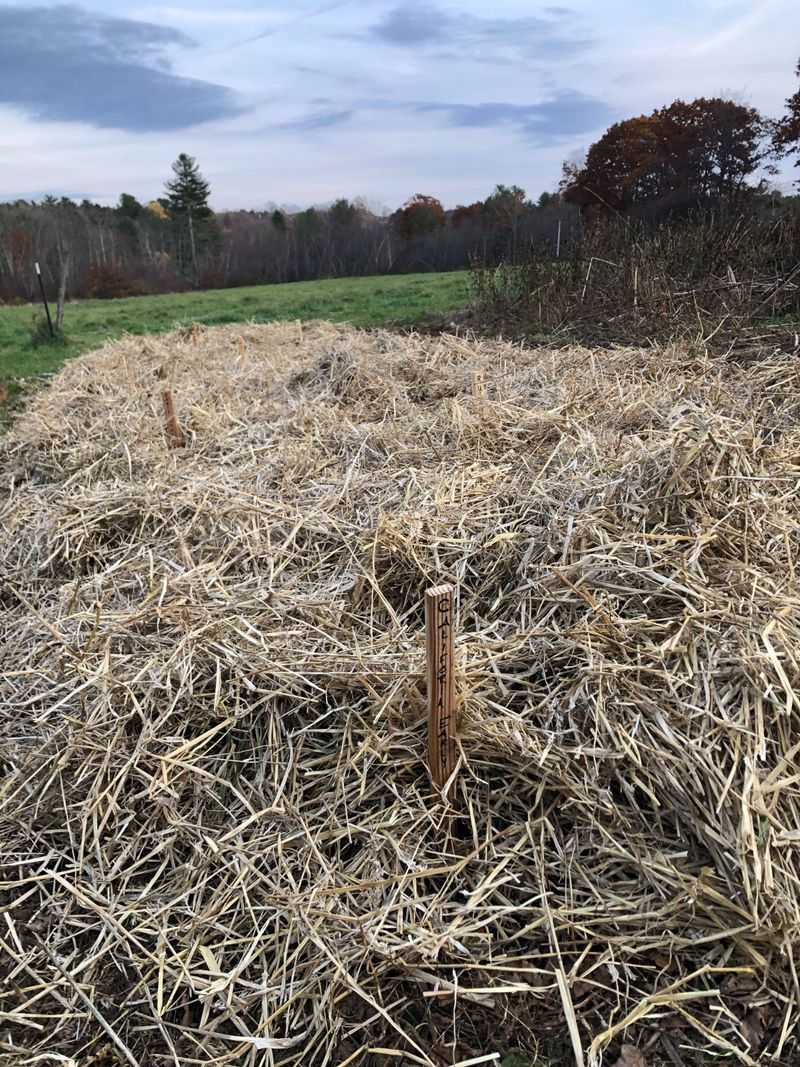
A clematis that struggled all summer heads into winter already weakened, and a hard freeze can finish the job if the crown is left exposed. Guarding that vulnerable growing point through the cold months gives a stressed plant a real shot at rebounding in spring.
After the ground begins to freeze, pile a few inches of mulch, straw, or shredded leaves over the crown to buffer temperature swings. In windy or exposed spots, a loose burlap wrap around the lower stems adds extra shelter.
Pull the covering back gradually as spring warms so new shoots are not smothered. A crown that overwinters safe and cozy wakes up ready to grow instead of spending precious energy just recovering from cold damage.
17. Be Patient and Let It Rebuild Its Roots
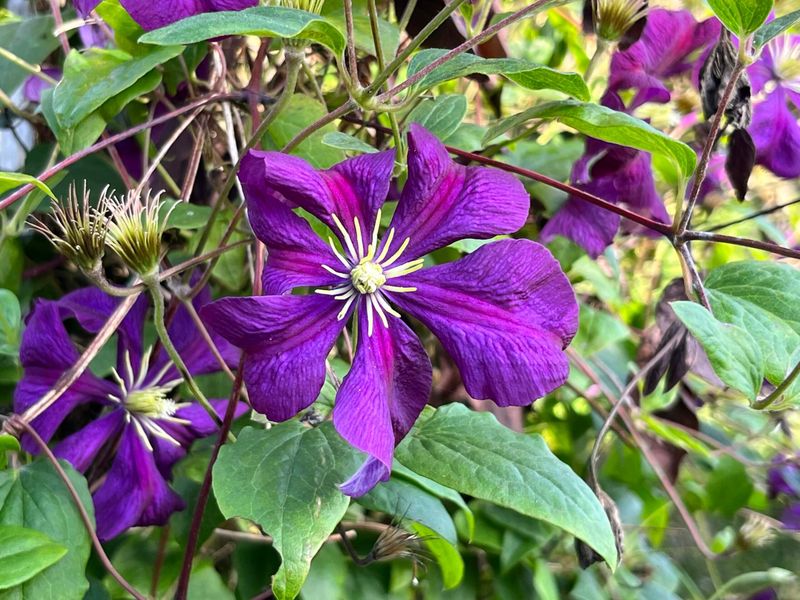
Not every fix shows results overnight, and a clematis often spends a whole season quietly rebuilding underground before it dazzles you above. Old-timers have a saying about clematis: the first year it sleeps, the second year it creeps, and the third year it leaps.
A struggling plant you have just rescued may follow the same slow rhythm, putting its energy into roots you cannot see rather than the flowers you crave. Resist the urge to keep digging, moving, or over-feeding while it works.
Keep up the good habits, cool roots, deep watering, and steady feeding, and trust the process. Give a recovering clematis time, and that patience usually pays off with the kind of tumbling, flower-covered display that made you fall for the vine in the first place.