
Here’s Exactly When To Prune Your Clematis So It Finally Blooms The Way It Should
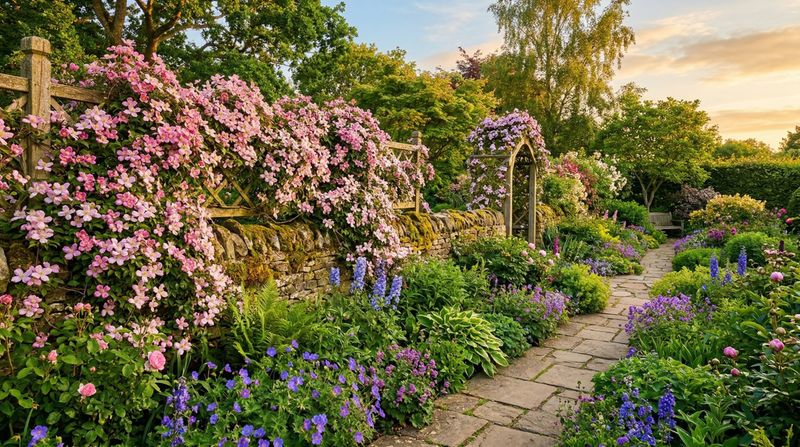
Clematis is one of those vines that can take over a fence beautifully one year and then sit there looking stubborn and flowerless the next. Most gardeners blame themselves and reach for the pruners, but cutting at the wrong time is often what caused the problem in the first place. The real answer is not a single date on the calendar – it depends entirely on which type of clematis you have. Once you know your plant’s group, the whole thing gets a lot simpler.
There is no single clematis pruning date
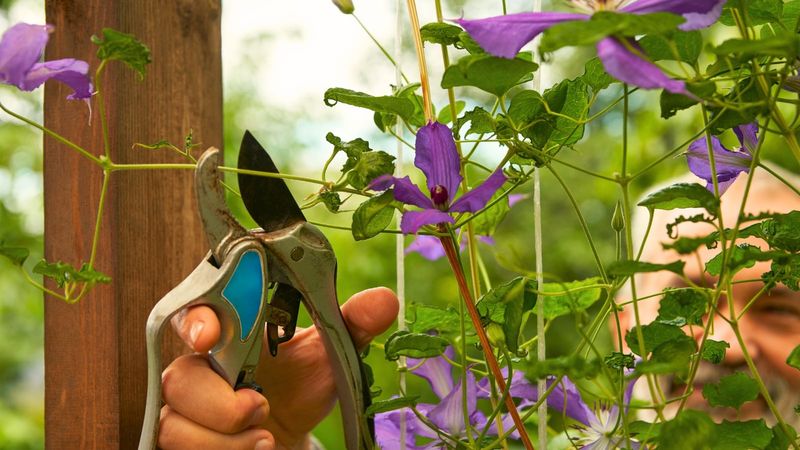
Walk into any garden center in spring and you will probably find a sign or a tag suggesting you prune your clematis at a specific time of year. That advice is not wrong for every plant, but it skips the part that actually matters: whether your particular vine flowers on growth it made last year, growth it is making right now, or a mix of both. Cut at the wrong moment and you remove the stems or buds that would have given you flowers, and no amount of waiting will bring them back that season.
Clematis are organized into three pruning groups based on when and where they bloom. RHS pruning guidance describes Group 1 as winter- and spring-flowering types that bloom mainly on old wood, Group 2 as plants that produce their main display on older stems with a possible later flush on new growth, and Group 3 as late-summer and fall bloomers that flower entirely on the current season’s stems. Some U.S. references label these Groups A, B, and C instead of 1, 2, and 3, but the underlying idea is identical.
Knowing which group your plant belongs to is the first and most important step. University of Illinois Extension notes that group numbering may differ across sources, so focus on the concept rather than the label: old wood, new wood, or both. A pruning approach that works perfectly for a late-summer bloomer can wipe out an entire season of flowers on a spring-blooming vine, and vice versa. The sections that follow walk through each group and what it actually needs.
Prune Group 1 after its flowering period
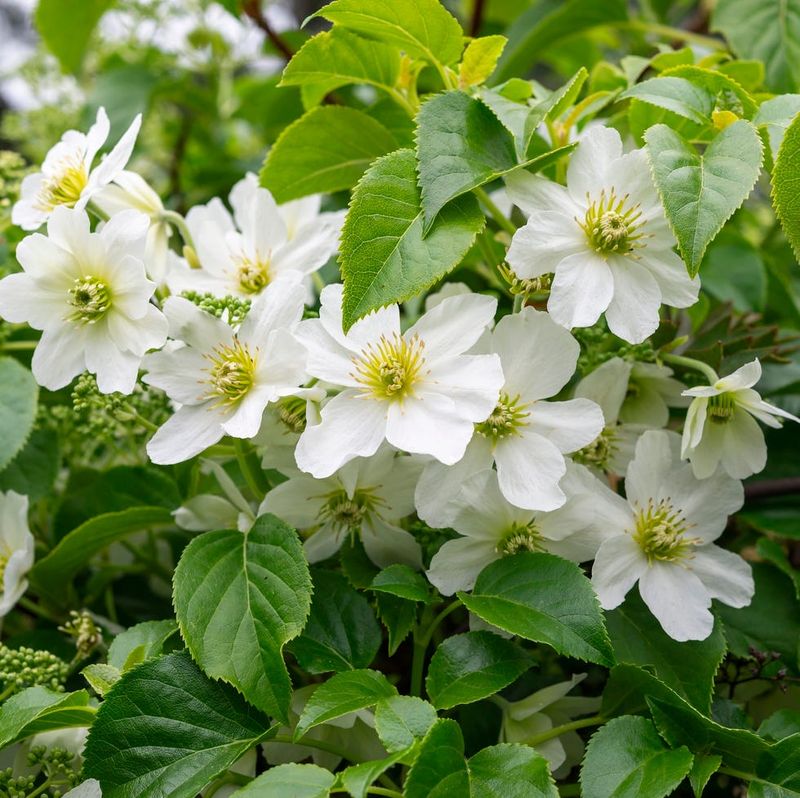
Group 1 clematis includes winter- and spring-flowering species such as Clematis montana, Clematis alpina, and Clematis armandii. RHS guidance on winter and spring clematis explains that these plants set their flower buds on growth produced during the previous growing season, which means the stems you see after winter are already carrying next spring’s flowers. Prune before they bloom and those buds are gone.
The governing rule for Group 1 is straightforward: wait until the plant has finished flowering, then get to work. At that point, remove any dead, damaged, or crossing stems, and lightly shape the plant if it has outgrown its space. Hard pruning is not a routine requirement for Group 1 and can noticeably reduce the following year’s display because you are cutting away the older wood that would have carried new buds. Reserve severe cuts for plants that have genuinely become unmanageable, and accept that a hard cut may mean fewer flowers for a season or two while the plant rebuilds.
One practical note: Group 1 plants can get very large very quickly, particularly vigorous cultivars like Clematis montana. If your vine is threatening to engulf a shed or smother a neighboring shrub, a post-bloom tidy is the right moment to bring it back within bounds. RHS pruning advice confirms that shaping after flowering gives the plant the rest of the growing season to produce new stems, which will carry the following year’s buds. Pruning at any other time risks removing exactly the growth the plant needs most.
Prune Group 2 lightly while preserving older stems
Group 2 clematis are the large-flowered hybrids that produce a generous early-summer display on older stems, sometimes followed by a second, lighter flush of blooms on new growth later in the season. Popular cultivars like ‘Nelly Moser’ and ‘The President’ belong here. Because the main show depends on those older stems, the pruning approach is deliberately restrained: remove dead wood and shorten healthy stems to the first strong pair of buds in late winter or early spring, before vigorous new growth begins.
What you are trying to preserve is the framework of older stems that already carry the buds for the early display. RHS pruning guidance specifies that after the first flush of flowers finishes, you can encourage a later rebloom by removing spent flowers back to a healthy bud. This secondary trim is lighter than the winter cleanup and targets only the flowered stems, not the whole plant. Avoid cutting the entire vine down to the ground if you want that impressive early-summer display – doing so removes the older wood and delays or eliminates the first flush entirely.
Group 2 requires a bit more judgment than the other groups because you are balancing two different flowering periods. A useful habit is to work through the plant stem by stem in late winter, tracing each one from the base upward and cutting only where you find dead or clearly weak growth. Healthy stems with visible buds stay. Dead or hollow stems come out.
That selective approach protects the early display while still keeping the plant tidy and manageable heading into the growing season.
Cut Group 3 hard before vigorous spring growth
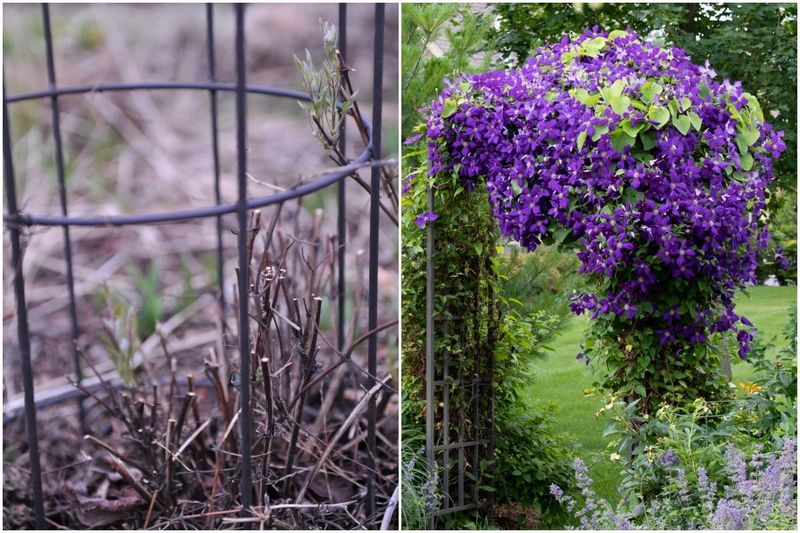
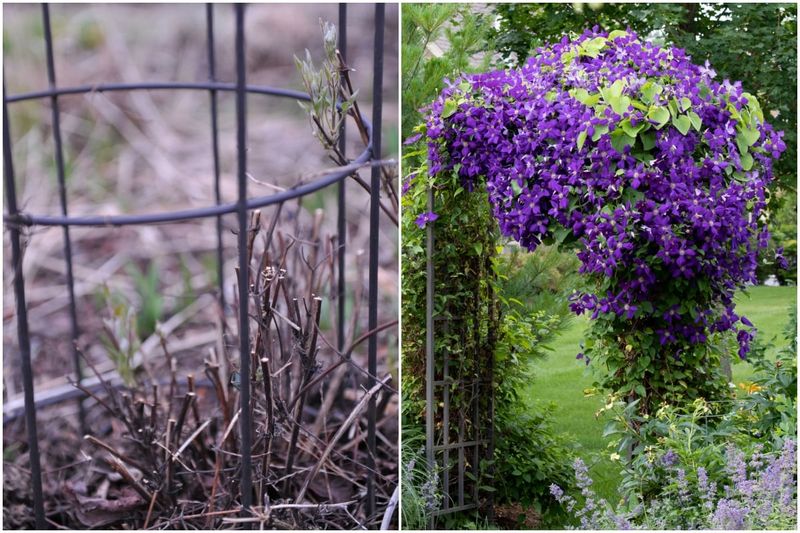
Group 3 clematis are the late-summer and fall performers, including the popular Jackmannii types, sweet autumn clematis, and many viticella cultivars. Every flower they produce grows on stems the plant makes during the current growing season, so the old tangled framework left over from last year serves no useful purpose and can actually work against you. Left unpruned, new shoots climb up through the old growth and flowers end up forming only at the tips of a long, bare, woody framework – high up and far from view.
The fix is a hard cut in late winter or early spring, before vigorous new growth starts pushing. RHS pruning guidance recommends cutting back to roughly 8 to 12 inches above the ground, or to the lowest strong pair of buds you can find on each stem. That low cut encourages fresh shoots to emerge from near the base of the plant, which produces a full, bushy vine rather than a bare pole with a tuft of flowers at the top.
Timing matters here because “late winter” means different things in different parts of the country. In warmer southern states it can arrive weeks earlier than in the upper Midwest or New England. The practical signal to watch for is the moment before the plant begins pushing strong new growth – not a calendar date. If you can see new shoots already unfurling and several inches long, you have waited a little too long, but the cut is still worth making.
Group 3 plants are generally forgiving of hard pruning and recover quickly once temperatures rise.
Identify an unknown clematis before making a severe cut
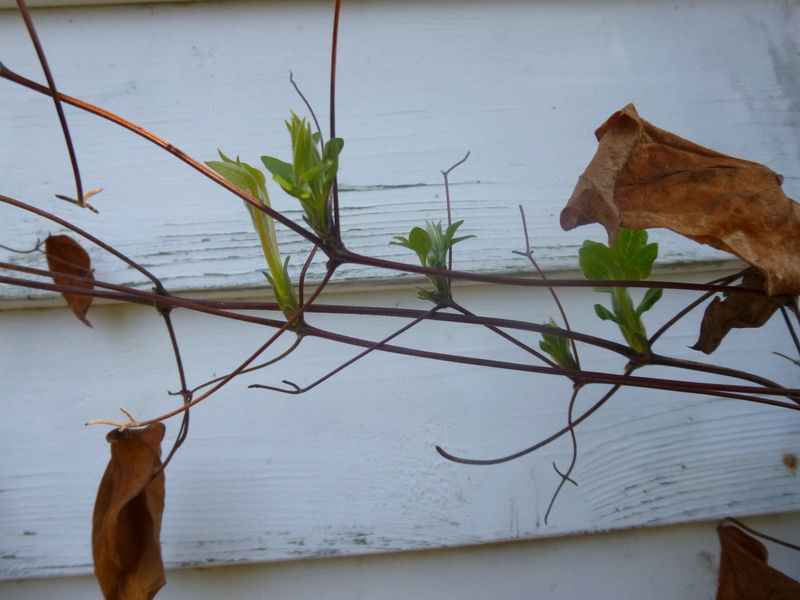
Forcing an unidentified clematis into a pruning schedule before you know its group is one of the most common ways to lose a season of flowers. The safest starting point is always a plant label, cultivar name, or nursery record. University of Illinois Extension notes that plant labels and cultivar names are far more reliable than guessing from flower color or flower size alone, because those visual traits overlap across groups and can mislead you.
If no label survives, bloom timing gives you a provisional clue. Plants that flower before early summer are more likely to belong to Group 1 or Group 2 and need post-bloom pruning rather than a late-winter hard cut. Vines that flower from late June onward are more likely to be Group 3 plants that tolerate or benefit from cutting back hard before new growth begins. RHS pruning guidance treats bloom timing as a useful screening tool, not a definitive answer, because weather, climate, winter injury, and cultivar behavior can all shift when a plant blooms in a given year.
An unknown clematis that is currently flowering in midsummer, or that just finished an early-season flush, should not automatically be cut back hard. A hard cut on an unidentified vine risks removing the older wood that Groups 1 and 2 depend on for their best display. The better approach is to observe the plant through one full season, note when it blooms and on what type of growth, then apply the appropriate group pruning the following year. A season of patience is far less costly than a season of no flowers.
Treat a newly planted vine as a separate case
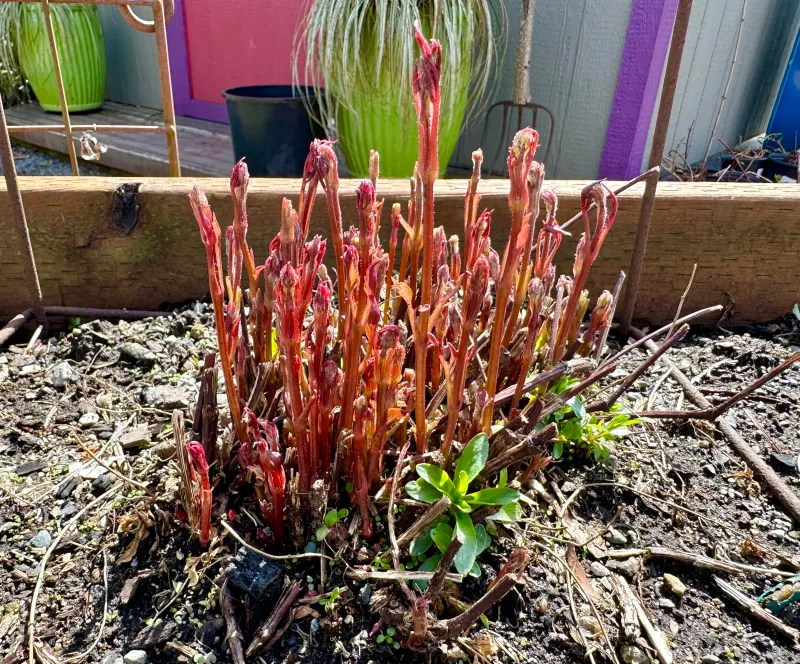
A clematis in its first season in the ground is not operating by the same rules as an established vine. Young plants put most of their energy into developing roots rather than top growth, and a vine that pushes up one or two stems in its first year can end up looking sparse and struggling for years if those stems are the only ones it has at the base.
Several extension sources, including Missouri Botanical Garden pruning guidance, recommend cutting a newly planted clematis back after planting or during the first spring to encourage branching near the base. The tradeoff is real: an early cutback can sacrifice some of the first season’s flowers in exchange for a fuller, better-branched plant in later years. For most gardeners, that is a worthwhile trade.
This first-year guidance does not transfer directly to a mature vine that has stopped blooming. A well-established clematis that has been in the ground for several years and is failing to flower has a different set of possible causes, and cutting it back hard will not automatically reset it to a healthier pattern. University of Illinois Extension also notes that planting one or two nodes below soil level can encourage multiple basal shoots, which improves long-term fullness, though planting depth should be adjusted to local drainage conditions rather than applied as a rigid rule.
Check growing conditions before blaming pruning
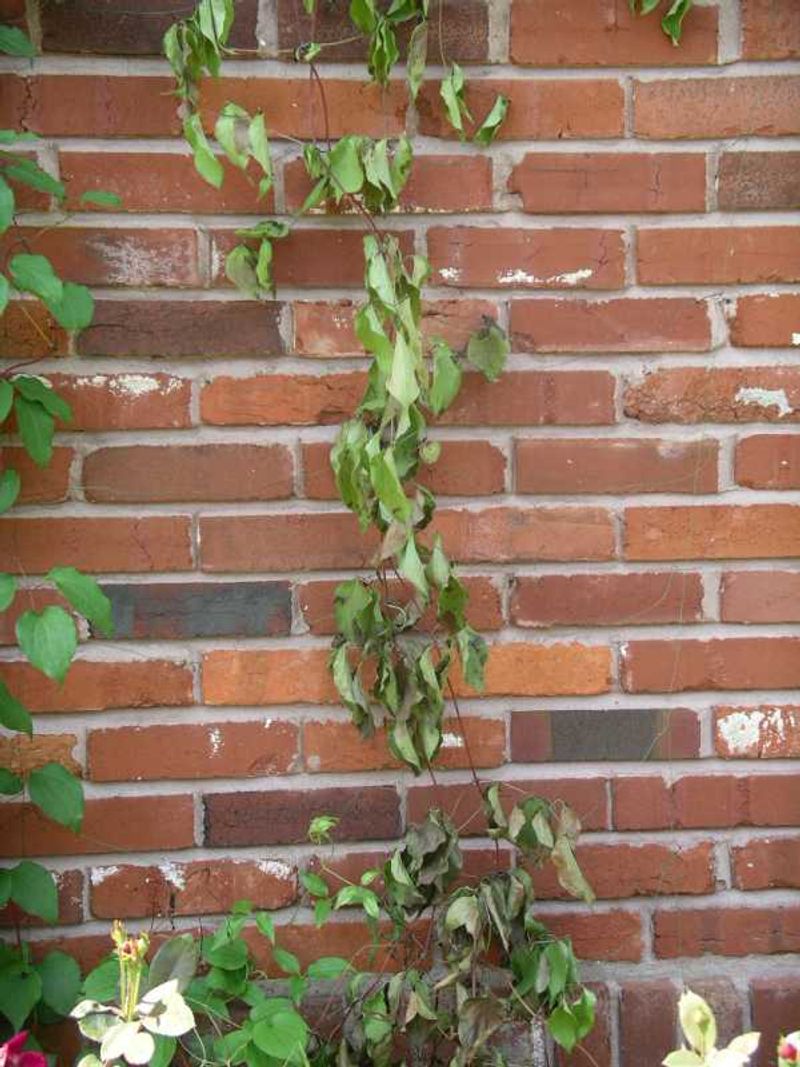
Confirming that your pruning timing was correct and still finding no flowers means the problem is elsewhere. RHS clematis problem guidance lists unsuitable growing conditions, root problems, physical stem damage, and clematis wilt among the possible causes of poor performance, so pruning is only one item on a longer checklist.
Light is a common culprit. Clematis generally perform best when their upper growth receives good light, while the root zone stays cool and moist. A vine growing in dense shade may produce healthy foliage but few or no flowers. Drought stress and waterlogging are equally damaging: dry roots in summer can prevent bud formation, while consistently wet or poorly drained soil stresses the roots and makes the plant vulnerable to disease.
Mulch or low-growing ground cover plants can help shade the root zone without touching the stems, and watering the soil directly avoids repeatedly wetting the foliage.
Winter dieback is another factor worth examining. If stems that looked healthy in fall arrive in spring brown and hollow to the core, frost damage may have killed the buds before they had a chance to open. Young plants and certain cultivars are more susceptible than others. Physical injury from foot traffic, pets, or rough ties can also interrupt flowering by cutting off the flow of water and nutrients through a stem.
University of Illinois Extension recommends fertile, well-drained soil as a baseline for healthy growth.
Sudden wilting of a stem or the whole plant is not a pruning problem. Penn State Extension’s clematis disease resources explain that wilt can involve fungal disease, root problems, waterlogging, drought, stem injury, or pest damage. Removing the affected stems with clean pruners is a reasonable response, but treating wilt as a pruning error will not solve it.
Prune with clean tools and a clear decision rule
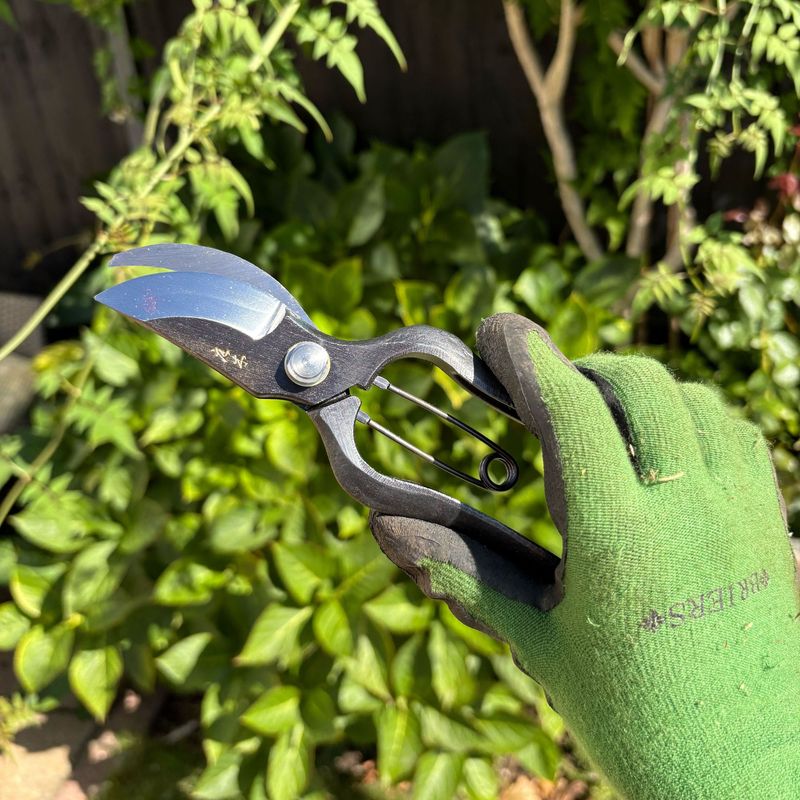
Before making any cut on a clematis, run through a short mental checklist: know which group the plant belongs to, confirm you are working at the right time for that group, and have clean, sharp pruners in hand. RHS pruning guidance is consistent on the core rules: preserve older wood for Groups 1 and 2, cut Group 3 hard before vigorous spring growth begins, and hold off entirely when the plant’s identity is uncertain rather than guess and risk losing a season.
Tool sanitation is a practical step that many gardeners skip. Penn State Extension guidance on plant grooming recommends using clean, sharp pruners for all cuts and disinfecting them between cuts when you are removing diseased or suspicious stems. Infected material should be discarded away from the garden bed, not left on the soil surface or added to a compost pile that stays near the plant. A quick wipe with a diluted bleach solution or rubbing alcohol takes seconds and reduces the chance of spreading pathogens from one stem to another.
Correct pruning can absolutely explain why a clematis missed its flowers, and fixing the timing often produces a noticeably better display the following season. RHS frequently asked questions on clematis make clear that pruning is one piece of the picture, not the whole story – light, soil, moisture, drainage, and plant health all contribute. Get the group right, keep your tools clean, and give the plant the conditions it needs: that combination does more for flowering than any single cut ever could.