
17 Easy Ways To Revive A Struggling Clematis That’s Reacting To One Hidden Mistake
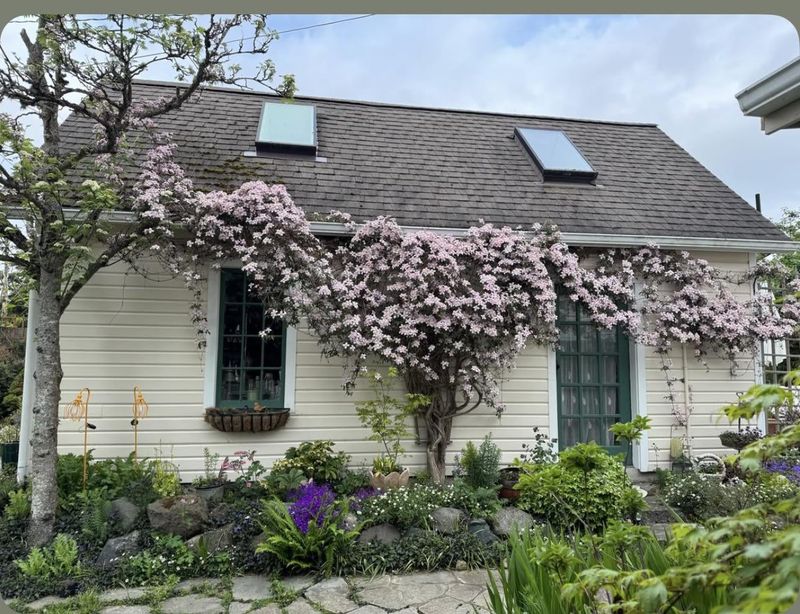
A sad, droopy clematis can break your heart, especially after you waited all season for those big, showy blooms. Most of the time the plant isn’t dying on you for no reason, it’s quietly reacting to one hidden mistake that throws everything off. The good news is that clematis are tough survivors once you fix the root of the problem and give them a little help. Below are 17 simple, doable fixes you can try this weekend to bring your vine roaring back to life.
1. Shade The Roots While The Vine Climbs Toward Sun
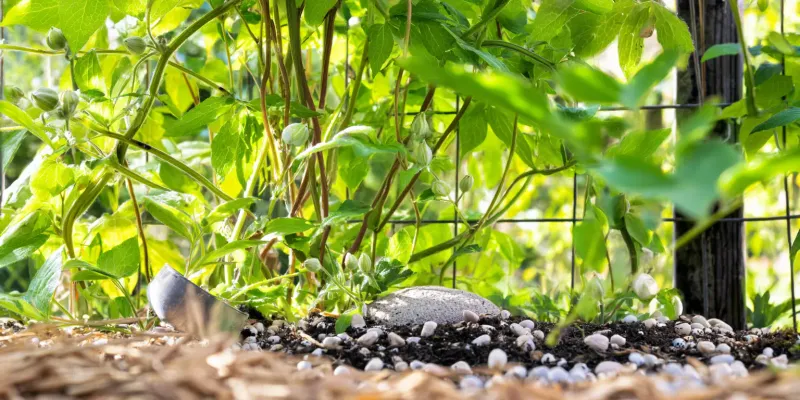
Here’s the single mistake that trips up more clematis growers than anything else: leaving the roots baking in hot, bare soil. Clematis famously love their heads in the sun and their feet in cool shade, and when the root zone overheats, the whole plant sulks no matter how much you water it.
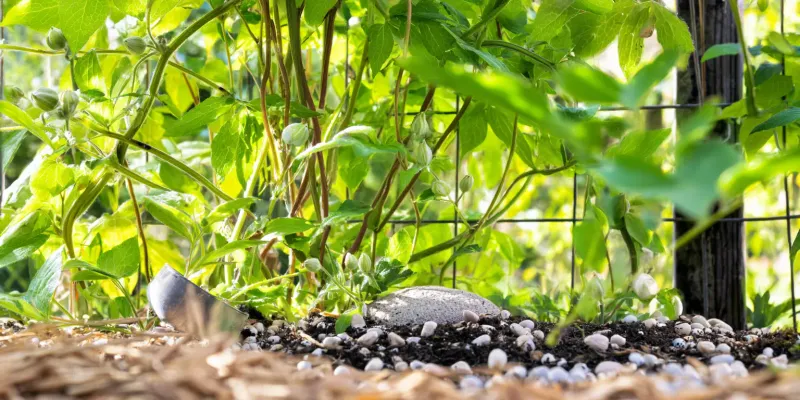
Tuck a few low, leafy perennials like hardy geraniums or heuchera right at the base to cast a living shadow. A flat stone or two laid over the soil works just as well and keeps the ground temperature steady through a scorching afternoon.
If your vine has been limping along in a spot where the crown sits in full glare, this one adjustment can turn things around within a couple of weeks. Cool roots let the plant push energy into new leaves and buds instead of just trying to survive.
2. Read The Leaves Before You Panic
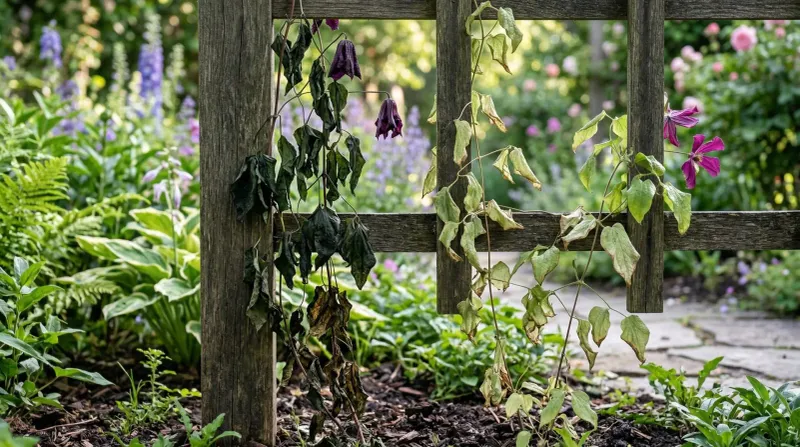
Your clematis leaves are basically a text message from the plant, and learning to read them saves a lot of guessing. Yellowing between the veins often whispers about a nutrient hiccup, while brown, crispy edges point to thirst or wind scorch.
Pale, washed-out foliage with weak growth can hint that the plant isn’t getting enough light up top, even though its roots want shade. Purple or reddish tints on lower leaves sometimes flag a phosphorus shortage in cooler soil.
Take thirty seconds to actually study a few leaves before you reach for any bottle or hose. Matching the color and shape of the damage to the cause means you treat the real problem instead of throwing random fixes at a plant that only needed one thing.
3. Figure Out Your Pruning Group First
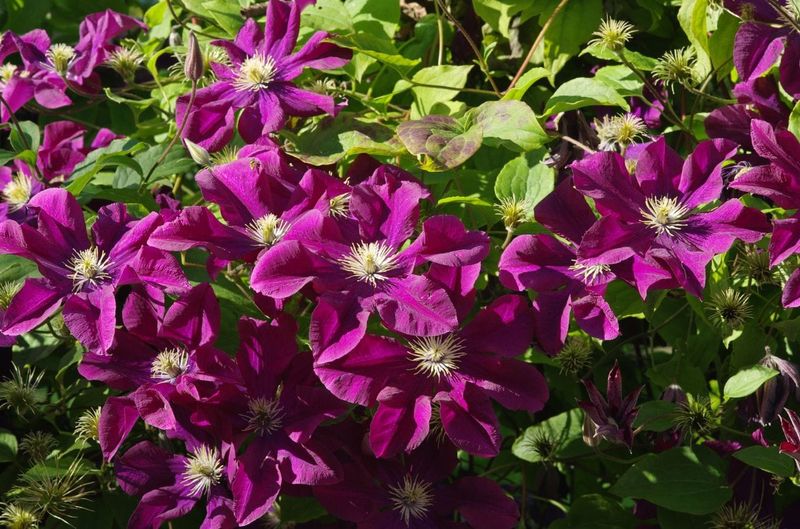
Nothing frustrates a clematis faster than getting chopped at the wrong time, and countless bare, bloom-free vines are the result of a well-meaning but mistimed haircut. There are three pruning groups, and each one has its own rulebook.
Group 1 bloomers flower on old wood, so heavy spring cutting removes this year’s show. Group 2 gives you early and late blooms and only wants light tidying. Group 3 blooms on fresh new growth and actually loves a hard cut down low in late winter.
Check the plant tag or note when your vine normally flowers to place it in the right group. Once you know which camp yours falls into, pruning stops being scary and becomes the tool that brings back all those missing flowers.
4. Check For Clematis Wilt And Cut It Out Fast
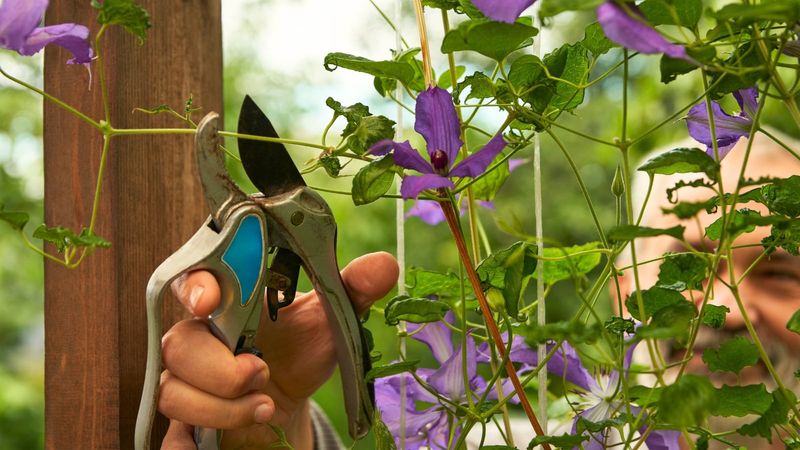
One day your vine looks gorgeous, the next a whole stem collapses like someone pulled the plug. That dramatic flop is often clematis wilt, a fungal issue that hits large-flowered types especially hard in humid US summers.
Don’t write off the whole plant when it happens. Snip the affected stems right back to healthy tissue, sometimes all the way to the ground, and toss the cuttings in the trash rather than the compost pile.
The roots almost always survive, and fresh shoots usually push up within weeks. Keeping the base airy and the foliage dry may help reduce repeat attacks, so give your vine a little breathing room from crowding neighbors.
5. Give It A Support That Actually Fits Its Grip
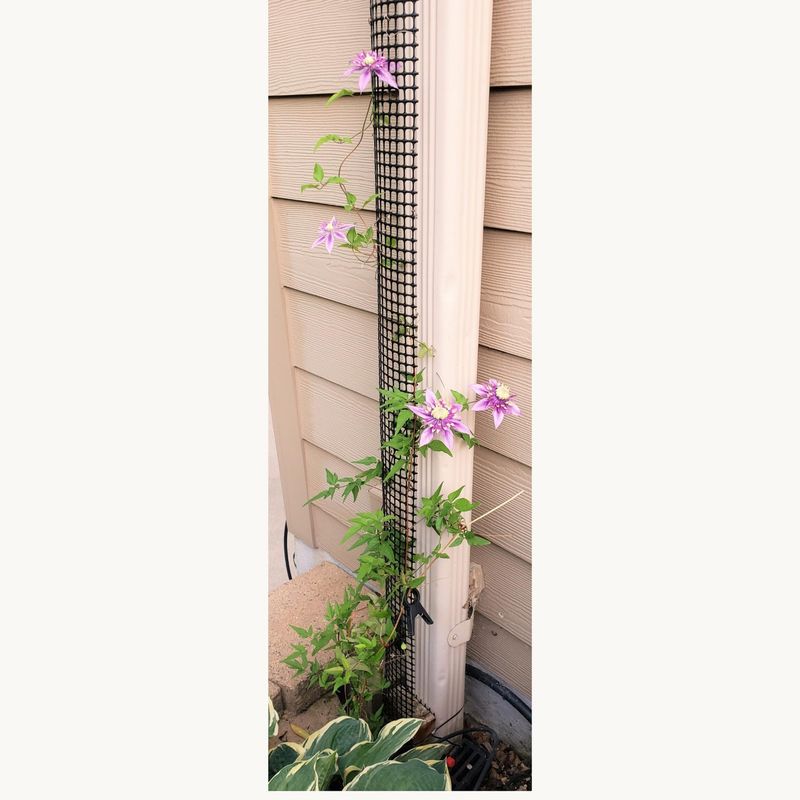
Clematis climb by wrapping their leaf stems around thin supports, and they physically cannot cling to a fat post or a smooth wall. A vine flailing around with nowhere to grab often looks stressed simply because it’s exhausting itself trying to hold on.
Offer it something slender to twine onto, like netting, wire mesh, twine strung between hooks, or a trellis with thin crossbars. Pencil-width or thinner is the sweet spot for those grabby little tendrils.
Once it finds a proper grip, the plant relaxes and channels its energy upward and into blooms. You’ll notice the difference within a season as it drapes and layers instead of collapsing into a tangled heap on the ground.
6. Test Your Soil pH Instead Of Guessing
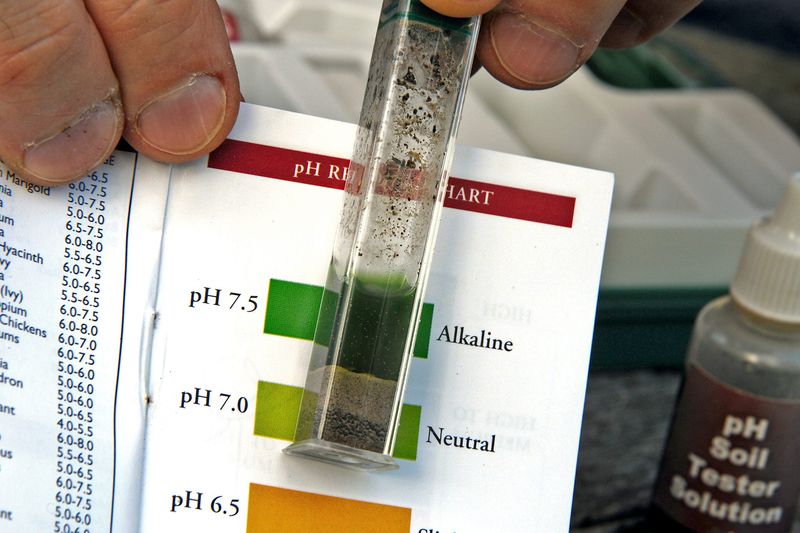
Gardeners love to blame everything on water and sun, but a quiet pH imbalance can lock nutrients away where roots can’t reach them. Clematis are happiest in soil that leans neutral to slightly alkaline, right around 6.5 to 7.5.
Grab an inexpensive test kit from any garden center and check a sample before you feed. If the reading comes back too acidic, a light sprinkle of garden lime can nudge it back toward the range your vine prefers.
Skipping the test and just dumping fertilizer is like taking medicine without knowing what’s wrong. A five-minute soil check tells you exactly what your plant is missing so your next move actually lands.
7. Feed With A Bloom-Boosting Formula, Not Just Nitrogen
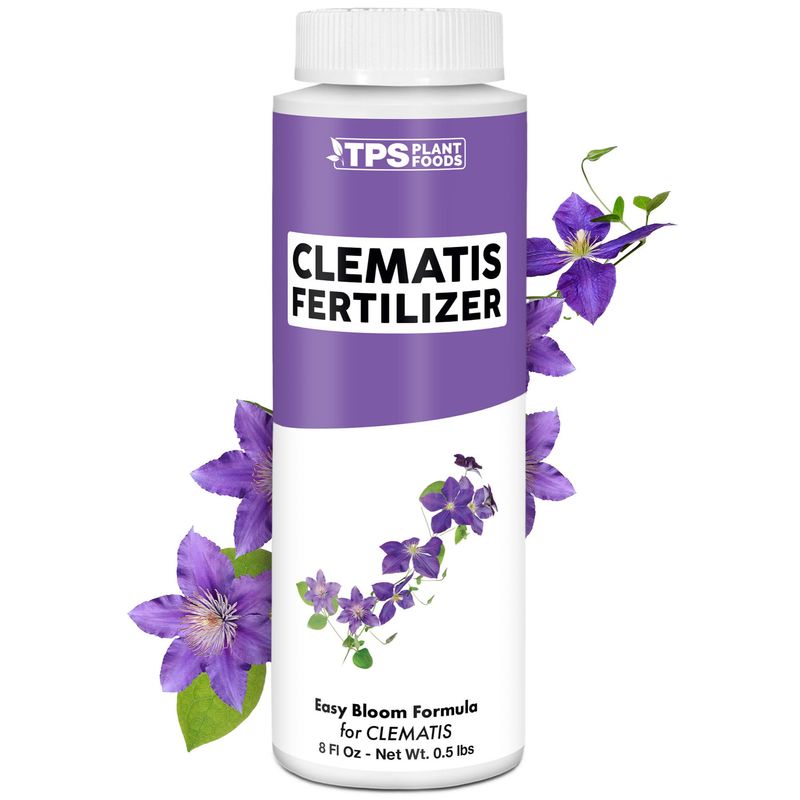
All leaves and no flowers? Your clematis might be overdosed on nitrogen, the nutrient that fuels lush green growth at the expense of blooms. It’s an easy trap when you’re using leftover lawn fertilizer nearby.
Switch to a formula higher in phosphorus and potassium, the numbers that support flower production and strong roots. A tomato or rose feed works beautifully because it’s built for heavy bloomers.
Feed lightly in spring as growth kicks off, then again after the first flush of flowers to encourage a second round. Steady, gentle feeding beats one giant dose that shocks the plant and washes away with the next rain.
8. Mulch The Right Way Without Smothering The Crown
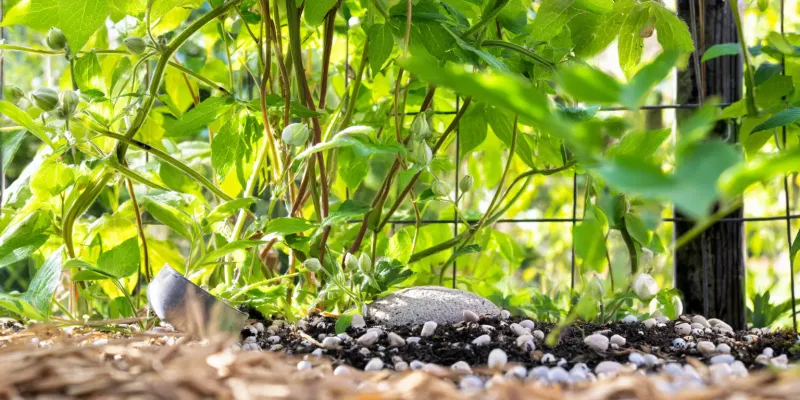
Mulch is a clematis best friend and a common accidental killer, all depending on how you apply it. Piled up against the stem, it traps moisture around the crown and invites rot right where the plant is most vulnerable.
Spread a two to three inch layer of bark, compost, or leaf mold over the root zone, then pull it back a couple of inches from the base. Think of leaving a little doughnut hole of clear space around the stems.
Done properly, mulch keeps those precious roots cool and moist while cutting down on your watering chores. It’s the low-effort insurance policy that protects the exact spot heat and drought hit hardest.
9. Water Deep And Slow At The Base
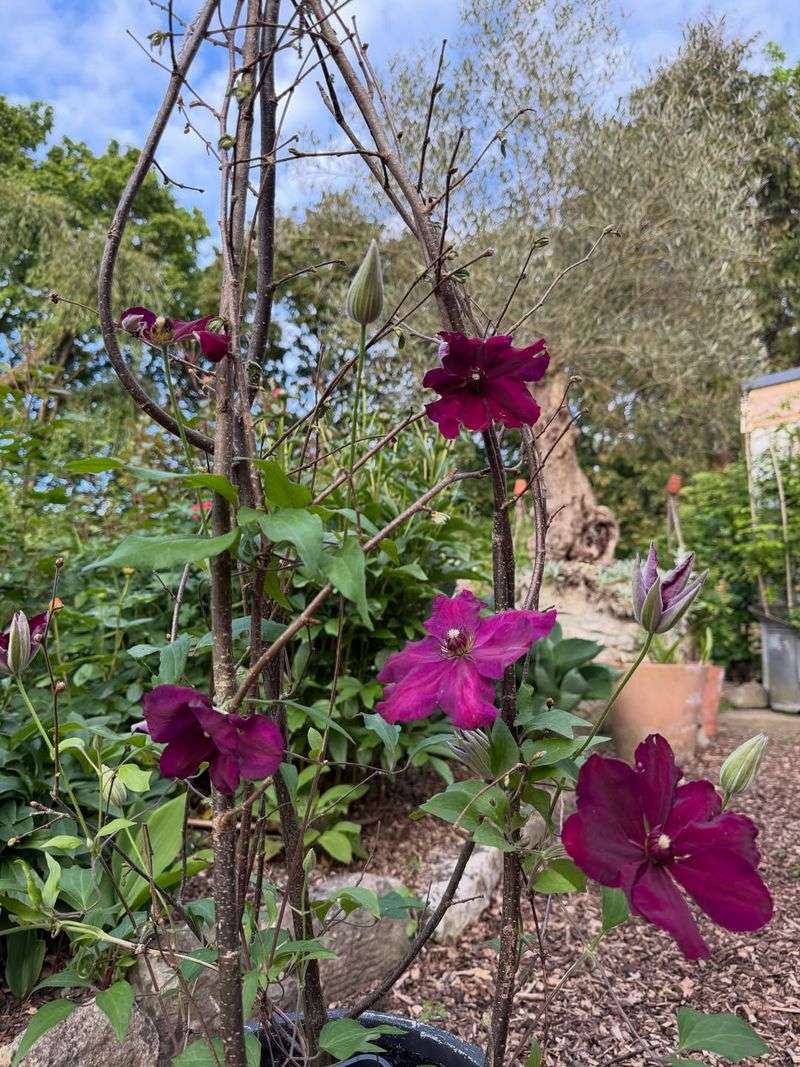
A quick splash from the hose feels helpful but barely wets the surface, leaving thirsty roots stranded deeper down. Clematis send roots well below the topsoil, so shallow sprinkling trains them to stay near the top where they dry out fastest.
Aim the water right at the base and let it soak in slowly until the ground is moist several inches down. A watering can poured gently or a soaker hose set on a trickle does the job without wasting a drop on the leaves.
Give an established vine a good drink once or twice a week rather than a daily dribble. Deep, occasional soaks build the strong, far-reaching root system that carries the plant through the toughest stretches of the year.
10. Move A Sun-Starved Vine To Brighter Real Estate
Sometimes the problem isn’t care at all, it’s the address. A clematis planted in too much shade stretches thin, blooms sparsely, and leans desperately toward any scrap of light it can find.
Most varieties want at least six hours of sun on their upper growth to flower generously. If your vine sits under a hungry tree canopy or on a north wall that never brightens, no amount of feeding will fix the deficit.
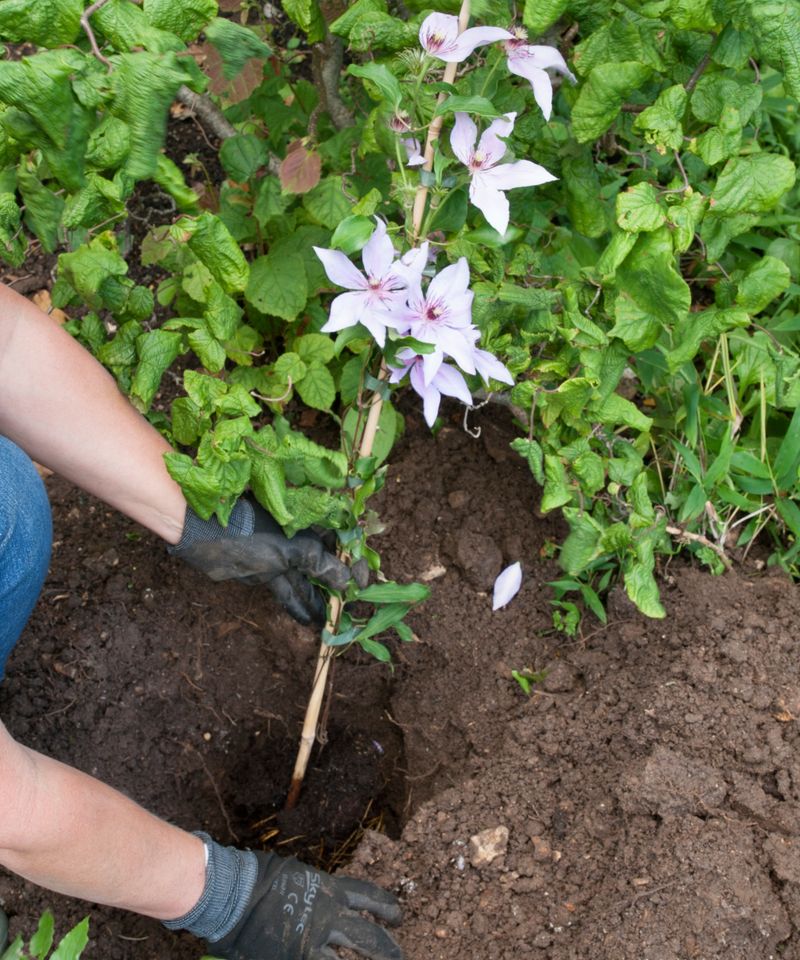
Transplant carefully in early spring or fall while the plant is dormant, digging a wide root ball and settling it into a sunnier, root-shaded home. It may pout for a season, then reward the move with the fullest display you’ve ever seen from it.
11. Hunt Down Slugs And Snails On New Shoots
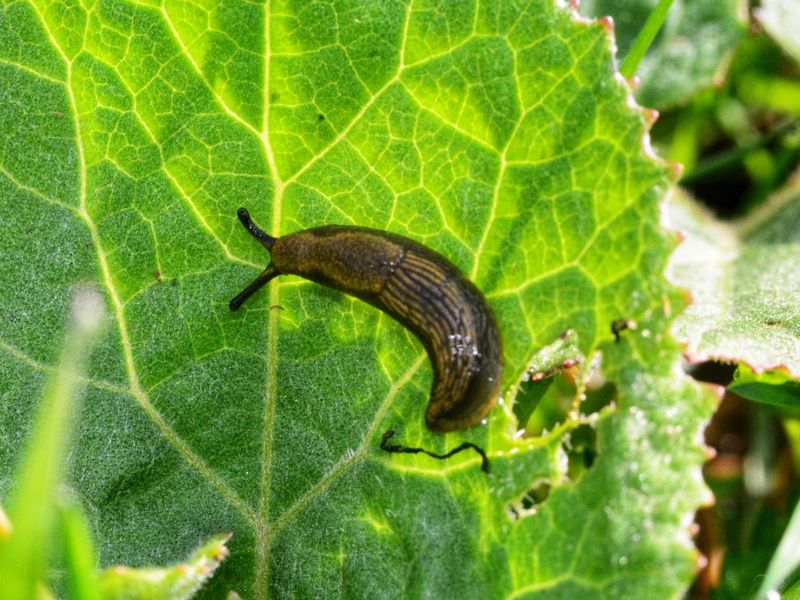
Ever watched fresh clematis shoots vanish overnight and blamed the weather? The real culprit is often a nighttime raid by slugs and snails, who find tender young growth absolutely irresistible.
Head out after dark with a flashlight and you’ll catch them in the act, chewing the very shoots you were counting on. Handpicking them into a bucket is oddly satisfying and surprisingly effective.
Crushed eggshells, copper tape around containers, or a scattering of wildlife-safe iron phosphate pellets can help keep them off the buffet. Protecting those first spring shoots may make the difference between a bare stub and a vine that races up the trellis.
12. Plant It Deeper Than You Think You Should
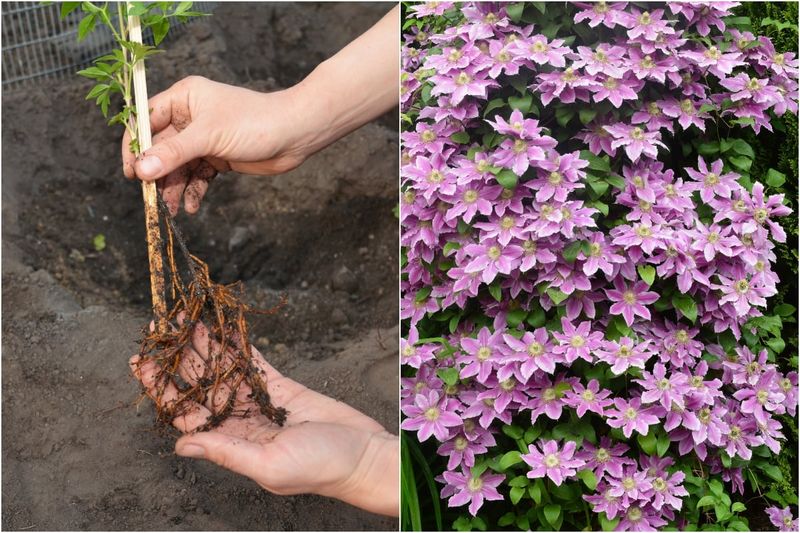
Here’s a rule that feels wrong but works wonders: clematis want to be buried deeper than most plants. Setting the crown a couple of inches below the soil line encourages new shoots to emerge from underground and builds a plant that shrugs off wilt.
Those buried nodes act like a backup battery. If the top growth gets hit by disease or damage, fresh stems can sprout from below the surface and rescue the whole vine.
When you first plant or replant, sink the top of the root ball about two inches lower than it sat in the pot. It’s a tiny detail that gives your clematis a serious survival advantage down the road.
13. Improve Drainage So Roots Don’t Sit In Water
Clematis crave steady moisture but absolutely hate wet feet, and soggy, waterlogged soil quietly suffocates the roots. A vine that yellows and stalls in a low, boggy spot is often drowning rather than drying.
Dig in plenty of compost and coarse grit to open up heavy clay and let excess water drain away. In really stubborn ground, a raised bed or a gentle mound lifts the roots up out of the danger zone.
Container growers should double-check that drainage holes aren’t clogged and never leave a pot standing in a saucer of water. Give those roots air along with their moisture and the whole plant perks up noticeably.
14. Prune Away The Dead To Wake Up The Living
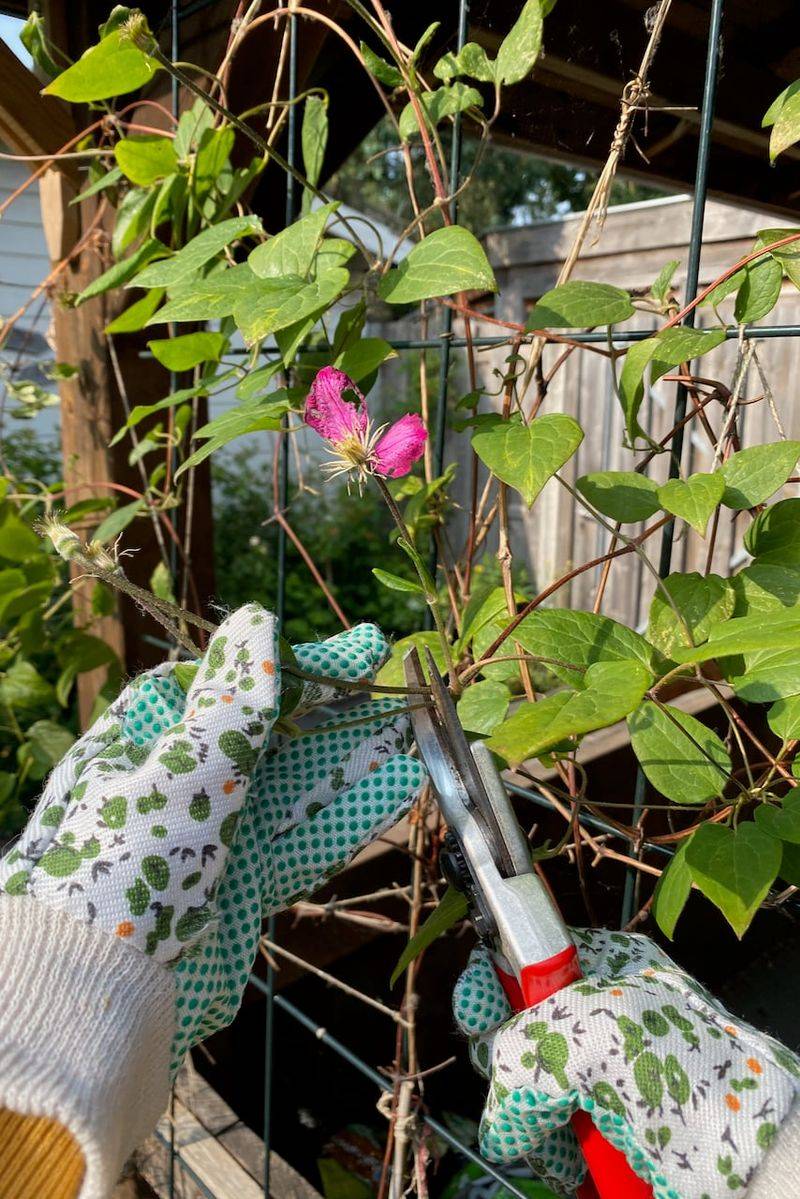
A clematis clogged with brown, brittle stems is spending energy dragging around a skeleton. Clearing out the dead wood signals the plant to redirect its resources into the parts that can still grow and bloom.
Run your fingers along each stem and give a gentle scratch. Green underneath means alive, dry and hollow means it’s done. Cut the lifeless bits back to a healthy pair of buds or right to the base.
You’ll be amazed how quickly a scraggly, half-bare vine fills back in once the dead weight is gone. Fresh light and air reach the living stems, and dormant buds you couldn’t even see start to break.
15. Shield It From Harsh Reflected Heat And Wind
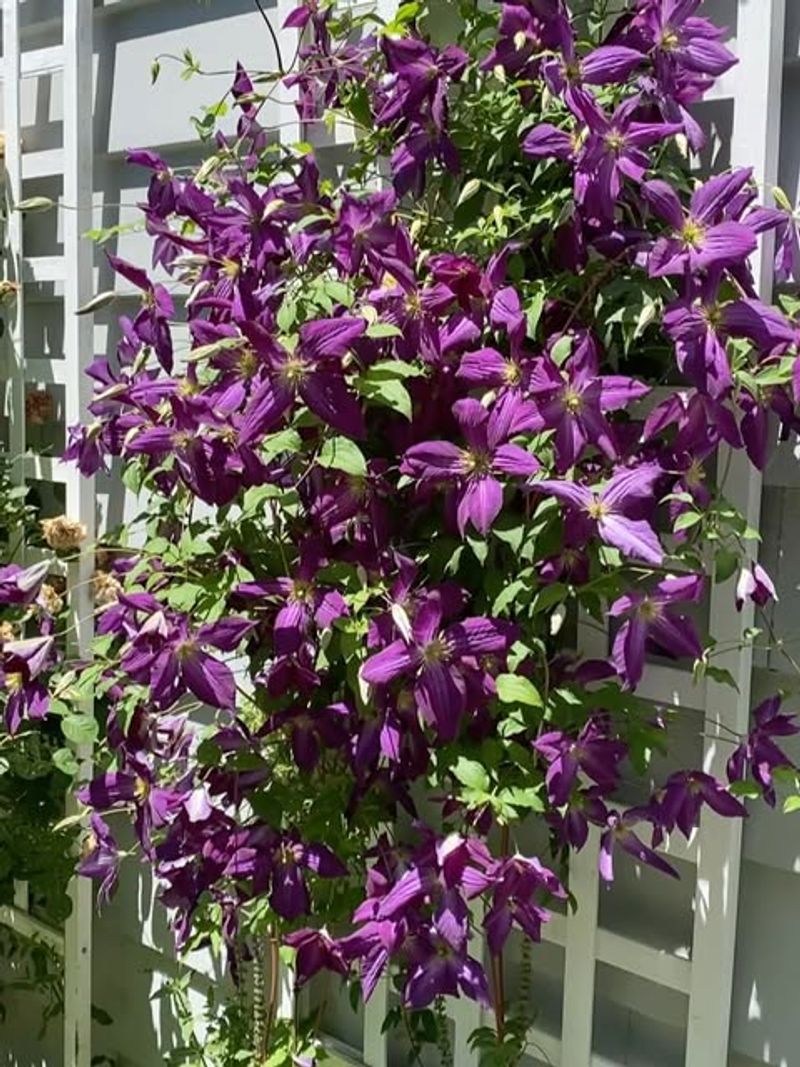
A vine planted right against a south-facing brick wall or metal fence can cook in reflected heat and get battered by funneled wind. Even a plant with cool roots struggles when its foliage takes that kind of daily beating.
Scorched, tattered leaves and dropped buds are the telltale signs of an exposed, punishing spot. A little buffering goes a long way toward calming the microclimate around your clematis.
Position a lattice screen, a taller shrub, or another climber nearby to soften the wind and diffuse the harshest glare. Giving the vine a sheltered pocket to grow in keeps its leaves whole and its buds intact through the roughest weeks.
16. Inspect For Aphids And Spider Mites Hiding Underneath
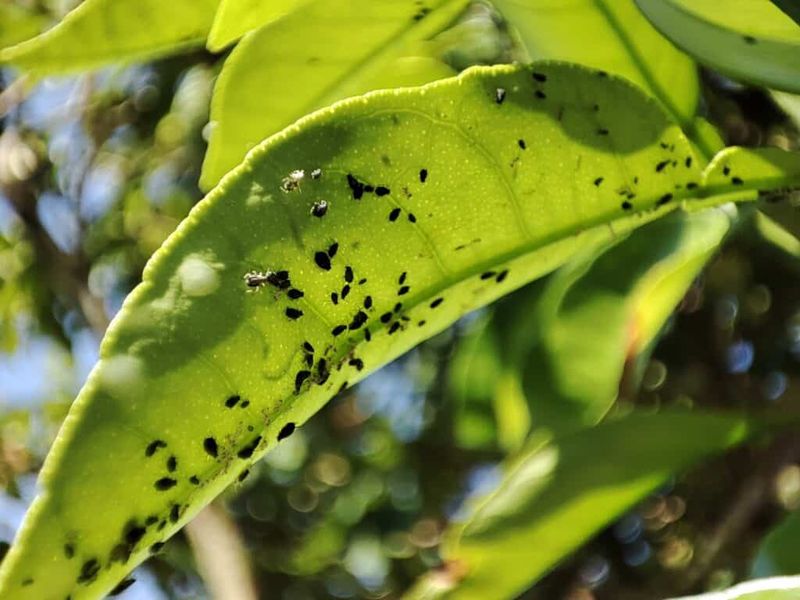
Tiny pests can drain a clematis long before you spot the damage on top. Flip a few leaves over and you may find clusters of aphids or the fine webbing of spider mites quietly sucking the life out of your vine.
Sticky residue, curling leaves, and a general lack of vigor all point to these hidden freeloaders. They multiply fast in warm, dry weather, so a small colony can explode in days.
Blast them off with a strong jet of water, or treat with insecticidal soap sprayed on the undersides where they hide. Inviting ladybugs and lacewings into the garden gives you a free, ongoing cleanup crew that keeps future outbreaks in check.
17. Be Patient And Let The Roots Rebuild
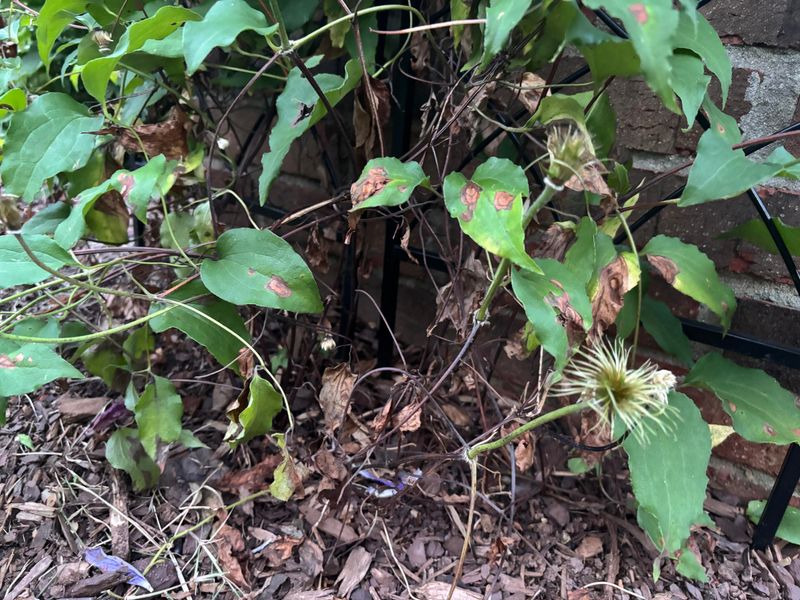
After you’ve corrected the hidden mistake, the hardest part is simply waiting. Clematis are notorious for spending their first year or two building roots underground while the top growth looks unimpressive above the soil.
Gardeners have a saying about them: the first year they sleep, the second year they creep, the third year they leap. A revived vine follows the same rhythm as it rebuilds its strength.
Resist the urge to keep fussing, digging, or over-feeding while it recovers. Keep the roots cool and evenly moist, hold your nerve, and give it time. More often than not, the clematis you nearly gave up on comes back stronger and more spectacular than before.