
20 Ways To Grow Endless Summer Hydrangeas With Huge, Show-Stopping Blooms
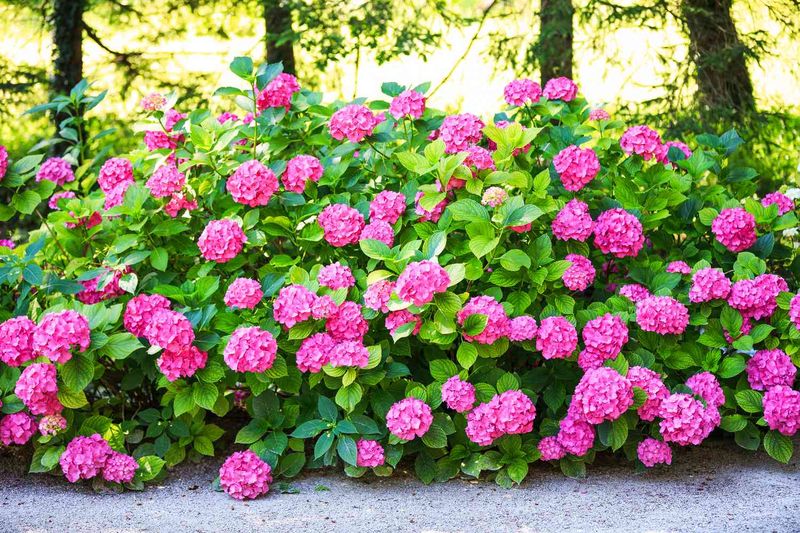
If your Endless Summer hydrangea looks a little sad, with small flowers or leaves that flop over in the afternoon, you are not alone and you are not a bad gardener. These reblooming beauties flower on both old and new wood, which means with the right care you can enjoy giant, colorful blooms from early summer all the way to fall.
The good news is that most bloom problems come down to a handful of simple fixes anyone can do at home. Below are 20 easy, doable ways to help your hydrangea produce huge, head-turning flowers this season.
1. Give It Morning Sun and Afternoon Shade
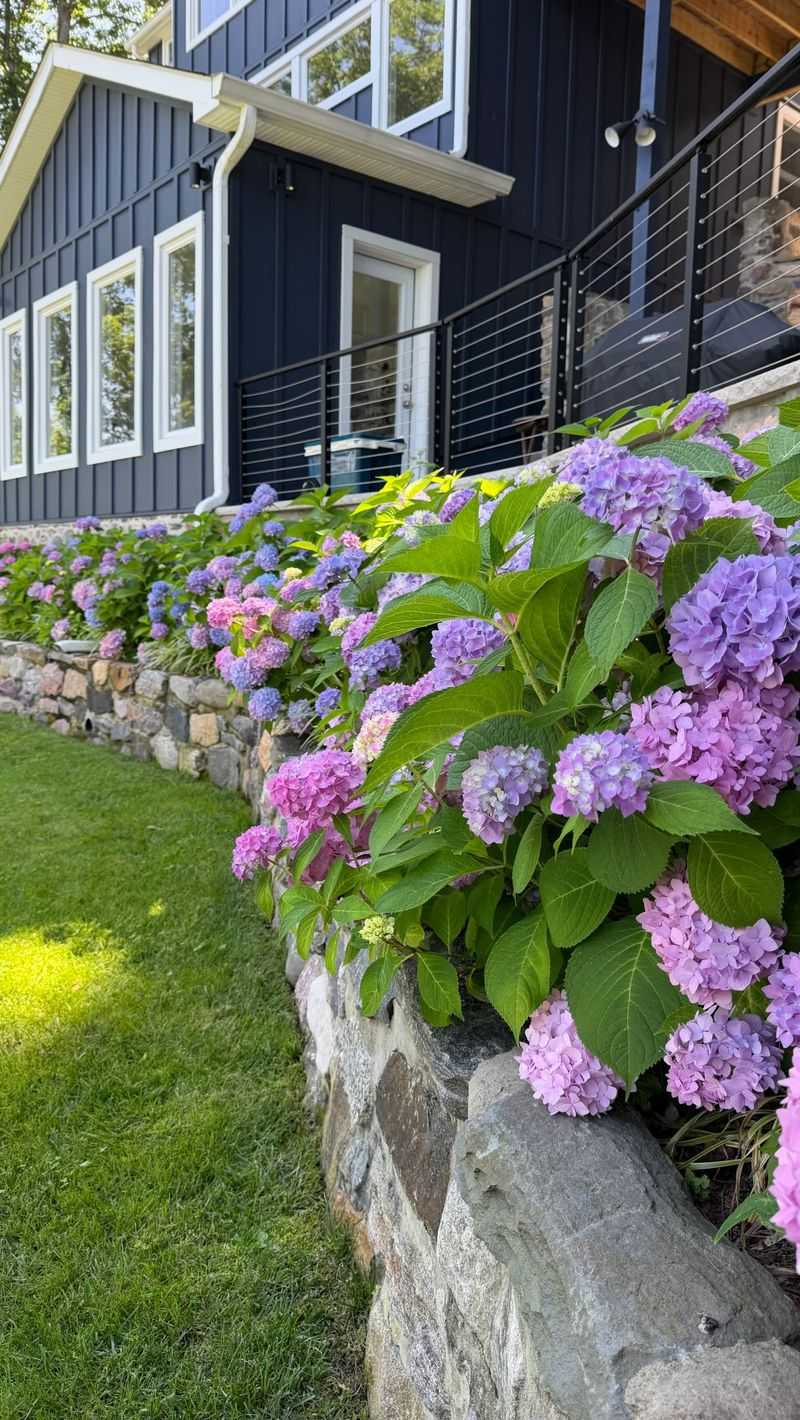
Sunlight is the number one thing folks get wrong with these shrubs. Endless Summer hydrangeas love a spot that catches gentle morning sun and then slips into dappled shade once the afternoon heat rolls in.
Too much blazing sun, especially in warmer parts of the country, and your plant burns energy just trying to survive instead of making flowers. You may notice wilted leaves by 2 p.m. and stingy little blooms.
If your hydrangea is baking all day, that is likely your bloom thief. Move it in fall or spring to an east-facing spot near a fence or tree, and you will often see bigger, longer-lasting flowers the very next season.
2. Plant in Rich, Well-Drained, Moist Soil
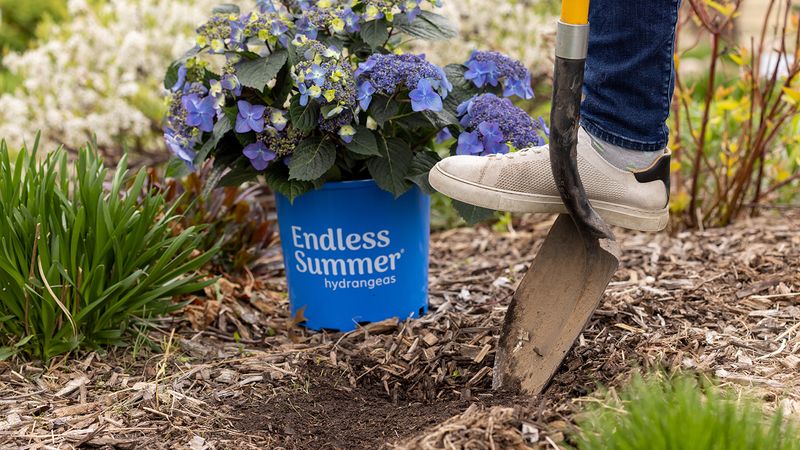
Think of soil as the pantry your hydrangea eats from all season. These plants want ground that stays evenly moist but never turns into a swamp.
Mix in a few shovelfuls of compost, composted oak leaves, or pine needles before planting. That organic matter feeds the roots, holds water like a sponge, and lets extra water drain away so roots do not rot.
Heavy clay or fast-draining sand both cause trouble on their own. Amending the planting hole with compost fixes both problems at once and sets the stage for those show-stopping flowers you are after.
3. Set the Crown at the Right Depth
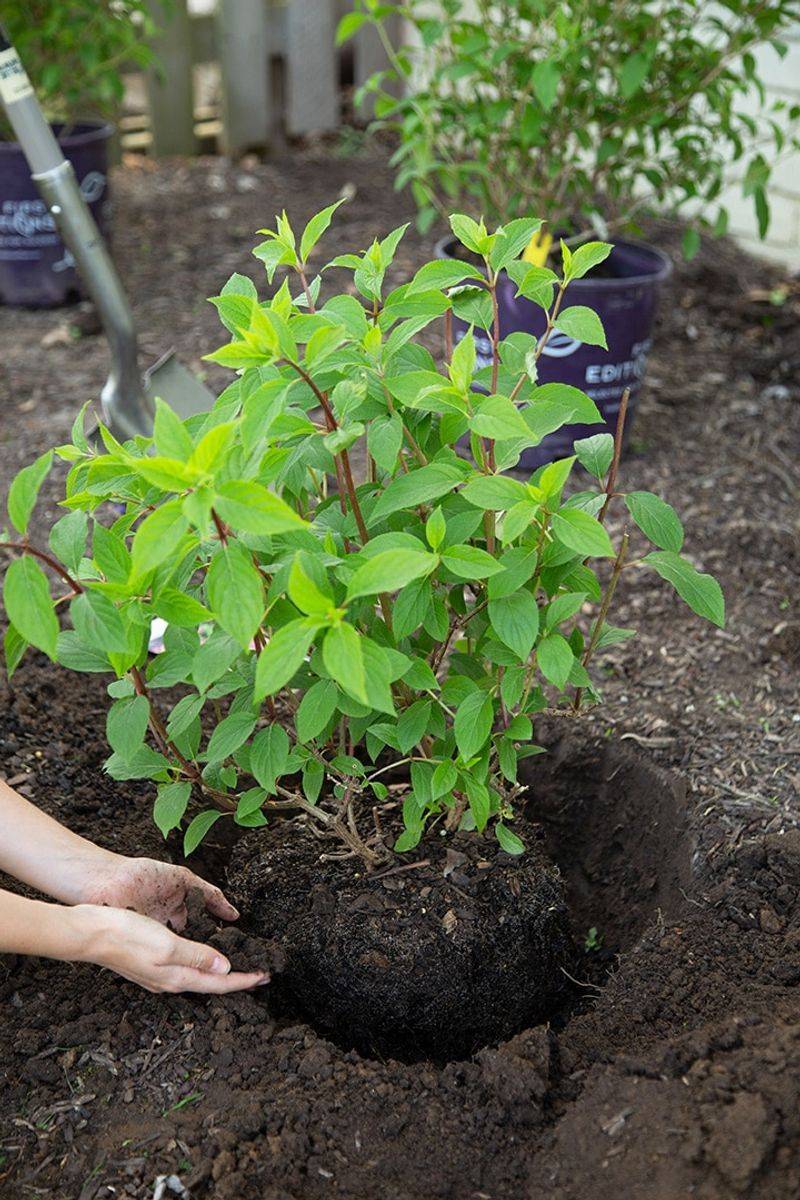
Here is a mistake that quietly ruins a plant for years: burying it too deep or perching it too high. The crown, where the stems meet the roots, should sit level with the surrounding ground.
Plant it too high and the roots dry out fast, leaving you with a thirsty, floppy shrub. Bury the crown too low and you invite root rot, which shuts down blooming altogether.
Before you backfill, rest a stick or shovel handle across the hole to check that the top of the root ball lines up with the soil surface. That one glance can save your hydrangea a lot of stress.
4. Loosen the Root Ball Before Planting
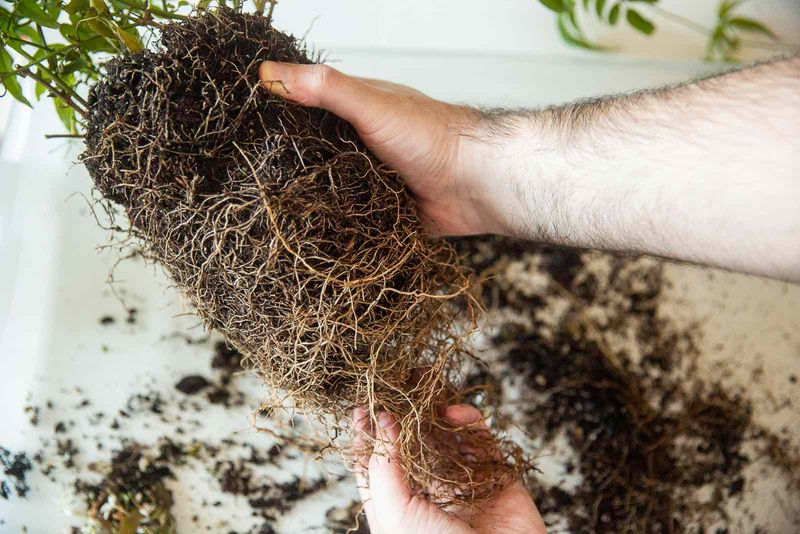
Plants sold in pots often come with roots wound tightly in circles, and if you drop that knot straight into the ground it may keep growing in circles forever. Gardeners call this being root-bound, and it stunts the whole shrub.
Slide the plant out and gently tease the outer roots apart with your fingers. If they are really stubborn, make a few shallow vertical scores with a clean knife.
Freeing those roots tells them to spread outward into the fresh soil, building a wide, strong base. A well-anchored plant pulls up more water and nutrients, and that shows up as fuller, bigger blooms.
5. Mulch to Lock In Moisture
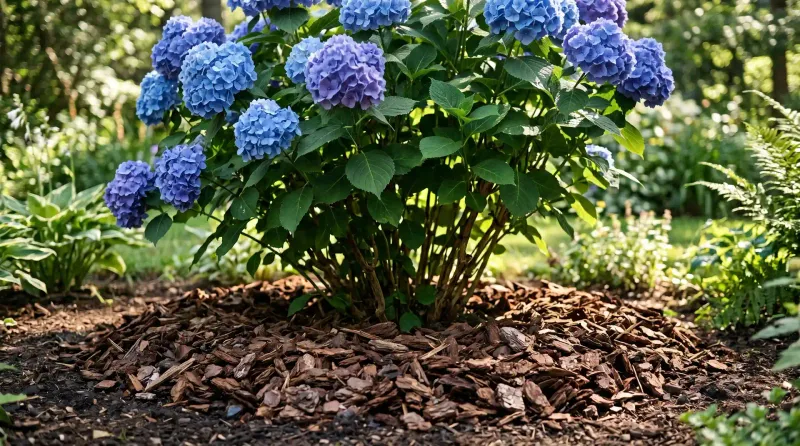
A blanket of mulch is one of the cheapest upgrades you can give a hydrangea. Spread about a 4-inch layer of wood mulch or shredded leaves over the root zone, keeping it an inch or two away from the stems.
Mulch keeps the soil cool in summer, slows down evaporation so you water less often, and shields the roots from winter cold. All of that steadier moisture and temperature means happier roots and steadier blooming.
Refresh the layer once a year as it breaks down. Bonus: as it decomposes, it feeds the soil a little extra organic matter for free.
6. Keep the Soil Consistently Moist
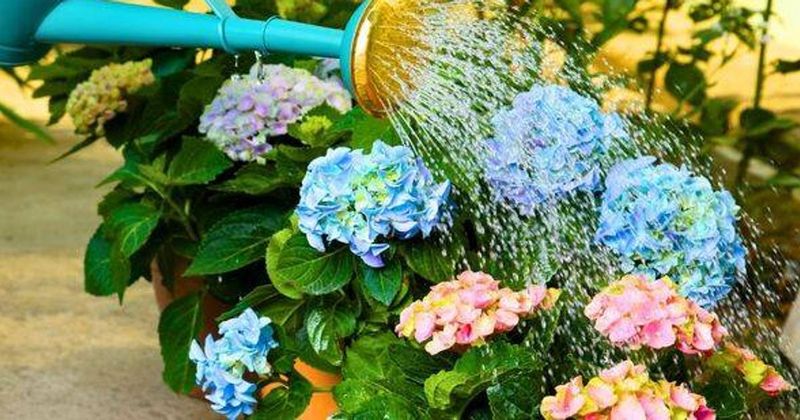
Water is where hydrangeas earn their name, and Endless Summer types are especially thirsty during active growth and blooming. During summer heat, aim to water deeply two to three times a week rather than a light sprinkle every day.
Deep, less-frequent soaks push roots to grow downward where the soil stays cooler and damp longer. Shallow daily splashes only wet the top inch and leave roots high and dry.
When the plant gets steady moisture, it can pour its energy into producing those big mophead flowers instead of just clinging to life.
7. Check the Soil Before You Water
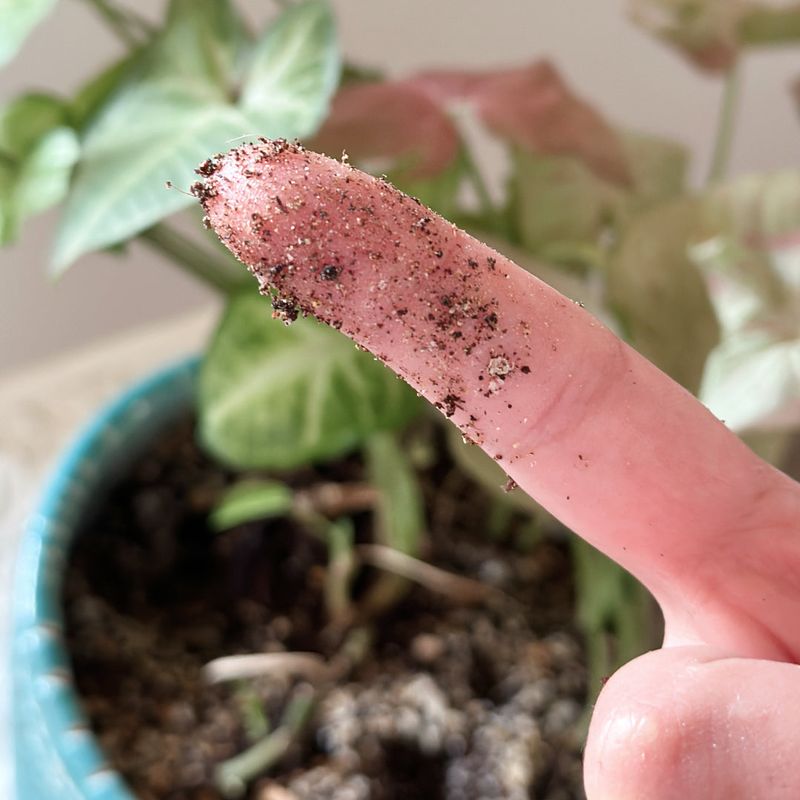
Watering on autopilot leads to soggy, unhappy roots just as often as it prevents drought. The fix is your own finger.
Push it 2 to 3 inches into the soil near the plant. If it comes out dry, grab the hose; if it still feels damp down there, wait another day and check again.
Doing this quick test takes ten seconds and saves you from both extremes. Roots that sit in constant muck can rot and stop feeding the blooms, so let the soil tell you when it is genuinely time.
8. Water at the Base, Not the Leaves
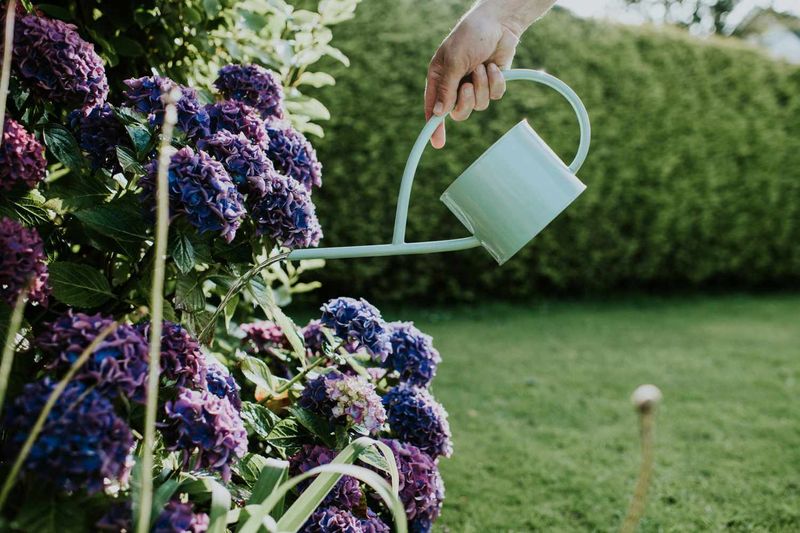
Spraying water over the top of the plant feels satisfying, but wet leaves are an open door for fungal diseases like powdery mildew and leaf spot. Aim the water low instead.
Direct the hose or watering can right at the soil around the base so the moisture goes straight to the roots where it belongs. Early morning watering is ideal, because any splashes dry off quickly in the sun.
Drier foliage means fewer spots, cleaner leaves, and a plant that puts its strength into flowers rather than fighting off disease.
9. Avoid Erratic Feast-or-Famine Watering
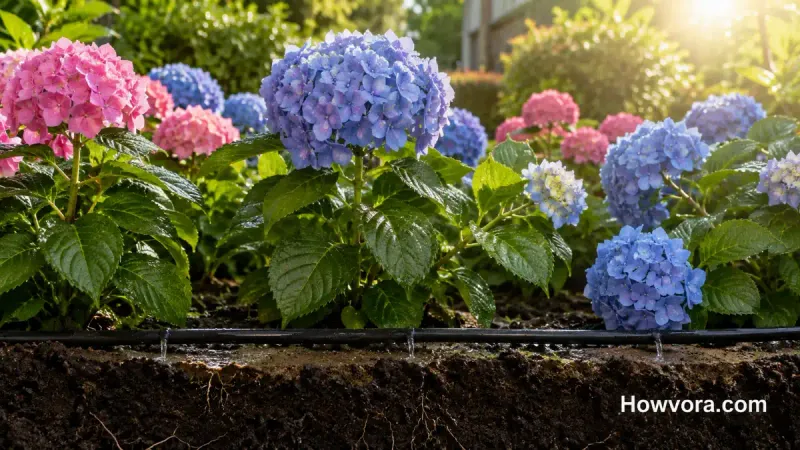
Hydrangeas are drama queens when it comes to inconsistent watering. Let the soil go bone dry and then flood it a few days later, and the plant may panic and drop its buds and flowers right off.
Steady is the whole game here. Try to keep the moisture level in a comfortable middle range instead of swinging between drought and downpour.
If you tend to forget, a simple soaker hose on a timer takes the guesswork out and keeps your blooms from bailing on you mid-season.
10. Water Container Hydrangeas More Often
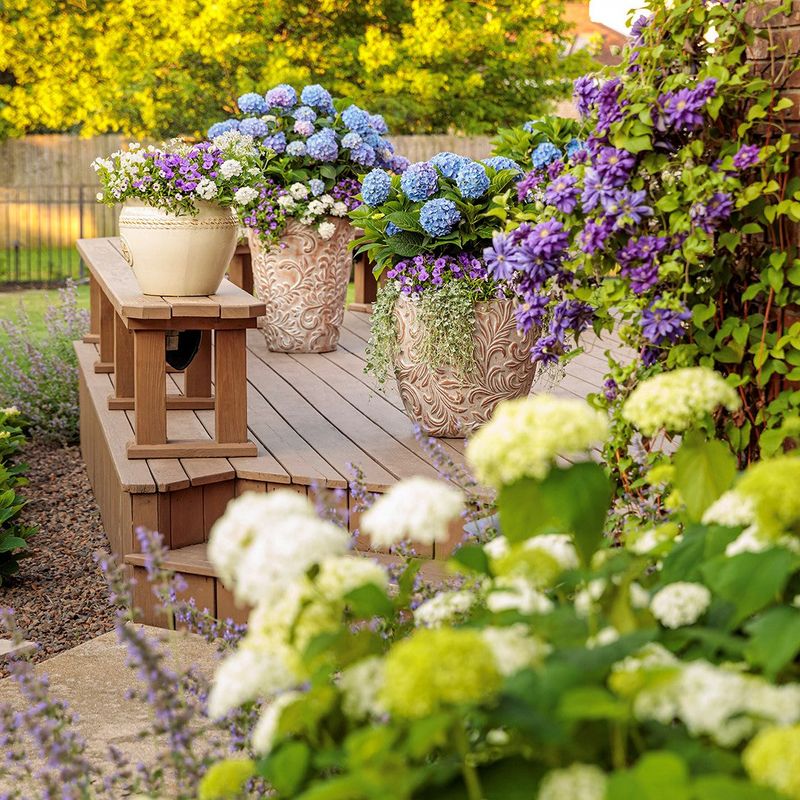
Growing your Endless Summer in a pot on the patio? Containers dry out way faster than garden beds, sometimes in a single hot afternoon.
The smaller pocket of soil heats up and loses water quickly, so a plant that would be fine in the ground can wilt hard in a container. Check potted hydrangeas daily during summer, and you may need to water once or even twice a day in a heat wave.
Pick a generous-sized pot with drainage holes to give roots more moisture to draw from. Larger containers stay evenly damp longer and reward you with steadier blooming.
11. Feed With a High-Phosphorus Bloom Booster
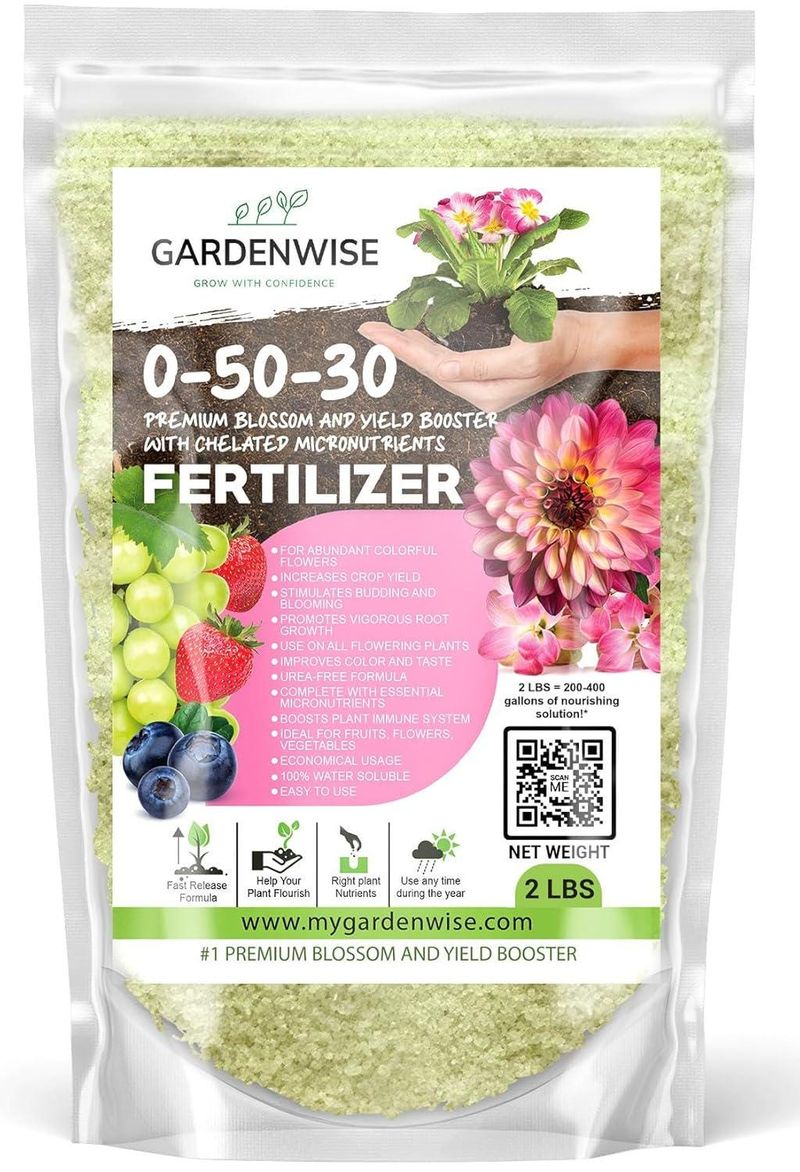
Want more flowers? Reach for the middle number on the fertilizer bag.
Phosphorus, the P in the NPK ratio, is the nutrient that drives blooming, so a slow-release granular fertilizer labeled as a bloom booster is your friend.
Apply it in spring or early summer as new growth gets going. Slow-release granules feed the plant a little at a time instead of one big jolt, which suits hydrangeas nicely.
Give it that one thoughtful meal and you set the plant up to spend the season building buds instead of just leaves.
12. Skip the High-Nitrogen Fertilizers
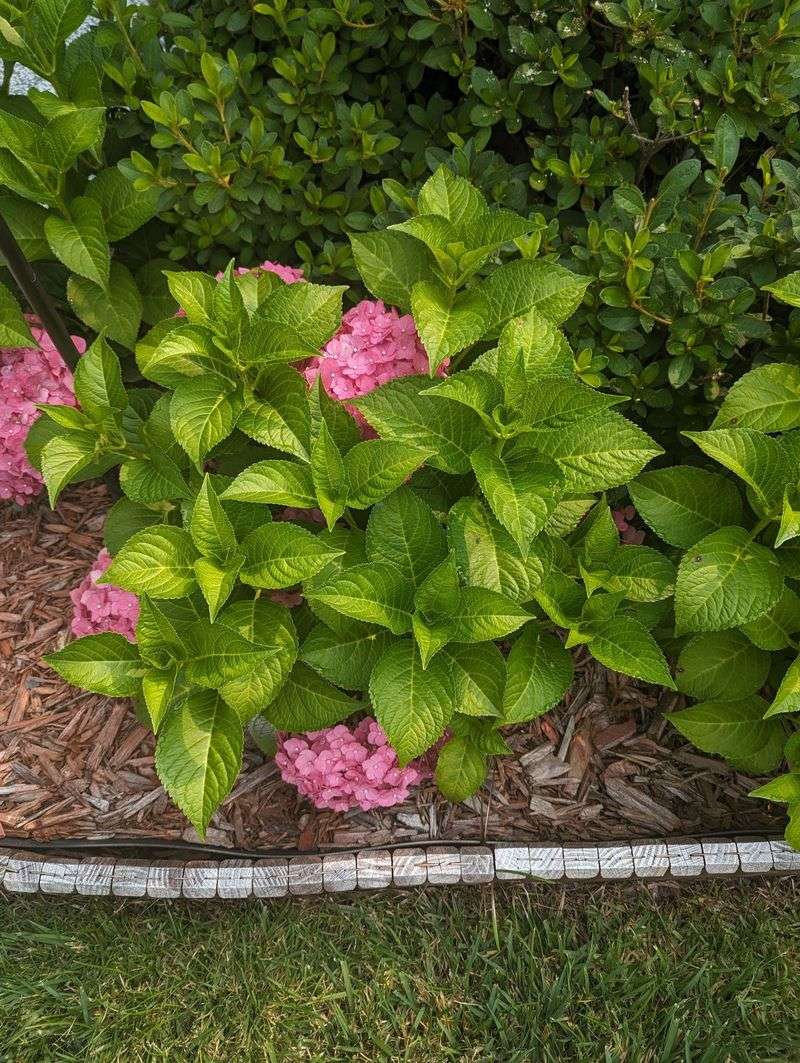
Not all plant food helps your flowers, and nitrogen is the sneaky culprit. A fertilizer heavy in nitrogen, that first NPK number, pushes out gorgeous leafy green growth while quietly starving your bloom count.
You end up with a big, bushy plant that looks lush but barely flowers, which is the opposite of the goal. Lawn fertilizers are especially guilty here, so keep them far away from your hydrangea beds.
Choose a balanced or bloom-focused product instead, and let those leaves make just enough energy to fuel a flower show rather than a foliage jungle.
13. Resist the Urge to Over-Fertilize
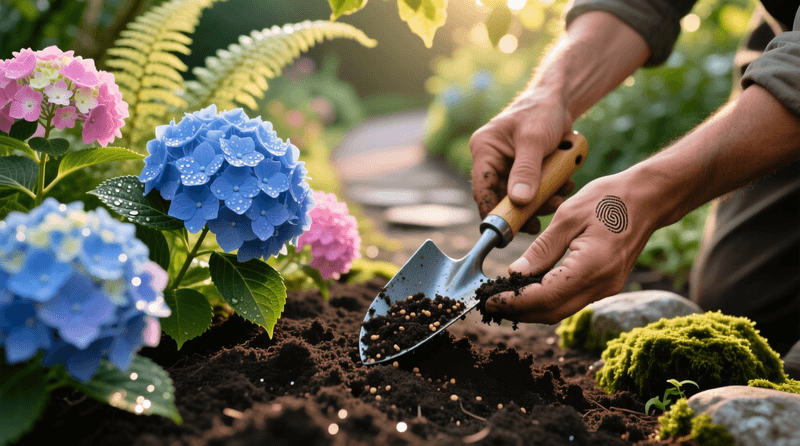
More food does not equal more flowers, and this is a trap a lot of caring gardeners fall into. Piling on fertilizer produces oversized green leaves while actually stunting bloom production.
One well-timed application in spring or early summer is usually all an Endless Summer hydrangea needs for the whole year. Extra feedings just build up salts in the soil and stress the roots.
Think of it like coffee: a cup gets you going, but the whole pot leaves you jittery. Feed once, feed right, then step back and let the plant do its thing.
14. Stop Fertilizing by Mid-August
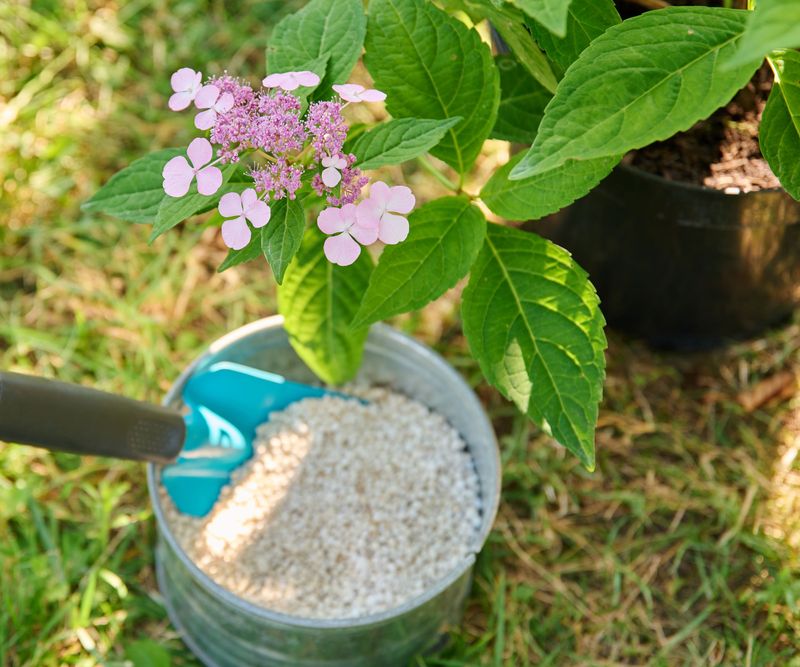
Mark your calendar for August 15th, because that is your fertilizer cutoff. Feeding after that date pushes out tender new growth right when the plant should be settling down for winter.
That fresh growth is delicate and gets zapped by the first frost, wasting the plant’s energy and sometimes damaging stems that carry next year’s buds. Cutting off food in late summer lets the shrub harden off and prepare for the cold.
A hydrangea that goes into winter strong and rested comes out swinging in spring, ready to hand you that first big flush of blooms.
15. Prune Only in Late Spring
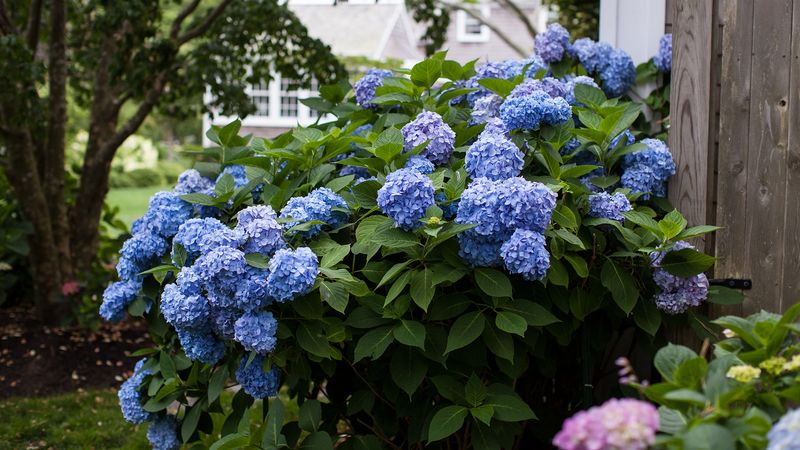
Timing your pruning wrong is one of the fastest ways to lose a whole season of flowers. Because Endless Summer hydrangeas bloom on both old and new wood, cutting at the wrong moment chops off buds you were counting on.
Wait until late spring, after the last frost has passed and you can see fresh green growth pushing out along the stems. Now you can tell what is alive and what is not.
Pruning at this point lets you shape the plant without sacrificing this year’s show. Patience here literally pays off in petals.
16. Cut Away Only Dead Wood
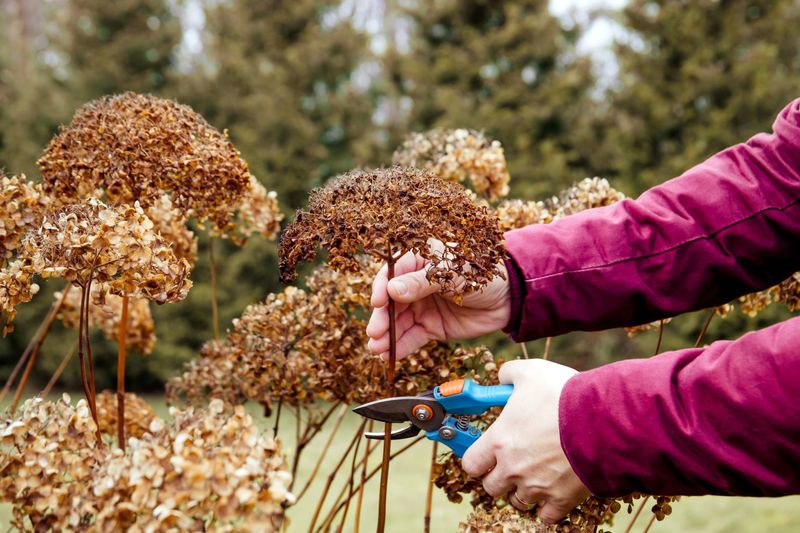
When the shears come out, be a surgeon, not a lumberjack. Focus only on removing dead or damaged canes, snipping them back to just above healthy new green growth.
Not sure if a stem is alive? Scratch the bark lightly with your thumbnail.
Green underneath means it is still kicking, so leave it be; brown and dry means it can go.
If buds look green and soft, do not touch them, since those are your future flowers. Sparing the living wood keeps every possible bloom on the plant instead of in the compost pile.
17. Deadhead Spent Blooms All Season
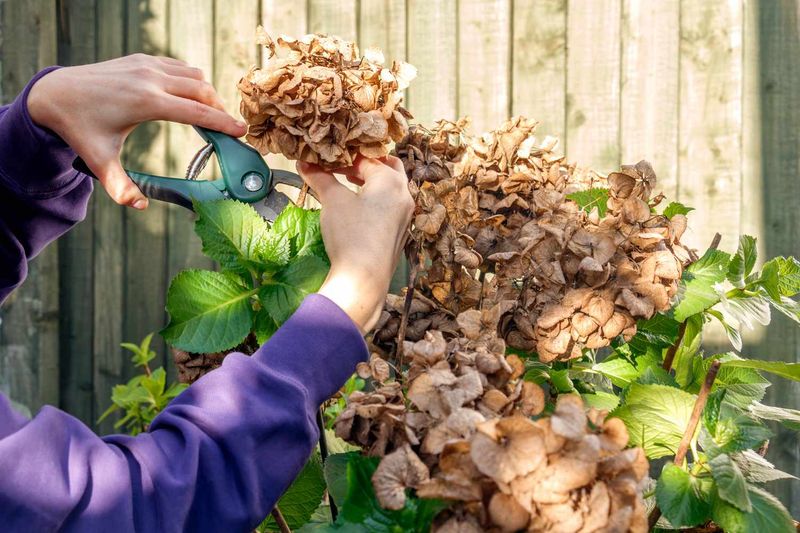
Those faded, papery flowers hanging on past their prime are actually holding your plant back. Snipping them off, a chore called deadheading, tells the hydrangea to keep making new ones.
Follow the stem of a tired bloom down to the first set of healthy leaves or a fresh bud, then make your cut just above it. Do this whenever flowers start to brown and flop.
Because Endless Summer reblooms, regular deadheading through the summer keeps fresh waves of color coming instead of letting the show fizzle out early.
18. Never Prune in Fall or Winter
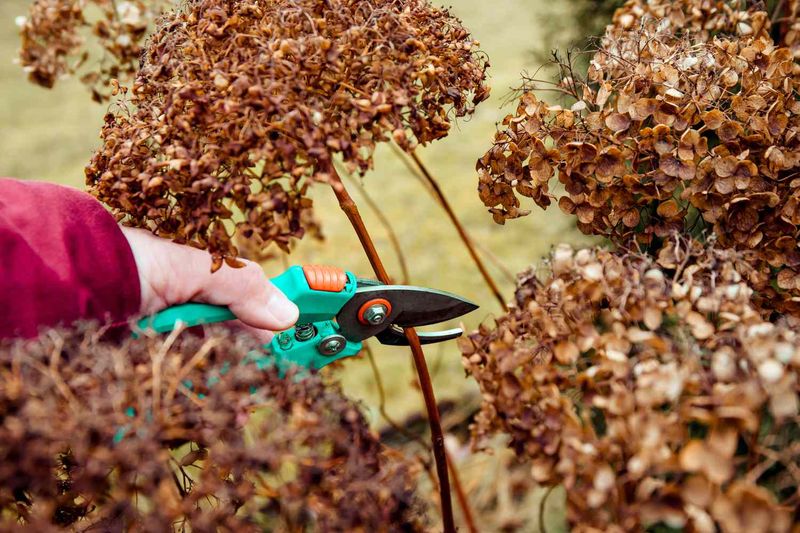
It is tempting to tidy up the garden before winter, but reaching for the shears in fall or winter can cost you next year’s first flush of flowers. The buds for those early blooms are already tucked into the old wood, just waiting.
Cut those stems back now and you toss out the buds along with them, leaving you flowerless well into next summer. Even brown, ratty-looking stems are worth leaving alone until spring.
If the dried flower heads bother you, enjoy them as winter interest or wait for late spring cleanup. Your future self will thank you when the blooms arrive on schedule.
19. Tweak Soil pH to Set the Color
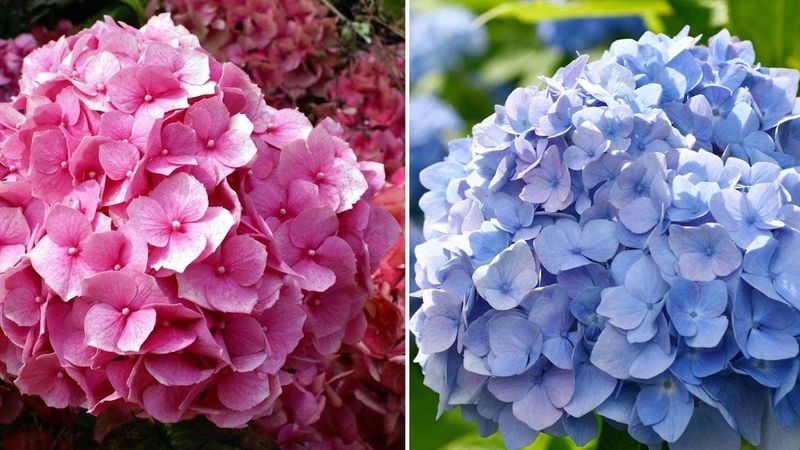
Here is the fun science: except for the white varieties, your Endless Summer bloom color is controlled by the soil’s pH. Acidic soil below 6.0 gives you those dreamy blue flowers, while alkaline soil above 6.0 turns them pink.
The same plant can literally change color depending on the ground it grows in, which is why one neighbor’s shrub is blue and yours is pink.
Start with a cheap soil test kit so you know your true starting point. Once you know your number, you can decide whether to nudge it toward blue or pink.
20. Use Amendments to Dial In Blue or Pink
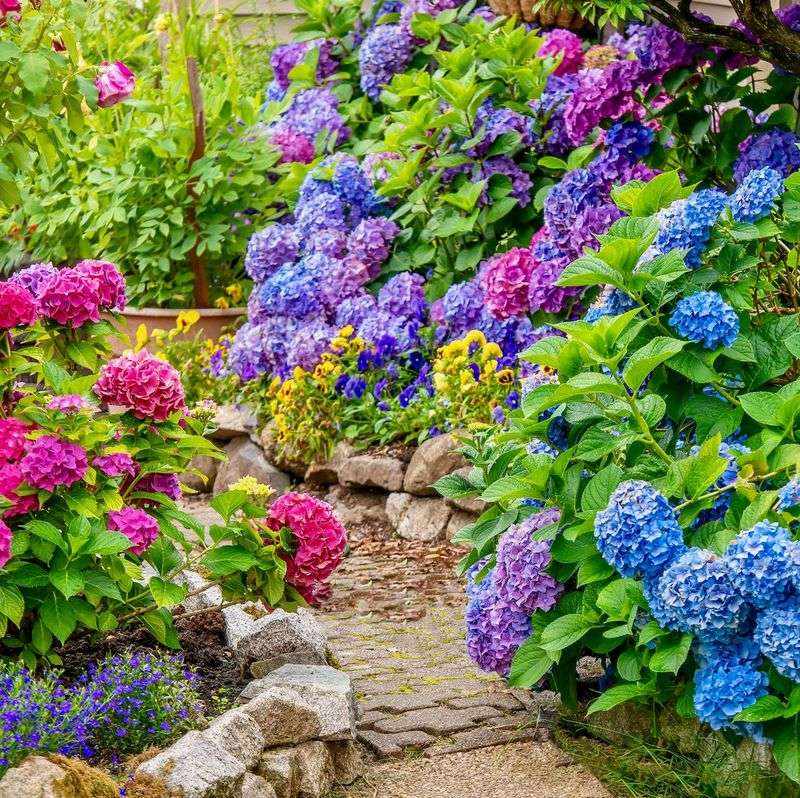
Once your soil test is in hand, you can gently steer the color. To coax blue blooms in alkaline soil, work in aluminum sulfate, composted oak leaves, pine needles, or even used coffee grounds to raise the acidity.
Chasing pink in acidic soil? Add wood ashes, garden lime, or a high-phosphorus fertilizer to lower the acidity and lock out the aluminum that makes flowers blue.
Go slow and make changes gradually over a season, since sudden swings stress the plant. With a little patience you can grow a custom color that shows off huge and unforgettable right in your own yard.