
8 Things To Do For Your Hostas Now So They Come Back Bigger Next Spring
Your hostas worked hard all summer, filling shady spots with big, beautiful leaves. Now that the season is winding down, what you do in the next few weeks can decide whether they come back thin and chewed up or bigger than ever.
The good news is that most of these jobs are quick, cheap, and easy. Here are eight simple things to do right now so your hostas wake up strong next spring.
1. Cut Back Yellowed or Frost-Damaged Foliage
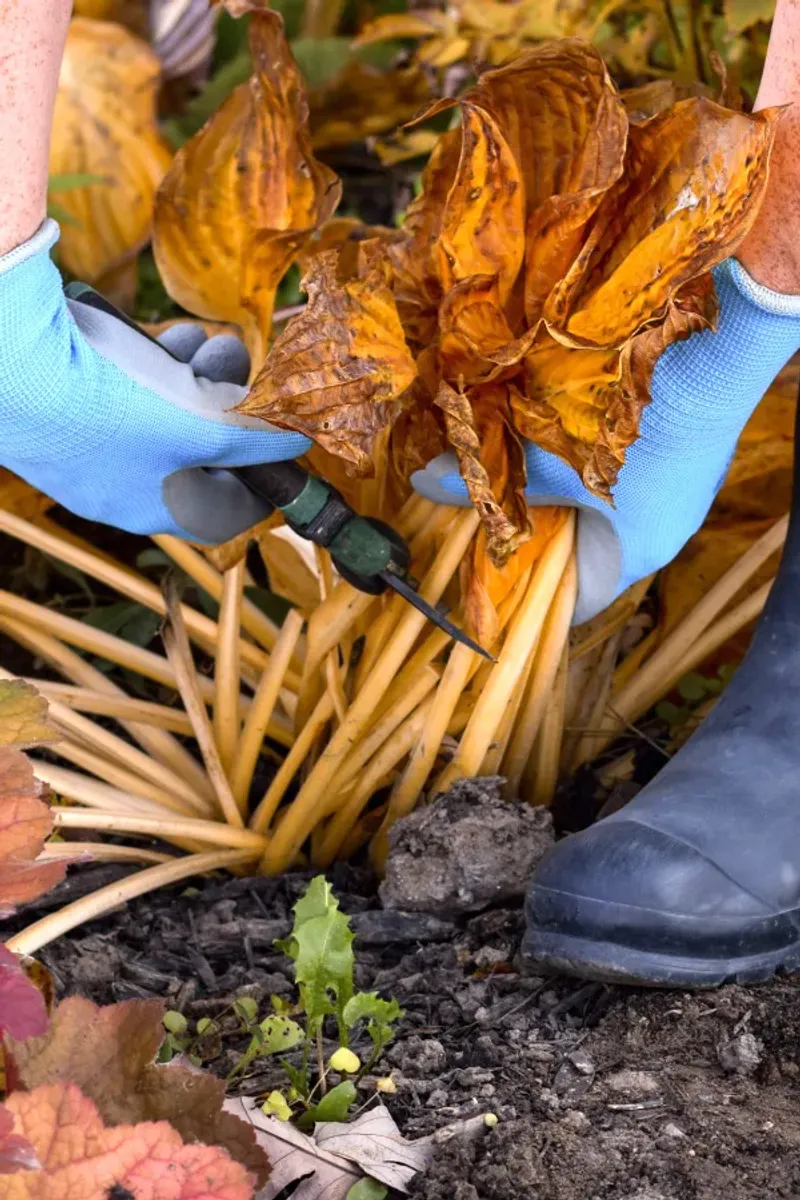
Once a hard frost hits, those lush hosta leaves turn into mushy, brown piles almost overnight. Leaving them there might look harmless, but that soggy mess is a cozy winter home for slug eggs and fungal spores.
Wait until the leaves have yellowed or collapsed after the first hard frost, then snip them off an inch or two above the soil. Cutting too early robs the plant of energy it is still pulling down into its roots, so patience pays off here.
Clean pruners make a difference too. A quick wipe with rubbing alcohol between plants can reduce the chance of spreading disease from one clump to the next.
2. Clear Away Plant Debris
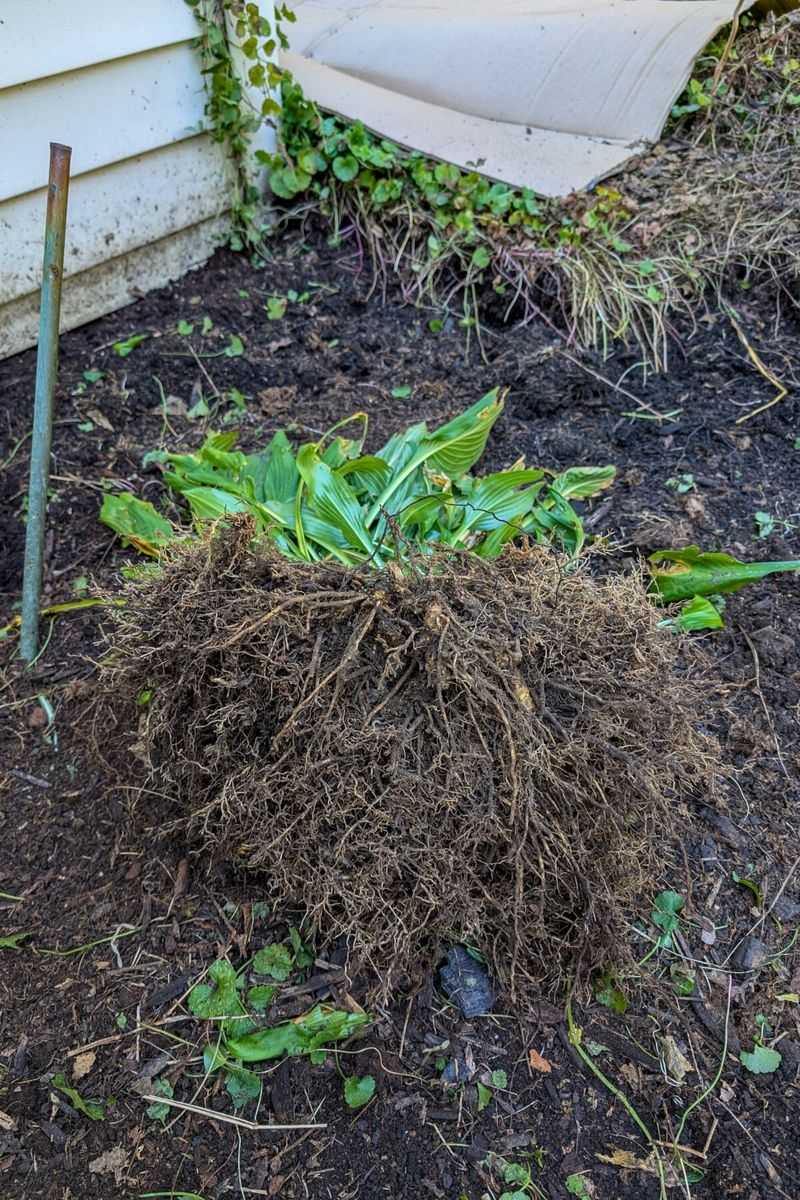
Slugs are sneaky little planners. Every fall, they tuck their eggs into damp leaf litter right beside your hostas, ready to hatch just as tender new shoots appear.
Raking out fallen leaves, old stems, and anything rotting around the crowns takes away their hiding spots. It also removes places where leaf spot and other fungal problems like to sit out the winter.
Toss diseased material in the trash instead of the compost pile. Healthy debris can go to compost, but anything with spots or holes is better off gone for good.
3. Divide Overgrown Hostas
Ever notice a hosta with a hollow middle or smaller leaves than it used to have? That is often a crowded plant asking for more elbow room.
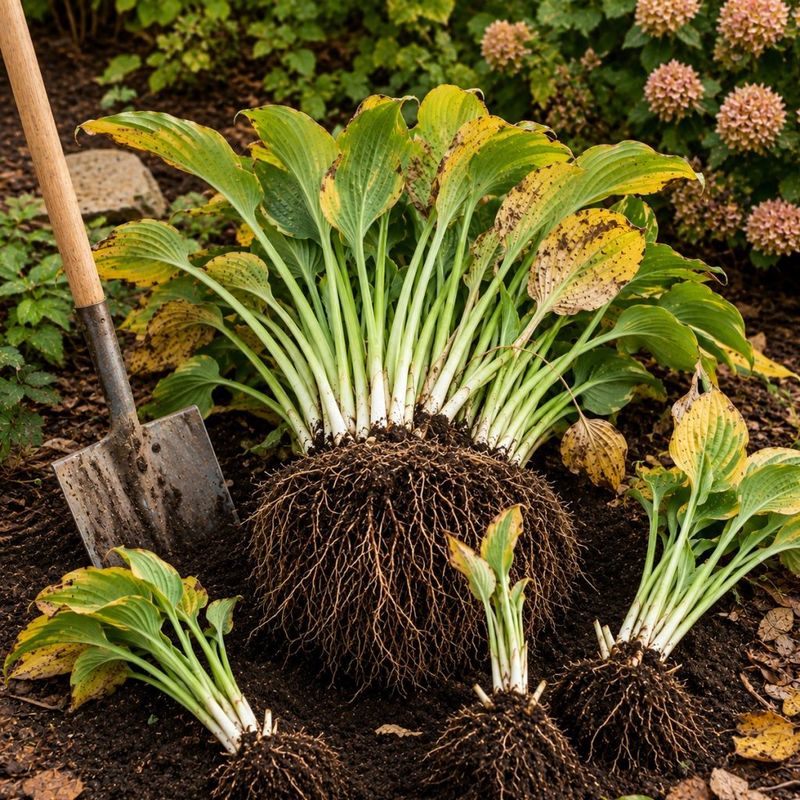
Early fall, about four to six weeks before your first hard frost, is a great time to divide. Dig up the whole clump, then slice it into sections with a sharp spade or knife.
Here is the trick for bigger plants next year: keep your divisions large, with several growing eyes each. Tiny pieces survive, but big chunks bounce back fast and fill out sooner.
Replant at the same depth, water well, and most hostas only need this every three to five years.
4. Incorporate Compost into the Soil
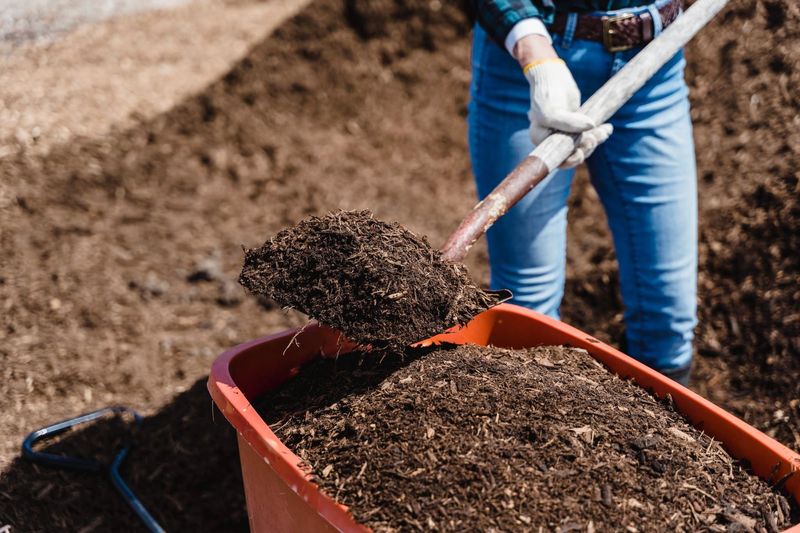
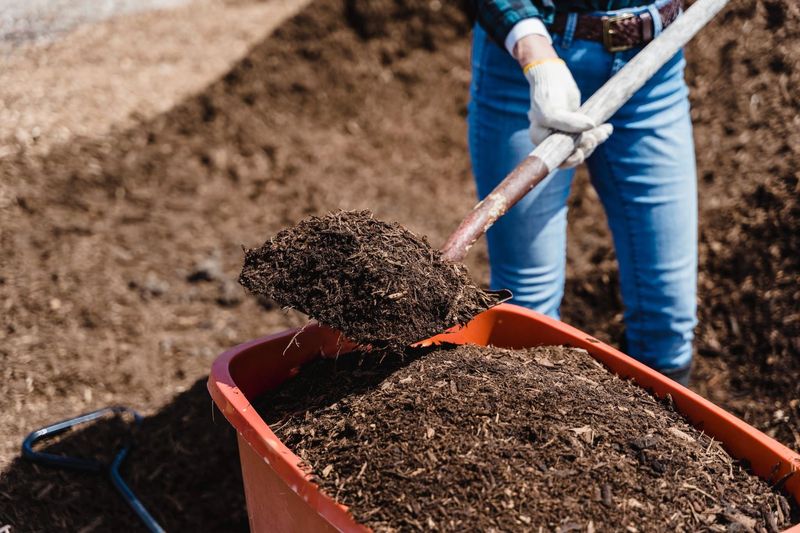
Think of compost as a slow-cooked meal for your hostas. Instead of a quick jolt like chemical fertilizer, it feeds the roots little by little all winter.
Spread about an inch of finished compost around each plant after cleanup. Rain and snow will carry the nutrients down into the soil where the roots can grab them.
Compost also loosens heavy clay and helps sandy soil hold water. Fun fact: hostas are native to East Asia, where they naturally grow in rich, leafy woodland soil, so compost gives them a taste of home.
5. Apply a Protective Layer of Mulch
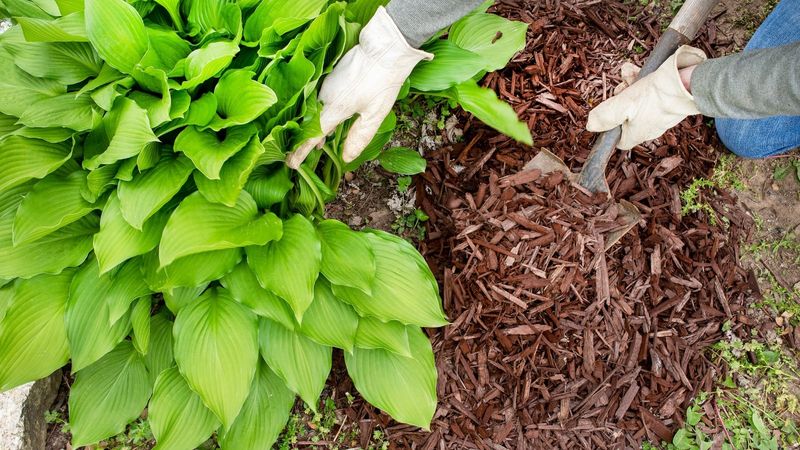
Cold alone rarely kills a hosta. The real trouble is the ground freezing, thawing, and freezing again, which can push roots right up out of the soil.
A two to three inch blanket of shredded leaves, pine needles, or straw keeps soil temperatures steady. It also holds in moisture and slows down early weeds.
Just keep the mulch pulled back a bit from the crown itself. Piling it right on top can trap wetness and may lead to rot, which is the last thing you want.
6. Water Deeply Before Ground Freezes
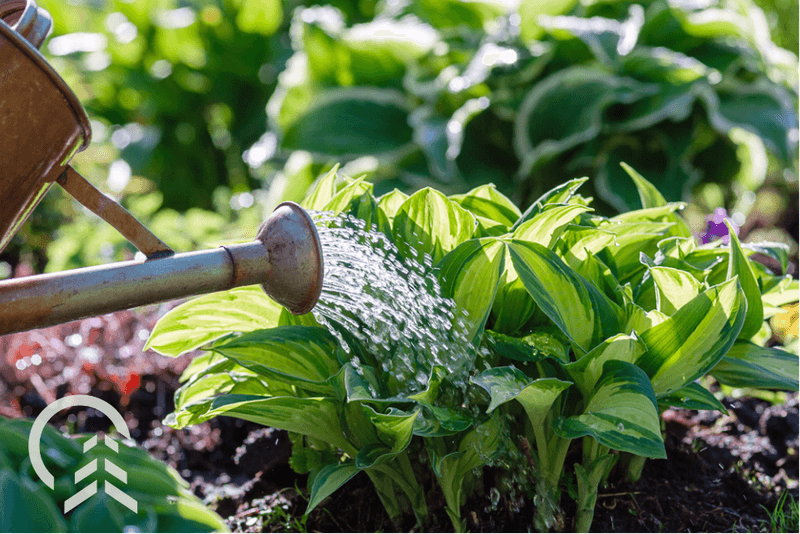
A dry fall can quietly hurt your hostas more than a snowy winter. Roots that go into dormancy thirsty are more likely to struggle or come back weak.
If rain has been scarce, give each plant a long, slow soak before the ground freezes. Aim to wet the soil several inches deep rather than just sprinkling the surface.
Once the foliage has fully died back or the first hard frost arrives, you can stop. Extra water after that just sits around cold roots and can invite rot.
7. Protect Container-Grown Hostas
Potted hostas live a little dangerously in winter. Their roots sit above ground, surrounded by cold air on every side instead of cozy soil.
You have a few easy options. Bury the pot in a garden bed, move it into an unheated garage or shed, or cluster pots together and wrap them with burlap or pine boughs.
Check the soil every few weeks. If it is bone dry and not frozen, give a small drink, but never water a frozen root ball.
8. Mark Plant Locations
Picture this: it is a warm day in April, you grab a shovel to plant something new, and crunch. You just sliced into a hosta that had not poked up yet.
Hostas are late risers, often staying hidden long after tulips and daffodils show up. A simple stake, plant tag, or painted rock keeps you from digging in the wrong spot.
Write the variety name on it while you still remember. Future you will be very grateful.