
Stop Making These 9 Care Mistakes That Keep Your Climbing Clematis From Thriving
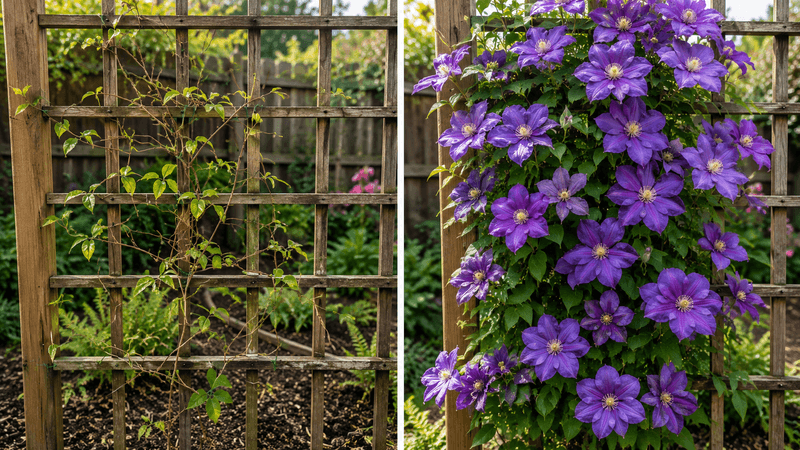
Climbing clematis can turn a plain fence or trellis into a wall of color, but only when it gets the care it actually needs. Plenty of gardeners plant one with high hopes, then watch it sulk, flop, or barely bloom. The good news is that most clematis troubles come from a handful of fixable habits, not bad luck. Here are nine common care mistakes to stop making so your vine can finally take off.
1. Planting the Crown Too Shallow
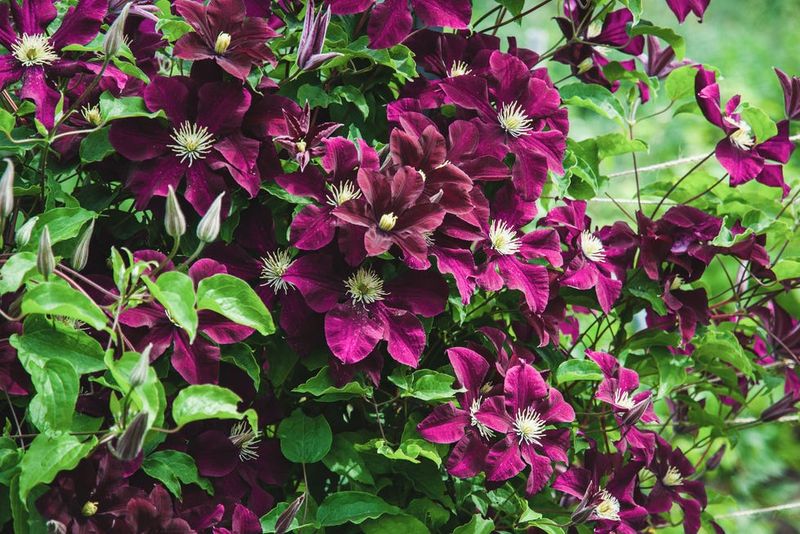
Most vines want their roots right at the soil line, but clematis breaks that rule in a big way. Setting the plant with its crown buried about two to three inches deeper than it sat in the nursery pot gives the roots more insulation and encourages fresh stems to push up from underground.
Those buried nodes act like a backup system. If a stem gets snapped by a lawnmower, a curious dog, or a case of clematis wilt, new shoots can still emerge from below the surface. A shallow plant has no such safety net.
When you settle a new clematis into its hole, aim the base a little lower than feels natural and firm the soil gently around it. In colder US zones, that extra depth also helps the crown ride out hard winter freezes without heaving out of the ground.
2. Baking the Roots in Full Sun
There is an old gardening saying about clematis that actually holds up: it likes its head in the sun and its feet in the shade. The vines happily climb toward bright light, but the roots hate getting hot and dry.
Leave the base exposed to blazing afternoon sun and you may see leaves scorch, flowers fade fast, and growth stall right when the plant should be showing off. The stress often gets blamed on watering when the real culprit is cooked roots.
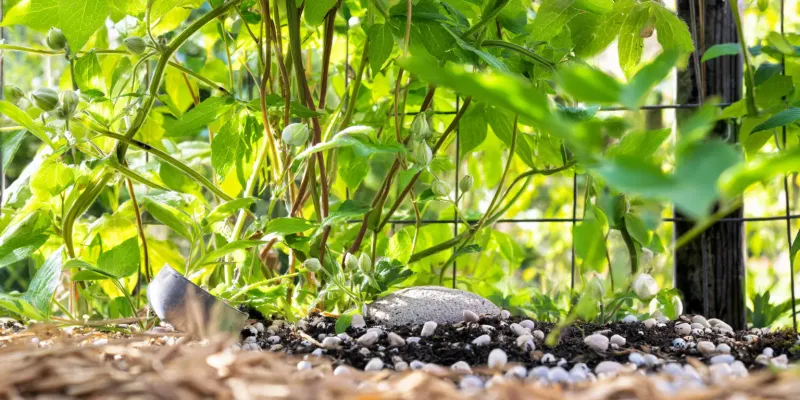
Shade that soil with a few low companions like hostas, hardy geraniums, or short shrubs planted at the foot of the vine. A couple inches of mulch kept an inch or two away from the stems works too, holding moisture and steadying the ground temperature. In much of the hot-summer US, a flat stone laid over the root zone does the same trick with less fuss.
3. Pruning at the Wrong Time
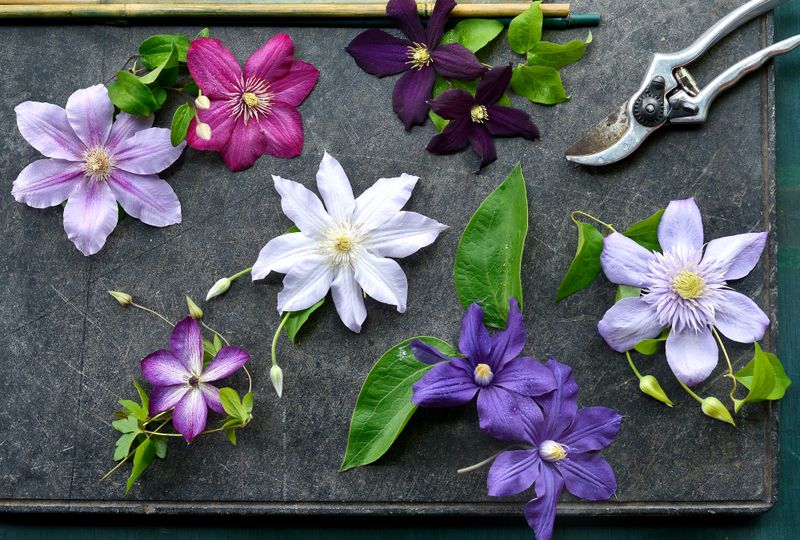
Few things frustrate a clematis owner more than snipping away the very stems that were about to bloom. The trouble is that clematis falls into three pruning groups, and each one has its own timing.
Group 1 types, like the early spring bloomers, flower on last year’s wood, so a hard cut in late winter erases the whole show. Group 3 varieties bloom on new growth and actually want a firm cutback each spring. Group 2 sits in the middle and needs only a light tidy.
Before you reach for the shears, find out which group your plant belongs to, usually printed on the tag or easy to look up by variety name. Guessing wrong wastes a full season of flowers. When you are truly unsure, waiting to watch where the buds form is safer than chopping blind.
4. Giving It Nothing Sturdy to Climb
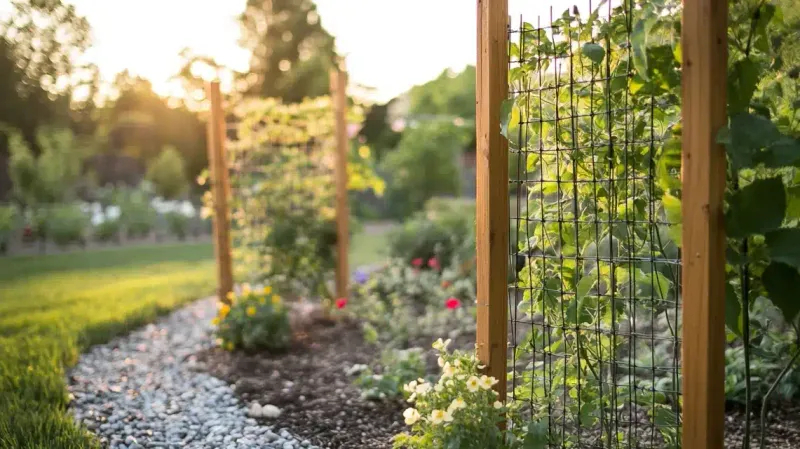
Picture a clematis trying to grab a fat wooden post with its thin leaf stems and you will understand this mistake instantly. Clematis climbs by wrapping slender leaf stalks around thin supports, not by twining a whole trunk or sticking to walls like ivy.
Hand it a chunky pergola beam or a smooth pole and it simply slides off, flopping into a tangled heap on the ground. Gardeners often assume the plant is weak when it just cannot get a grip.
Set up thin lattice, netting, wire mesh, or a slim trellis with gaps no wider than a pencil is thick. Even running garden twine or plastic mesh across a bigger structure gives those little stems something to catch. A quick nudge to guide new shoots toward the support in early season saves you a lot of untangling later.
5. Feeding It Too Much Nitrogen
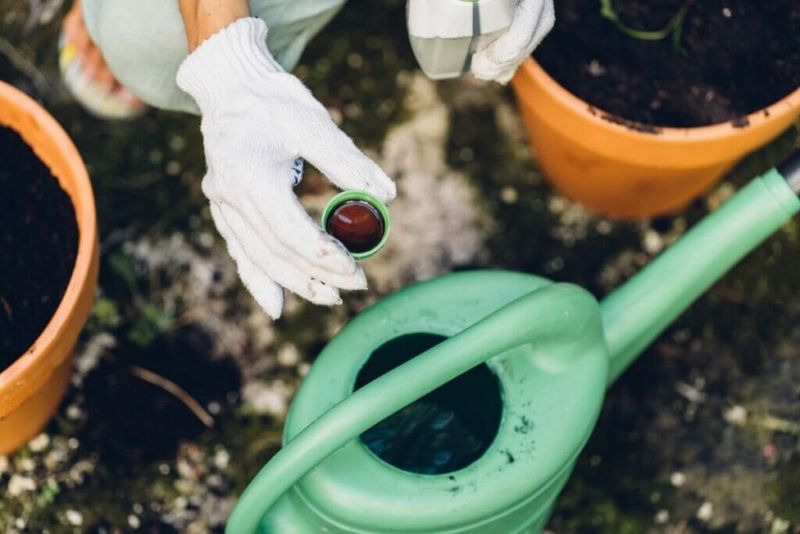
More fertilizer feels like more flowers, but with clematis that math often backfires. Heavy nitrogen pushes the plant to grow lush green leaves and long whippy stems while barely bothering to set buds.
You end up with a jungle of foliage and a disappointing scatter of blooms, which is the opposite of what most people want from a flowering vine. It is a classic case of the plant putting energy in the wrong place.
Reach instead for a balanced or slightly phosphorus-forward feed in spring, then a lighter follow-up as buds start forming. Tomato fertilizer is a handy option many US backyard growers already keep on the shelf. Ease off entirely by late summer so the vine can slow down and harden before cooler weather arrives.
6. Reading the Leaves Wrong When Trouble Starts
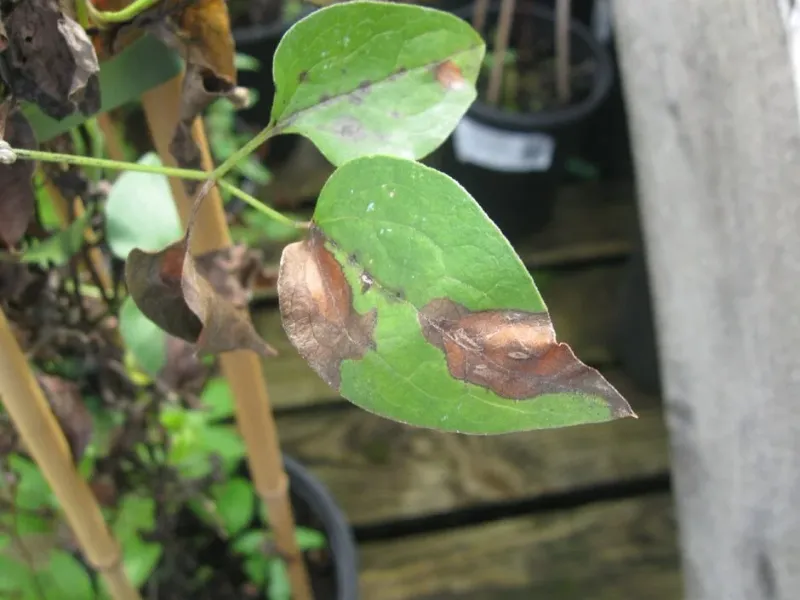
Leaves talk if you know how to listen, and clematis leaves send some of the clearest warnings in the garden. A sudden collapse where healthy stems wilt and blacken almost overnight often points to clematis wilt, a fungal issue rather than a thirst problem.
Yellowing leaves spread evenly across the plant may hint at soggy roots or a nutrient gap, while pale patches and fine webbing on the undersides can mean spider mites moving in during hot spells. Reaching for the hose every time misses what the plant is really saying.
When wilt strikes, cut affected stems right back to healthy tissue or below the soil line and clear away the debris, since a deeply planted crown may still push new shoots. Checking leaf color, spotting, and texture each week turns you into an early-warning system, catching small problems before they swallow the whole vine.
7. Letting the Soil Swing Between Bone-Dry and Soggy
Consistency is the quiet secret behind a happy clematis, and the roller-coaster of drought followed by flooding drives them crazy. These plants like steady, even moisture in soil that drains well, never a swamp and never a dust bowl.
Erratic watering shows up as dropped buds, weak new growth, and a vine that seems to stall for no clear reason. Container-grown clematis suffer the worst because pots dry out and swing temperature faster than open ground.
Work compost into the planting area so it holds water without turning gluey, and water deeply but less often to send roots searching downward. A finger poked a couple inches into the soil tells you more than any schedule. In much of the US, morning watering beats evening, giving leaves time to dry and lowering the odds of fungal trouble taking hold.
8. Skipping the First-Year Cutback
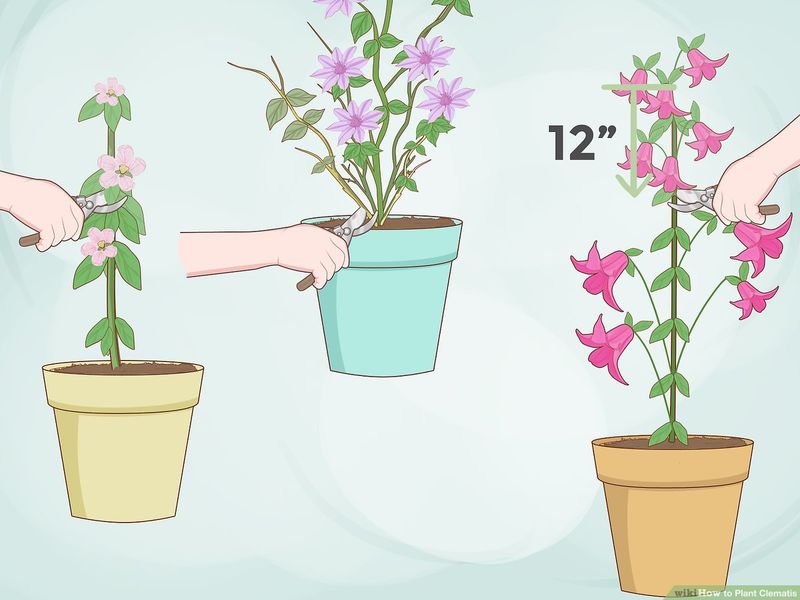
It sounds almost cruel, but chopping a brand-new clematis nearly to the ground in its first spring is one of the kindest things you can do. Left uncut, a young plant often sends up a single spindly stem that flowers a bit near the top and leaves the base bare for years.
Cutting that first-year vine back to about a foot forces it to branch from low down, building a full, bushy framework instead of one lonely stalk. Gardeners who skip this step spend seasons staring at bald ankles on their vine.
Make the cut just above a healthy pair of buds while the plant is still settling in. Yes, you sacrifice a few early flowers, but the payoff is a thick, multi-stemmed climber that covers its support properly for many years to come.
9. Ignoring the Right Plant for Your Climate Zone
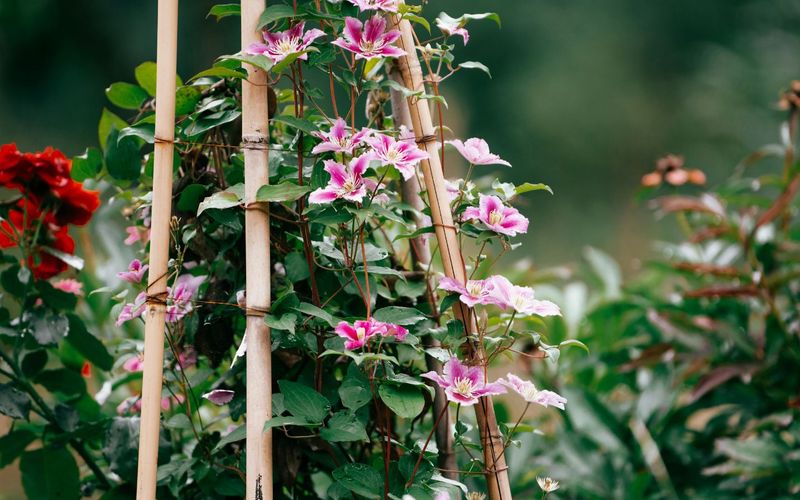
A gorgeous clematis on a garden-center shelf can still be the wrong choice for your yard, and that mismatch dooms it before you dig the first hole. Some varieties shrug off deep-freeze winters while others melt in southern heat and humidity, and the plant does not care how much you liked its photo.
Buying purely on flower color while ignoring the hardiness rating leaves many gardeners replanting the same spot year after year. The vine never had a fair shot at thriving.
Check your USDA hardiness zone and match it against the tag before buying, favoring types proven in your region. Sweet autumn clematis thrives across much of the warm South, while sturdy jackmanii and viticella types handle chilly northern winters. Picking a variety that fits your climate does more for long-term success than any fertilizer or fancy trellis ever will.