
Get The Biggest Tomatoes You’ve Ever Grown With This Simple Feeding Routine
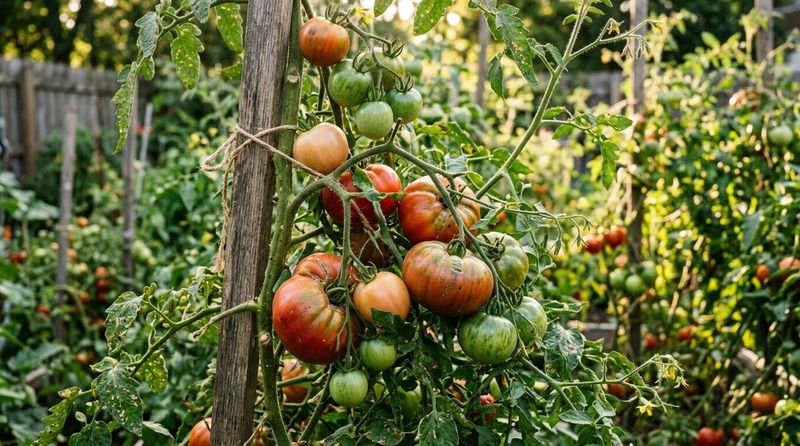
Growing impressively large tomatoes takes more than a bag of fertilizer and a little hope. The variety you plant, the soil you start with, and how consistently you manage water and nutrients all play a role before a single fruit ever sets. A thoughtful season-long routine can help large-fruited plants get closer to their full potential, even if no routine can promise a personal record.
Choose a large-fruited cultivar before you reach for fertilizer
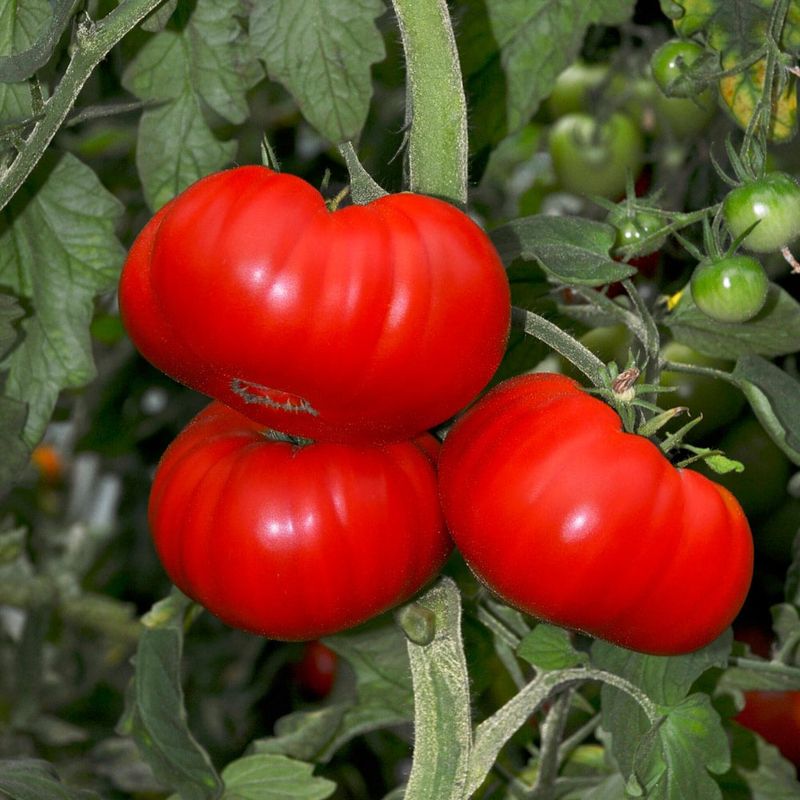
Fertilizer gets most of the credit when a tomato turns out impressively large, but the variety you plant does the heavy lifting long before you open a bag. A cherry tomato fed perfectly will still produce cherry-sized fruit, because the plant’s genetics set the upper boundary on how big each fruit can grow. Choosing a beefsteak or large slicing cultivar is the single most important decision you make for fruit size, and no amount of feeding changes that ceiling.
Large-fruited beefsteak and slicing types have a notably higher size potential than cherry, saladette, or paste varieties. Penn State cultivar evaluation trials documented meaningful differences in the production of large and extra-large tomatoes among varieties grown under comparable conditions, confirming that cultivar choice shapes what good growing practices can actually deliver. Research on tomato fruit development also shows that both genetic and environmental factors together control final fruit size, so environment can influence the outcome but cannot override the plant’s built-in limits.
When you shop for transplants or seeds, look for named beefsteak or large slicing types and check the seed packet or plant tag for expected fruit weight. Words like “large,” “extra-large,” or a listed weight above 8 to 12 ounces are useful signals. After you have a cultivar with genuine size potential, a sound feeding and growing routine can help that plant approach what it is capable of producing. Without the right variety in the ground first, every other step in this article is working against a hard genetic limit.
Match the starting plan to your growing method
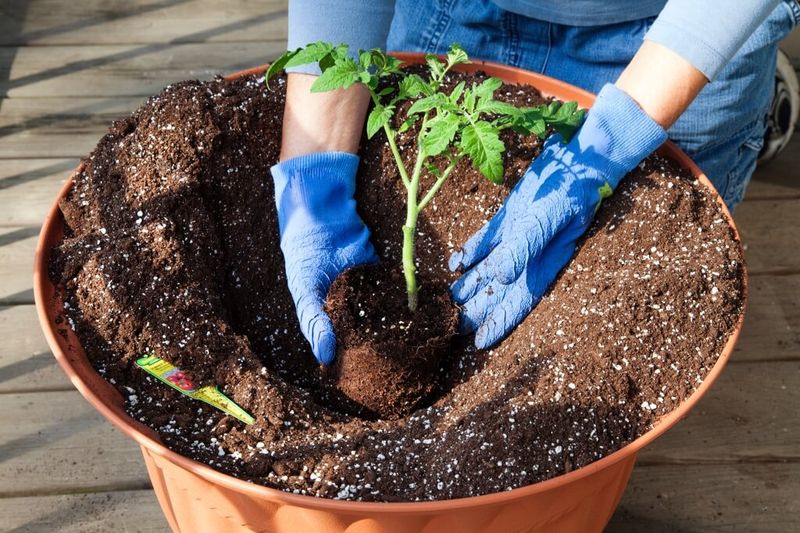
Where your tomatoes grow matters as much as what you feed them, and the first step looks different depending on whether you are working with garden soil or a container. Treating both situations with a single universal feeding plan is one of the most common mistakes backyard growers make, and it can lead to wasted fertilizer or poor results.
For in-ground beds and raised beds filled with garden-style soil, the right starting point is a soil test. Penn State Extension’s tomato production guidance and University of Minnesota’s soil-test interpretation resources both emphasize that fertilizer and lime choices should follow what the test actually shows, not a guessed-at formula. Adding nutrients the soil already has in abundance can create imbalances, raise salt levels, and work against the healthy root environment you are trying to build.
Container growers are working with a fundamentally different medium. Bagged potting mix is not garden soil; it is engineered for drainage and root aeration, and quality mixes typically come pre-fertilized to support early growth. Oregon State Extension’s container gardening guide and Minnesota Extension’s container fertilizing guidance both recommend starting with a quality potting mix and following the product’s own feeding directions rather than applying garden-bed schedules. Containers drain and dry faster than in-ground beds, so the nutrient and water reservoir is smaller and behaves differently throughout the season.
Oregon State’s tomato growing guide notes that one feeding schedule cannot serve every growing situation. Knowing your setup before you buy a single bag of fertilizer puts you in a far better position to make choices that actually help your plants.
Feed according to evidence, not the calendar
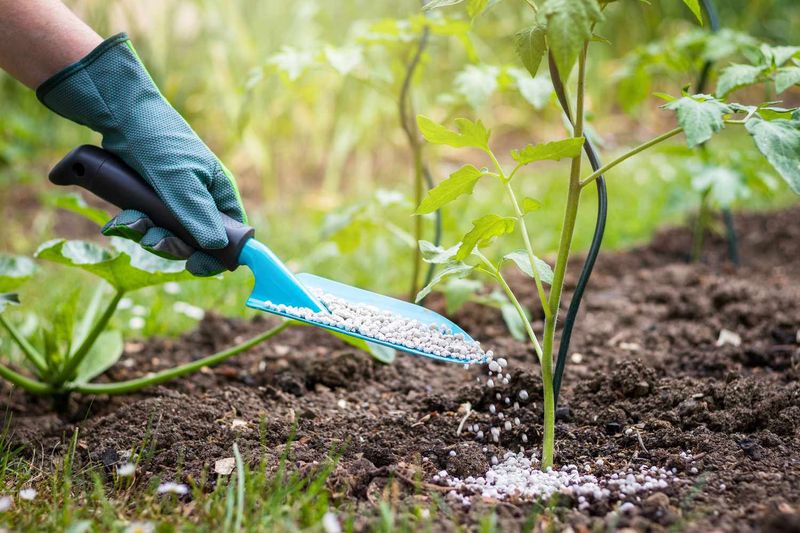
A calendar-based feeding schedule feels organized, but tomato plants do not follow a calendar. What they need changes with soil conditions, plant size, weather, and growth stage, and feeding on a fixed date without checking those factors can do more harm than good.
For garden beds, apply only the fertilizer and amendments your soil test calls for. Colorado State Extension’s tomato guide and their vegetable soil management resource both explain that excess nutrients can create salt buildup, root damage, and nutrient imbalances that hurt plant performance rather than help it. For containers, follow the potting-mix and fertilizer labels, since those products are formulated for the drainage rates and root volumes containers actually provide.
A reasonable general approach for garden beds is to incorporate fertilizer at planting based on soil-test results, then consider a light side-dressing when the first fruits are roughly 1 to 2 inches across. University of Illinois Extension describes this conditional mid-season feeding as a way to support continued growth without pushing the plant too hard. The key word is conditional: if your soil tested well-supplied or your potting mix is still active, an extra application may not be needed at all.
Excess nitrogen is the most common fertilizer mistake at flowering and fruit set. Penn State’s seedling-to-fruit guide notes that heavy nitrogen feeding can push the plant toward lush vine growth at the expense of fruit development. Oregon State Extension’s midseason feeding article reinforces this point, noting that more fertilizer does not automatically translate to better yields. When in doubt, less is more once flowering begins, and any side-dressing should be modest and based on what the plant and soil actually show.
Keep water and roots steady while fruit enlarges
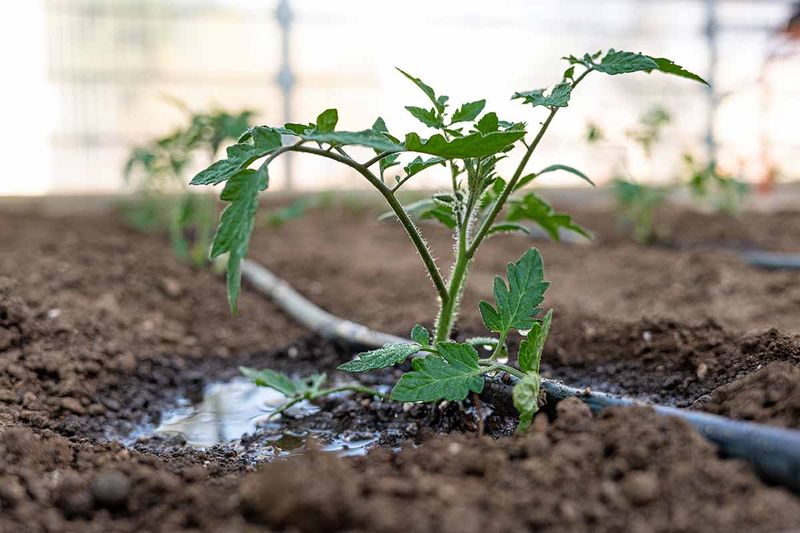
Fertilizer can only do its job when roots can consistently absorb water and move nutrients up through the plant. Irregular watering, compacted or damaged roots, and repeated drought-to-saturation cycles all interrupt that process, and the effects show up in the fruit long before you see wilting leaves.
University of New Hampshire’s tomato fact sheet and Penn State’s production guide both recommend watering deeply enough to wet the full root zone, then allowing the soil to approach dryness before watering again rather than applying small, shallow amounts daily. A 2 to 3 inch layer of mulch over the root zone slows evaporation, buffers soil temperature, and helps maintain the steady moisture level that developing fruit needs. Straw, shredded leaves, and untreated wood chips all work well for this purpose.
Blossom-end rot is one of the most visible signs that moisture delivery has broken down. Oregon State Extension’s blossom-end rot fact sheet explains that the problem is linked to inadequate calcium movement into developing fruit, which is most often caused by moisture stress, root damage, or nutrient imbalance rather than simply a lack of calcium in the soil. University of Georgia’s calcium and blossom-end rot bulletin notes that once tissue is damaged, it cannot be repaired, so prevention through consistent moisture and root care matters far more than any product applied after symptoms appear.
Temperature extremes add another layer of difficulty. Illinois Extension identifies very hot days combined with cool nights as a cause of blossom drop, and Penn State notes that temperatures above 90 degrees F or below 55 degrees F can slow pollination and fruit development. Steady roots and steady water give the plant its best chance to work through those conditions and continue enlarging fruit.
Manage container tomatoes as a separate case
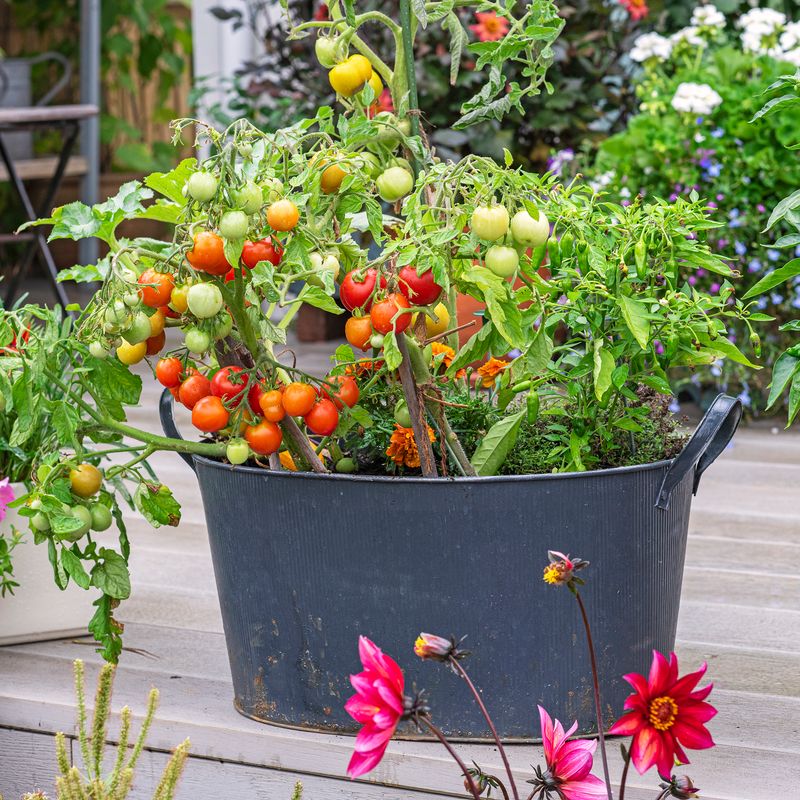
Container tomatoes play by different rules, and growers who treat them like a smaller version of an in-ground bed often run into trouble by midsummer. The most important thing to understand is that containers hold less water and fewer nutrients, and they lose both faster through drainage and evaporation than garden soil does.
Oregon State Extension’s container growing guide recommends starting with a quality potting mix that includes pre-mixed fertilizer, then following the product’s own feeding directions as the season progresses. A five-gallon container is commonly cited as a minimum size for one tomato plant, but larger containers restrict root growth less and hold water more reliably, which can support better fruit development. University of New Hampshire Extension’s container tomato guidance notes that bigger containers generally outperform smaller ones for plant health and productivity.
Because drainage flushes nutrients out of potting mix more quickly than they leach from garden soil, container plants typically need more regular feeding than in-ground tomatoes. University of Minnesota Extension’s container fertilizing guide recommends using a slow-release fertilizer incorporated at planting or a water-soluble product applied on the schedule the label specifies. Checking the label is not optional: applying more than directed can raise salt levels in the confined root zone, which damages roots and works against fruit development.
Oregon State’s tomato and tomatillo guide also emphasizes that containers must have adequate drainage holes to prevent waterlogging, which can be just as damaging as drought. Check containers daily during hot weather, since a large tomato plant in a five-gallon pot can exhaust available moisture in a single afternoon.
Fruit load can shift the balance between size and harvest
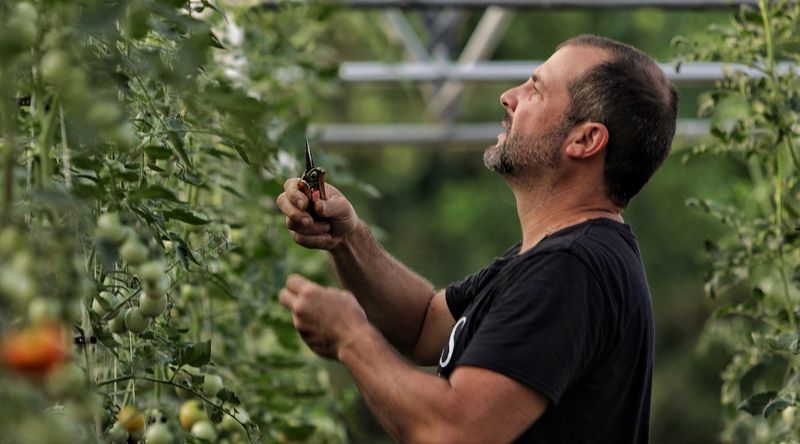
Reducing the number of fruits a plant carries is often suggested as a shortcut to bigger tomatoes, and there is real evidence behind the idea. The catch is that fewer fruits per plant does not automatically mean more satisfaction at harvest, because individual fruit size and total yield can pull in opposite directions.
University of New Hampshire Extension’s report on high-tunnel fruit cluster pruning found that reducing clusters to three fruits produced larger individual tomatoes under those specific conditions. However, the same research, detailed further in the UNH College of Life Sciences and Agriculture summary, showed that overall marketable yield dropped and cracking increased in the pruned treatments. Those results came from a particular high-tunnel setting, not from every backyard garden, so they are useful as a reference point rather than a universal recommendation.
Earlier work referenced by Oregon State’s tomato pruning and yield research similarly found that pruning method influenced both yield and quality, with tradeoffs depending on the approach. The practical takeaway is that fruit thinning can influence the balance between individual size and total harvest, but it does not guarantee the outcome you want without also considering variety, plant health, and growing conditions.
Pruning is also not appropriate for every tomato type. University of Minnesota Extension’s tomato guide notes that determinate plants generally should not be heavily pruned because they set most of their fruit over a short window and heavy pruning cuts into that potential. Illinois Extension adds that selective training of indeterminate plants can help with airflow, space management, and harvest access without the yield penalty that comes from aggressive cluster reduction. Before adjusting fruit load, decide whether you are after a few showpiece fruits or the largest total harvest your plant can provide, because the routine that serves one goal may shortchange the other.
Use the routine to raise potential, not to chase guarantees
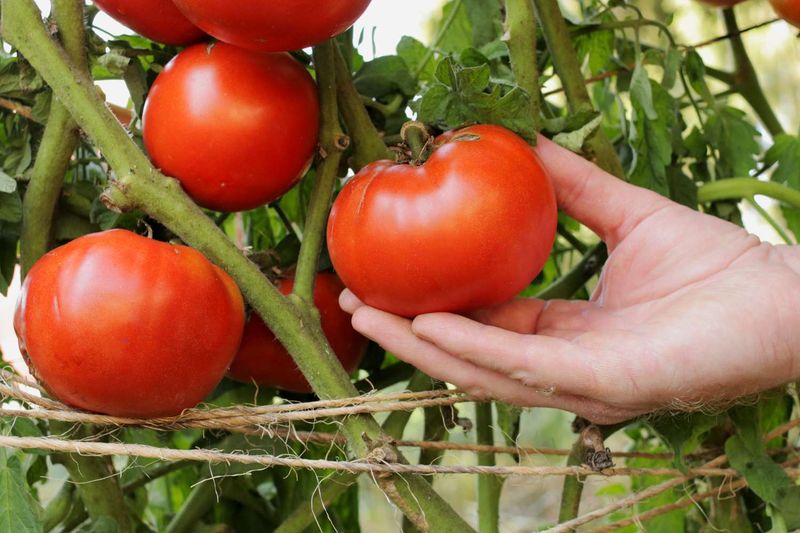
Pulling all of this together into a season-long plan is straightforward once you accept that the goal is to help a suitable plant approach its potential, not to manufacture a record-breaking tomato. Start with a large-fruited cultivar, because Penn State’s cultivar evaluation work confirms that genetics shape what good care can deliver. Then set up the growing environment correctly before the first seed goes in the ground.
For garden beds, use a soil test to guide fertilizer and amendment choices rather than defaulting to a tomato-food label. For containers, start with quality pre-fertilized potting mix and follow the product’s directions. Penn State’s production guide and Colorado State Extension’s tomato resource both emphasize that restrained, evidence-based feeding outperforms heavy or calendar-driven applications. A conditional side-dressing when early fruits reach 1 to 2 inches may support continued development, but only when the plant or soil gives you a reason to act.
Keep moisture steady, protect roots from damage and drought cycles, and mulch the root zone through fruit enlargement. Skipping unproven shortcuts like eggshells for calcium or Epsom salts for fruit size matters as much as supplying the right nutrients, because Oregon State’s blossom-end rot fact sheet makes clear that water management and root health drive calcium delivery far more reliably than any amendment applied after a problem appears. If you choose to thin fruit clusters, the UNH high-tunnel research is a useful reminder that larger individual fruit can come at the cost of total harvest. Weather, light, disease pressure, and plant health will always have the final say, and the best routine simply keeps as many of those variables as possible working in your favor.