
If Your Fall Radishes Grow All Leaf And No Bulb, Too Much Nitrogen Is Feeding The Wrong Part
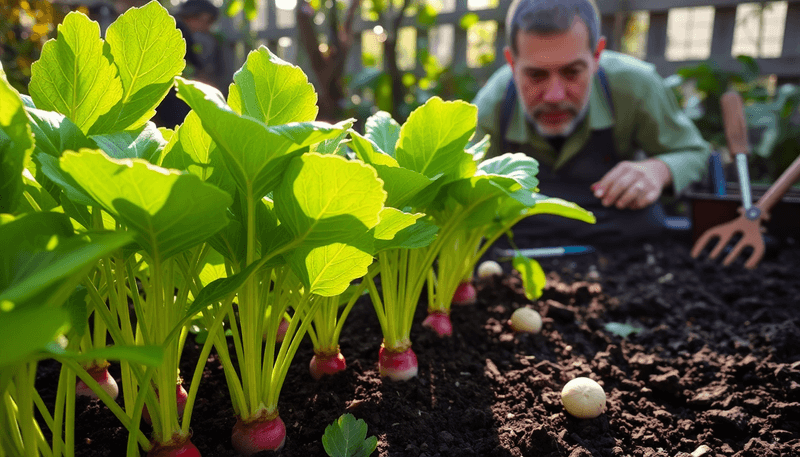
Pull up a radish that should be ready to eat and find a tangle of healthy green tops sitting over a root barely bigger than a marble, and you start wondering what went wrong. Excess nitrogen is one real possibility, but it is not the only explanation, and blaming the soil without checking other factors can send you chasing the wrong fix. Crowding, heat, timing, soil structure, moisture, variety, pests, and disease can all produce the same leafy-tops-no-root failure. Working through a short checklist will tell you far more than a single guess.
Lush foliage is a clue, not a diagnosis
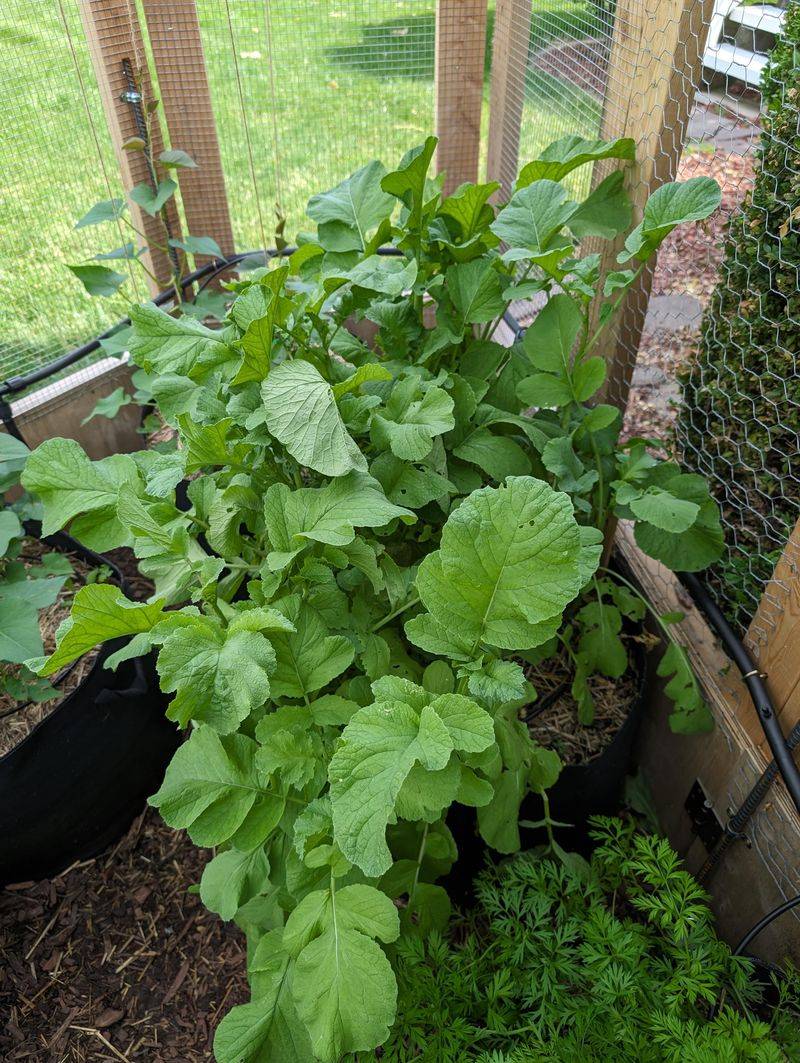
Pull a plant from the bed and the picture is frustrating: a full crown of dark green leaves, maybe even a little proud-looking, sitting over a root that never really formed. Abundant top growth with little to show below the soil line is one of the more common fall radish disappointments, and it does have a known connection to excess nitrogen. Iowa State University Extension specifically groups excessive nitrogen, hot weather, and overcrowding together as causes of an all-top planting, which is worth keeping in mind before you focus on just one of them.
The key word there is “groups.” Leafy tops cannot, by themselves, confirm that your soil has too much nitrogen. A dense canopy can grow just as happily when plants are packed too close together, when the soil is still warm from summer, or when a variety simply has not had enough time to size up. Shade from nearby plants or structures can push energy into reaching for light rather than swelling the root. Uneven watering, compacted or rocky soil, pest pressure, and disease can each produce a similar picture.
Utah State University Extension and University of Minnesota Extension both treat nitrogen as one factor among several rather than the automatic explanation. That framing is the right starting point. The sections that follow work through each plausible cause in order, so you can check your own bed systematically and apply a fix that actually matches the problem rather than one that sounds plausible.
How excess nitrogen can favor leaves over roots
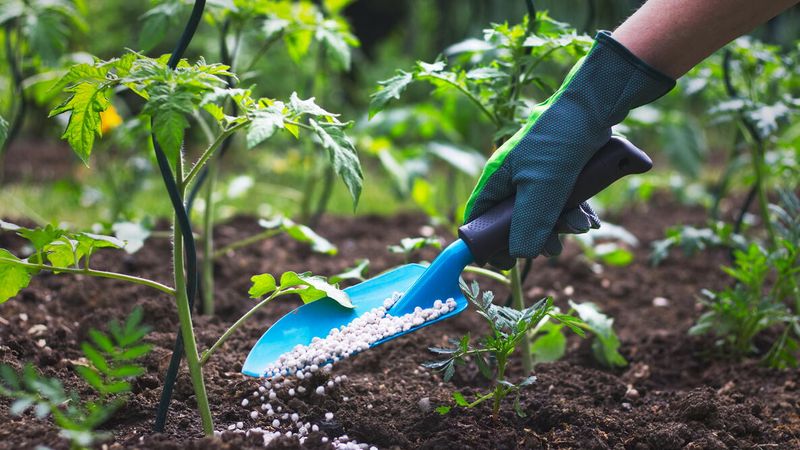
Nitrogen is the nutrient most directly tied to green, leafy growth. When it is readily available in the soil, plants can put on rapid, lush top growth because nitrogen is a core building block for the chlorophyll and proteins that drive leaf production. For a crop like lettuce or spinach, that is exactly what you want. For a radish grown for its enlarged root, that same flush of nitrogen can redirect the plant’s energy upward rather than into swelling the edible portion below ground.
Utah State University Extension’s root-crop fertility guidance states plainly that overapplying nitrogen produces excessive leaf growth at the expense of root sizing. The mechanism is not complicated: the plant responds to the most available resource. When nitrogen is abundant, vegetative growth gets the priority signal. The root, which is technically an enlarged hypocotyl and root tissue rather than a true bulb, does not get the developmental push it needs to fill out to a harvestable size.
Radishes generally need less nitrogen than many leafy vegetables, and Illinois Extension notes that supplemental nitrogen is usually unnecessary when the crop is being grown for its roots. A healthy, full canopy of radish greens is not a sign that the plant is on track for a good harvest. It can just as easily be a sign that the plant is very comfortable doing exactly the wrong thing for your purposes. Fertilizer history matters here: if the bed received a heavy application of a nitrogen-rich product before planting, or if the same bed has been amended with manure or compost season after season, elevated nitrogen is a reasonable suspect worth investigating through a soil test.
Stop adding fertilizer and test the soil
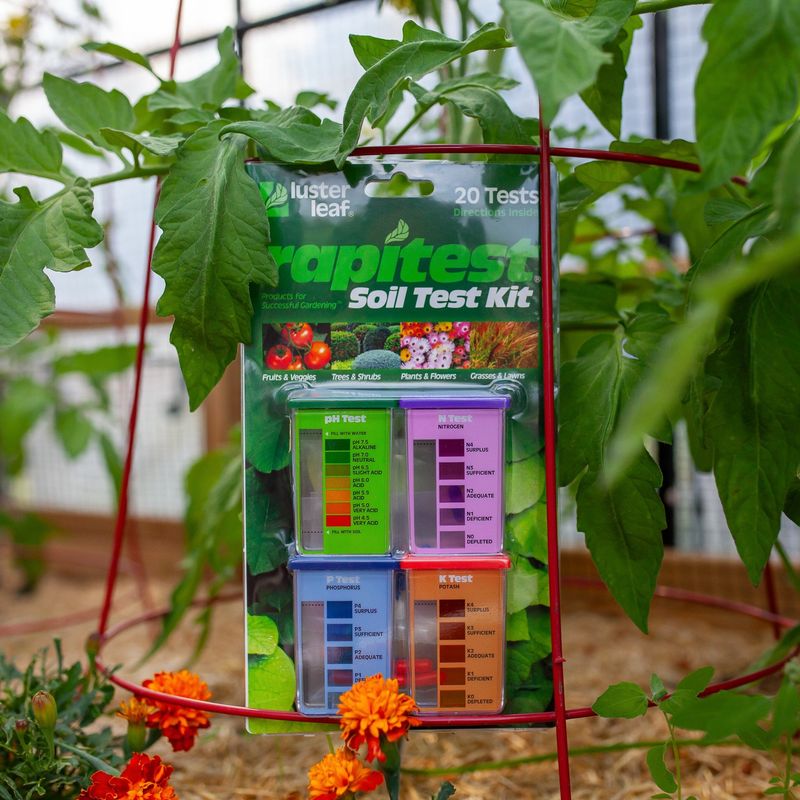
The first practical step when roots are not sizing up is simple: stop adding anything to the soil until you know what is actually in it. Adding more nitrogen is obviously counterproductive if the problem is excess nitrogen, but reaching for phosphorus, potassium, bone meal, or a “root booster” product is equally risky without data. University of Minnesota Extension’s soil-testing guidance explains that a soil test tells you whether nutrients are deficient, excessive, or already adequate, which is the only reliable basis for any corrective application. Blind fertilization can add nutrients that are already at surplus levels and contribute to buildup that affects future crops.
Compost is worth a specific note here. Many gardeners treat compost as a safe, neutral soil amendment, but its nutrient content and availability vary significantly depending on the source material and how it was processed. Repeated compost or manure applications over several seasons can gradually raise phosphorus and potassium to levels that do not need supplementing. Compost is not automatically high in nitrogen, but it is not automatically low in it either.
A soil test is the only way to know what your specific bed actually contains.
Fresh manure deserves a harder stop than compost. University of Minnesota Extension notes that fresh manure can contain harmful bacteria and that its readily available nitrogen may stimulate root branching rather than clean root development. FDA guidance on fresh produce safety is clear that untreated raw manure carries a greater contamination risk than treated manure and should not be applied where there is insufficient time before harvest. Root crops that grow in direct contact with the soil are at higher risk than above-ground crops, so raw manure around edible radishes is a food-safety issue, not just a fertility question.
USDA produce safety guidance for gardens reinforces this point for school and home growing situations alike.
Give the root enough space and loose soil
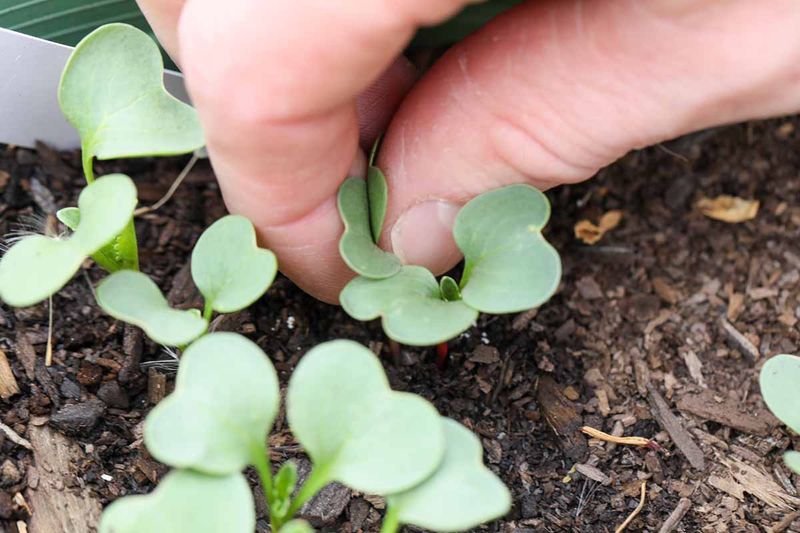
Even perfectly balanced soil cannot fix a bed where radishes are fighting each other for space. Thinning is one of those tasks that is easy to skip when seedlings look healthy, but crowding is a direct, physical reason roots fail to develop. When plants are too close together, competition for water, light, and nutrients keeps each individual plant from sizing up properly. The foliage above ground may still look lush because leaves can reach upward and outward, while the roots below are constrained from expanding sideways into occupied soil.
University of Minnesota Extension recommends about 2 inches between ordinary salad radishes, while larger daikon types generally need 4 to 6 inches of spacing to develop their much longer and wider roots. Utah State University Extension gives a 1 to 2-inch range for many common radishes. These numbers vary by variety, so the seed packet is always the most specific reference for the type you are growing. Thin promptly once seedlings are established rather than waiting to see which ones look strongest, because delayed thinning still costs the remaining plants time and space during the critical root-swelling window.
Soil structure is the second physical check. Compacted, stony, or heavy clay soil can restrict root expansion, deform roots, or cause them to fork and branch rather than swell into a clean, round shape. University of Minnesota Extension recommends loosening soil to at least 6 inches for ordinary round or globe-type radishes. Long types such as daikon, which can reach 12 to 18 inches in length, need a foot or more of loose, well-worked soil to develop properly.
Raised beds and containers with a loose growing medium have a real advantage here, but even those should be checked for compaction if they have been in use for multiple seasons without being refreshed.
Check heat, planting timing, and moisture
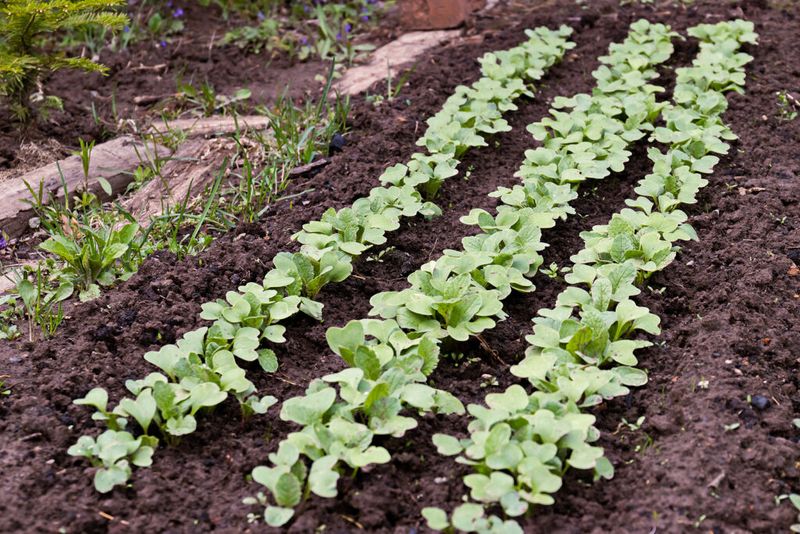
Calling something a “fall crop” does not automatically mean it escapes heat problems. Radishes sown while the soil is still warm from summer, or during a stretch of hot late-summer weather, can bolt, turn bitter, develop hollow roots, or simply fail to swell normally. Heat suppresses the root-sizing process even when every other condition looks right. Gardeners in southern and interior regions can experience this well into what the calendar calls autumn, so the season label is less reliable than actual soil and air temperatures.
Planting timing needs to be calculated backward from your local first frost date, not borrowed from a northern reference chart. University of Minnesota Extension lists roughly August 1 through September 1 as the fall planting window for Minnesota, while Utah State University Extension points to mid- to late August or early September for its region. Those are regional examples for specific climates, not a schedule that applies everywhere. University of Minnesota’s midsummer-to-fall planting guide recommends counting back from your expected frost date using the seed packet’s listed days to maturity, then adding a week or so as a buffer.
Your local cooperative extension office is the most accurate source for frost dates in your specific county or zip code.
Even moisture is a separate requirement that operates alongside timing and temperature. Drought stress can produce tough, fibrous roots with poor flavor, while irregular watering, alternating dry spells with heavy soaks, can contribute to cracking, splitting, and uneven development. Watering frequency and volume depend on your soil type, weather, and whether plants are in containers or in-ground beds, so there is no single universal schedule. The practical target is to keep the soil consistently moist but not waterlogged through the root development period, adjusting based on rainfall and how quickly your particular soil dries out.
Account for variety, pests, and disease
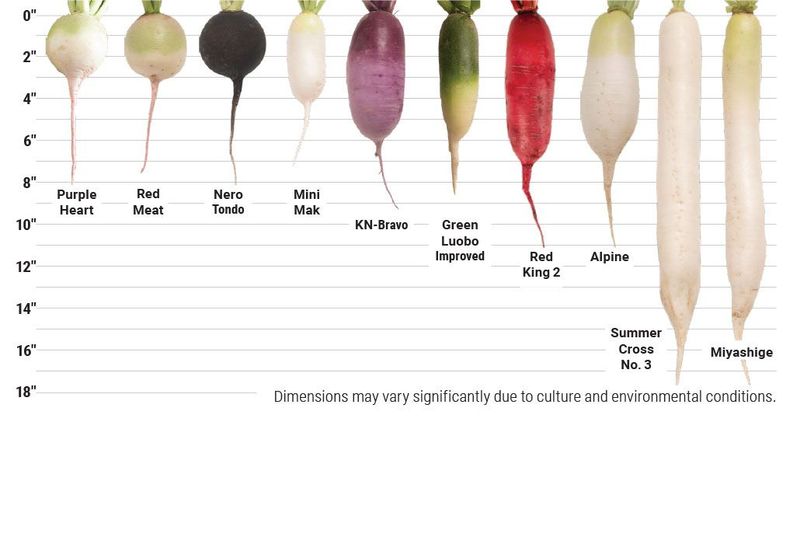
Expecting a daikon to look like a Cherry Belle by week four is a reliable way to misread a healthy crop as a failure. Variety sets the baseline for root size, shape, days to maturity, and spacing needs, and comparing your plants against the wrong standard can make a perfectly normal crop look like a problem. Before reaching any conclusion about fertility or growing conditions, check what the seed packet or catalog description actually promises for the variety you planted.
Utah State University Extension’s radish overview distinguishes ordinary salad radishes from daikon and other large types in terms of size expectations, spacing, soil depth, and maturity period. University of Minnesota Extension similarly notes that spacing and depth recommendations differ significantly between small round types and long Asian varieties. A daikon root at the same stage of development as a mature salad radish will look completely undersized if you are measuring it against the smaller variety’s harvest window.
Pests and disease can also produce leafy, poorly developed plants, especially when roots show additional damage, discoloration, tunneling, or rot that nitrogen imbalance alone would not explain. Utah State Extension and Iowa State Extension both mention pests as part of the troubleshooting picture. Inspect the roots and lower stems carefully before settling on a fertility explanation. Flea beetle damage, root maggots, and clubroot can all affect development in ways that look superficially similar to a nutrient problem but require completely different responses.
Harvest by root size, not the calendar
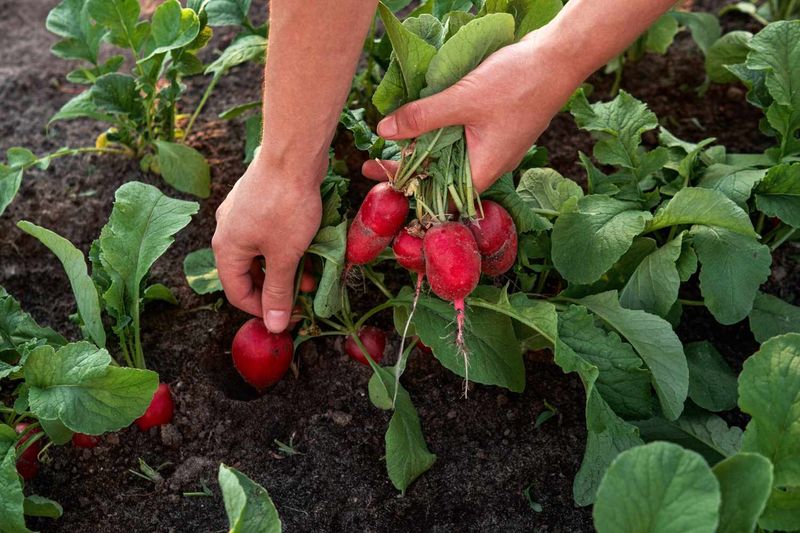
A date circled on the calendar is a rough guide, not a harvest order. Many ordinary salad radishes are ready in roughly 3 to 5 weeks from sowing, but fall conditions, cooler soil, and shorter days can slow that timeline down from what the packet lists. Daikon and other late-season types take considerably longer, sometimes 60 days or more, so applying a 25-day expectation to a 60-day variety will produce nothing but frustration. University of Minnesota Extension and Utah State University Extension both recommend checking root size and variety performance rather than relying strictly on elapsed days.
Waiting too long after roots reach harvestable size creates its own problems. Overripe radishes can turn woody, pithy, or develop a sharp, pungent flavor that makes them unpleasant to eat. Utah State Extension’s radish expert guidance notes that leaving roots in the ground past their peak is a common reason for poor texture and flavor, separate from any fertility or spacing issue. The fix there is simply to pull them sooner next time.
If roots are still genuinely small after you have addressed spacing, loosened the soil, timed the planting for cooling weather, and kept moisture consistent, that is when soil-test results become the most actionable tool you have. Adjusting fertility based on actual test numbers, rather than adding products in hopes of compensating, gives the next crop a real foundation to work from. Repeatedly adding fertilizer or attempting to redirect growth by removing leaves will not solve a structural problem in the soil. The honest takeaway from a failed radish bed is that small roots leave a very specific paper trail, and following it carefully is almost always more useful than any single corrective shortcut.