
If Your Fall Carrots Grow Feathery Green Tops But Fork Into Twisted, Stubby Roots, Rocky Soil Is Splitting Them
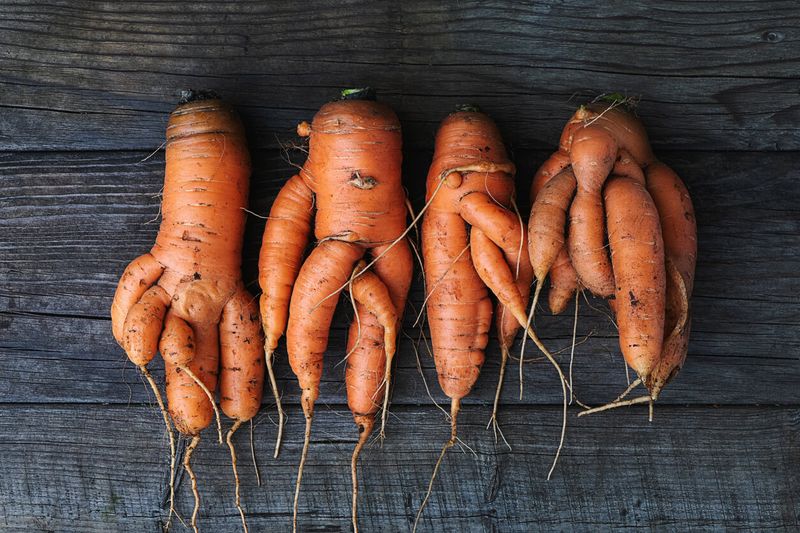
You pull a fall carrot and find a twisted, forked mess instead of a clean, straight root, even though the tops looked full and healthy all season. That mismatch is one of the most frustrating surprises in the vegetable garden, and it happens more often than most growers expect. Rocky, compacted, or cloddy soil is one common and fixable reason roots go wrong, but it is not the only one, and jumping to one answer too quickly can leave the real problem unsolved. Understanding what actually happened underground is the first step toward a better harvest next fall.
Vigorous tops do not prove rocky soil
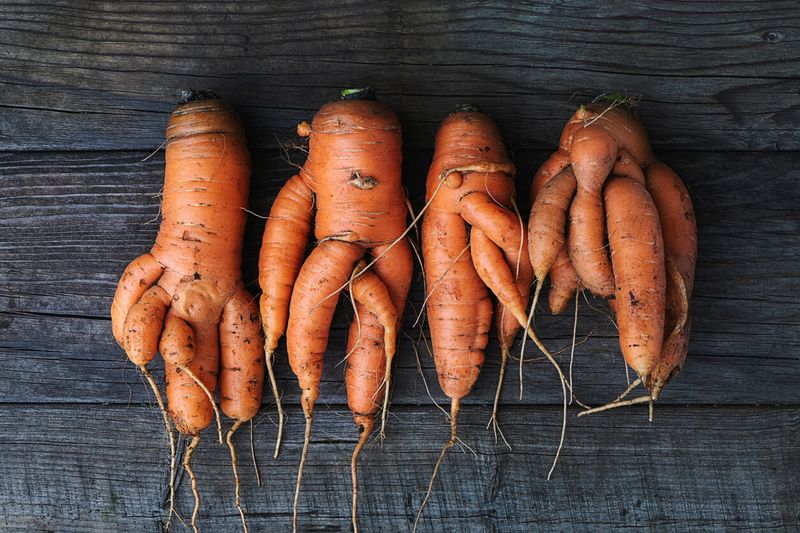
Pulling up a carrot and finding a twisted, forked, or stubby root after a season of lush green growth is genuinely confusing. The foliage looked fine, so what went wrong below the surface? Rocky or compacted soil is one common, fixable possibility for forked, stubby, twisted, or otherwise misshapen roots, but it does not explain every case, and it is worth understanding the difference between the types of problems you might be looking at.
Forking happens when the main taproot branches into two or more secondary roots instead of growing as a single straight storage root. Stubbing is when the root stops elongating and stays short and blunt. Splitting refers to a lengthwise crack or separation in the root itself, which can follow drought or other stresses and is not the same thing as forking. All three can show up in the same bed, and all three have more than one possible cause.
University of Minnesota Extension’s carrot guidance identifies crowding as a common reason for healthy tops alongside limited root development, and notes that excess nitrogen can push foliage at the expense of roots. UC IPM’s dense or rocky soil resource adds that overwatering, root-knot nematodes, and Pythium root dieback can also produce forked or stubby roots. So before settling on a soil explanation, check spacing, nitrogen history, watering habits, and the physical condition of the harvested roots themselves.
None of this means soil preparation is off the hook. A poorly prepared bed with stones, clods, or compacted layers is a very real and practical problem. The point is simply that diagnosis matters before correction, and checking a few things first will tell you which fix actually applies to your bed.
How an obstruction redirects the taproot
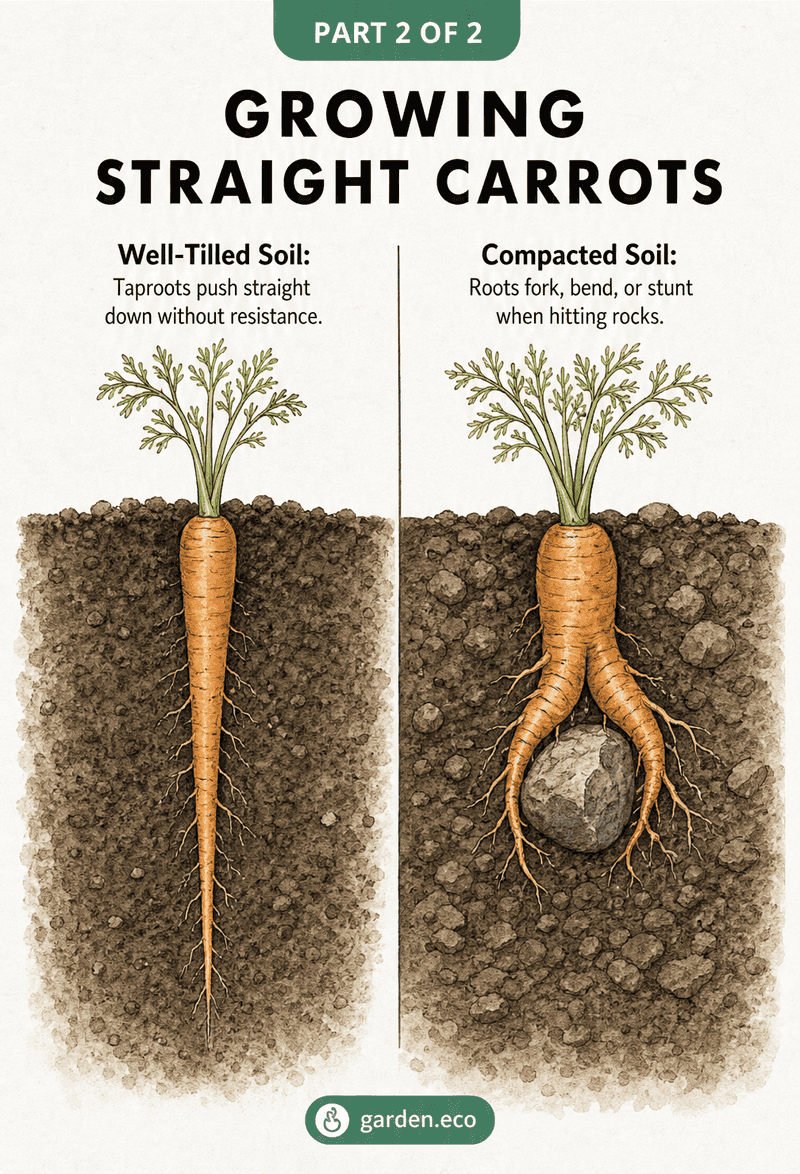
A carrot taproot grows straight down by following the path of least resistance through the soil. When something blocks that path, the root does not push through it. Instead, the growing tip deflects sideways, splits around the obstacle, or stops elongating and produces secondary roots that spread in whatever direction the soil allows.
The obstruction does not have to be a large, visible rock. A dense clod, a buried piece of wood or root, a compacted layer just a few inches down, or even a zone of soil that is noticeably harder than the surrounding area can redirect a developing taproot just as effectively as a stone you could hold in your hand. The carrot cannot distinguish between a rock and a clod of packed clay; both present a physical barrier that the tender root tip cannot penetrate.
Once the primary root is deflected or damaged, the plant responds by producing multiple smaller secondary roots. Those secondary roots fan out in search of easier soil, producing the forked or twisted shape that ends up in your harvest basket. A stubby root often means the taproot hit resistance early and simply stopped growing downward at all, putting whatever energy was available into lateral branching instead.
Utah State University Extension’s carrot guide notes that loose, well-drained soil is essential for straight root development, and Illinois Extension’s carrot page reinforces that soil structure and preparation directly affect root shape. The problem is not just the presence of a visible rock at the surface. It is the overall quality and uniformity of the soil column through which the root must grow, including hidden hard spots that never show up when you look at the bed from above.
Build a deep, even seedbed
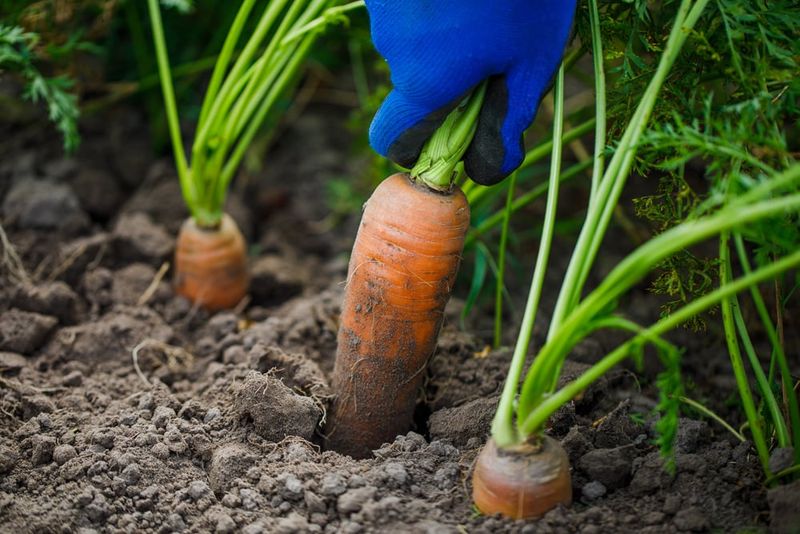
Getting the soil right before you sow is the single most effective thing you can do for straight carrot roots. The target is a uniformly loose, fine-textured, well-drained seedbed that reaches roughly 8 to 10 inches deep. Illinois Extension recommends loosening the bed to at least 8 to 9 inches, and their 2026 fall-carrot guidance puts that range at 8 to 10 inches for fall planting. Work through the full depth, breaking up every clod you can find and removing stones, roots, and any woody debris before you sow a single seed.
Finished compost or fully decomposed organic matter can genuinely improve soil structure, especially in heavy or dense beds. However, more is not better. USU Extension’s carrot guidance recommends no more than 1 inch of well-composted organic matter per 100 square feet, and USU’s compost and manure guidance cautions that excessive applications can raise salinity and nutrient levels in ways that harm rather than help crops. Use finished compost in modest amounts, ideally based on what a soil test tells you the bed actually needs.
One shortcut that sounds reasonable but can backfire badly: adding a small amount of sand to clay soil to loosen it. Oregon State Extension’s soil improvement guide, USU’s soil preparation resource, and Colorado State Extension’s amendment guide all warn that the wrong sand-to-clay ratio can produce a dense, concrete-like mixture that is worse than the original clay. Stick to organic matter incorporation or, when the native soil simply cannot provide enough depth, build a properly deep raised bed instead.
OSU also notes that excessive tillage can damage soil structure and create compacted layers below the tilled zone. The goal is a sufficiently deep, loose, stone-free seedbed, not a commitment to digging deeper every year. Avoid working the soil when it is wet, since tilling wet clay especially can compact it further and undo the preparation you just did.
Match the carrot variety to the bed
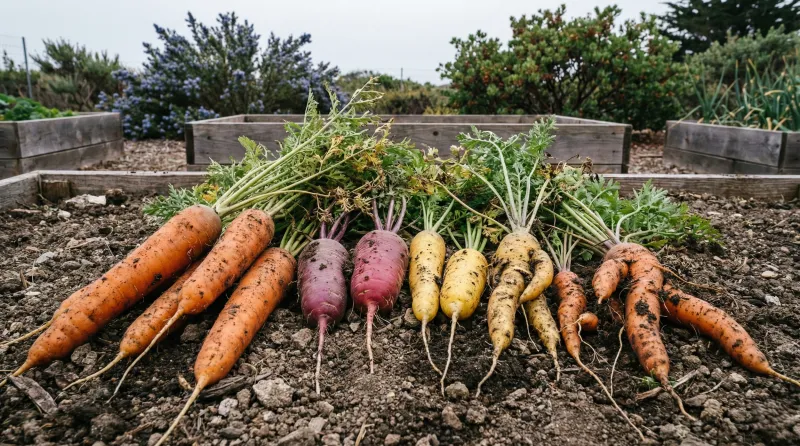
Soil preparation matters, but so does picking a variety that suits what your soil can realistically provide. Long Imperator-type carrots can reach 8 to 10 inches or more and need deep, light, uniformly loose soil to develop properly. If your bed has any remaining density, clay content, or limited depth after preparation, a long variety will hit resistance before it finishes growing and you will end up with a short, forked, or twisted root even in a bed you worked hard to improve.
Shorter types, including Chantenay, Danvers, and many ball or finger varieties, are better suited to heavier or shallower soil. Illinois Extension notes that variety selection should account for soil type, and Oregon State Extension’s carrot publication confirms that shorter varieties generally perform better in heavier soils. A naturally short carrot harvested from a shorter variety is not a sign that something went wrong. Knowing what you planted is an important part of reading your results honestly.
One practical rule that applies to every variety: direct-sow carrots rather than starting them indoors and transplanting. The taproot is easily disturbed during transplanting, and any damage to it early in development can trigger the same kind of branching that a physical obstruction causes. OSU specifically recommends planting carrot seed directly in the garden rather than transplanting seedlings. Sow into a prepared, fine seedbed, keep the surface moist until germination, and let the root develop in place from the start.
Choosing the right variety for your actual soil depth and texture is one of the easiest adjustments a grower can make, and it works alongside good soil preparation rather than replacing it.
Correct crowding, moisture, and nitrogen
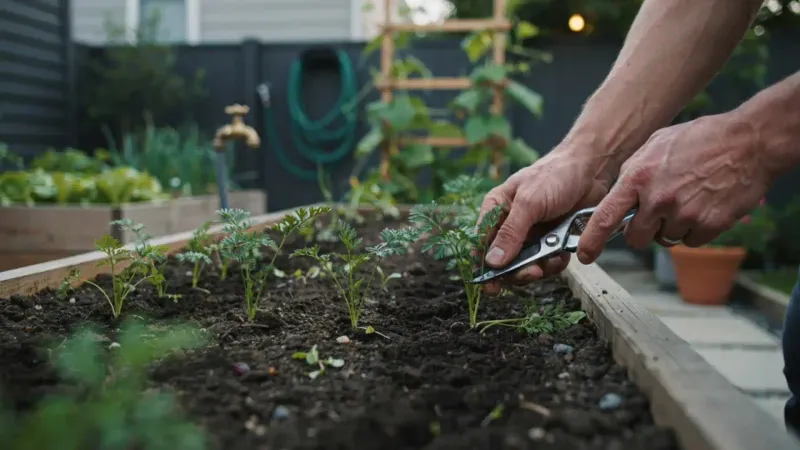
Crowded seedlings are one of the most overlooked reasons for vigorous tops alongside undersized or poorly shaped roots. Carrot seeds are small and easy to sow too thickly, and the seedlings that emerge look fine for weeks. The problem shows up at harvest, when roots that competed for space the entire season come out stunted or misshapen. University of Minnesota Extension specifically identifies crowding as a common explanation for healthy tops with limited root development.
Thin seedlings early, before the roots start to enlarge and compete seriously. Depending on variety and how large you want the finished roots, extension recommendations generally call for spacing plants about 1 to 3 inches apart. Illinois Extension and Oregon State Extension both address spacing in their carrot guidance. Thinning is tedious, but skipping it trades a few minutes of work for a poor harvest.
Nitrogen is worth checking next. Excess nitrogen pushes leafy growth at the expense of root development, so a bed that received heavy feeding or fresh manure before planting may produce exactly the lush-top-but-small-root pattern described in the article’s title. Illinois Extension’s 2026 fall-carrot guidance warns against fresh manure and high nitrogen rates specifically. Base fertility decisions on a soil test rather than a general feeding schedule, and hold off on nitrogen amendments unless the test shows a clear need.
Moisture management is the third factor to review. USU Extension cautions that overwatering can contribute to hairy roots and forking, while inconsistent moisture generally reduces root quality. Aim for reasonably even soil moisture throughout the growing period, roughly 1 inch of water per week when rainfall falls short, and avoid letting the bed swing between wet and dry extremes. USU’s compost and manure guidance also reinforces that raw manure carries contamination risks for root crops and should not be used in place of finished compost.
Inspect the roots before blaming the soil
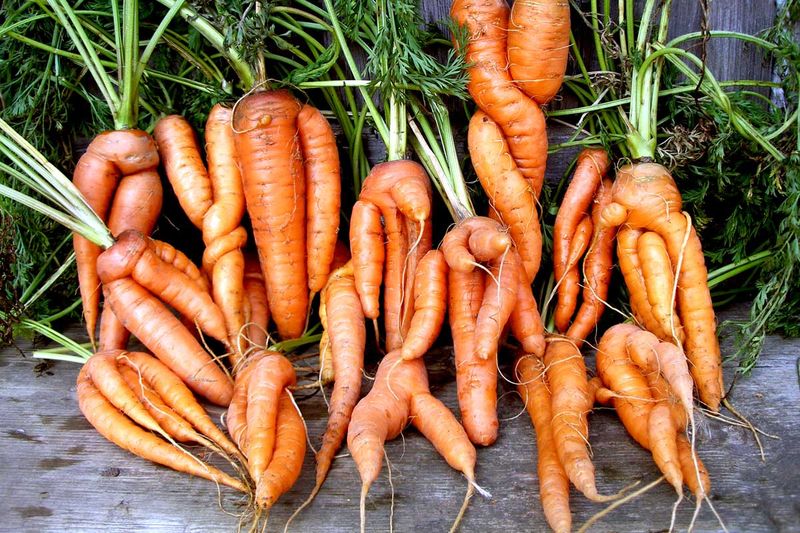
Before you start reworking the entire bed, spend a few minutes actually looking at what came out of the ground. The physical condition of the roots themselves will often point toward the right explanation faster than any general checklist. Pull several roots from different parts of the bed and compare them rather than drawing conclusions from a single misshapen carrot.
Signs that point toward a soil-obstruction cause include roots that forked or twisted at roughly the same depth, roots that show a clear bend or deflection at the point where they branched, and soil that contains stones, dense clods, a hard layer, or buried woody material at the depth where the roots changed direction. The UMN carrot root-forking diagnostic tool lists rocky, heavy, or compacted soil as common causes of forked roots and is a useful starting reference for visual comparisons.
A different set of symptoms suggests pests or disease rather than physical obstruction. Galls or knobby swellings on the root surface, an unusually high number of fine hairy secondary roots covering the root, lesions, soft decay, or yellowing foliage across a wide area of the bed can indicate root-knot nematodes or Pythium root dieback. UMN’s hairy-root diagnostic page and UC IPM’s dense or rocky soil resource both address these distinctions. Published research on root-knot nematode interactions with vegetable crops confirms that nematode damage can closely mimic physical obstruction symptoms, making visual root inspection an important diagnostic step.
Splitting that runs lengthwise down an otherwise normal-looking root is worth separating from forking. Drought stress followed by a period of heavier watering or rain is a common contributor to splitting, and overwatering can also play a role in related abnormalities. Look at the whole picture: root shape, surface condition, soil contents at the depth where the problem occurred, and the season’s watering and weather history together will give you a more reliable answer than any one symptom on its own. Discard roots showing rot, unexplained lesions, or signs of contamination; physically forked or twisted roots without those problems are primarily a cosmetic issue.
Reset the bed for the next fall crop
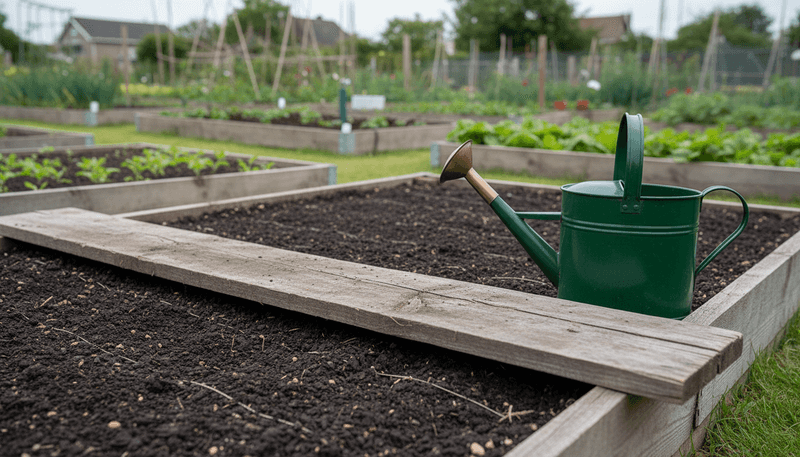
After harvest, use what you found to guide the reset. If the roots showed clear deflection points and the soil contained stones, clods, or hard layers, the fix is a thorough bed preparation before the next sowing. Loosen the bed to the full 8 to 10 inches, remove every obstruction you can locate, and incorporate a modest amount of finished compost if the soil needs improved structure. Keep the application conservative and soil-test-informed rather than adding as much as the bag will allow.
Choose a variety suited to the depth and texture your bed can actually provide, sow seed directly, and thin seedlings to the appropriate spacing before the roots start to compete. Maintain reasonably even moisture through the season and hold off on nitrogen feeding unless a soil test shows a genuine need. Illinois Extension’s fall planting guidance and USU Extension’s fall garden calendar are both useful regional references for timing.
For fall timing specifically, use the seed packet’s days-to-maturity alongside local frost information rather than a fixed calendar date. University of Minnesota Extension’s midsummer-to-fall planting guide and Illinois Extension’s carrot page both emphasize that timing varies by region and variety. Cool fall weather can improve carrot tenderness and sweetness, but it does not remove the need for adequate depth, proper spacing, consistent moisture, and an unobstructed seedbed. A well-prepared bed with the right variety is still what gets you a straight root, and a good harvest is the most satisfying proof that the diagnosis was correct.