
Do These 5 Things To Your Hydrangeas Now And They’ll Reward You With Way More Blooms Next Spring
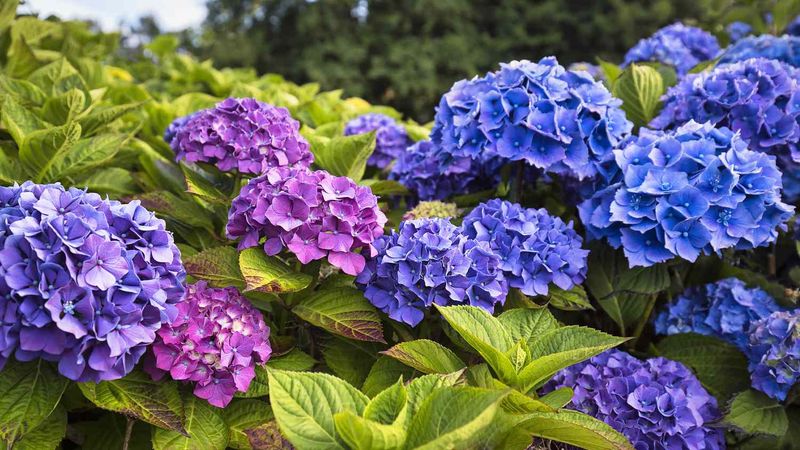
Your hydrangeas might look like they are winding down for the year, but late summer and early fall is actually when you decide how good next spring will look. A few smart moves right now can mean fuller, bigger, and more colorful blooms when the weather warms up again.
The best part is that none of these tasks are complicated or expensive, and skipping them is often why plants disappoint the following year. Grab your pruners and let’s set your hydrangeas up to reward you.
1. Deadhead Spent Blooms Carefully (Especially Old-Wood Bloomers)
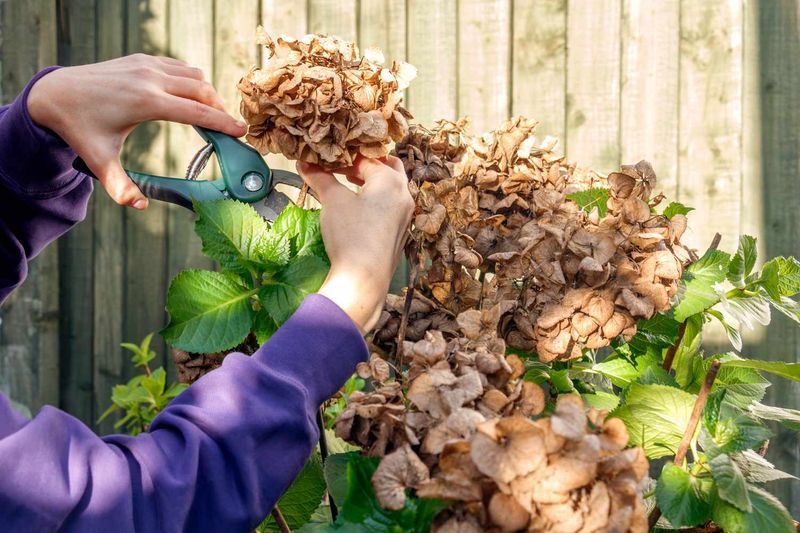
Those faded, papery flower heads sitting on your plant right now are quietly stealing energy. When a hydrangea holds onto spent blooms, it starts pouring effort into making seeds instead of building the strong roots and stems that fuel next year’s show.
Snipping off the tired flowers, a job gardeners call deadheading, flips that energy back toward growth. For Bigleaf (Hydrangea macrophylla) and Lacecap types, deadhead through the summer but put the pruners away by mid-August.
These varieties set next year’s flower buds on old wood, and cutting too late can accidentally remove the buds you are counting on.
When you do trim, follow the stem down and make your cut just above the first pair of healthy leaves below the faded bloom. That keeps the plant tidy without going too deep into growth you want to protect.
Panicle (Hydrangea paniculata) and Smooth (Hydrangea arborescens) hydrangeas play by different rules. You can deadhead them, but it is not required, and many gardeners leave the dried blooms standing because they add texture and interest all winter long.
If you like that look, feel free to let them be.
2. Maintain Consistent and Deep Watering
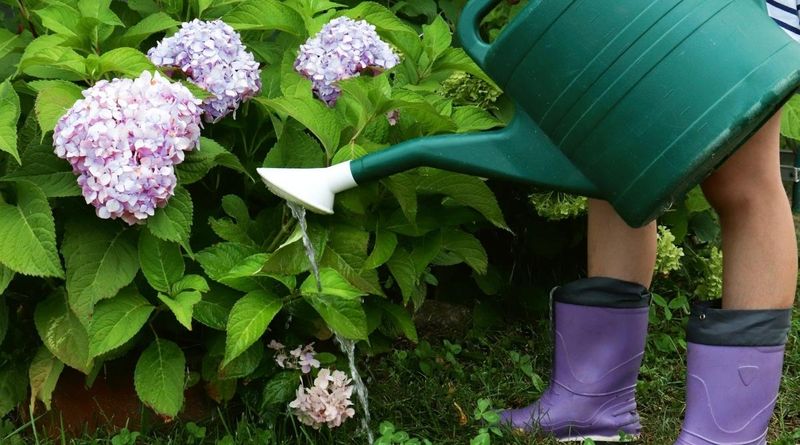
The clue is right there in the name: hydrangea. These plants are thirsty by nature, and a dry spell in late summer can quietly sabotage the flower buds forming for next year.
Keep watering deeply and steadily as summer fades into fall, right up until the ground freezes solid. A slow, deep soak once or twice a week beats a quick daily sprinkle, because it encourages roots to reach down where moisture lasts.
Pay attention to what the sky is doing. After a good rain you can skip a session, and as temperatures cool in fall it is fine to let the top inch or two of soil dry slightly between deep soaks.
You are aiming for consistent, not constantly soggy.
All that moisture does more than keep leaves perky. It supports the plant’s overall health during the exact window when future flower buds are developing, so a well-watered fall often turns into a well-flowered spring.
3. Stop Fertilizing Now
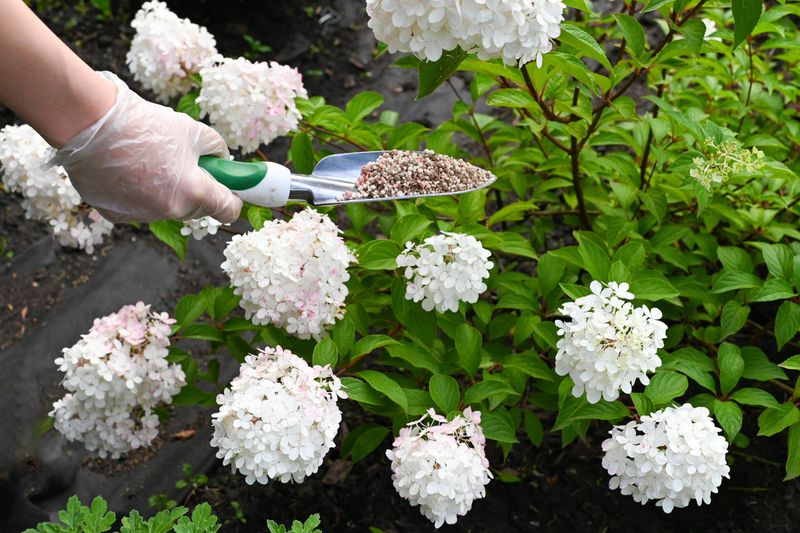
Here is the one where doing less is actually the winning move. Feeding your hydrangeas late in the season feels helpful, but it can backfire in a big way.
Put the fertilizer away by late summer or early September. When you feed too late, the plant responds by pushing out fresh, tender growth, and that soft new growth simply does not have time to toughen up before cold weather arrives.
Vulnerable shoots that head into winter unhardened often get zapped by freezing temperatures. Losing that growth can mean losing the very buds that would have become next spring’s flowers, so a late feeding meant to help ends up costing you blooms.
Save your fertilizer for the times it truly pays off: early spring as the plant wakes up, and again in early to mid-summer during active growth. Right now, the kindest thing you can do is nothing at all.
4. Apply (and Plan for) Mulch
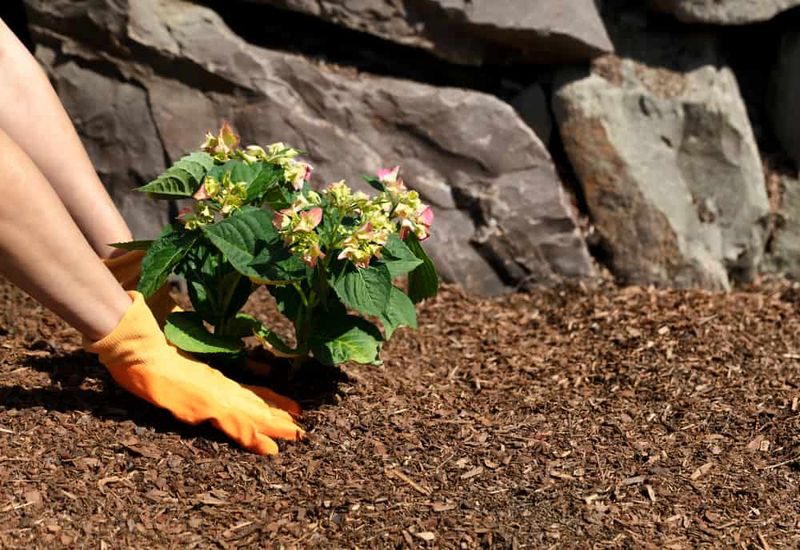
Think of mulch as a cozy blanket and a slow-release snack rolled into one. Laying down a 2 to 3-inch layer of organic mulch such as shredded bark, pine straw, or compost around your hydrangeas now pays off in several quiet ways.
That layer helps the soil hold moisture, keeps weeds from crowding in, and evens out soil temperature so roots are not shocked by sudden swings. As it breaks down, it also feeds the plant a little at a time.
One rule keeps mulch from causing trouble: pull it back about 6 to 8 inches from the stem. Piling it against the base can trap moisture there and lead to stem rot, which is the opposite of what you want.
Plan ahead for the deep freeze too. Once the ground has frozen in late fall, adding a much deeper layer, anywhere from 4 to 12 inches, can insulate the crown and roots against harsh cold.
Bigleaf hydrangeas especially appreciate this extra protection, since they are the most prone to winter damage.
5. Prune Wisely (Know Your Hydrangea Type)
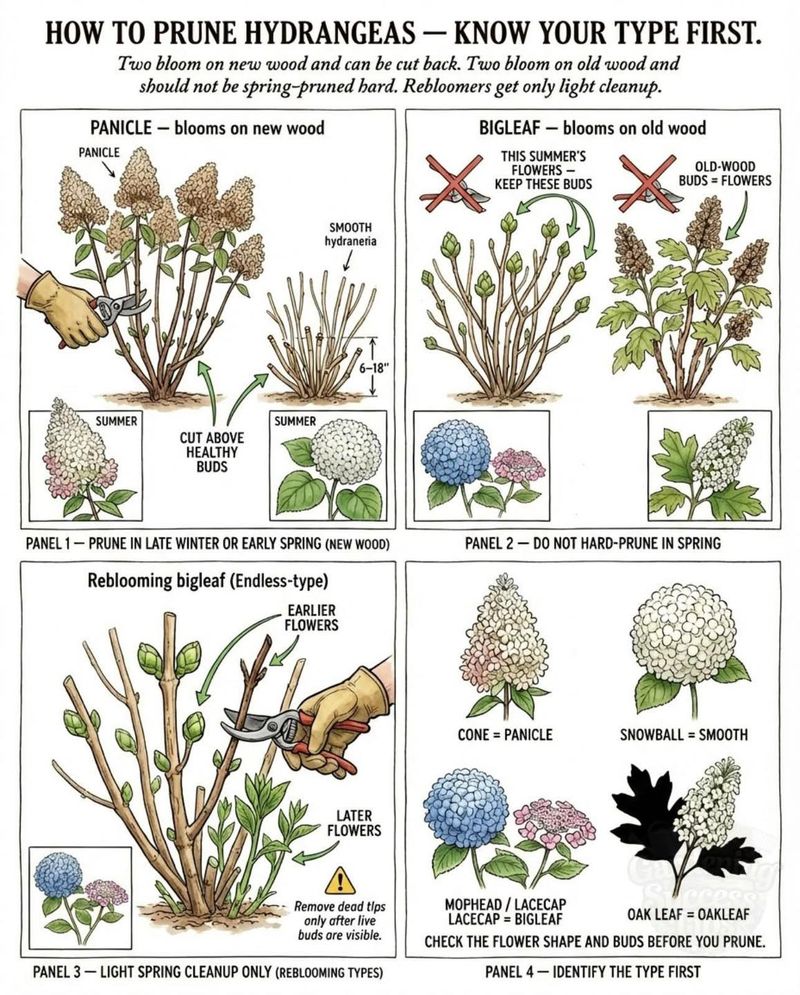
More hydrangea blooms are lost to careless fall pruning than almost anything else, and it usually happens with good intentions. The secret to getting it right is knowing exactly which kind of hydrangea you have before a single stem gets cut.
Old-wood bloomers like Mophead, Lacecap, and Oakleaf set their flower buds on last year’s stems in late summer or early fall. Heavy pruning now would slice off the very buds meant to open next spring, so limit yourself to removing dead, damaged, or diseased stems and nothing more.
New-wood bloomers such as Panicle and Smooth types (think ‘Limelight’ and ‘Annabelle’) form buds on fresh spring growth. A light tidy-up of faded flowers or straggly stems is fine now, but save any major pruning for late fall after frost, or late winter to early spring before new growth starts.
Reblooming varieties like the Endless Summer series flower on both old and new wood. Leaving the old wood alone in fall helps you enjoy an earlier, fuller display.
When you honestly are not sure which type you own, take the safe road: deadhead and remove only dead or damaged wood. You can never regret leaving healthy buds in place.