
17 Easy Ways To Revive A Struggling Clematis That’s Given Up On Blooming
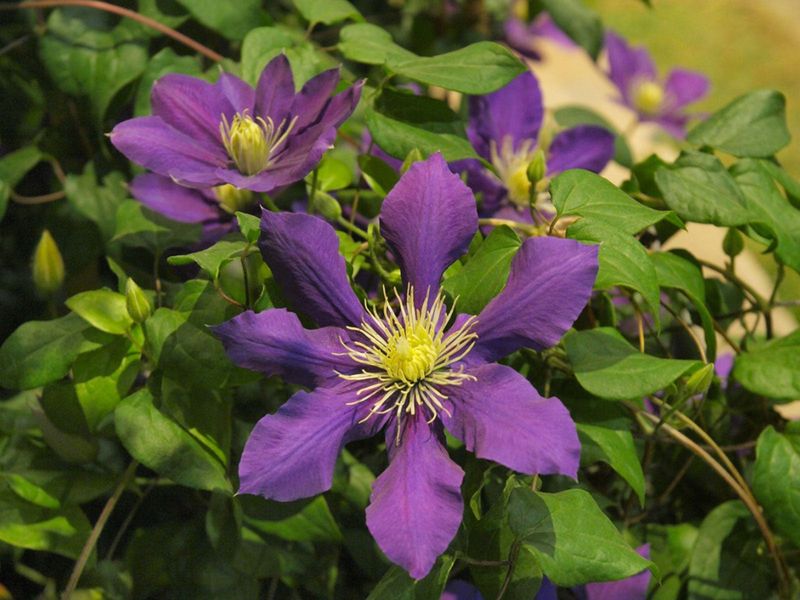
A clematis that stops flowering can feel like a puzzle with no answer, especially when the vine still looks green and leafy. The good news is that most bloom problems come down to a handful of fixable habits, from where the plant sits to how you prune it.
You do not need fancy tools or expensive products to turn things around, just a little know-how and some patience. Here are 17 simple ways to coax your quiet clematis back into a wall of color.
1. Ensure Adequate Sunlight
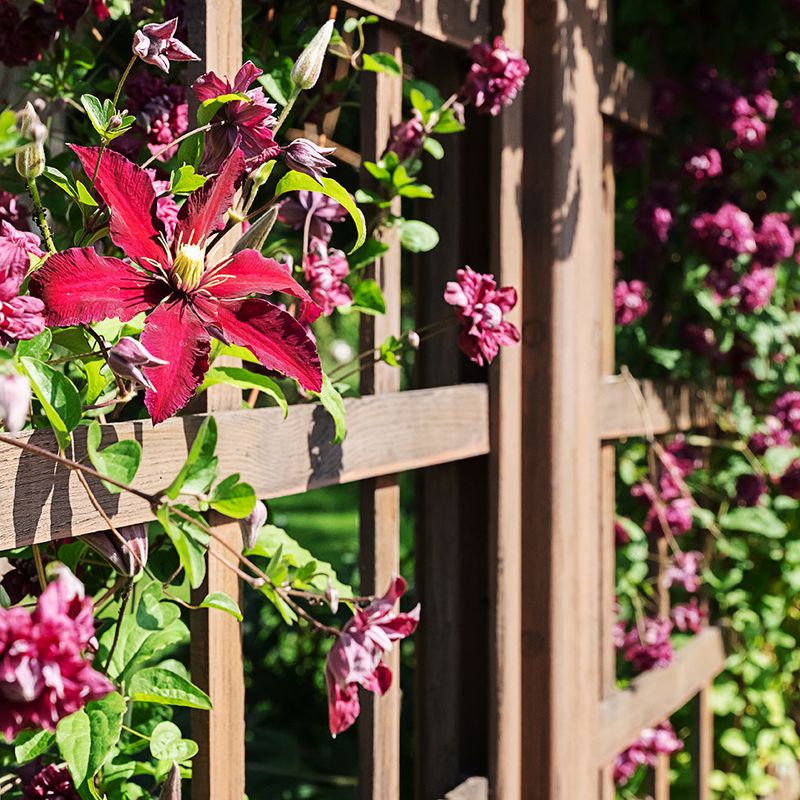
Sunlight is the fuel behind every clematis flower, and a shady spot is often the first culprit when blooms disappear. Most varieties want at least six hours of direct sun each day to power up all those buds.
Take a slow walk around your vine at different times of day and notice where the shadows fall. Trees and shrubs grow taller over the years, and a spot that was once bright can quietly become dim without you realizing it.
Trim back overhanging branches to let the light through, or move the plant to a sunnier location if the shade is permanent. A clematis basking in morning and midday sun almost always rewards you with more color than one stuck in the gloom.
2. Keep Clematis Roots Cool and Shaded

There is an old gardening saying that clematis likes its head in the sun and its feet in the shade, and it holds true. While the leafy top soaks up light, the roots below prefer to stay cool and protected.
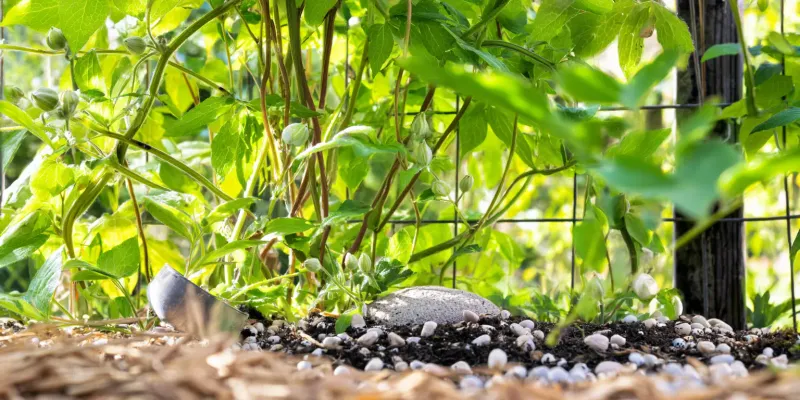
Tuck low-growing perennials or annuals around the base of the vine so their foliage acts like a living parasol for the soil. Flat stones or wooden shingles laid over the root zone work just as well if you would rather not plant companions.
Watch out for dark-colored rocks, though, because they soak up heat and can warm the soil more than you want. Keeping those roots comfortable often makes the difference between a stressed vine and one that hums with flowers.
3. Apply a Layer of Organic Mulch
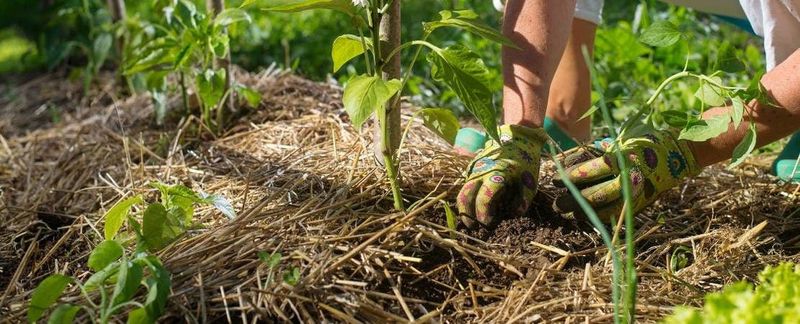
Mulch is one of those quiet helpers that does a lot of work without asking for much in return. A 2 to 3 inch blanket of bark chips or shredded leaves keeps the root zone cool and locks moisture into the soil.
Spread it evenly around the base, but leave a few inches of breathing room around the stems themselves. Piling mulch right against the crown can trap dampness and invite rot, which is the last thing a struggling vine needs.
As the organic material breaks down over the season, it also feeds the soil a little, giving your clematis a gentle, ongoing boost toward better blooms.
4. Water Deeply and Consistently
Thirsty clematis vines will pour their energy into survival instead of flowers, so steady moisture matters more than you might guess. These plants like consistently damp soil, especially during their first season and any stretch of dry weather.
Aim for a deep soak of about 2 to 3 gallons per watering rather than a quick daily sprinkle. Deep drinks push the roots downward and build a stronger, more resilient plant over time.
Relying only on a lawn sprinkler often shortchanges your vine, since that light spray rarely reaches far enough down. A hose left to trickle slowly at the base gets the water where it truly counts.
5. Ensure Well-Draining Soil
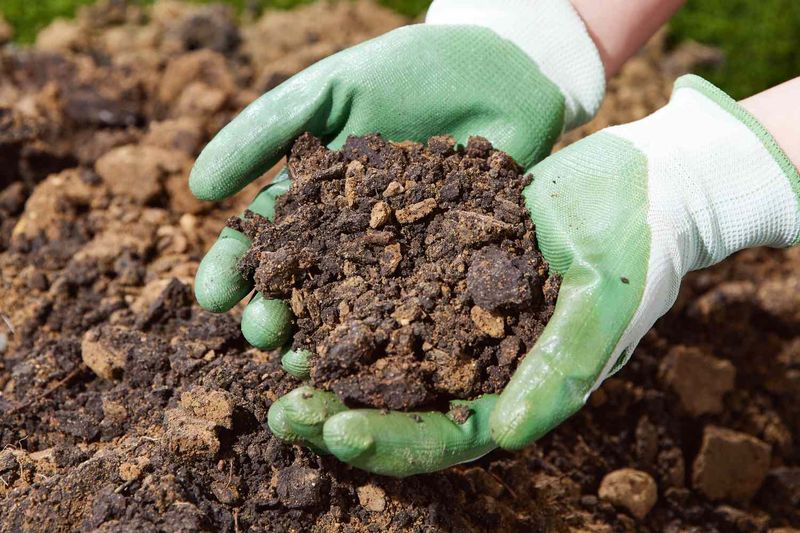
Soggy roots spell trouble for clematis, which can rot when water lingers around them for too long. Good drainage lets the plant stay moist without ever sitting in a puddle.
Heavy clay is the usual troublemaker here, holding onto water long after a rain. Working a few shovelfuls of organic compost into the planting area loosens that dense soil and helps excess water move through.
If you are planting fresh, check how quickly a filled hole drains before committing to the spot. A little effort at soil level now can save your vine from the silent damage of waterlogged roots later.
6. Check and Adjust Soil pH
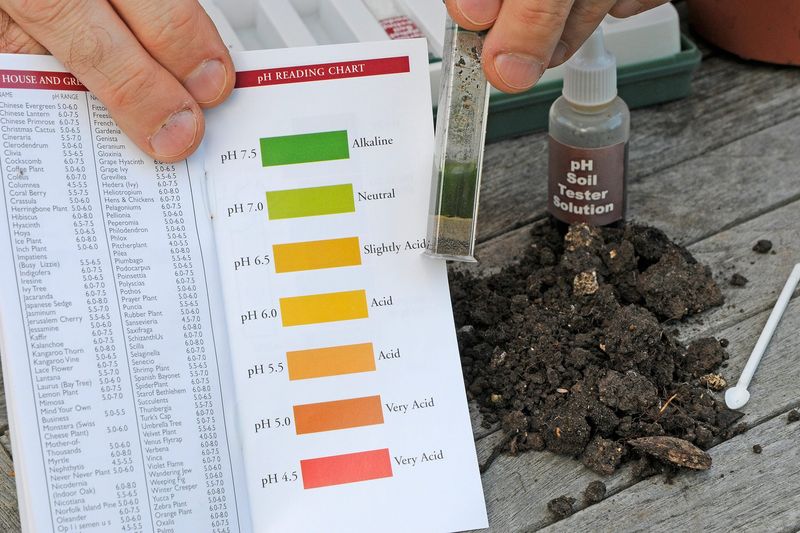
Soil chemistry rarely gets the spotlight, yet it quietly shapes how well your clematis can feed itself. These vines are happiest in soil that sits between 5.5 and 7.0 on the pH scale, which is slightly acidic to neutral.
Grab an inexpensive test kit from a garden center, or send a small sample to your local agricultural extension office for a detailed reading. Knowing your number takes the guesswork out of the whole thing.
Should your soil test too alkaline, scattering a little sulfur around the plant each spring nudges the acidity into a friendlier range. Getting the pH right helps unlock the nutrients your vine has been missing.
7. Fertilize Thoughtfully and Avoid Excess Nitrogen
More food is not always better, and clematis proves the point beautifully. Load it up with too much nitrogen and you will grow a jungle of leaves with barely a bloom in sight.
When new growth pushes out in early spring, reach for a balanced fertilizer or one made specifically for flowering vines. That balance encourages the plant to spend its energy on buds rather than endless greenery.
Some growers like to switch to a lower-nitrogen feed while buds are forming, then return to a balanced blend used lightly through the season. Thinking about what you feed, and when, can transform a leafy dud into a flowering star.
8. Provide a Spring Boost with 5-10-10 Fertilizer and Compost
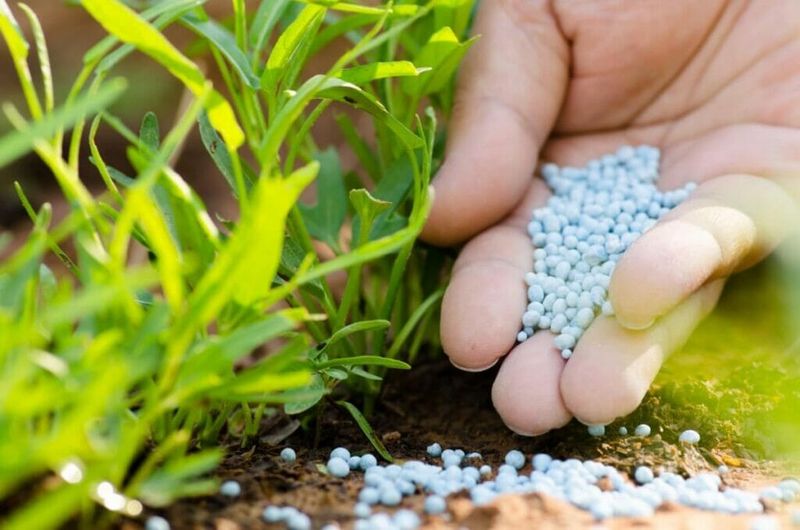
A well-timed spring meal can wake up a sluggish clematis like a strong cup of coffee. A simple handful of 5-10-10 fertilizer scattered around the base gives the plant the phosphorus and potassium it craves for flowers.
Layer a bit of finished compost on top of that, and you have created a slow-release buffet the roots can draw from for weeks. The middle and last numbers on that fertilizer bag are the ones that push blooms rather than foliage.
For an extra nudge, a water-soluble feed applied once or twice across spring and summer keeps the momentum going. Small, thoughtful feedings beat one heavy dump every time.
9. Apply Sulphate of Potash for Stubborn Non-Bloomers
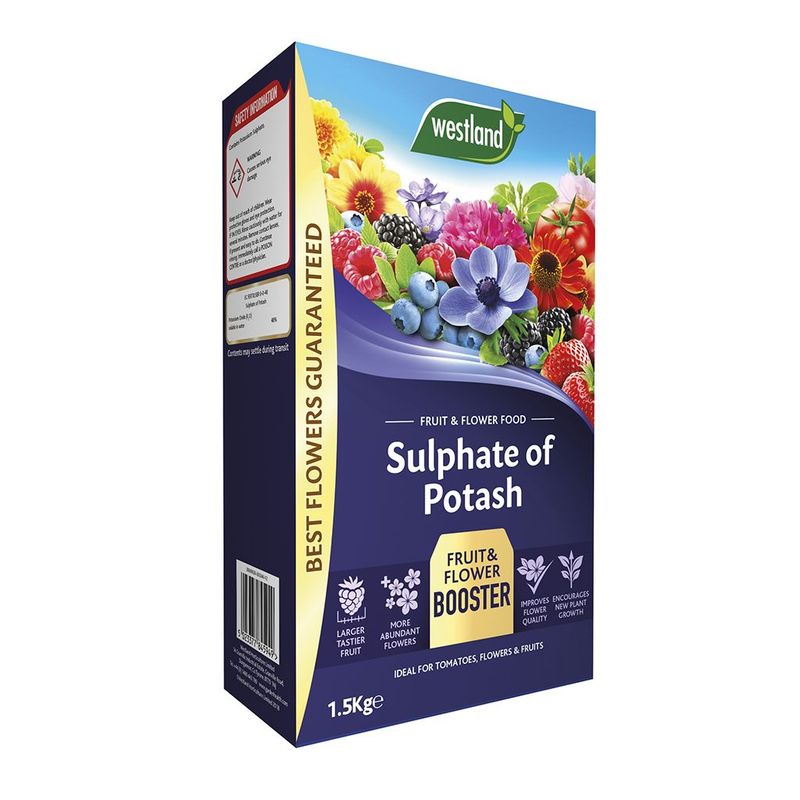
Every gardener eventually meets a clematis that seems to do everything right and still refuses to flower. When the sun, soil, and pruning all check out but the buds never show, sulphate of potash is worth a try.
Potash directly encourages flower and fruit production, so a targeted dose can jolt a stubborn vine into action. Apply it in late winter or early spring, right as the plant is gearing up for the season ahead.
Think of it as a specialist remedy rather than a routine feed. For those maddening non-bloomers that have exhausted your patience, this single tweak sometimes cracks the case.
10. Understand Your Clematis’s Pruning Group
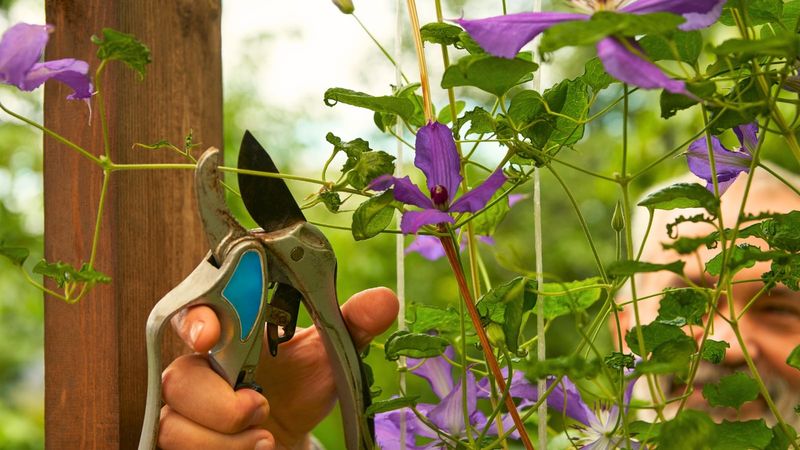
Nothing stops clematis flowers faster than cutting the plant at the wrong time, and this happens more often than folks expect. Every clematis belongs to one of three pruning groups, and each group has its own rulebook.
Groups are numbered 1, 2, and 3, sorted by when the vine blooms and whether it flowers on old or new wood. Snip old wood off a Group 1 plant at the wrong moment and you have accidentally removed next year’s show.
Figuring out which group you own is the single most important step toward correct pruning. Check the plant tag, note the bloom time, or match the variety online before you ever pick up the shears.
11. Prune Group 1 Clematis Sparingly
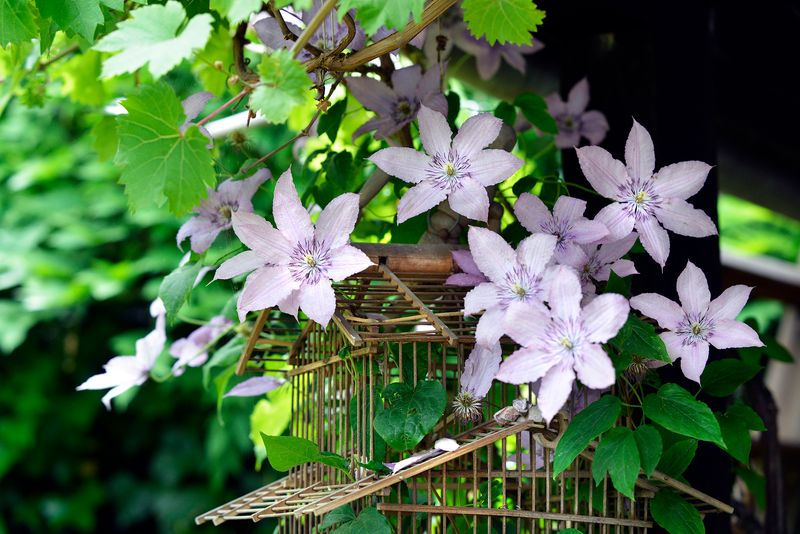
Group 1 clematis are the early birds of the family, bursting into bloom on wood grown the previous year. Because those old stems carry the flowers, heavy pruning at the wrong time wipes out your display before it starts.
The safe rule here is restraint. Wait until after the plant finishes flowering, then trim only to keep its size and shape in check.
Pinching off spent blooms as they fade can stretch the flowering window a touch longer. With this group, less really is more, and a light hand keeps those early flowers coming back season after season.
12. Prune Group 2 Clematis for a Second Flush
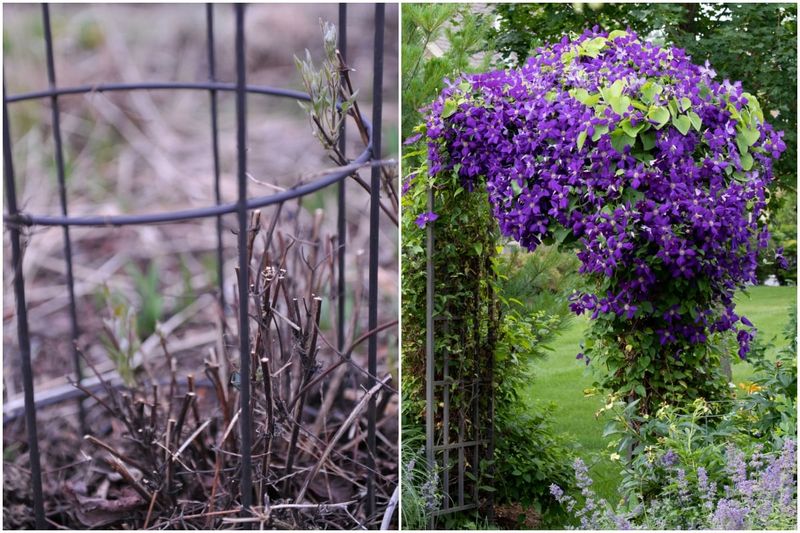
Group 2 clematis are the overachievers that can flower twice in a single season if you treat them right. They bloom on both old and new wood, which opens the door to a repeat performance.
After the big spring show fades, prune each stem back about 2 to 6 inches, cutting just above a healthy growing leaf. That trim signals the plant to push out a second, softer flush of summer blooms.
Keep deadheading regularly while the flowers are open to encourage even more. A little strategic snipping turns one bloom season into two, giving you extra color for the same plant.
13. Hard Prune Group 3 Clematis Annually
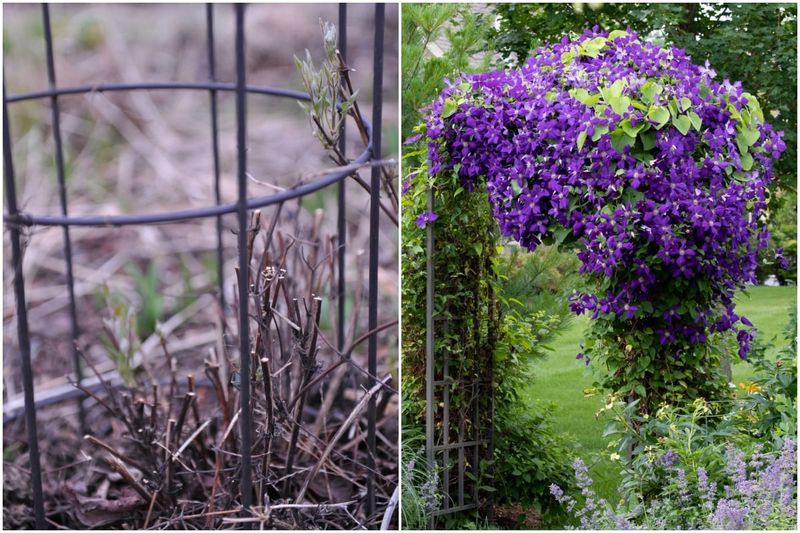
If you own a Group 3 clematis, get comfortable with the shears because these late bloomers ask for a serious haircut every year. They flower only on the current season’s growth, so last year’s stems are just deadweight.
Cut the whole plant back hard in late winter or early spring, often right down near ground level, as the buds begin to swell. February or March is the sweet spot in most US gardens.
It feels ruthless the first time, almost like you are hurting the plant. Yet this bold chop is exactly what fuels a fresh burst of vigorous new growth loaded with flowers.
14. Give Young Plants Time to Establish
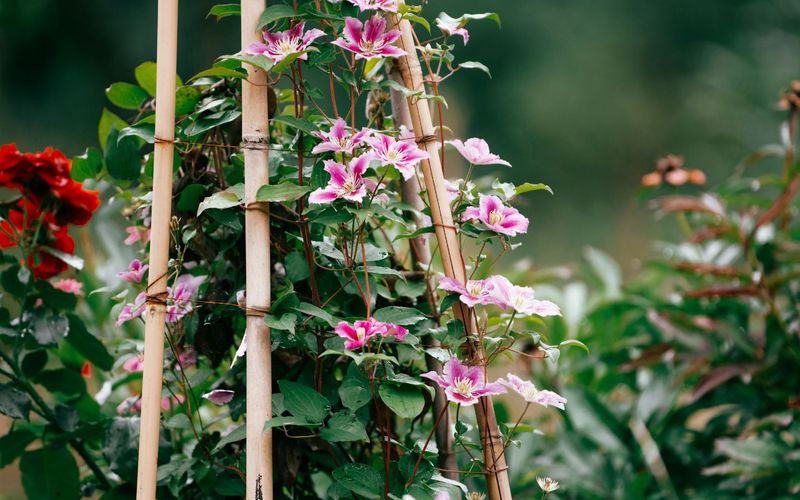
Patience is a hard sell when you are staring at a bloomless vine, but sometimes the plant simply needs more time. A newly planted clematis often spends its first year or two building roots rather than showing off flowers.
There is an old saying that clematis sleeps, then creeps, then leaps, and it captures the pattern perfectly. Some Group 1 and Group 2 varieties take even longer to settle in before they really perform.
Resist the urge to fuss or dig it up out of frustration. Keep the basics steady, give it a couple of seasons, and that quiet young plant will usually reward your wait with a proper display.
15. Provide a Sturdy Support Structure
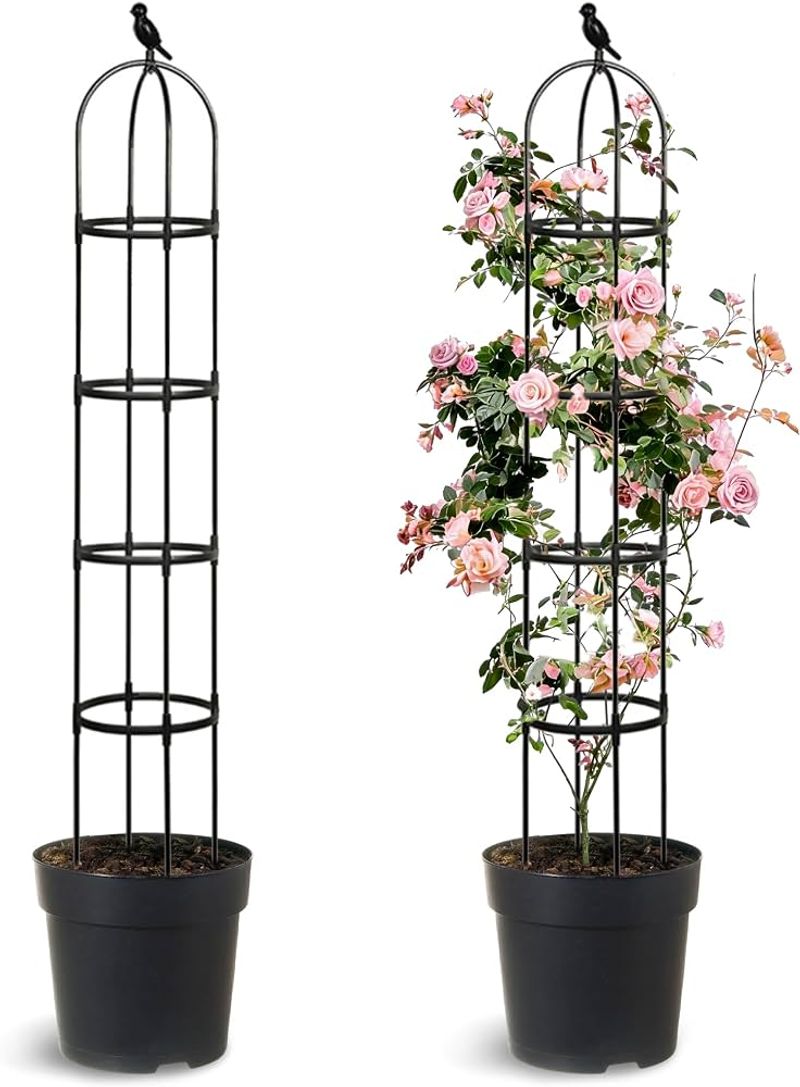
Clematis are climbers at heart, and without something solid to grab onto they cannot show off their flowers the way they want to. A trellis, fence, arbor, or sturdy obelisk gives the vine room to stretch and display every bloom.
Flimsy supports that sag or blow over leave the plant sprawling and stressed, which never helps the flowering effort. Choose something strong enough to hold the vine’s mature weight through wind and rain.
Set the support in place before you plant, not after. Driving stakes or posts into the ground near an established clematis risks slicing through roots the plant would much rather keep intact.
16. Monitor for Clematis Wilt and Other Diseases
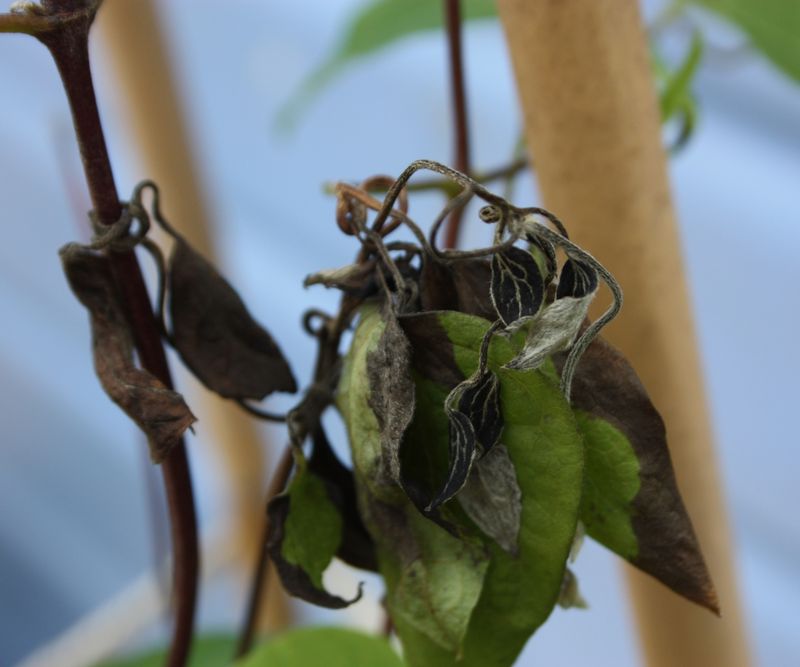
Few things rattle a gardener like watching a healthy clematis suddenly flop over and turn brown overnight. Clematis wilt, a fungal problem, does exactly that, leaving stems limp, discolored, and crispy.
Act fast when you spot it. Cut the affected stems back below the soil line, bag them up for the trash rather than the compost, and wipe down your pruners so you do not spread the fungus around.
Good air movement also keeps trouble at bay, since crowded, stuffy growth invites powdery mildew and other issues. Space and airflow are simple defenses that keep your vine strong enough to bloom.
17. Protect Against Pests and Winter Damage
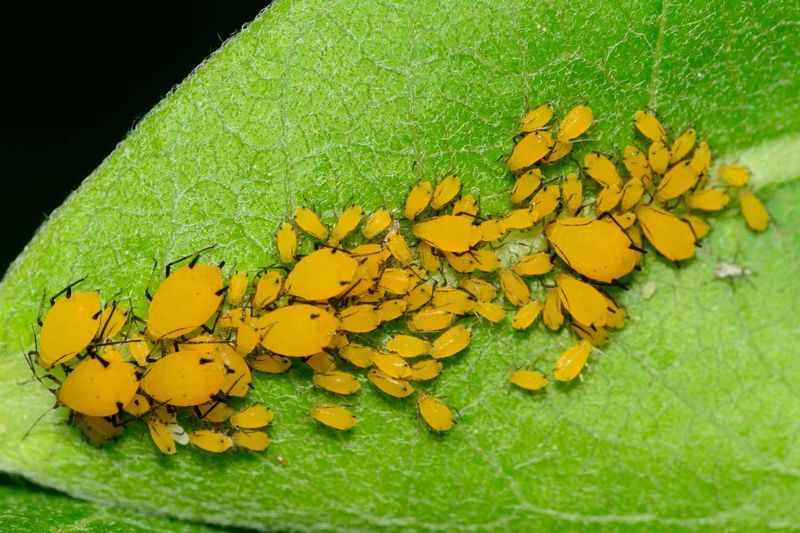
Tender new clematis shoots are like a salad bar for aphids, slugs, and hungry rabbits, and a nibbled vine puts flowers on hold. Keep a watchful eye on fresh growth and deal with pests early before they set your plant back.
Cold weather brings its own threats in northern gardens. After a hard frost, pile straw or chopped leaves generously over the crown for protection, then pull that cover away in early spring as things warm up.
One last tip that saves a lot of heartache: avoid moving your clematis unless you absolutely must. These vines resent root disturbance, and a needless transplant can set back blooming for a year or more.