
If You Want More Coneflowers Next Year, Here Are 15 Steps To Save The Seeds (And Exactly When To Do It)
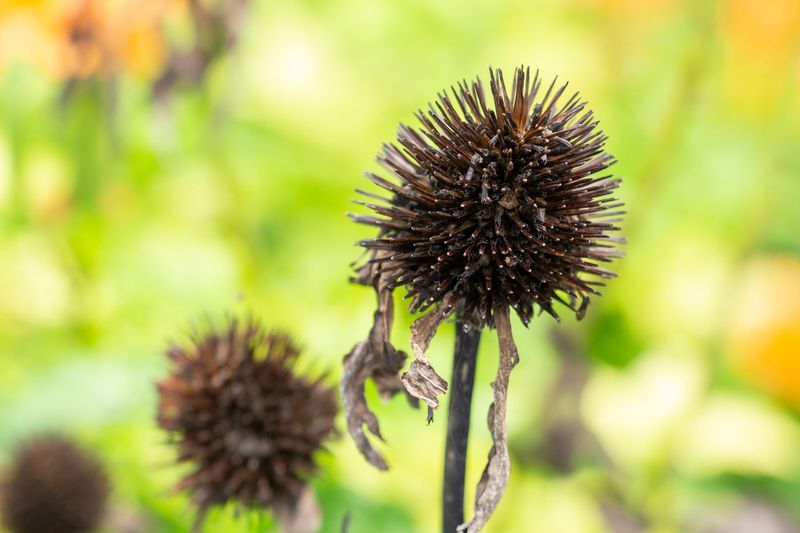
Coneflowers are one of the easiest flowers to grow from seed, and the best part is you can collect those seeds for free right from your own garden. If you time it right and follow a few simple steps, you can turn one summer’s blooms into a whole crop of new plants next year.
Below you will find exactly when to harvest and how to store the seeds so they actually sprout. Let’s walk through it step by step so your coneflowers keep coming back stronger every season.
1. Stop Deadheading in Late Summer
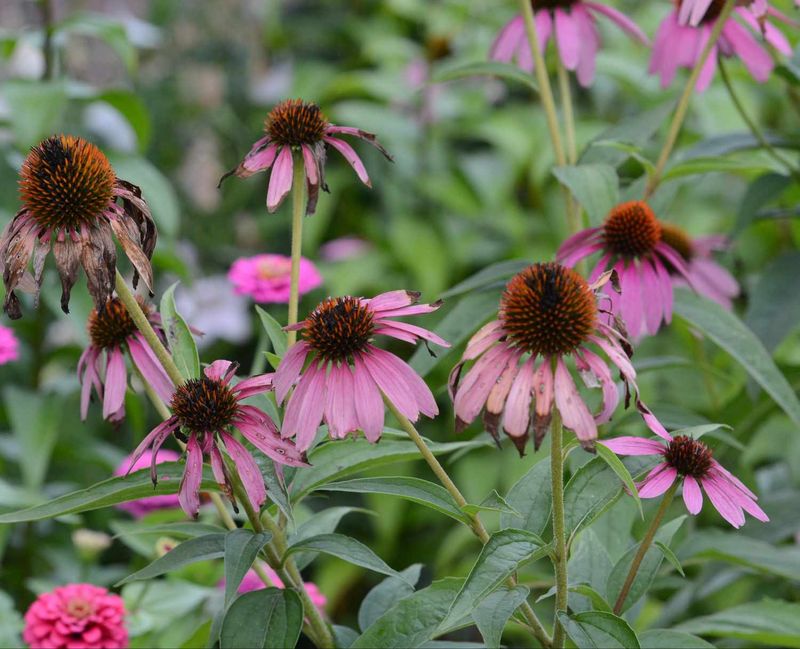
Most of the summer you have probably been snipping off spent blooms to keep your coneflowers looking tidy. That habit is great for appearances, but it also removes the very heads that turn into seeds.
As August rolls in, put the pruners down and let some of the strongest stems keep their fading flowers. You do not need to leave every bloom, just a handful of healthy ones to mature fully.
Leaving these heads in place lets the plant finish its natural cycle and fill each cone with viable seed. It is the single easiest move on this whole list, because it really just means doing nothing.
2. Observe Petal Drop
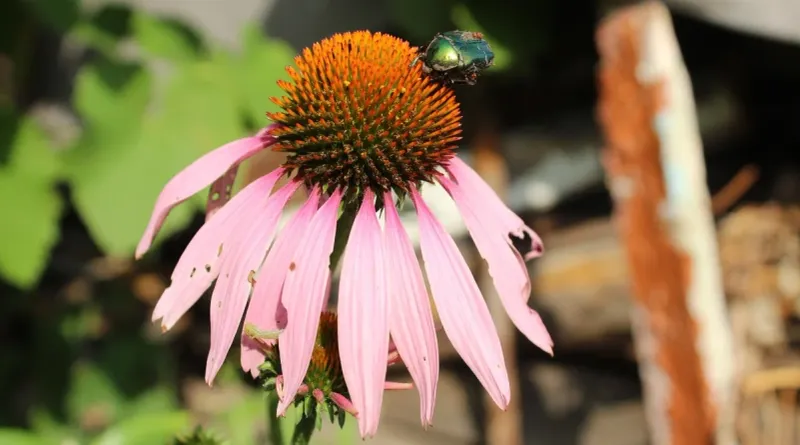
The colorful petals are pretty, but they are also your timing clue. When those petals wither and drop away completely, the plant is signaling that the seed-making stage is underway.
Watch for the flower to go from bright and full to bare, leaving nothing but the spiky cone standing in the center. That stripped-down look is not the plant dying, it is the plant getting to work.
Once the petals are gone, resist the urge to cut the stem just yet. The seeds inside still need more time to firm up and mature.
3. Look for Brown, Crisp Cones
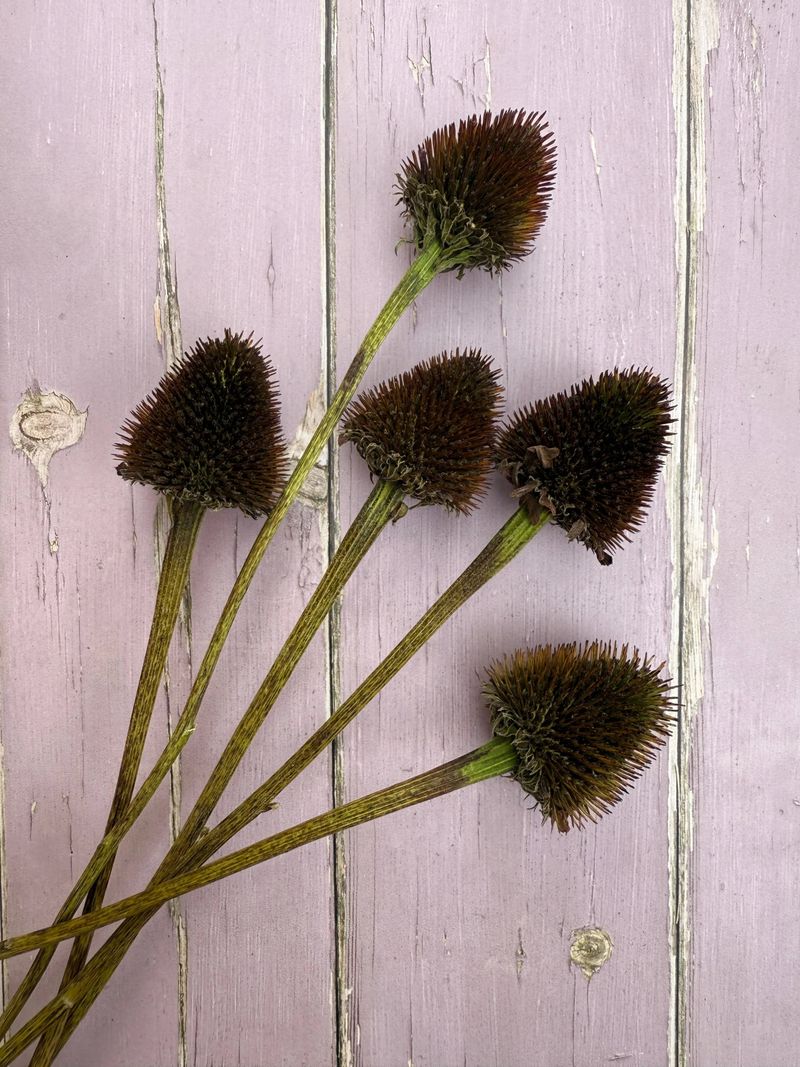
Color is everything when you are judging ripeness. A cone that is ready to harvest will have turned a deep, rich brown and will feel dry and crisp to the touch.
If the cone still shows patches of green or looks mottled and streaked, the seeds inside are not finished yet. Give it another week or two and check again.
Depending on your region, this deep-brown stage usually shows up between late August and mid-October, roughly four to six weeks after peak bloom. Patience here pays off with plumper, more viable seed.
4. Check for Easy Seed Release
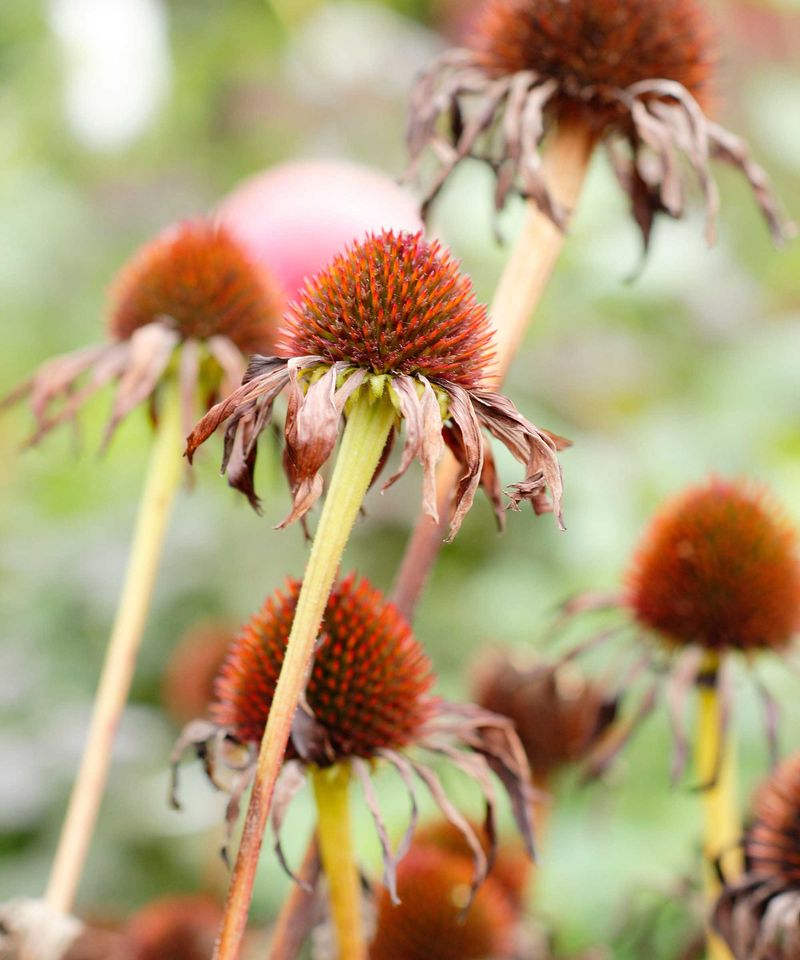
Eyes can fool you, so let your fingers double-check. Give the surface of the cone a gentle rub with a fingertip and see how the little seed receptacles respond.
When the seeds are truly ripe, those spiky sections detach easily with just light pressure. If you have to tug or fight to loosen anything, the head needs more drying time on the plant.
Think of it as a quick handshake with the flower. A cooperative cone that lets go readily is telling you it is harvest day.
5. Gather Your Supplies
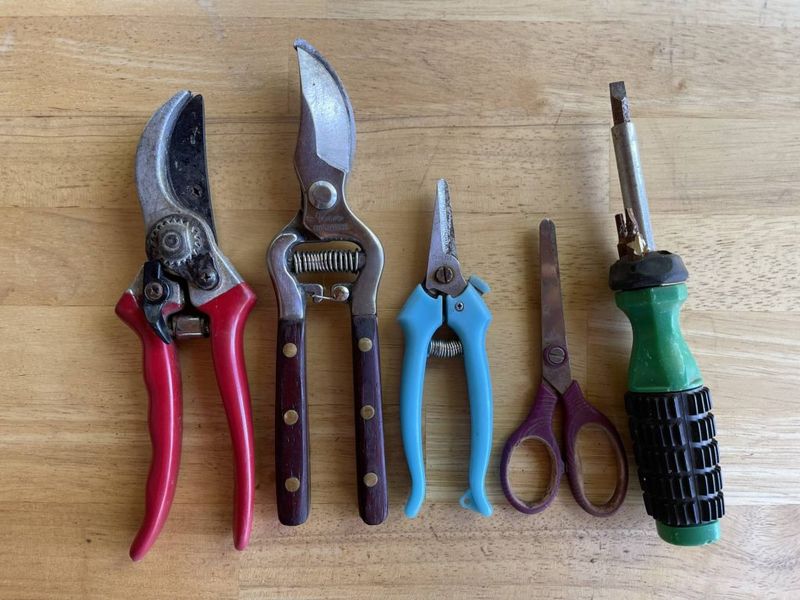
Nothing ruins a harvest mood faster than running back to the shed mid-job. Before you head outside, round up sharp pruning shears or snips, a pair of thick gardening gloves, and a few paper bags.
The gloves are not optional, by the way. Coneflower cones are surprisingly spiky, and bare fingers will regret the encounter quickly.
Paper bags earn their spot too, since they let air move through and keep moisture from building up. Have everything ready and the whole process takes just a few minutes.
6. Cut the Seed Heads
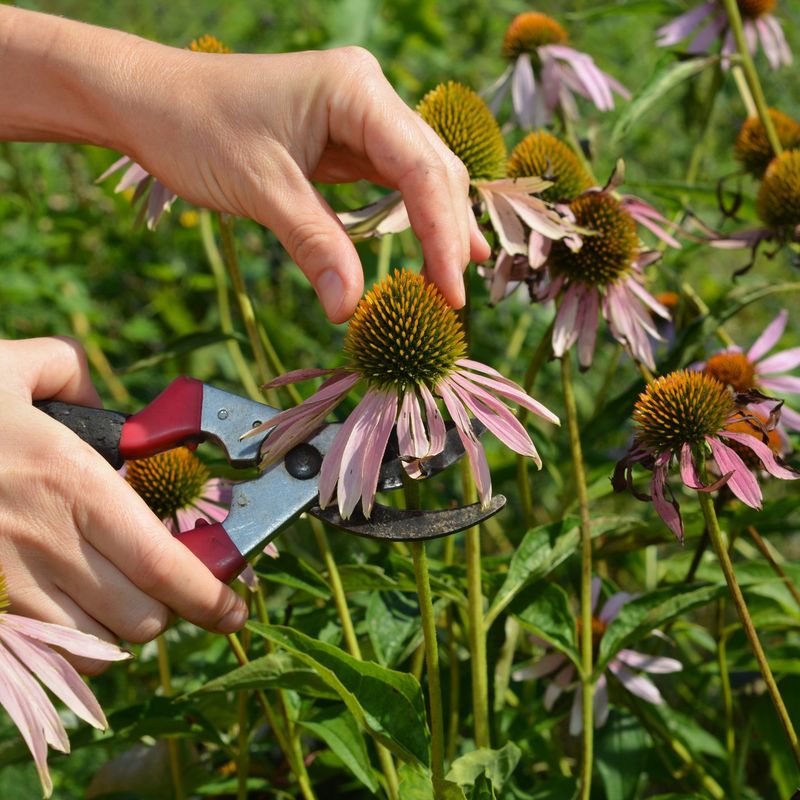
Timing the day matters as much as timing the season. Pick a dry, sunny afternoon so the cones go into storage without extra dampness clinging to them.
Snip each mature seed head from the plant, cutting the stem about five to six inches below the cone. That little handle of stem gives you something to grip and makes drying easier.
Harvesting when everything is dry helps prevent rot and mold once the heads are bagged up. Wet cones are the fastest way to lose a batch, so wait out any morning dew or recent rain.
7. Place Them in Paper Bags
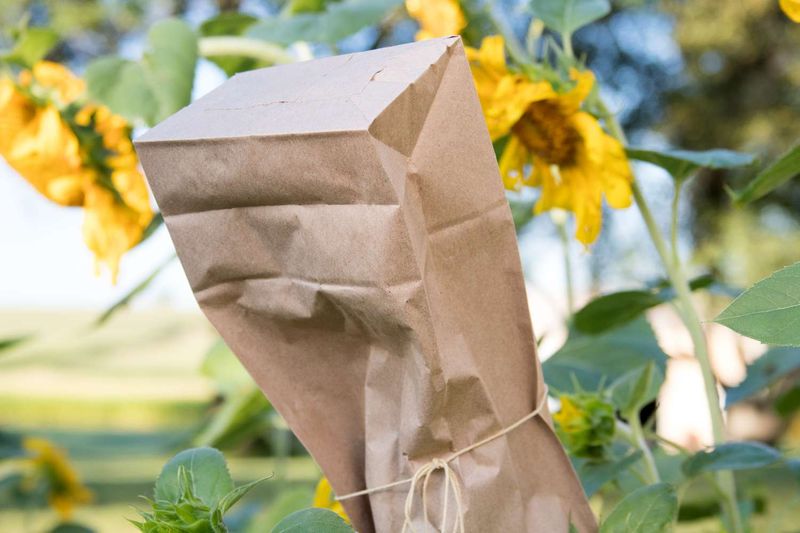
Once cut, the cones head straight into paper bags with the seed ends pointing down. You can fit several stems in a single bag without any trouble.
Pointing the cones downward means any seeds that shake loose during drying collect at the bottom instead of falling on the floor. It is a small trick that saves you a scavenger hunt later.
Skip the plastic bags entirely. They trap humidity and invite mold, while paper breathes and keeps things dry.
8. Dry Them Thoroughly
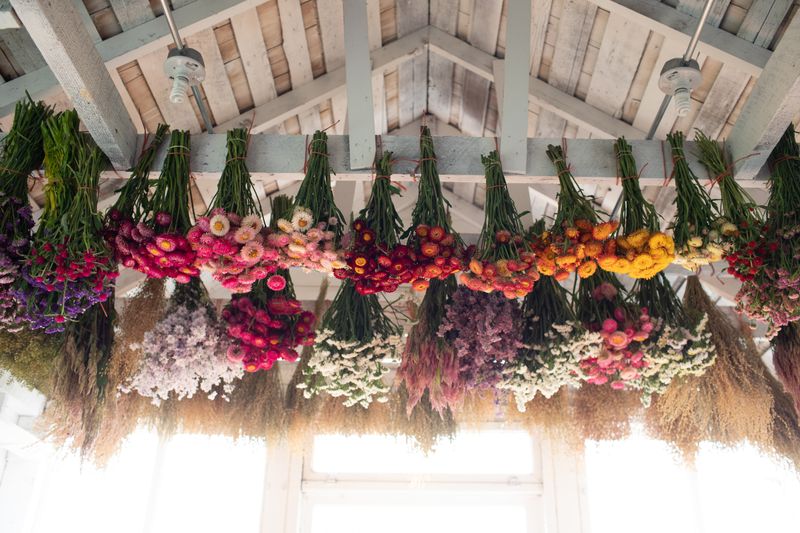
Drying is where a lot of impatient gardeners slip up. Hang or set your paper bags in a warm room with good airflow, ideally somewhere sitting around 60 to 70 degrees Fahrenheit.
Give the cones one to two weeks at minimum, though some batches take even longer to become fully brittle. The goal is bone-dry, snap-crisp seed heads with zero softness left.
Keep them out of direct sunlight during this stage. Too much sun can bake and damage the seeds, undoing all your careful work.
9. Wear Gloves for Protection
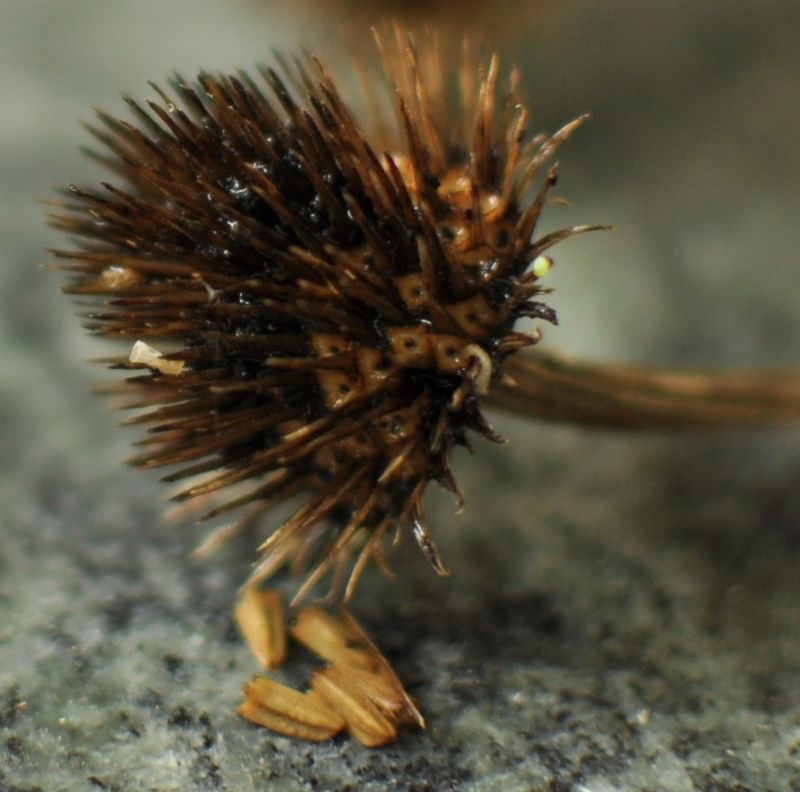
Here is where those spiky cones really show their attitude. When it is time to break the seeds free, slip your thick gardening gloves back on before you touch a thing.
The dried heads are even pricklier than the fresh ones, and they can leave your fingertips sore and scratched. Gloves let you work with confidence instead of flinching.
A little protection goes a long way toward making seed extraction a pleasant task rather than a painful one. Comfortable hands mean you will actually enjoy the process.
10. Extract Seeds by Shaking or Rolling
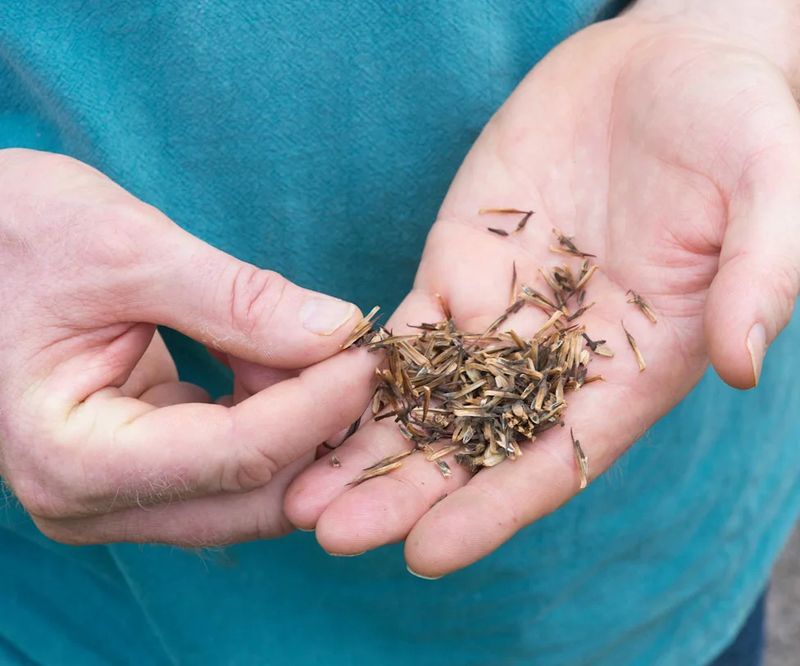
You have got two easy ways to free those seeds, so pick whichever feels natural. For the shake method, drop the dried heads into a lidded jar or an old coffee can and shake it hard until the seeds rattle loose.
You can even just shake the paper bag they dried in.
The rolling method is gentler and more hands-on. Roll your thumb over the top of the cone to loosen the seeds, or rub the whole head between your palms over a sheet of white paper.
White paper makes the small seeds easy to spot as they fall. Both methods work, so feel free to mix them until the cone gives up its treasure.
11. Separate Seeds from Chaff
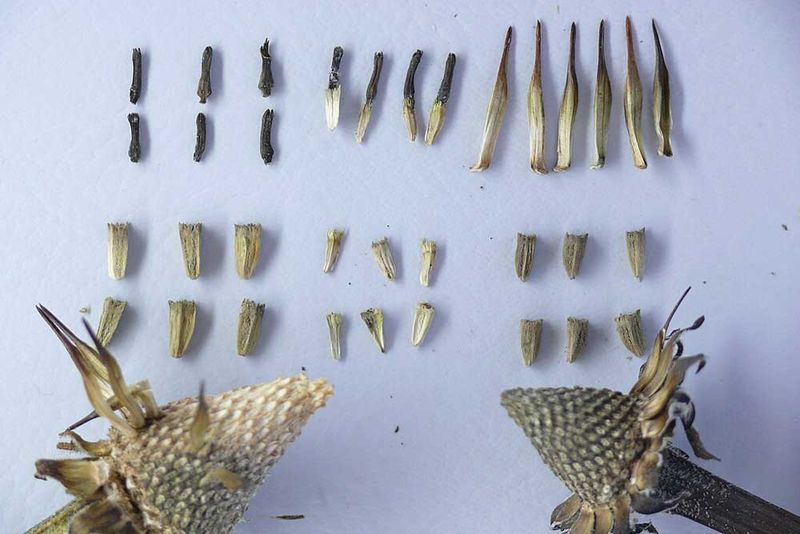
Once everything is out of the cone, you will notice a jumble of seed and fluff. The actual seeds are small, brown, and shaped a bit like grains of rice or tiny triangles.
The lighter, papery bits are chaff, and you want to clear away as much of it as you can. A kitchen strainer works wonders here, letting the fine debris sift out while the heavier seeds stay behind.
You do not have to achieve perfection, but cleaner seeds store better and are easier to sow. A few minutes of tidying now saves confusion at planting time.
12. Do a Final Drying if Needed
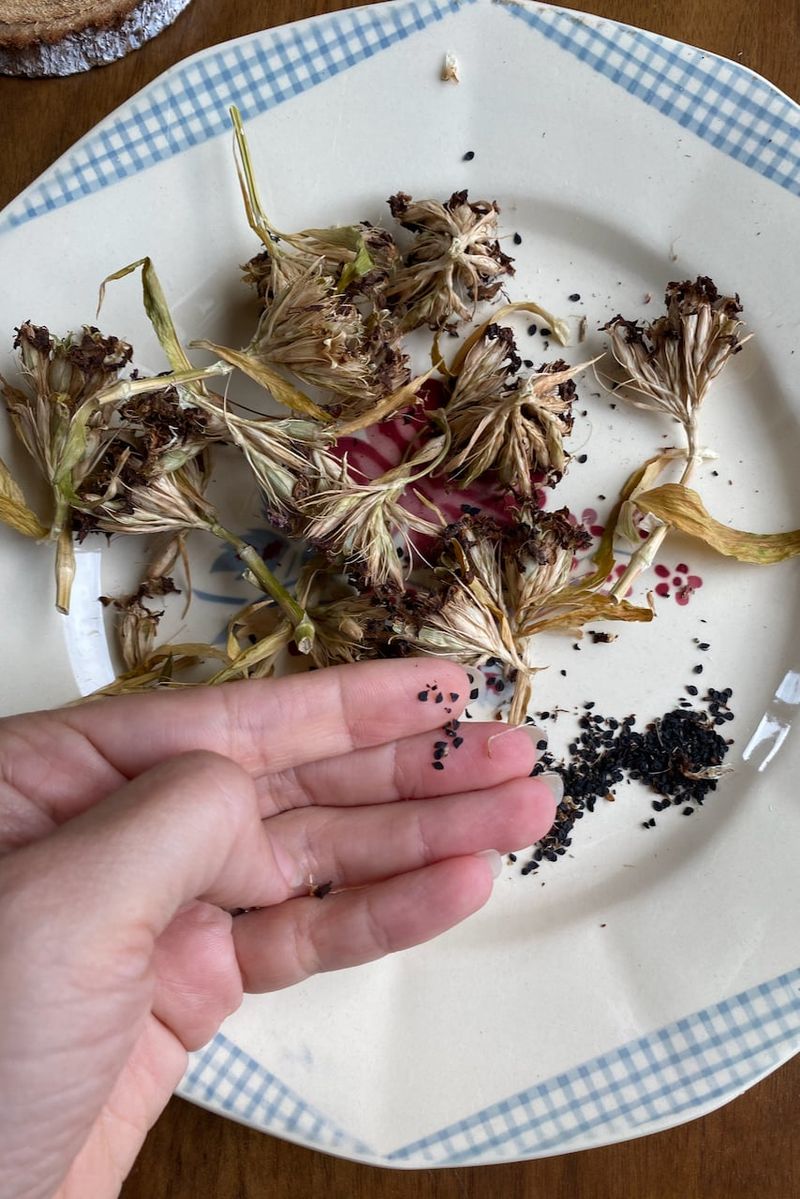
Not totally sure your seeds are bone dry? When in doubt, give them a little extra time to be safe.
Spread the cleaned seeds in a single layer on a paper towel, paper plate, or a mesh drying rack, then set them somewhere with good airflow. A few extra days, or even weeks, guarantees no hidden moisture lingers.
Steer clear of plastic surfaces for this step, since they block airflow and can trap dampness underneath. Dry seeds are the whole key to avoiding mold in storage.
13. Choose Appropriate Containers
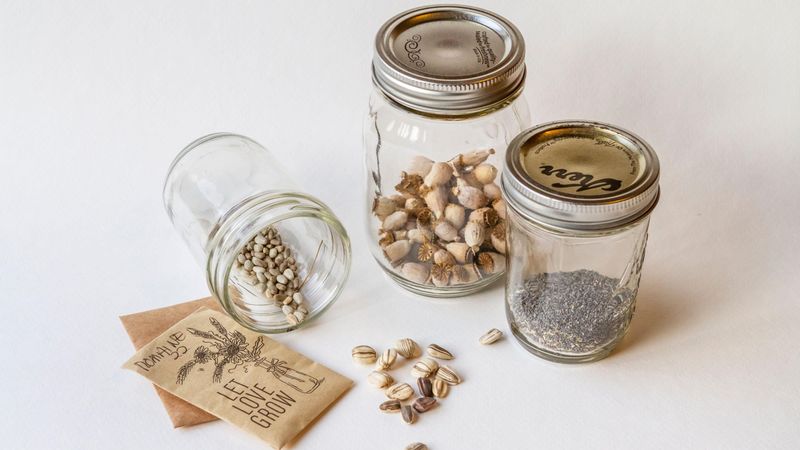
Where you tuck your seeds shapes how well they keep. Paper envelopes, small paper bags, and glass jars all make solid homes for cleaned, fully dried coneflower seeds.
For longer storage, some gardeners like airtight containers such as mason jars kept in the refrigerator. That works nicely, as long as you are absolutely certain the seeds are completely dry first.
Sealing even slightly damp seeds is asking for mold. When in doubt, lean toward breathable paper rather than a tight seal.
14. Label Everything Clearly
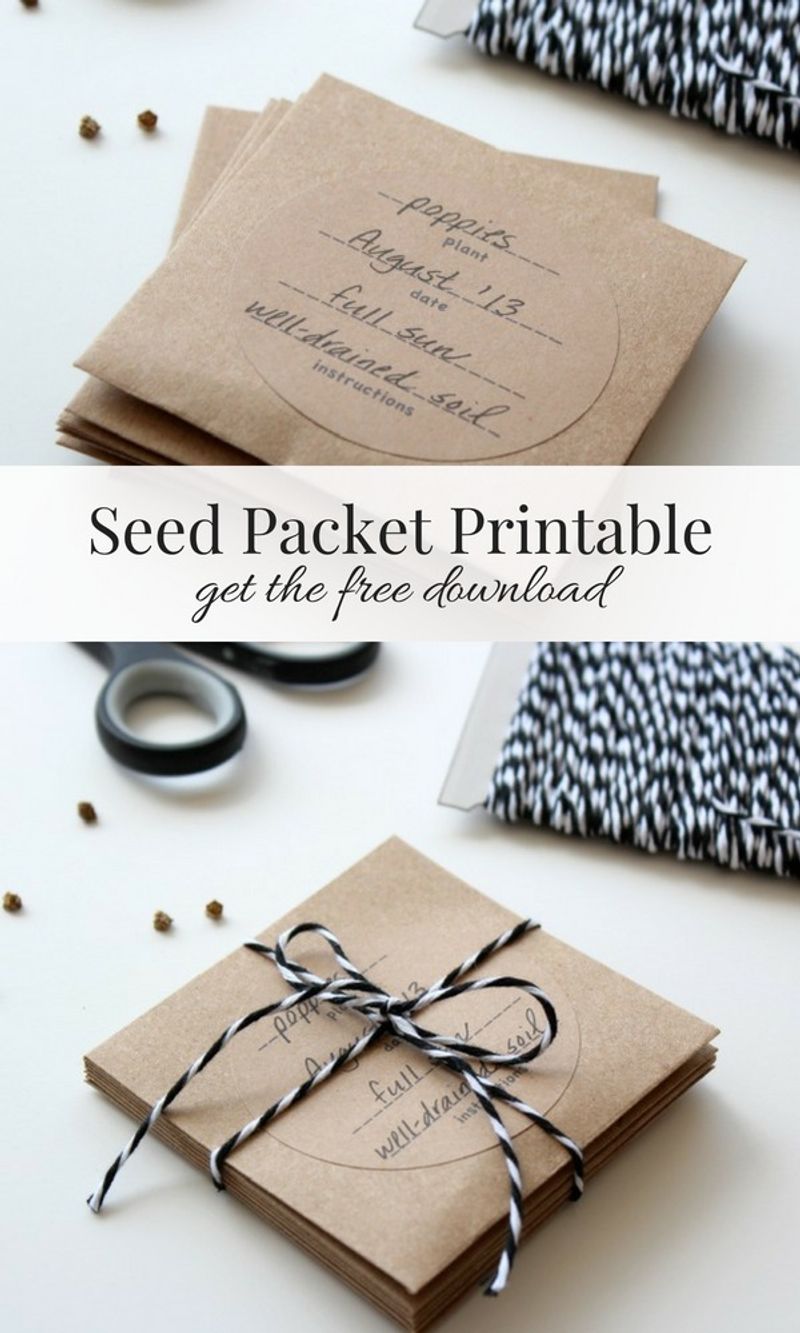
Future you will be so grateful for a quick label. Write the plant name, Coneflower or Echinacea, along with the date you collected the seeds on each container.
Unlabeled seeds have a way of becoming mystery packets by the time spring arrives. A simple note keeps you from guessing what is what.
The date matters too, because it helps you track how long the seeds have been stored and how fresh they still are. Good labels turn a pile of envelopes into an organized little seed library.
15. Store in a Cool, Dry, Dark Place
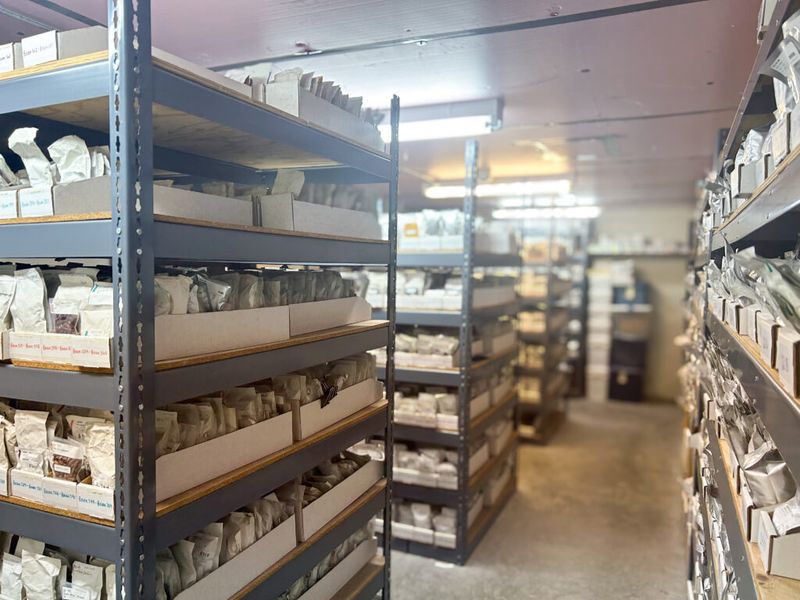
The final step decides whether all your effort pays off next spring. Stash your labeled containers somewhere cool, dry, and dark, aiming for temperatures roughly between 30 and 60 degrees Fahrenheit.
A closet, a dry garage, a basement, or the refrigerator all fit the bill nicely. What you want to avoid is heat, light, and moisture, the three things that shorten seed life.
Stored well, coneflower seeds stay viable for at least a couple of years, with the best sprouting rates in the first year or two. Come planting season, you will have a free supply ready to fill your garden with even more blooms.