
The One Thing North Carolina Fall Tomatoes Need In September Or Blossom End Rot Wrecks The Late Harvest
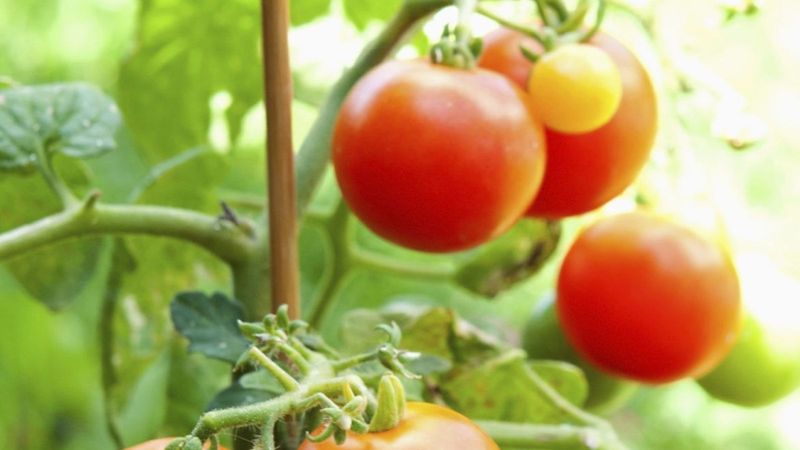
Right now, somewhere in a North Carolina backyard, a late-season tomato plant is working hard to ripen its last fruits before cold weather arrives. But a common disorder called blossom-end rot can quietly ruin those fruits before they ever get a chance to turn red.
The good news is that one practical habit – keeping the root zone consistently moist during fruit expansion – can make a real difference in protecting what is left of your harvest. Understanding why this matters, and how to do it for your specific yard, is the most useful thing you can do for your tomato plants this fall.
September may overlap fruit expansion, but it is not a statewide deadline
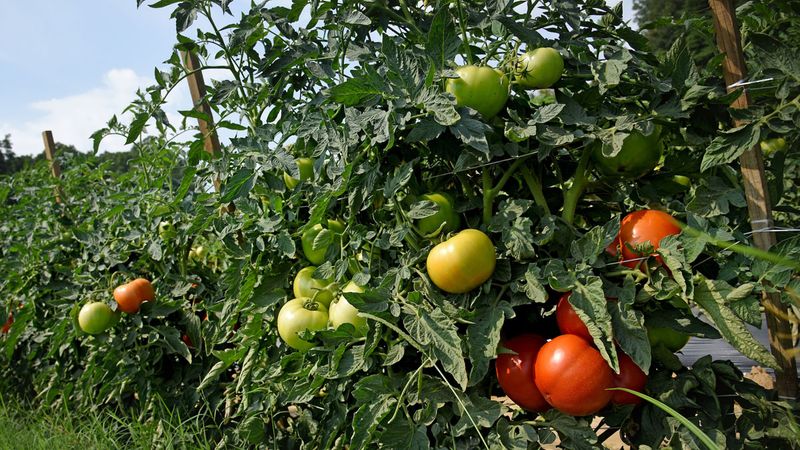
For many late-season tomato plants across North Carolina, September is a busy time. Fruit that set in late summer is still expanding, and younger fruit may be just getting started.
But the actual crop stage on your plant depends on when you transplanted, which variety you chose, and what the season threw at you – not on the calendar date alone.
According to NC State Extension’s home tomato guide, early varieties reach maturity in roughly 50 to 65 days after transplanting, mid-season types in 66 to 80 days, and late varieties in more than 80 days under favorable conditions. A late-planted early variety and an on-time late variety can be at completely different stages on the same September day, even in the same neighborhood.
What makes this period critical is not the month itself but the stage your fruit is in. Developing tomatoes are most vulnerable to blossom-end rot when they are actively expanding and calcium demand in the fruit tissue is high.
Heat, dry spells, heavy rain, poor drainage, or root stress during that window can all disrupt the steady water uptake the plant needs to move calcium into that tissue.
Regional timing adds another layer of complexity. NC State’s average first and last frost dates show that mountain gardens may see frost as early as October, while parts of the Coastal Plain often stay frost-free into November.
Piedmont gardeners fall somewhere in between. That spread means a single statewide September deadline makes no practical sense.
The more useful question is: where is your plant right now? NC State’s Extension Gardener Handbook notes that fall planting schedules shift earlier in western North Carolina and later in the Coastal Plain, reflecting exactly this kind of regional variation.
Check your fruit. If tomatoes are actively sizing up, that is your window to act – regardless of what the calendar says.
What blossom-end rot looks like and what it means
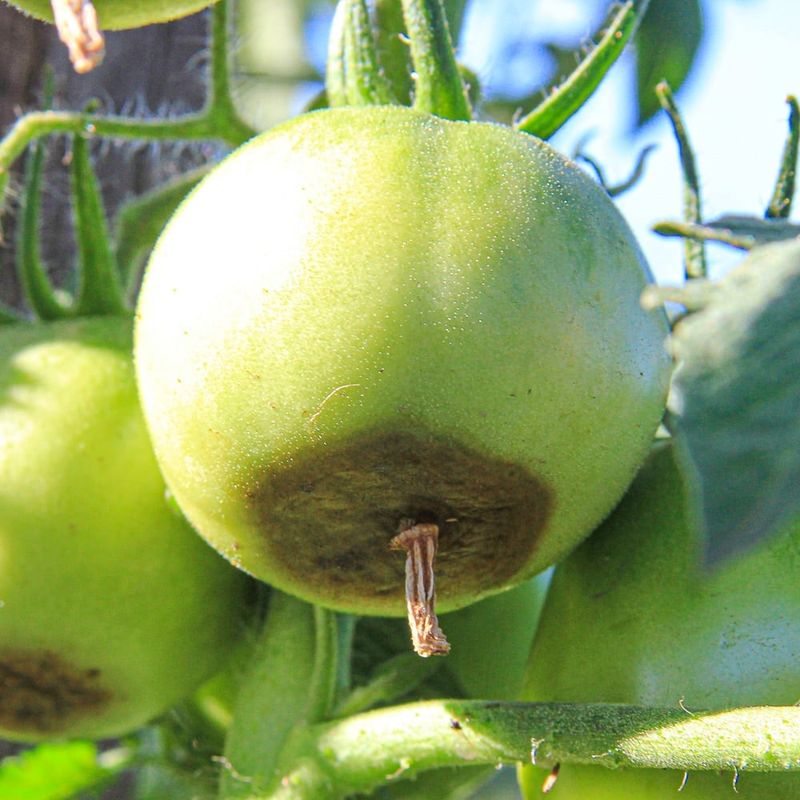
Blossom-end rot has a look that is hard to mistake once you know what to find. The first sign is usually a small, water-soaked, pale area at the bottom of the fruit – the blossom end, which is the end opposite the stem.
Over time, that spot darkens and sinks into a dry, leathery, brown-to-black lesion that can cover a quarter or more of the fruit’s surface.
According to NC State Extension’s guide on blossom-end rot, this is a physiological disorder, not a contagious disease. No fungicide or insecticide will fix it, and it will not spread from plant to plant the way an infection would.
Secondary fungi or bacteria sometimes colonize the already-damaged tissue, which can make the lesion look worse or cause additional decay, but the original problem is not microbial.
The disorder is tied to inadequate calcium reaching the cells at the blossom end of the developing fruit. That explanation is accurate as far as it goes, but it leads many gardeners to the wrong conclusion.
University of Georgia Extension research on calcium in tomatoes makes clear that adequate calcium in the soil does not guarantee adequate calcium in the fruit. Water movement, root health, soil aeration, temperature, humidity, and how the plant distributes calcium internally can all affect whether enough of the mineral actually reaches expanding fruit tissue.
The more complete picture, supported by Utah State University Extension’s blossom-end rot notes, is that inconsistent water uptake is often the practical trigger. When the root zone swings between dry and wet, or when root function is compromised, calcium movement to the fruit slows or stalls.
The fruit tissue at the blossom end, which depends on steady water flow for calcium delivery, suffers first.
Replacing the instinct to blame a fungus, an insect, or an empty soil calcium bank with this more accurate picture is what leads to the right response: stabilizing moisture and protecting root function, not reaching for a spray bottle or a bag of amendment.
Give the root zone steady moisture instead of a rescue soaking
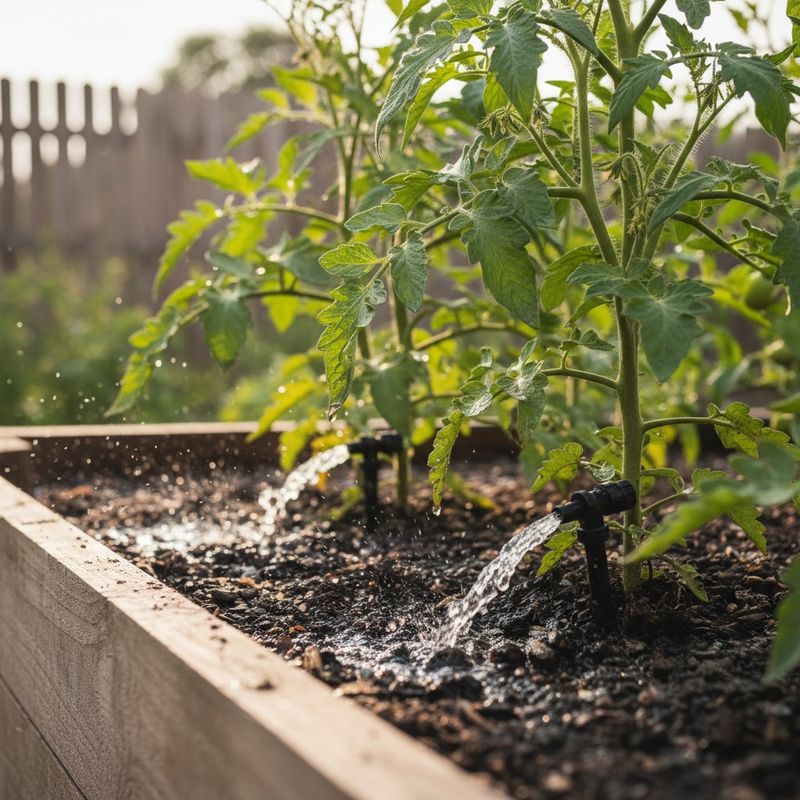
Steady moisture in the root zone is the central action step for protecting developing tomatoes from blossom-end rot. The practical target, recommended by NC State Extension’s home tomato guide, is roughly 1.5 inches of water per week from rainfall and irrigation combined during the fruiting period.
That figure is a flexible guideline, not a rigid schedule, and it is not an instruction to add 1.5 inches on top of whatever rain already fell.
Before you water, check how much rain your garden actually received. A simple rain gauge near the plants tells you far more than a forecast.
If recent rainfall already brought an inch or more, the soil may not need supplemental watering right away. The goal is to avoid both drought stress and waterlogged conditions, because research from Utah State University Extension confirms that saturated soil can impair root function just as surely as dry soil can.
When you do water, the method matters. A brief surface sprinkle wets the top inch of soil and evaporates quickly, leaving deeper roots dry.
Soaking the root zone to a depth of roughly 6 to 8 inches at each session, approximately every seven days under normal conditions, encourages roots to draw moisture from a larger volume of soil and reduces the sharp wet-dry swings that trigger calcium movement problems.
How often you actually need to water depends heavily on your local conditions. Sandy soils common in parts of the Coastal Plain drain quickly and may require more frequent attention than the heavier clay soils found across much of the Piedmont.
Containers dry out faster than in-ground beds, especially during warm September days, and may need watering every two to three days. Raised beds fall somewhere in between, depending on their depth and fill mix.
Plant size also changes the equation. A large, heavily fruiting plant draws more water than a smaller one, and hot, dry stretches accelerate soil moisture loss no matter the soil type.
Check the root zone by pushing a finger or a thin probe a few inches into the soil near the plant. If it feels dry at that depth and rain is not in the near forecast, water deeply rather than waiting for the scheduled day.
Use mulch and gentle maintenance to limit moisture swings
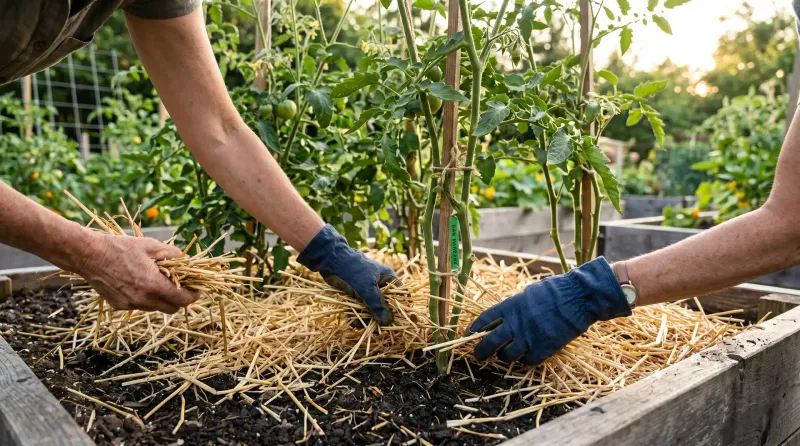
Mulch is one of the most practical tools a North Carolina tomato gardener has for moderating the moisture swings that contribute to blossom-end rot. A 2- to 3-inch layer of organic material – straw, shredded leaves, compost, or wood chips – spread around the base of the plant slows evaporation, softens the effect of heavy rain on bare soil, and helps the root zone hold a steadier moisture level between waterings.
Pull the mulch back a few inches from the main stem to avoid creating a damp spot against the bark that could invite rot.
Along with mulching, protect the root zone by leaving the soil around your tomato plants undisturbed through the rest of the season. Utah State University Extension’s blossom-end rot guidance identifies root injury as a direct contributor to reduced water and nutrient uptake, which in turn can interfere with calcium movement to developing fruit.
Late-season weeding or cultivating close to the plant can sever feeder roots without any visible sign above ground.
Fertilizer choices also matter at this stage. Penn State Extension’s tomato disease and disorder guide and Utah State’s garden tomato research both flag excessive nitrogen as a factor associated with blossom-end rot and poor fruiting.
High nitrogen pushes the plant toward vigorous leafy growth, which can compete with fruit for calcium and other resources. If you applied a balanced fertilizer earlier in the season, hold off on additional nitrogen-heavy applications now unless a soil test points to a specific need.
The plant’s energy belongs with the fruit it is already carrying.
The common thread across mulch, root protection, and fertilizer restraint is the same: preserve the conditions that allow steady, uninterrupted water uptake. NC State Extension’s tomato guide recommends mulch specifically to conserve soil moisture, and that benefit compounds with the other gentle maintenance habits described here.
Make calcium amendments a soil-test decision
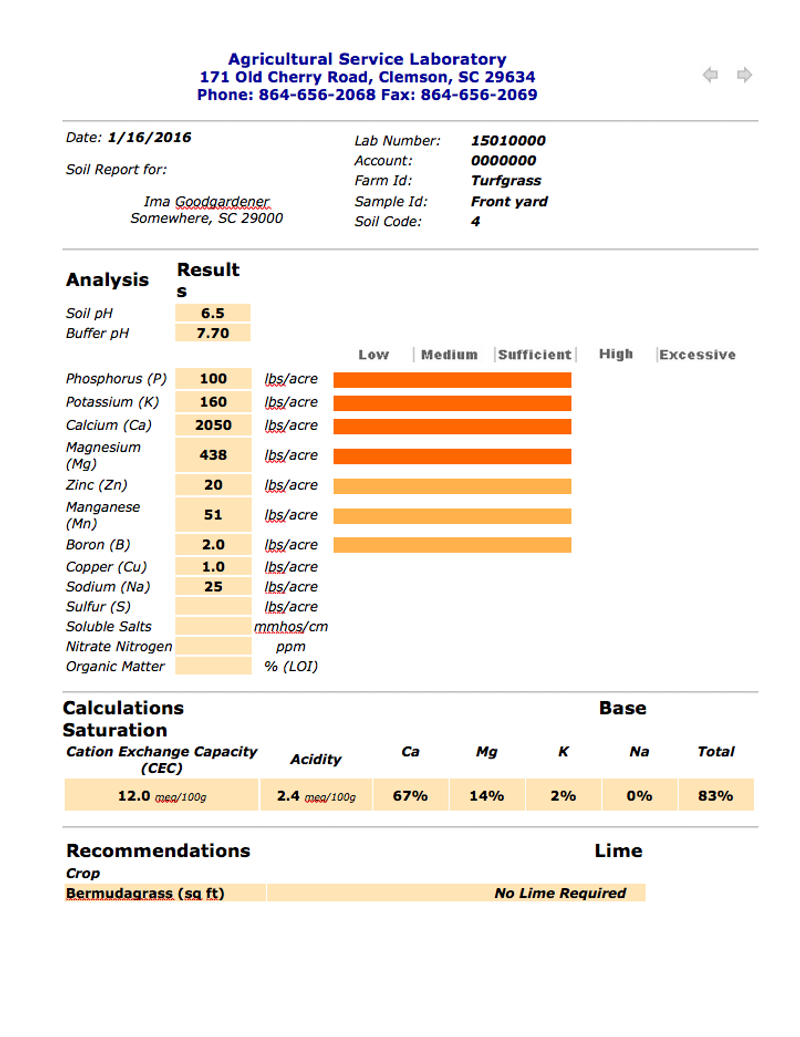
Blossom-end rot sends many gardeners straight to the garden center for a calcium product, but applying lime, gypsum, or foliar sprays without knowing your soil’s actual status can waste money and, in the case of lime, create a new problem by pushing pH in the wrong direction. A soil test is the right starting point, not a reaction to a single damaged tomato.
According to NC State Extension’s guide on soil acidity and liming, lime’s primary function is to raise soil pH, with calcium supply as a secondary benefit. Adding lime to soil that is already at the right pH can push it too high, reducing the availability of other nutrients.
Gypsum, by contrast, supplies calcium and sulfur without significantly changing pH, making it a different tool for a different situation. Neither product is a universal emergency fix.
NC State’s tomato guidance identifies a target pH of roughly 6.5 to 6.7 for tomatoes, and the home tomato guide recommends soil testing before planting to establish baseline conditions. If you skipped that step this season, consider submitting a sample now through the NC Department of Agriculture and Consumer Services lab, which processes samples for a low fee.
The results will tell you whether pH or calcium actually needs attention before next year’s crop.
Foliar calcium sprays get recommended frequently in online discussions of blossom-end rot, but University of Georgia Extension guidance on tomato production gives them limited support. Calcium applied to leaves may not reach developing fruit effectively, and University of Georgia Extension’s blossom-end rot prevention guidance notes that existing lesions are irreversible regardless of what is applied.
As UGA’s calcium research explains, soil amendments support long-term soil management and are best used according to test results, not as a panic response to a disorder that is already showing up on fruit.
Remove damaged fruit and protect the harvest that remains
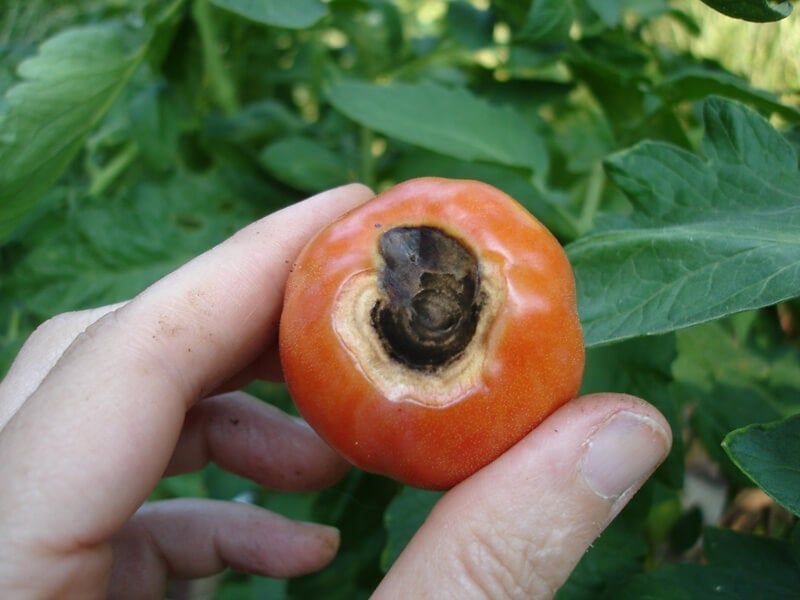
Finding a tomato with blossom-end rot on your plant is frustrating, but it does not mean the rest of the harvest is gone. The affected tissue will not recover – no treatment reverses an existing lesion – so the most useful thing you can do is remove the damaged fruit and refocus your attention on the younger tomatoes still developing on the plant.
University of Georgia Extension’s homeowner guidance on blossom-end rot points out that the disorder often hits earlier fruit hardest, especially when growing conditions were unstable earlier in the season. Later fruit may develop normally after moisture and root conditions stabilize.
Removing the affected tomatoes allows the plant to direct its resources toward the fruit that still has a chance.
One important safety note: do not use tomatoes with blossom-end rot or other significant damage for home canning. Even after trimming away the visibly affected tissue, damaged produce can affect the acidity of canned products and may harbor pathogens.
University of Minnesota Extension’s food preservation guidance advises against canning damaged tomatoes. Fresh use of lightly affected fruit, after cutting well past the lesion, is a personal decision, but canning should be avoided.
Before assuming every dark or rotten spot is blossom-end rot, check where the damage is located. BER always appears at the blossom end – the bottom of the fruit, farthest from the stem.
University of Minnesota Extension’s tomato fruit rot diagnostic guide and University of Georgia Extension’s fruit rot identification resource both describe other disorders and infections that can cause lesions elsewhere on the fruit or with a different texture. Anthracnose, for example, produces sunken circular spots that typically appear on the side or shoulders of ripe fruit rather than at the blossom end.
If the location or appearance does not match the classic BER description, Utah State University Extension’s tomato rot FAQ and your local NC Cooperative Extension office can help you get a more precise diagnosis. And according to Penn State Extension’s tomato disease guide, keeping the plant’s foliage reasonably intact also helps protect fruit from heat and light stress, so avoid aggressive pruning at this stage.
Keep the late harvest in play by stabilizing conditions
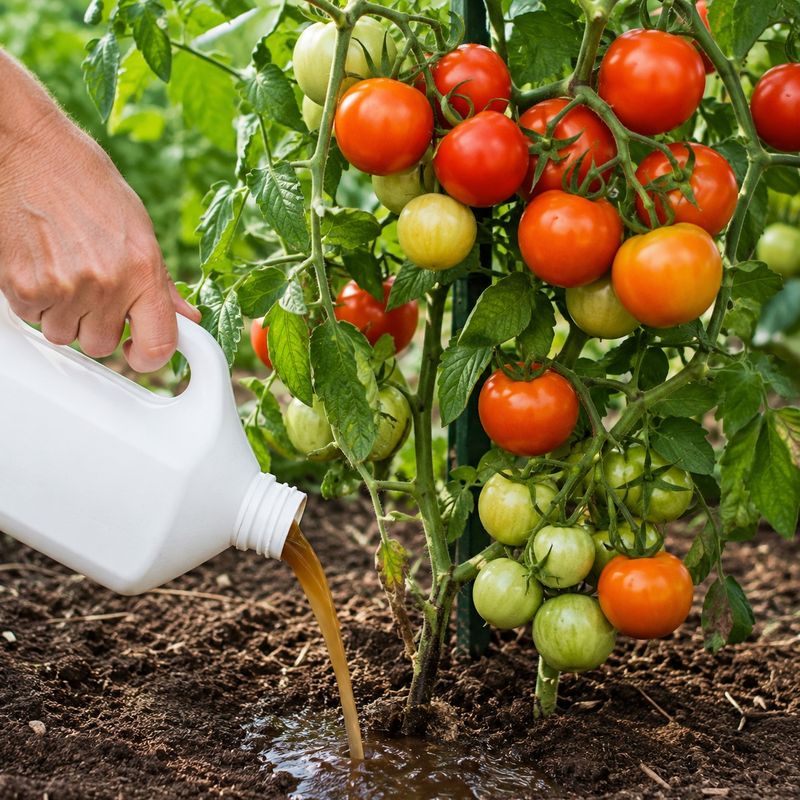
A quick checklist can help you pull together everything covered here. Check how much rain your garden received this week, then water deeply if the root zone is dry – aiming for that combined 1.5-inch weekly target from NC State Extension’s home tomato guide.
Keep mulch in place around the base of the plant, avoid digging near the roots, and hold off on nitrogen-heavy fertilizer for the rest of the season.
If you spot a damaged tomato, remove it and keep caring for the plant. University of Georgia Extension’s homeowner blossom-end rot resource and NC State’s blossom-end rot guide both confirm that later fruit can develop normally once conditions stabilize.
Consistent moisture during fruit expansion can meaningfully reduce blossom-end rot risk, but no single practice guarantees a perfect crop.
One affected tomato is a signal to review your watering and root-zone conditions – not proof that the North Carolina late harvest is already over. The plants still carrying healthy developing fruit are worth the attention it takes to see them through.