
If Your Marigolds Are Drying Out On The Stem, Here Are 7 Steps To Collect Their Seeds For Next Year’s Free Patch
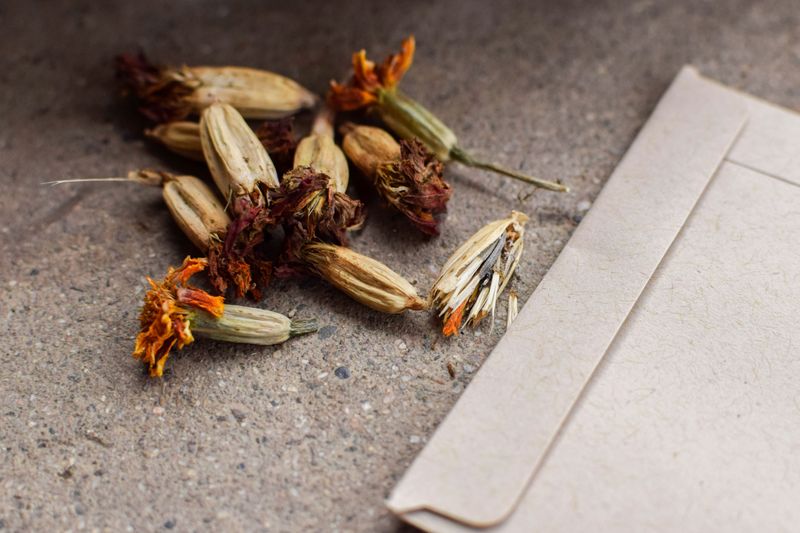
Those fading marigolds in your garden are hiding a free gift for next spring. When the blooms dry out on the stem, they are actually getting their seeds ready for you to grab.
Instead of tossing those crispy brown flower heads, you can save the seeds and grow a whole new patch for zero dollars. Here are seven simple steps to turn dying blooms into next year’s bright orange and yellow show.
1. Identify and Select Dry Flower Heads
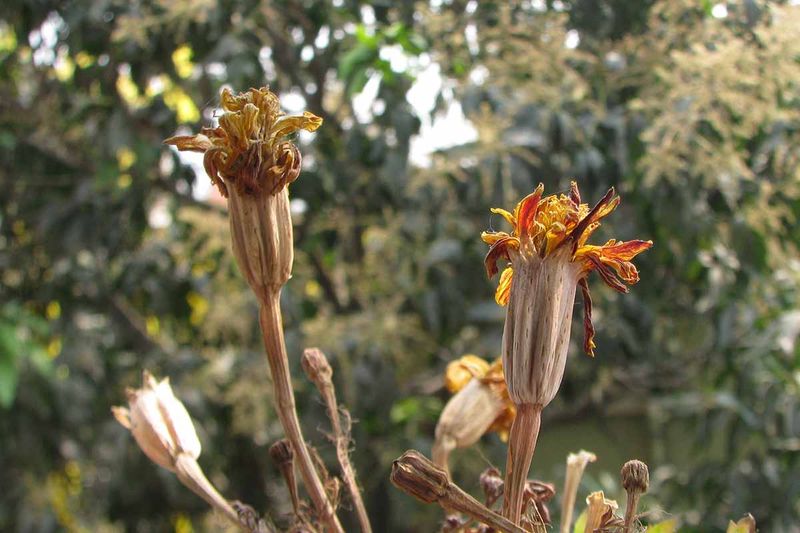
Patience pays off big here. The best seeds come from blooms that have finished their glory days and turned crispy at the base, with petals shriveled and the color faded to brown.
Look at the seed pod sitting right below the old flower. When it turns brown and starts to droop or lean to the side, that is your green light to harvest.
Skip the flowers that still look green or freshly wilted, since those seeds may not have matured enough to sprout. At the same time, do not let them sit forever in damp weather.
Fully soggy, rain-soaked heads can turn moldy or rot, and moldy seeds will not do you any favors come spring.
2. Remove Flower Heads from Stems
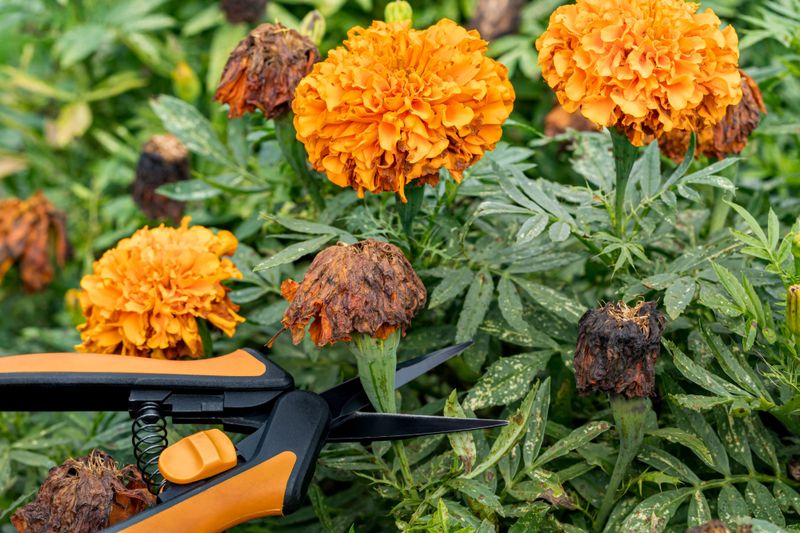
Now for the easy part that feels oddly satisfying. Grab a pair of scissors or garden pruners and snip the dried flower heads off the plant, right below the base of the bloom.
No tools nearby? No problem.
You can gently pinch and snap the dry heads off with your fingers, since they usually pop off without much fight once they are crispy.
Collect them into a bowl, a paper bag, or even an old cup as you go. Working head by head keeps things tidy and makes the next steps a whole lot smoother.
3. Prepare the Seed Pods
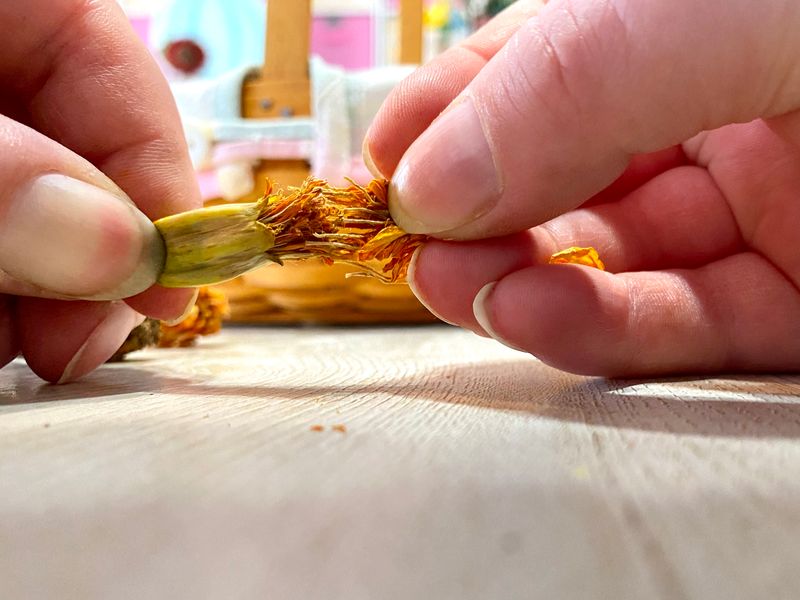
Spread everything out on a flat surface like a table or a tray so nothing rolls away. Hold the base of each dried bloom between your fingers and start peeling back the leftover crusty petals and any bits of dried leaves.
Toss those papery petals aside. They have done their job and are not part of the seed-saving mission.
What you want is the little pod at the bottom, the part that holds the treasure. Clearing away the fluff now makes it much easier to spot and grab the seeds in the next step.
4. Extract the Seeds
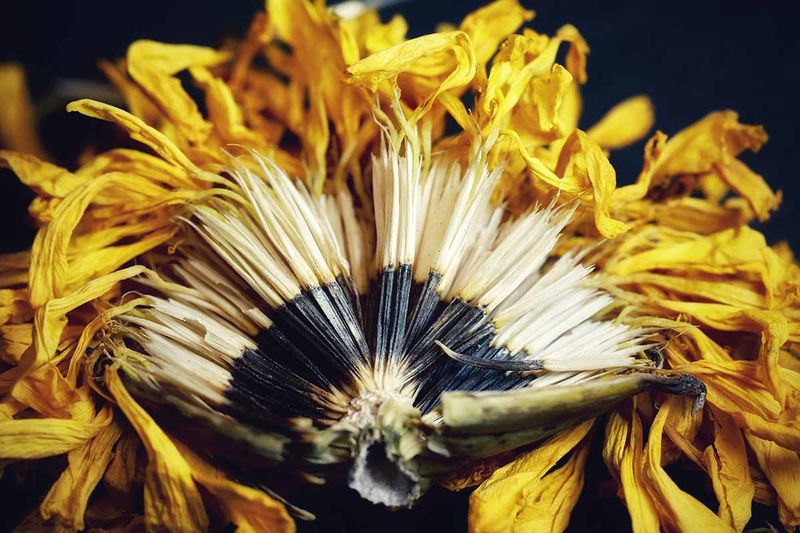
Here is where the magic reveals itself. Once the petals are gone, you will see a cluster of slim, spiky seeds tucked into the base of the pod.
Marigold seeds are hard to mistake. They look like tiny rods, dark or black on one end and pale, almost feathery, on the other.
Fun bit to know: each single flower head can hold dozens of these little guys, which means one plant can seed an entire border next year.
Gently tug each seed away from the pod and drop them into your container. Take your time and enjoy the surprise of how many one bloom actually gives you.
5. Thoroughly Dry the Seeds
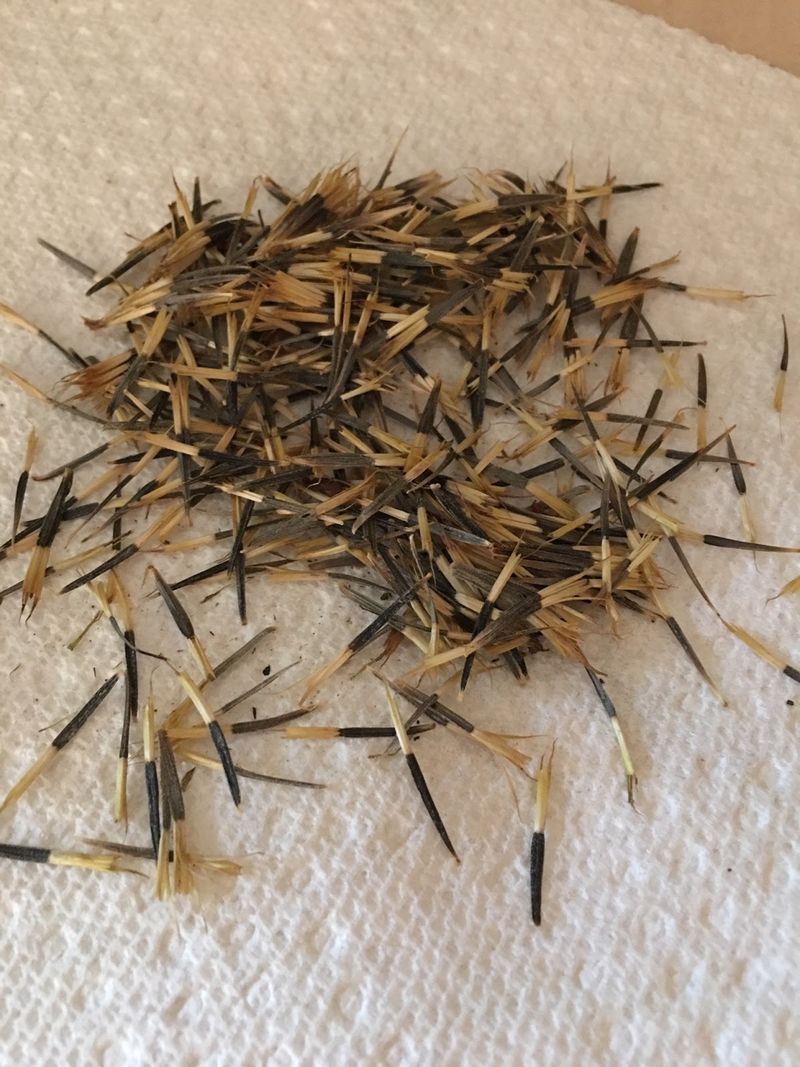
Do not rush this part, because moisture is the enemy of stored seeds. Spread your harvested seeds out in a single layer on a clean paper towel or a plate so they are not piled on top of each other.
Set them somewhere dry and breezy, out of direct sunlight, and just let the air do the work. This can take anywhere from a few days to a couple of weeks, though about seven days is a solid average.
Give the seeds a little shuffle every day or two so they dry evenly on all sides. Skipping this step is the number one way to end up with a moldy mess later, so let them get truly bone dry.
6. Store the Dried Seeds
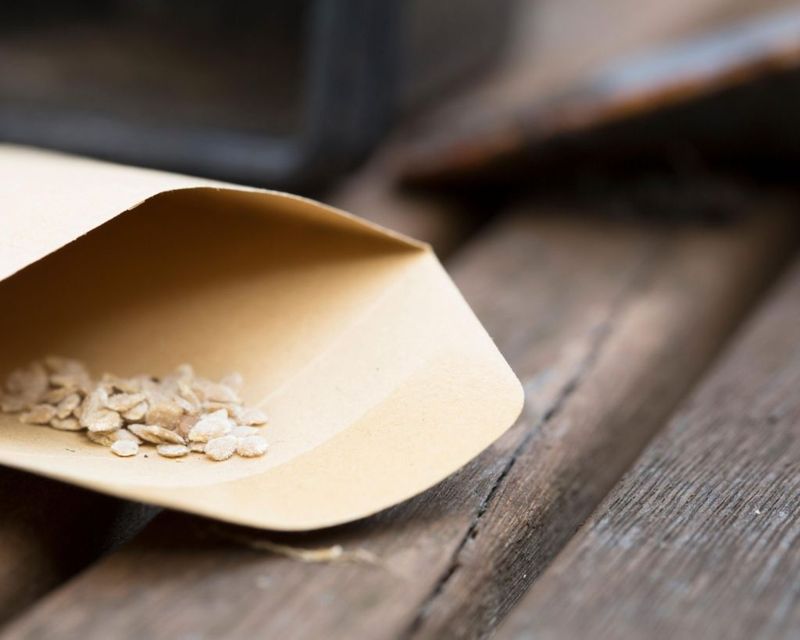
Once your seeds pass the totally-dry test, it is time to tuck them in for the winter. Reach for a paper envelope or a small paper bag rather than a plastic baggie or jar.
Why paper? It lets air move around so any leftover moisture can escape, while plastic can trap dampness and invite mold to move in.
Stash the envelopes somewhere cool, dark, and dry, like a drawer, a cupboard, or a shoebox in a closet. There they will wait quietly until spring planting rolls around and you are ready to sow your free patch.
7. Label Your Seed Packets
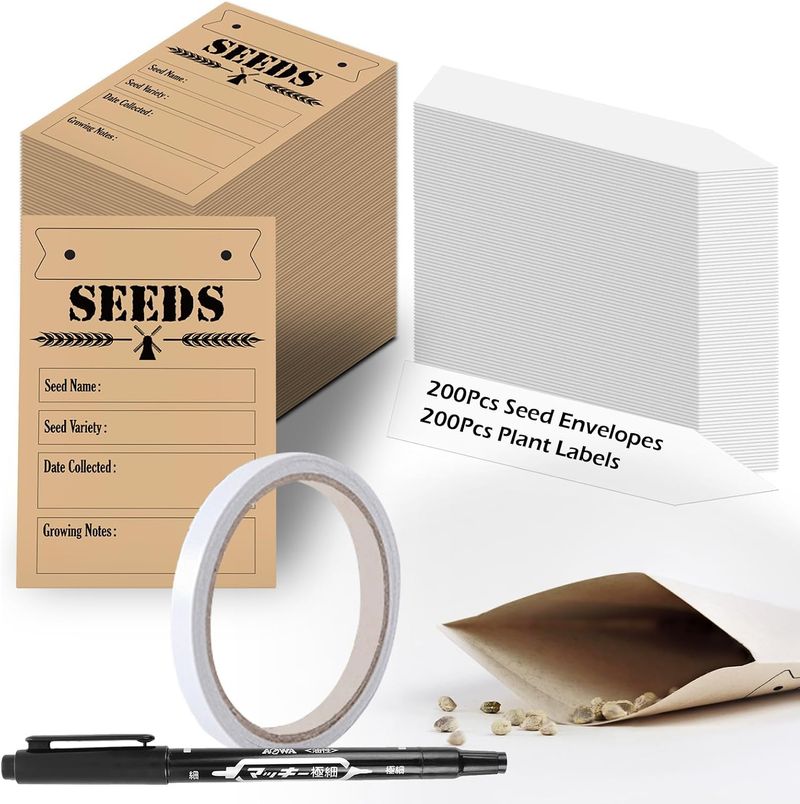
Trust me, future-you will be grateful for this tiny bit of effort. Grab a pen and write the plant type, the specific variety if you know it, and the date you collected the seeds right on the envelope.
A clear label saves you from the springtime guessing game of squinting at mystery seeds and wondering what on earth they are.
Dating them also helps you track freshness, since seeds slowly lose their sprouting power over time. With a neat little label, you will know exactly what is coming up and roughly how well it should grow, making next year’s patch a breeze to plan.