
Your Hostas Are Fading Fast – 8 Fall Jobs That Bring Them Back Bigger Next Spring
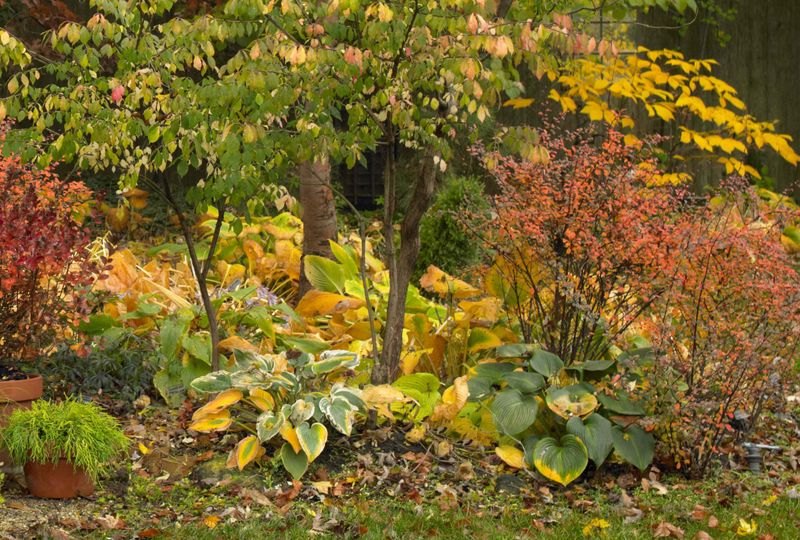
If your hostas are turning yellow, floppy, and mushy right now, take a breath. Your plants are not dying, they are just getting ready to sleep for the winter.
What you do in the next few weeks can decide whether they come back weak and chewed up or big and lush next spring. Here are eight simple fall jobs that give your hostas the best possible comeback.
1. Cut Back Fading Foliage
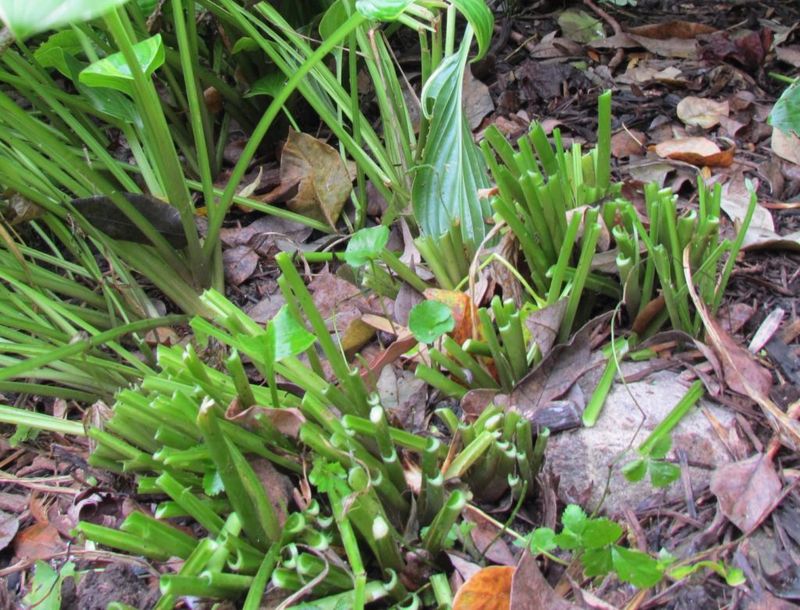
Once the first hard frost hits, hosta leaves turn into limp, brown mush almost overnight. That pile of soggy foliage looks harmless, but it is basically a winter hotel for slugs, snails, and fungus.
Wait until the leaves have yellowed or collapsed, then cut them down to about 1 to 3 inches above the soil. Leaving a short stub helps you remember where each plant lives when you are working in the bed next spring.
Cutting too early is the most common mistake. Green leaves are still making food and sending it down to the roots, so let them finish the job before you grab the shears.
2. Clear Away Garden Debris
Think of it like sweeping the kitchen floor after dinner. Snipping the hosta is only half the cleanup, because dead leaves from nearby trees and neighboring plants pile up around the crowns too.
Rake out everything loose and decaying from the base of each plant and the surrounding bed. Disease spores and pest eggs love to hide in that layer, waiting for warm weather to strike your fresh spring shoots.
If any leaves showed spots, holes, or strange streaks this summer, bag them up instead of tossing them on the compost pile. A home compost pile often does not get hot enough to kill those problems.
3. Divide Overgrown Clumps
Ever notice a hosta that looks hollow in the middle or has started crowding its neighbors? That plant is begging to be split.
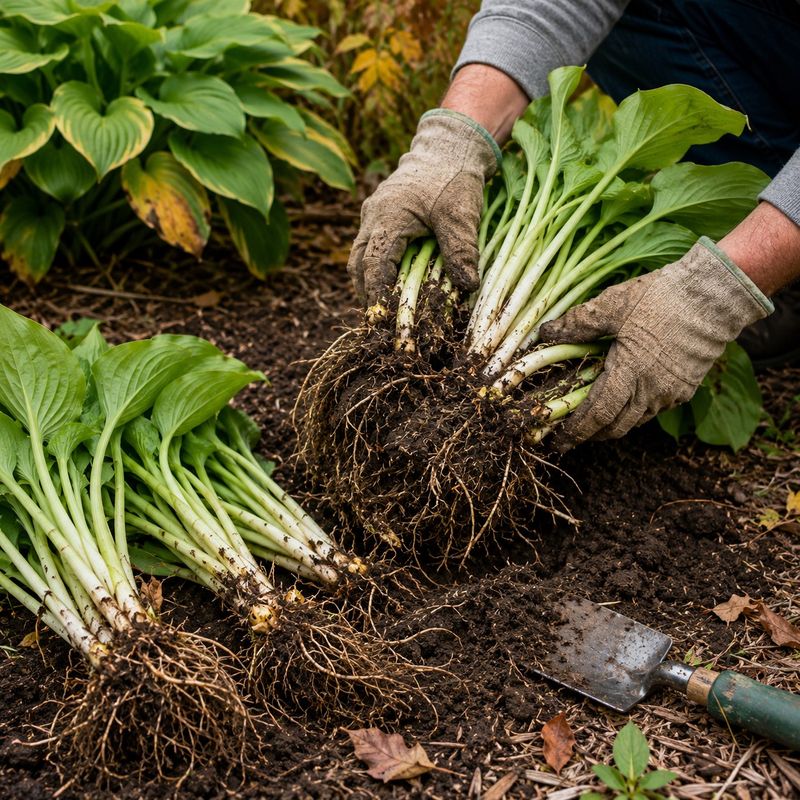
Fall is a smart time to divide, because cool air and warm soil let roots settle in without the stress of summer heat. Dig up the clump, slice it into sections with a sharp spade, and make sure each piece has a few growing points and a healthy chunk of roots.
Timing matters here. Try to finish dividing several weeks before your first hard frost so new divisions have time to anchor themselves.
Fun bonus: one big hosta can easily become three or four plants. That means free plants for a bare shady corner or a friend who has been admiring yours.
4. Apply an Insulating Layer of Mulch
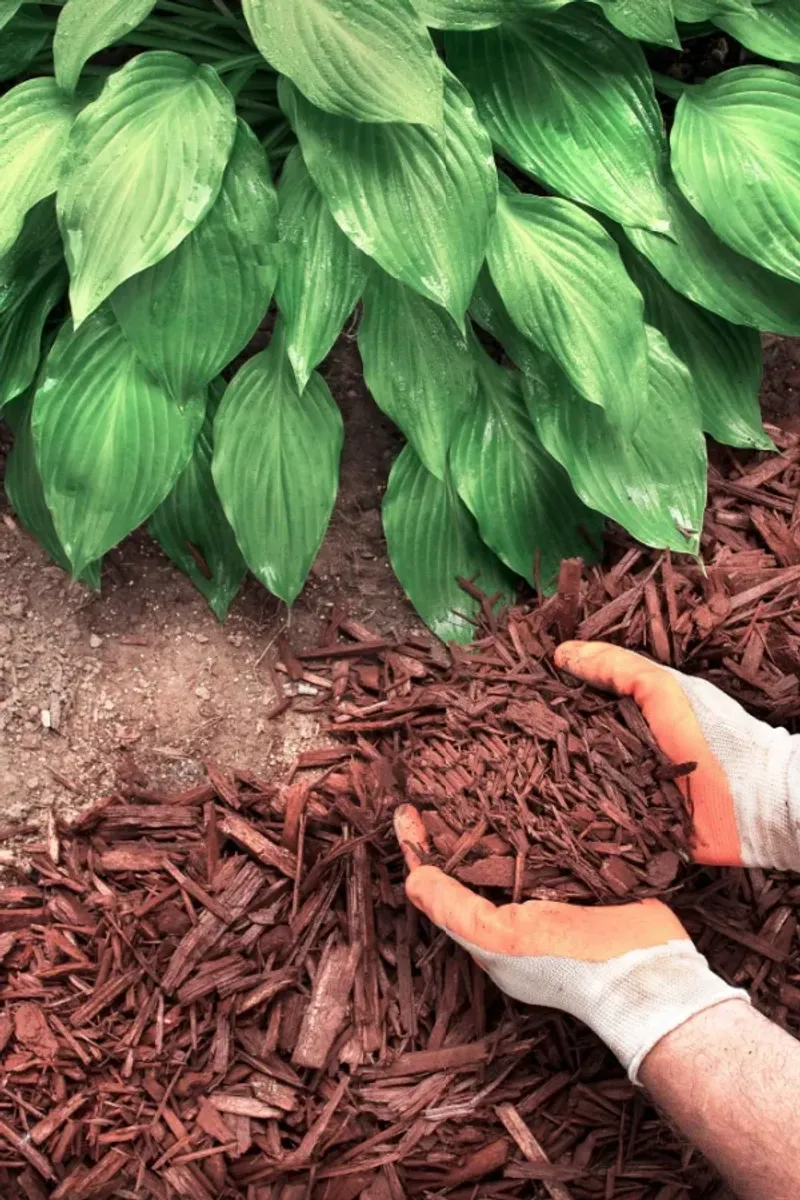
Winter is not always the coldest part of the year for hosta roots. The real trouble comes from freeze and thaw cycles, when soil swings back and forth and can heave plants right out of the ground.
A 2 to 3 inch blanket of shredded leaves, pine needles, or straw helps keep soil temperatures steady. Spread it around the plant after cleanup and dividing are done.
Keep the mulch pulled back an inch or two from the crown itself. Piling it right on top can trap moisture and invite rot, which is the opposite of what you want.
5. Nourish with Compost, Not Fertilizer
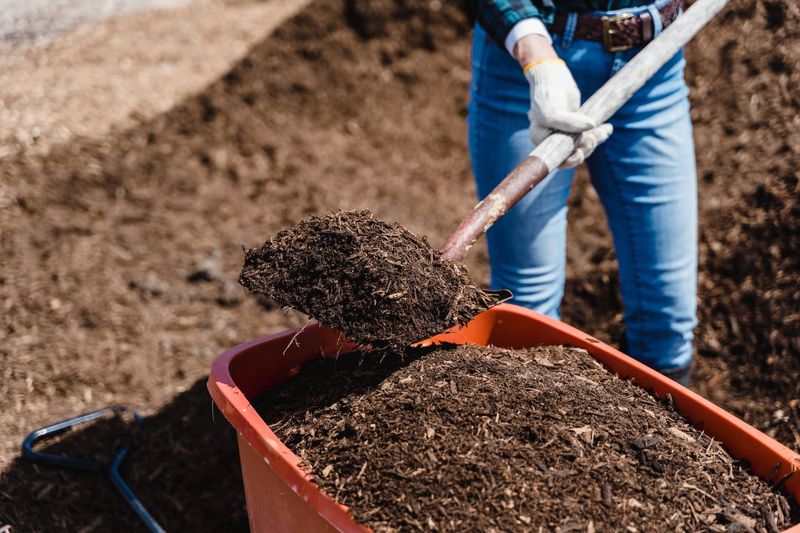
Here is a mistake loads of caring gardeners make: feeding hostas a big dose of fertilizer in fall. It sounds kind, but quick nitrogen can push soft new growth that gets zapped by the cold.
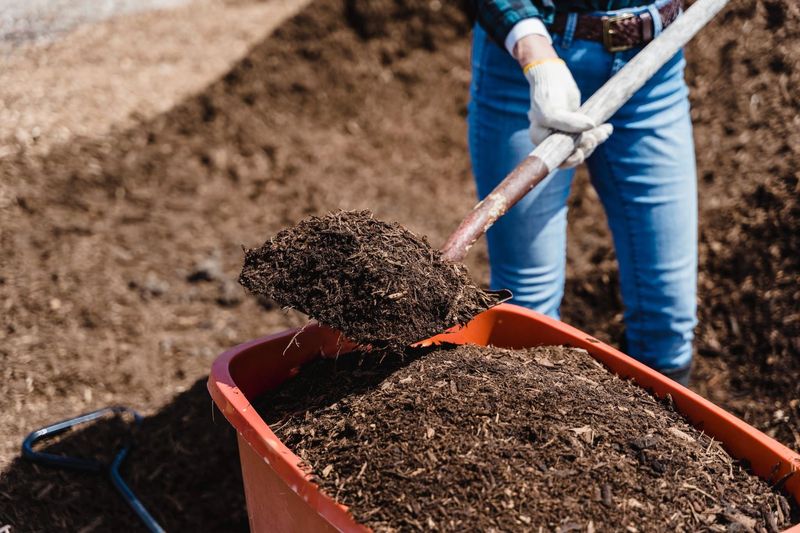
Compost is the better treat. Spread about an inch over the root zone before you mulch, and it will slowly break down over winter.
By spring, those nutrients are ready right when your hostas start pushing up their shoots. Compost also improves soil texture, which helps roots breathe and hold water.
6. Water Deeply Before Ground Freezes
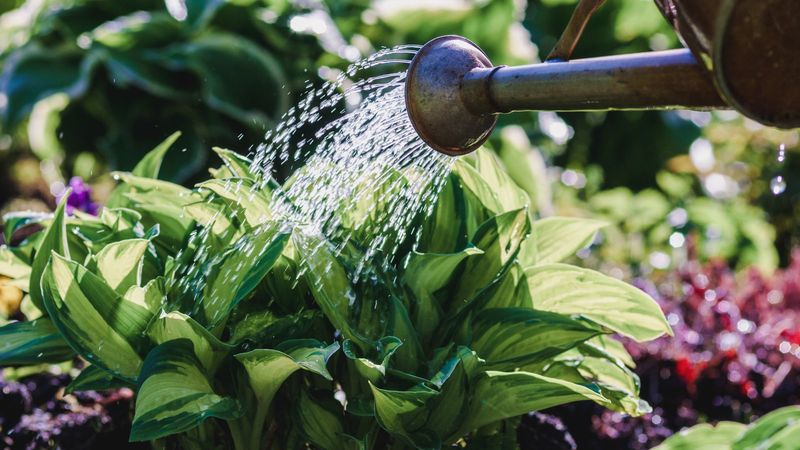
A dry fall can quietly hurt your hostas more than a cold winter. Roots that go into freezing weather thirsty are more likely to suffer damage.
Ease off watering as early fall cools down, but give the bed one deep soak before the ground freezes solid, especially if rain has been scarce. Let the hose trickle slowly so water sinks deep instead of running off.
Simple test: push a finger a few inches into the soil. If it feels dry, your hostas will appreciate a long drink.
7. Protect Against Overwintering Pests
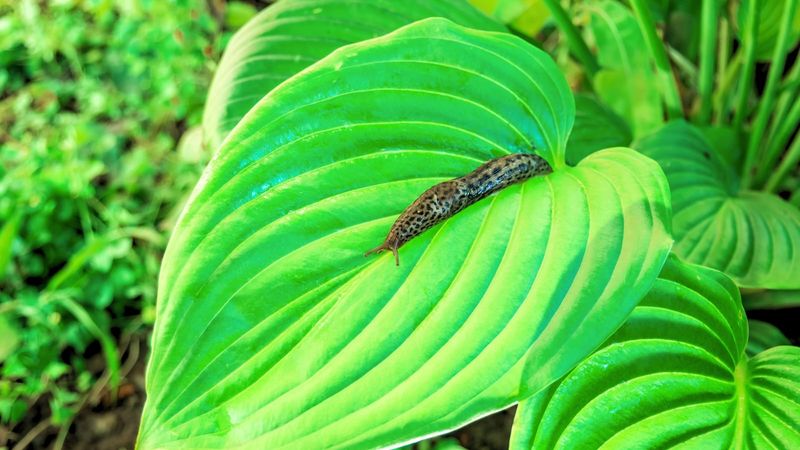
Lacy, hole-filled hosta leaves in May often start with slugs that moved in the previous October. Slugs, snails, and foliar nematodes can spend the cold months tucked into plant debris and damp leaf piles.
Your cleanup is your best defense, so do it thoroughly. Check under stones, boards, and edging near your hostas, since slugs and their eggs love those cool, damp hiding spots.
Removing their shelter now can reduce how many pests wake up hungry in spring. It will not wipe them out completely, but it may give your new leaves a much cleaner start.
8. Prepare Potted Hostas for Dormancy
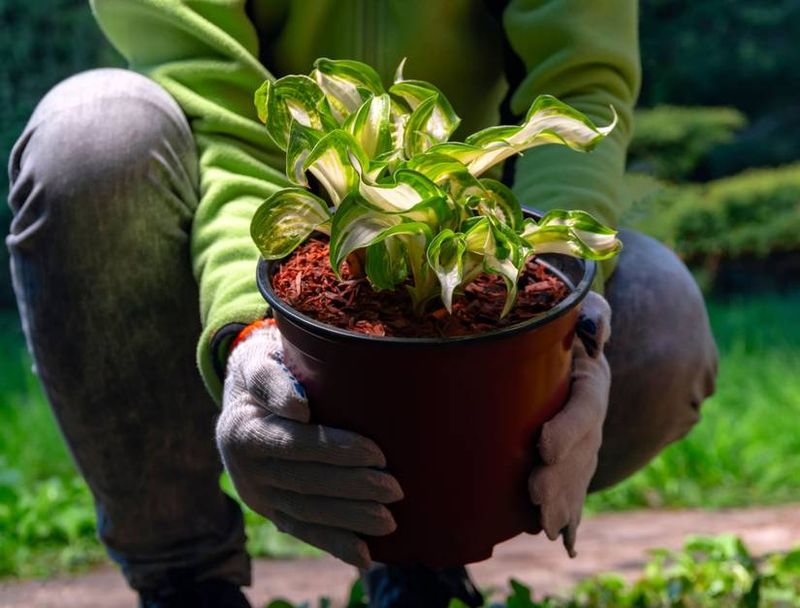
Container hostas have it tougher than their in-ground cousins. Roots in a pot sit above ground, so they feel the full bite of winter air.
When temperatures stay below 40 degrees F, move pots into an unheated garage, shed, or sheltered spot against the house. Hostas actually need a cold rest, so skip the heated living room.
If pots must stay outside, cluster them together and pile dry leaves around them or cover them with plastic sheeting. Water lightly only when temperatures stay above 50 degrees F for several days, just enough to keep roots from drying out completely.
Come spring, roll them back into the shade and watch fresh shoots unfurl.