
Zinnia Seeds Saved From a Few Dry Flower Heads May Fill a Small Patch Next Summer for Free
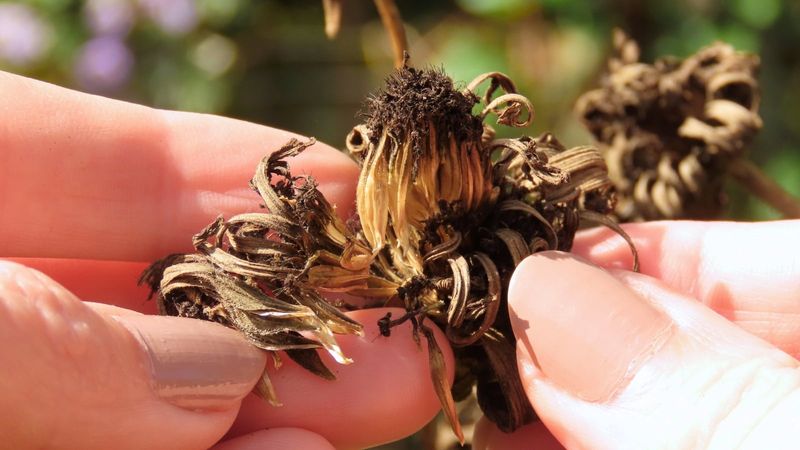
That brown, crunchy zinnia head you were about to snip off may be holding next summer’s flowers. Saving seed from your own plants means you do not have to buy that seed again.
It takes a little patience and a few simple steps, and the results can vary. Here is how to do it well and what to expect in spring.
Leave a few healthy heads on the plant
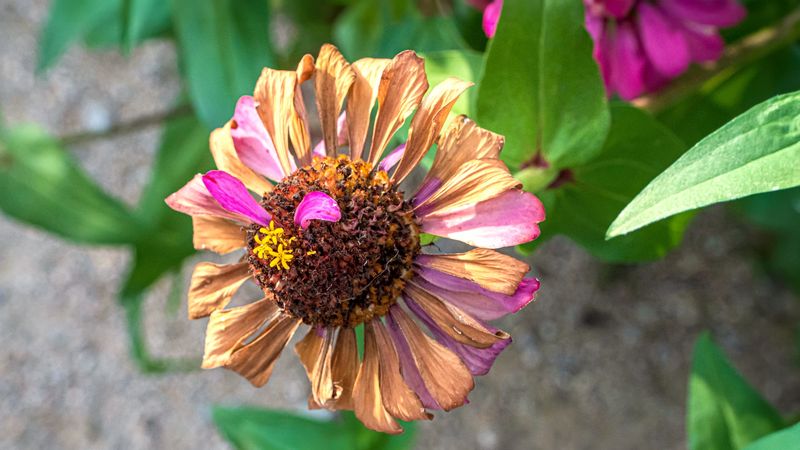
Here is the tradeoff up front: a zinnia head only makes seed if you stop deadheading it. Snipping off faded blooms tells the plant to keep making new flowers, so every head you leave behind stops blooming for you.
The good news is that you only need a few. Pick two or three flowers from different spots on the plant and let them fade.
Keep deadheading every other spent bloom, and the rest of the plant can keep putting on a show while your seed heads mature.
Choose carefully, because those heads become next year’s patch. Seed Savers Exchange suggests letting selected flowers mature on the plant, so look for blooms you actually like in color and form.
Tie a bit of yarn around the stem below each one so you do not clip it by habit later.
Health matters just as much as looks. Pick plants with clean, green leaves and sturdy stems.
Clemson Extension warns against saving seed from zinnias that have had a leaf-spot disease outbreak, since infected seed may carry the problem into next year.
If your zinnias have dark, spotted leaves this season, skip seed saving from them and buy fresh seed in spring instead. It is a small cost compared with starting a new bed with a disease problem.
When a zinnia head is ready to harvest
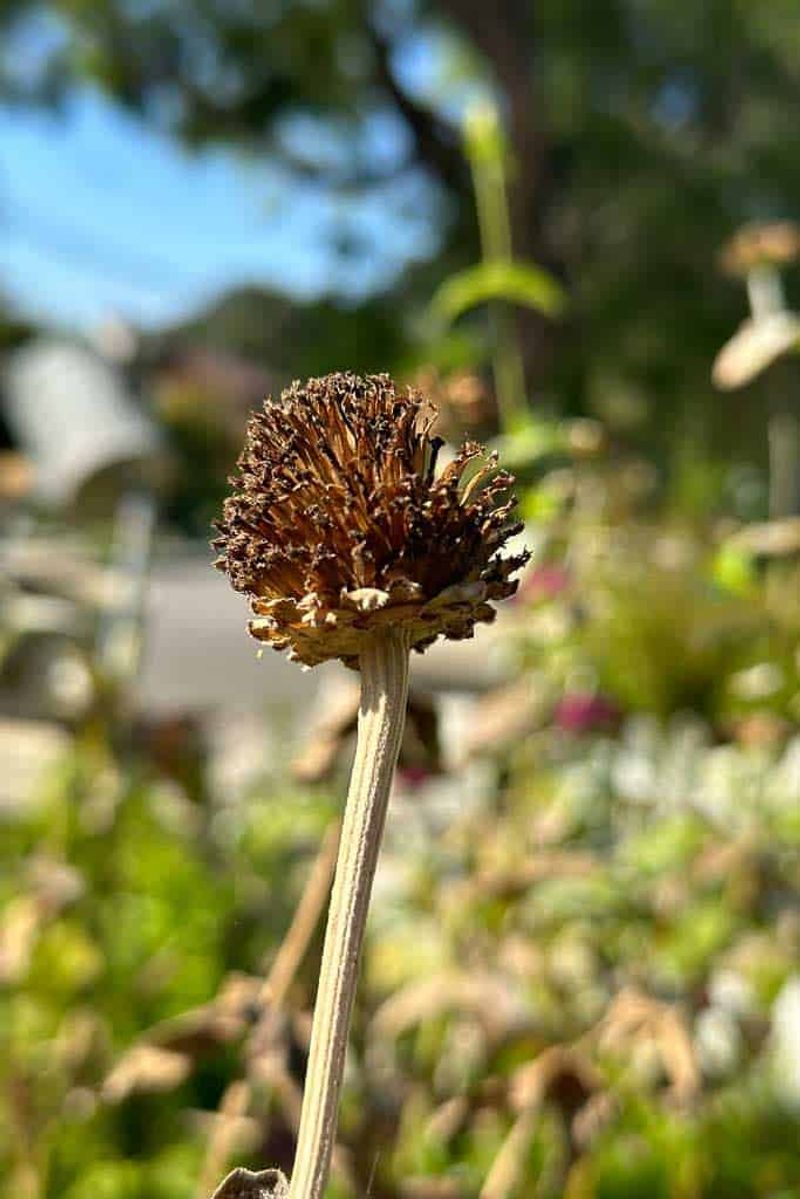
Patience pays off here. Wait until the whole flower head looks dry and brown while it is still on the plant, and the stem right under it has turned brown too.
A head that is still green or flexible at the base is not ready.
Per Seed Savers Exchange, those are the cues to look for. Do not wait too long, though.
Once a head starts breaking apart, the seed can scatter into the soil or get lost.
Pick a dry day to harvest. Wet heads hold moisture, and moisture invites mold.
A Colorado State Extension answer on saving zinnia seeds supports keeping things dry, so snip the stem below the head in the afternoon after dew has burned off.
Drop the heads into a paper bag, a paper envelope, or a shallow basket. Breathable containers let leftover moisture escape, while a plastic bag can trap it.
Be realistic about what a crunchy head tells you. Dry and brown means it is likely mature, but it does not prove every seed inside is full or able to grow.
Some seeds will be thin or empty, and that is normal.
Crumble the head to release the seed
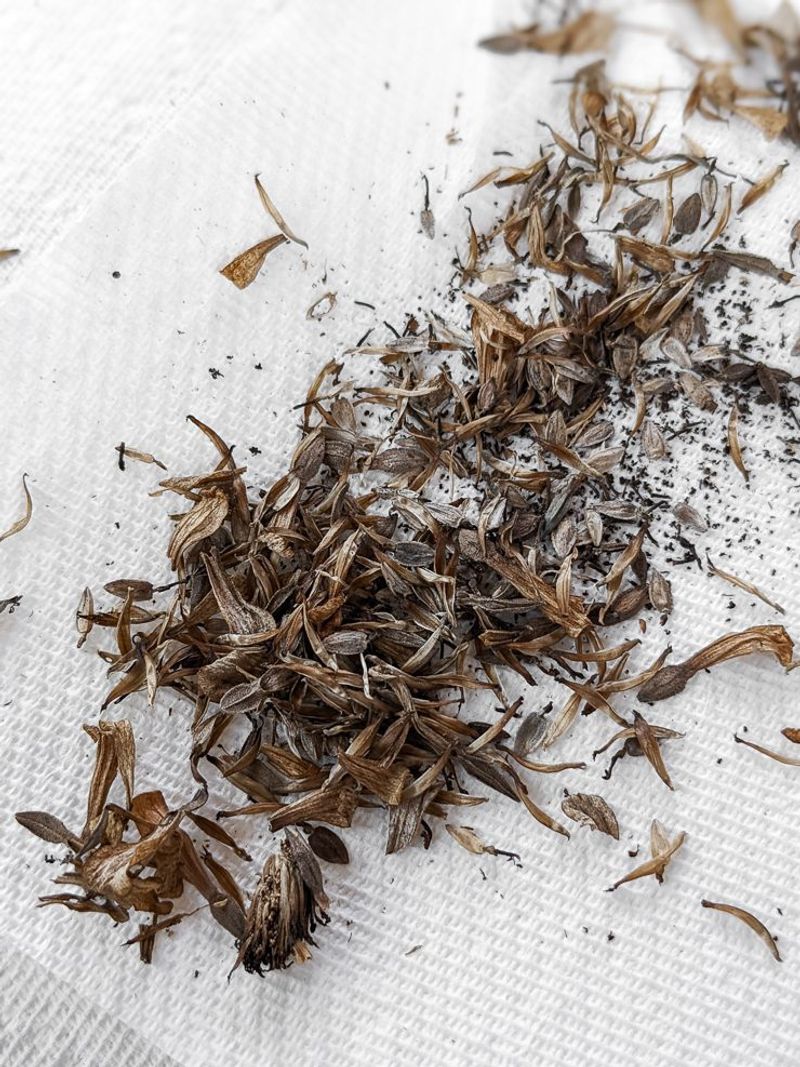
Now for the fun part. Hold a dry head over a tray or bowl and rub or crumble it gently between your fingers.
The pieces fall apart easily when the head is truly dry.
You will see a mix of material. Zinnia seeds are slim, flat, and often shaped like a small arrowhead, tan to dark brown.
Mixed in are bits of petal, stem, and chaff.
Work slowly and check each section of the head. Seeds tend to hide at the base of the old petals, so pull the head apart layer by layer rather than smashing it.
Winnowing means blowing or fanning away the light chaff and empty seeds. Seed Savers Exchange describes it as optional for home use.
If you want a cleaner pile, gently blow across the tray or pour seed between two bowls outdoors on a calm day.
If you would rather skip it, that is fine. Leftover chaff is harmless, and you can simply sow a bit more thickly in spring.
Just pick out any damp, moldy, or obviously blackened pieces and toss them.
Dry the seed before storing it
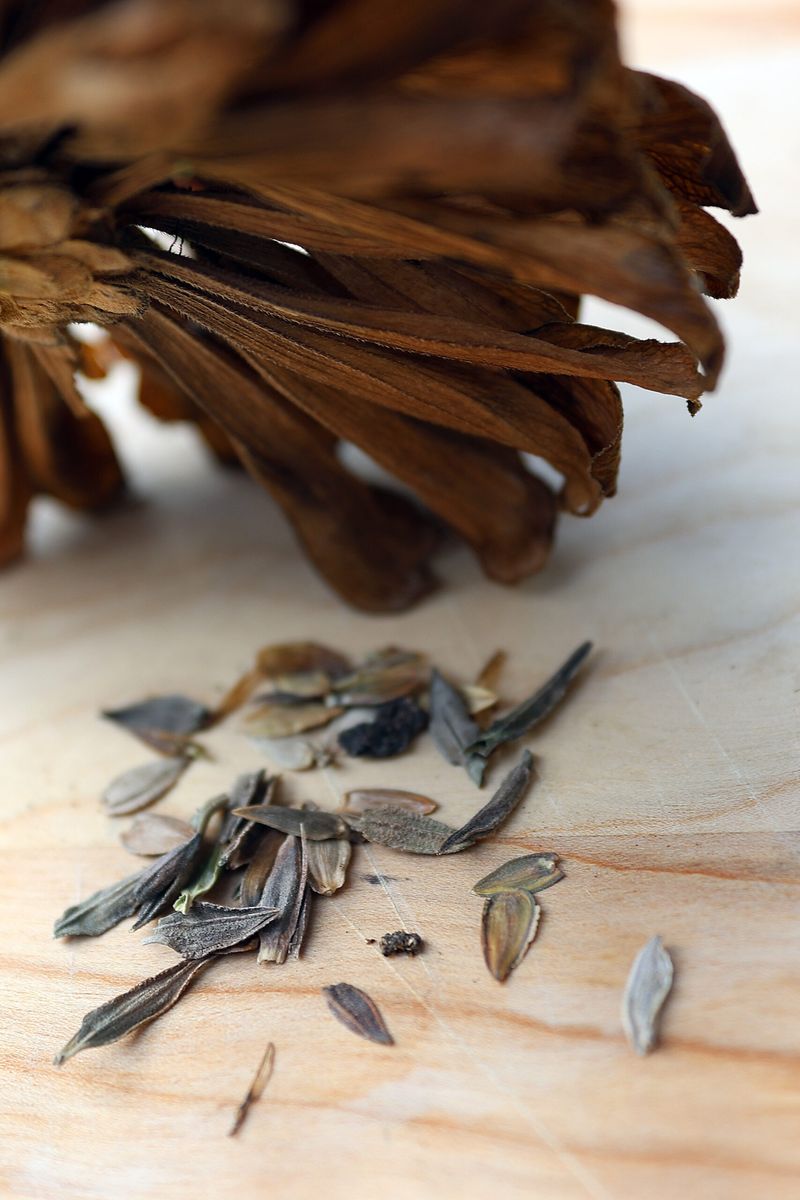
Seed that looks dry on the surface can still hold moisture inside. Spread your seed in a single thin layer on a paper plate, screen, or sheet of paper.
Set it somewhere airy and out of direct sun, and stir it now and then.
Give it a week or two. Seed Savers Exchange recommends drying seed thoroughly before you store it, because damp seed in a closed container is where mold gets started.
Once it feels hard and dry, move it into a paper envelope, small jar, or other sealed container. Write the plant name, color, and the year on the label right away.
By next April you will not remember which pink was which.
Store the container in a cool, dark, dry place. A closet shelf or a cabinet away from the stove works better than a garage that swings between hot and damp.
Nobody can tell you exactly how long your seed will stay good, since that depends on how mature it was and how it was kept. Plan to sow it next spring, and treat older seed as a maybe.
Saved seed may not match its parent
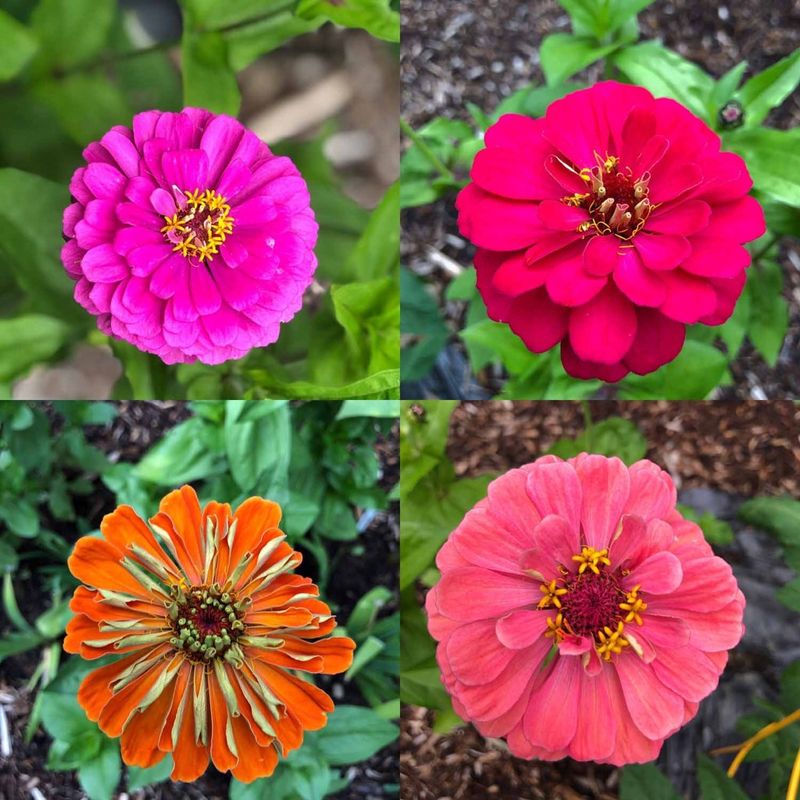
Picture a bee hopping between a pink zinnia and a red one. That visit can swap pollen, and the seed that results carries traits from both parents.
So the flowers you grow next year may not look like the one you saved from.
If similar offspring matter to you, start with open-pollinated varieties. Iowa State Extension points out that some plants are easier to save from than others, and open-pollinated types are the more dependable choice for repeating a look.
Hybrids are trickier. Seed from an F1 hybrid can produce plants that vary a lot, and Utah State Extension explains that saved hybrid seed may not give you the parent plant.
A packet with a named variety does not mean your saved seed will come true.
You can nudge your odds by growing only one variety, or by spacing different kinds apart. Seed Savers Exchange notes that zinnias are insect-pollinated, so keeping varieties separated helps but cannot guarantee a match.
For a relaxed cutting patch or a mixed border, surprises can be a bonus. You may get odd colors or different heights.
Just do not count on a specific shade.
Plan a patch, not a guaranteed bed
Yes, one zinnia head can hold a lot of florets. A 1994 study of zinnia heads counted roughly 160 to 330 florets in heads of certain cultivars.
But a floret is not a seed, and that count says little about how many good seeds you will end up with.
Not every floret turns into a mature, viable seed. A study on zinnia ovules documents cases where seeds failed to form.
So one head may give you enough for a small informal patch, but it cannot be promised to fill any particular bed.
Spring timing matters too. University of Minnesota Extension advises direct-sowing once soil reaches at least 70°F, planting seeds about 1/4 inch deep.
Cold, wet soil is a common reason zinnia seed sulks.
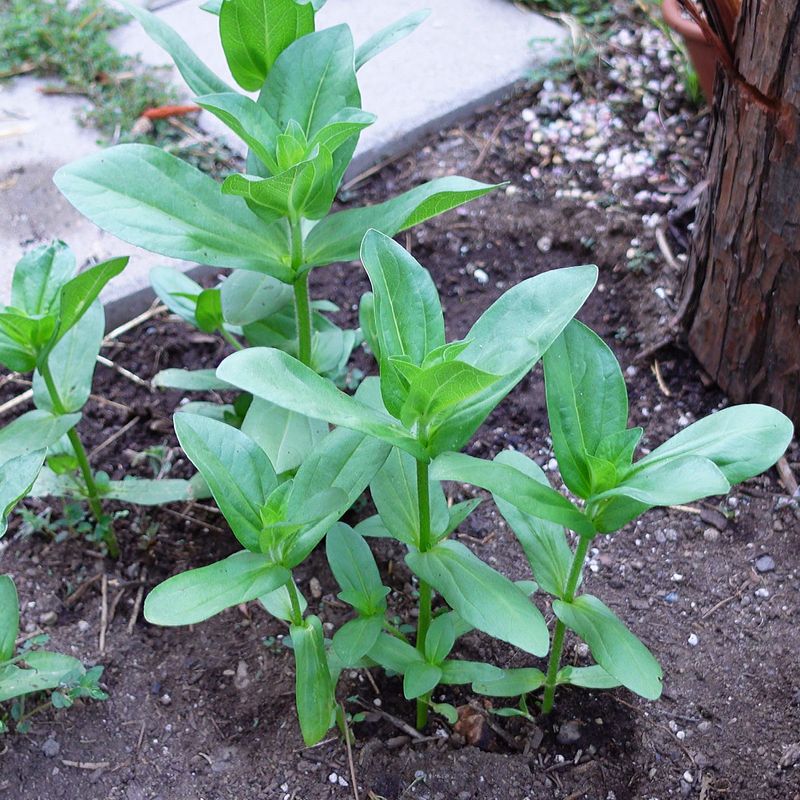
Spacing changes how many plants you need. Depending on the variety and its habit, zinnias are spaced roughly 8 to 24 inches apart.
A bed of compact types takes far more seedlings than one of tall, bushy types.
Do the math before you sow. Measure your bed, pick a spacing, and see how many plants that calls for.
Then sow a little extra and thin the seedlings, rather than hoping one head covers it.
Test uncertain seed before sowing
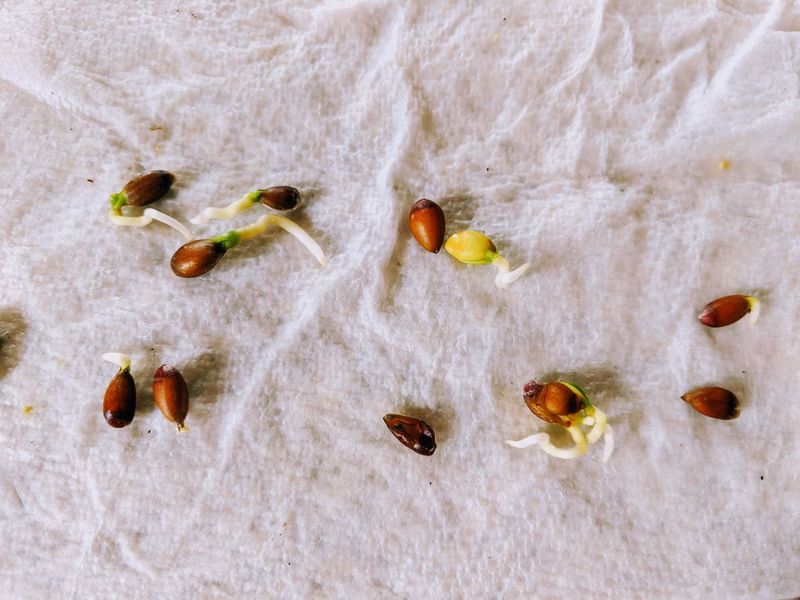
If you are unsure whether your saved seed is any good, a quick test can help. Oregon State University Extension describes a damp paper towel method for estimating germination.
Count out ten seeds and place them on a moist paper towel. Fold it over, slip it into a loosely closed bag, and keep it somewhere warm.
Check every few days and keep the towel damp, not soggy.
After the seeds sprout, count how many did. If seven of ten sprouted, you have a rough sense that about 70 percent may germinate.
If only a couple did, plan to sow much thicker or start with fresh seed.
Treat the result as an estimate. A towel in your kitchen is not a garden bed, and plants still face weather, pests, and crowding.
The test is optional, especially for seed you know is fresh.
Saving seed trims your seed budget, but it will not remove the work. A test and a simple planting plan simply help you sow with open eyes.