
Don’t Toss Your Leggy Coleus Before Frost: Try Rooting a Few Cuttings in Water to Overwinter It
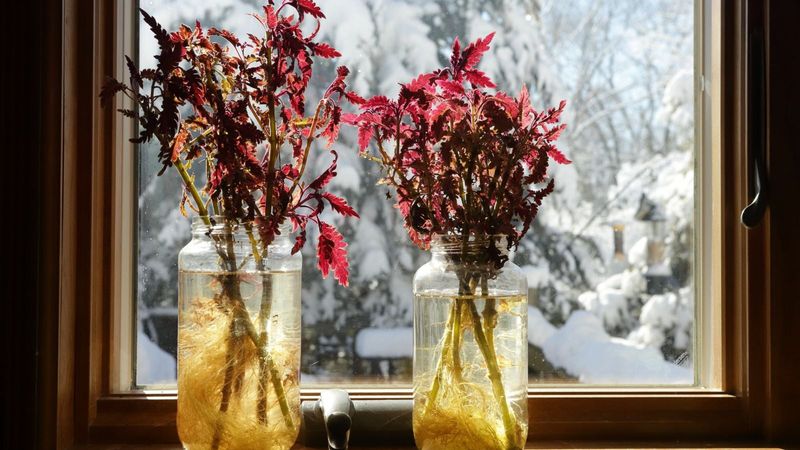
That stretched-out, leggy coleus on your patio may not be done for. Frost can wipe the plant out fast, but healthy tips can be rooted in a glass of water on a windowsill.
It takes a few minutes and almost no money. Here is how to try carrying your coleus through winter, and what to expect along the way.
A leggy coleus can still give you a fresh start
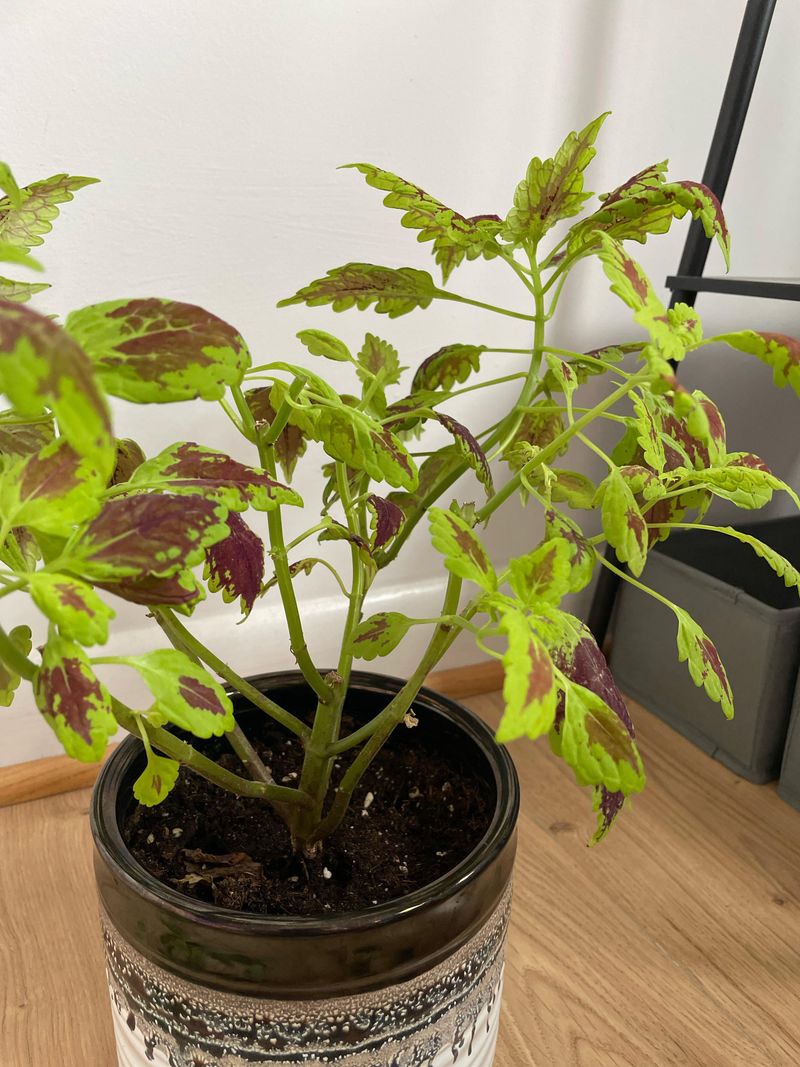
Long, stretched stems make a coleus look like it is giving up. In most cases the plant is just reaching for light, and the healthy tips are still good material for new plants.
University of Vermont Extension suggests cuttings as a space-saving way to save coleus, including plants that have grown leggy.
Timing matters because coleus does not like cold. Clemson Extension notes that the first fall frost kills it in South Carolina, so plan to take cuttings before frost threatens your area.
Do not wait for the forecast to turn scary.
You may hear coleus called an annual, and that depends on where you live. In colder regions winter kills it, so it is grown as an annual.
University of Minnesota Extension covers how it is treated in cold climates. In warm regions it can persist as a tender perennial.
Be realistic about the payoff. Cuttings are a way to try to carry your plant through winter, not a promise.
Some will fail, some will drop leaves, and you may still want to buy a new plant next spring.
Choose healthy tips and prepare them for rooting
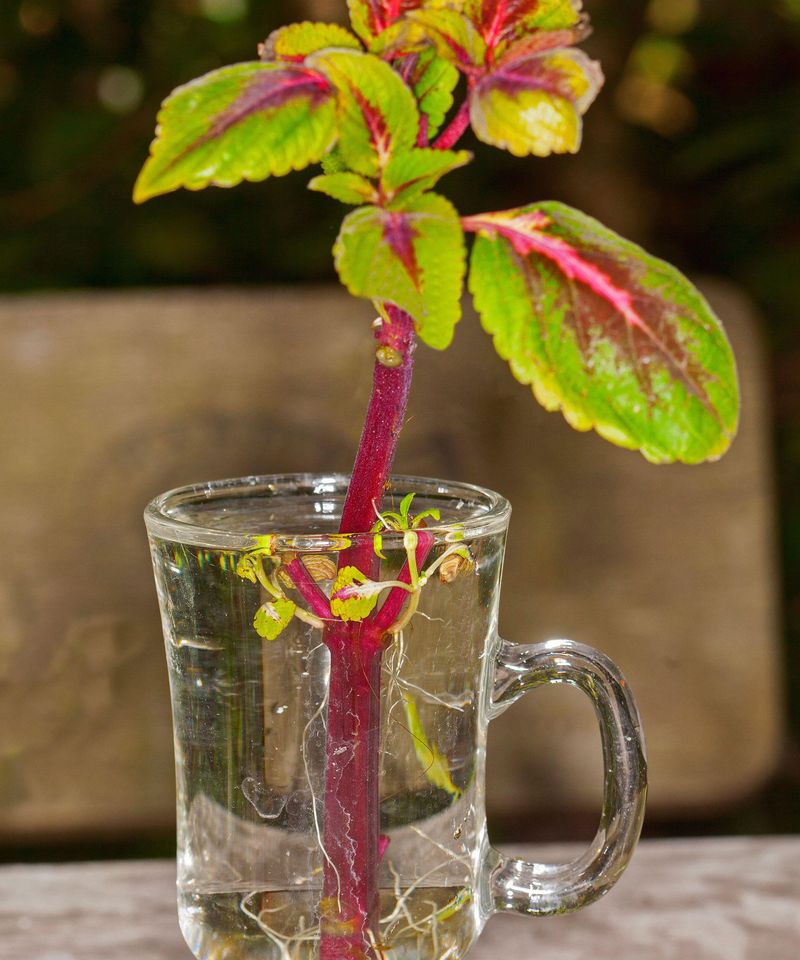
Start by looking over the plant for the best stems. Pick healthy, firm growth with good leaf color, and skip anything damaged, spotted, or diseased.
A leggy plant is not a problem here, since long stems usually mean plenty of tips to choose from. Still, not every stem will root, so take a few extra.
Aim for tip cuttings about 4 to 6 inches long with several leaf nodes, as University of Vermont Extension recommends. Nodes are the bumps where leaves attach, and roots form from them.
Cut just below a node with clean snips. Healthy plant advice from University of Florida IFAS Extension is a good reminder to start with a sound plant.
Next, pull the leaves off the lower half of each cutting. Any leaf that sits underwater will turn slimy and may rot.
Leave a few leaves at the top so the cutting can keep making food.
One more thing to check is your plant label. Clemson Extension says patented cultivars should not be propagated by cuttings.
Look at the tag or the cultivar name to see whether yours is protected before you start snipping.
Set cuttings in water with their leaves clear
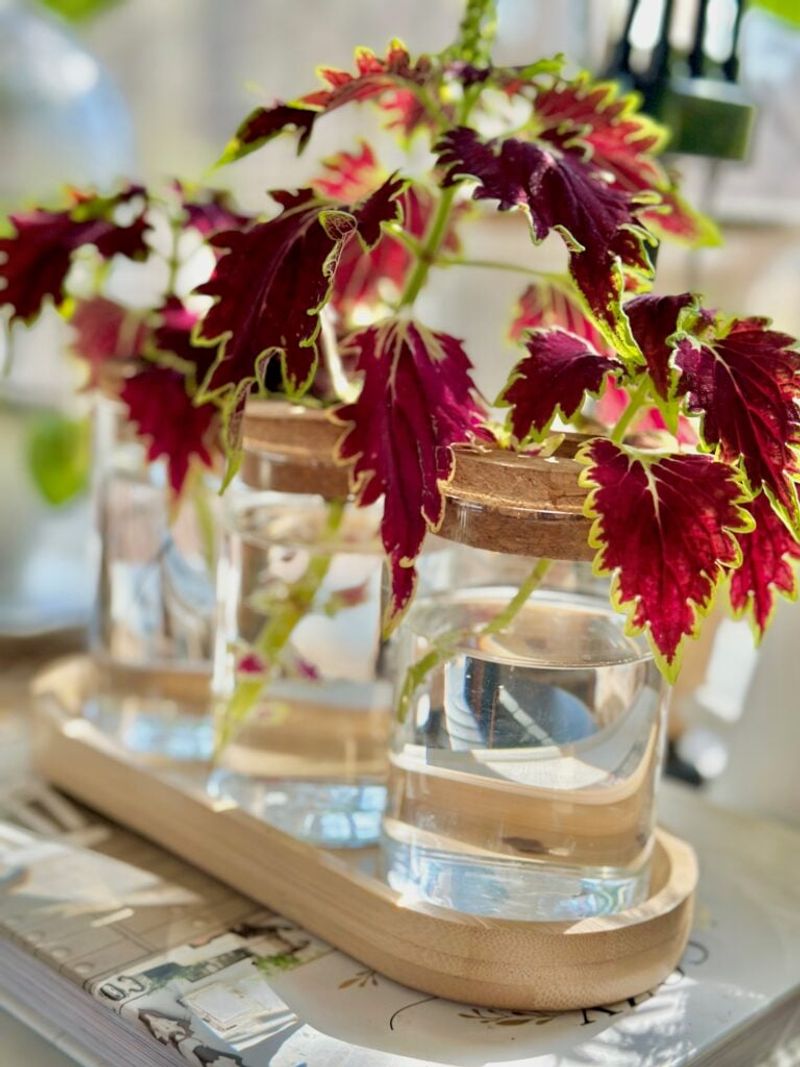
A clear glass or jar works well, so you can see what is happening below the surface. Fill it with room-temperature water and set the cuttings in so the bare lower stems are covered.
The leaves should stay up in the air, never touching the water.
Place the jar in bright, indirect light. A windowsill without harsh midday sun is a good spot.
Direct hot sun can cook the cuttings, and a dim corner slows everything down.
Watch the nodes under the water. According to University of Vermont Extension, roots form at those underwater nodes.
They show up as thin white threads, often within a couple of weeks.
A droopy cutting on day one is normal, since it has no roots yet. If a stem turns dark and mushy, toss it and keep the others going.
Putting several cuttings in the jar gives you backup.
Keep the water clean while roots develop
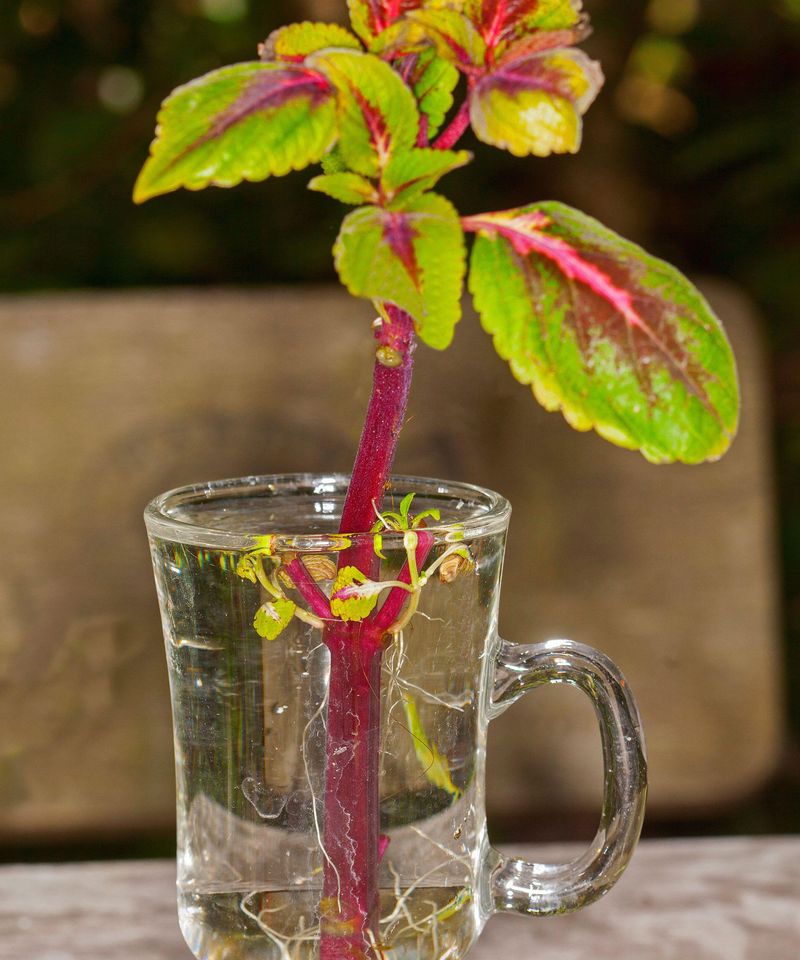
Stale water is the enemy of a rooting cutting. University of Maryland Extension advises changing the water at least twice a week, or sooner if it looks cloudy.
Bacteria can build up in standing water and contribute to rot.
Make it a habit. Lift the cuttings out, rinse the jar, and refill with fresh room-temperature water.
Handle the stems gently, because new roots are tender and snap easily.
Clean water helps, but it cannot save every cutting. A stem that was weak to begin with may still fade, and that is not your fault.
Keep the ones that look firm and green.
While you change the water, check for progress. Look for white roots growing from the nodes and note how long they are.
Once they get longer, it will be time to think about a pot, which comes next.
Pot the cutting when its roots reach about an inch
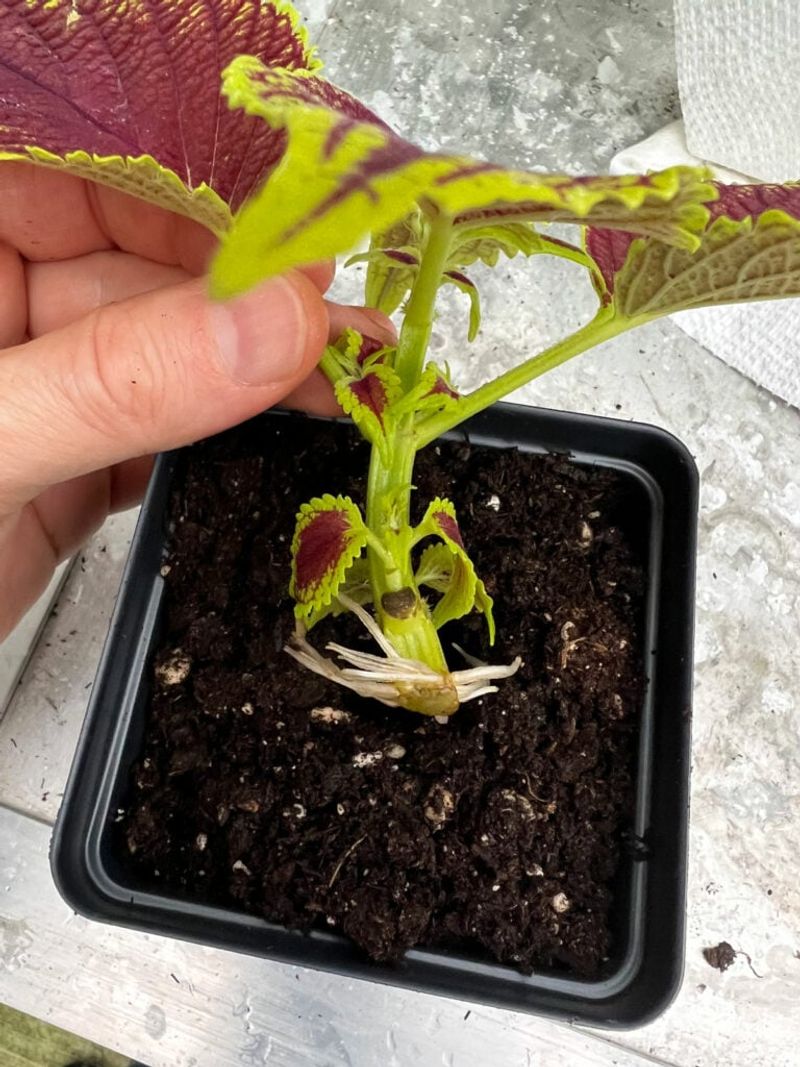
Water is a good starting point, but not a place to leave your coleus all winter. University of Vermont Extension says to pot cuttings once roots are over an inch long.
That is a handy rule to follow.
You may see a wider range elsewhere. The University of Washington Miller Library recommends potting when roots are about 1 to 2 inches long.
It also says coleus can survive in water for weeks or months, but water-grown roots are less sturdy.
That is why the move to soil needs care. Those roots can be damaged during transplanting, so do not expect a perfect handoff.
Fill a small pot with moist, loose potting mix, make a hole with a pencil, and lower the roots in without bending them.
Firm the mix lightly and water it in. A little wilting for a few days is common.
If a cutting does not make it, you still have the others.
Give potted cuttings light and realistic indoor care
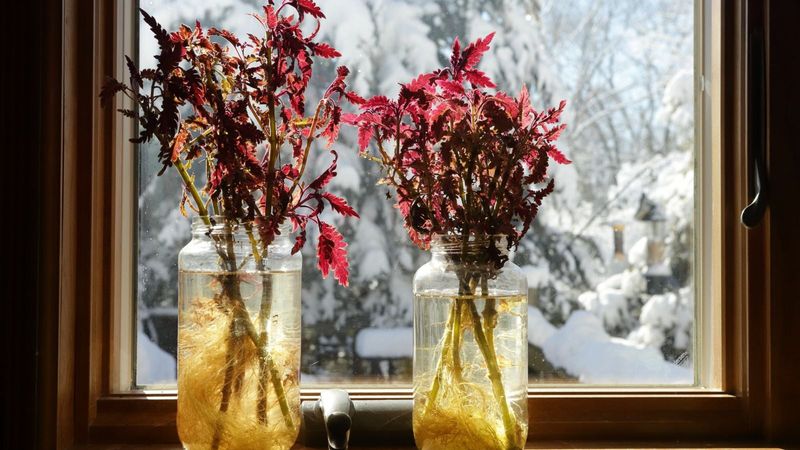
Light is the biggest factor indoors. University of Vermont Extension recommends a sunny window or a supplemental grow light for overwintered plants.
North Carolina State Extension also says coleus grown as a houseplant needs bright light, and it can get leggy in shade.
Expect some bumps. Moving a coleus indoors can cause leaf drop, and results vary from one windowsill to the next.
Yours may look thin or uneven by February, and that does not mean you did something wrong.
Inspect plants before they come inside. Penn State Extension recommends checking plants before bringing them in.
Aphids, whiteflies, and spider mites are among the pests that can turn up on indoor coleus. A check helps, though it cannot guarantee a pest-free plant, so keep looking under leaves now and then.
A few healthy cuttings are a practical way to try to carry coleus through winter. Some will fade, and you may still shop in spring.
Even so, a green windowsill in January is hard to beat.