
Those Rosebushes Need These 7 Quick Jobs Before The Ground Freezes To Bloom Big Next June
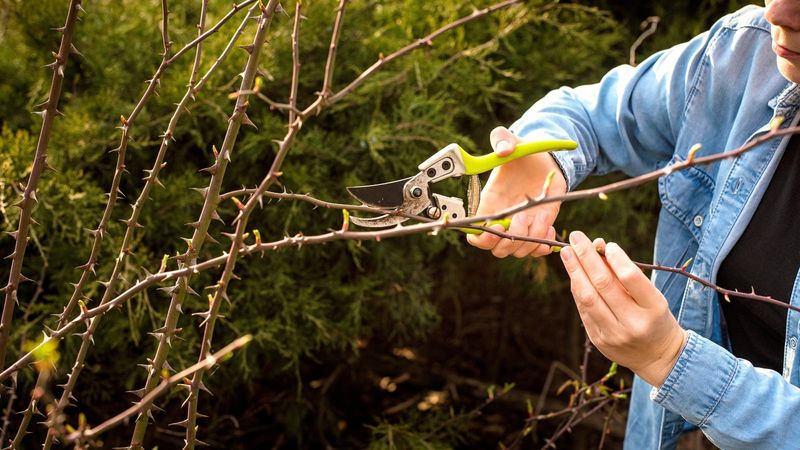
Your roses worked hard all summer, and now the cold is creeping in fast. What you do in the next few weeks can decide whether those bushes come back strong or limp into spring with dead canes and sad, skimpy flowers.
The good news is that none of these jobs take long or cost much. Knock out these seven simple tasks before the ground freezes, and you give your roses their best shot at a big, beautiful show next June.
1. Stop Fertilizing to Halt New Growth
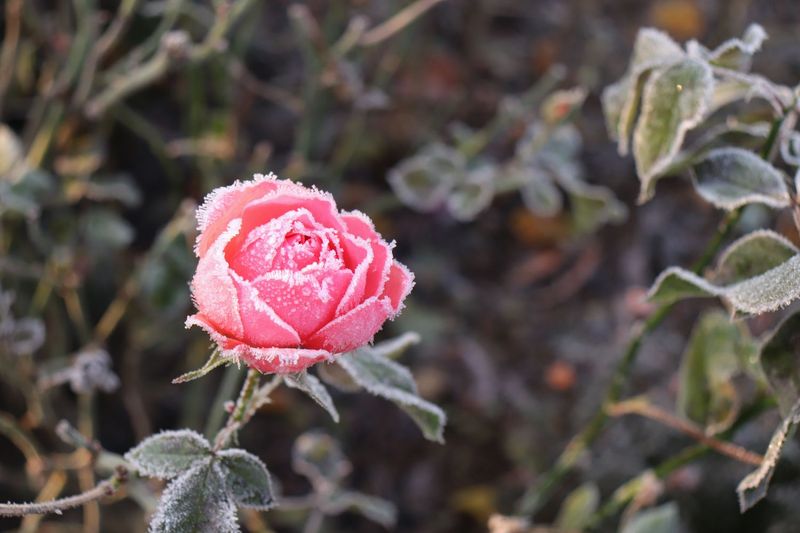
Picture a rosebush pushing out soft, bright red shoots in late October. It looks hopeful, but those tender stems are basically frost bait.
One hard freeze and they turn black and mushy.
Feeding your roses tells them to keep growing. That is great in May, but in fall you want the opposite.
Stop all fertilizer about six to eight weeks before your area usually gets its first hard frost.
Not sure when that is? Your local extension office or a quick online frost-date lookup by zip code can tell you.
Most northern gardeners stop around mid to late August, while folks in warmer zones can go a bit later.
Once the food stops, the plant shifts its energy toward toughening up the canes it already has. That hardened wood is what carries your roses safely through winter and fuels those June buds.
2. Let the Rose Hips Form
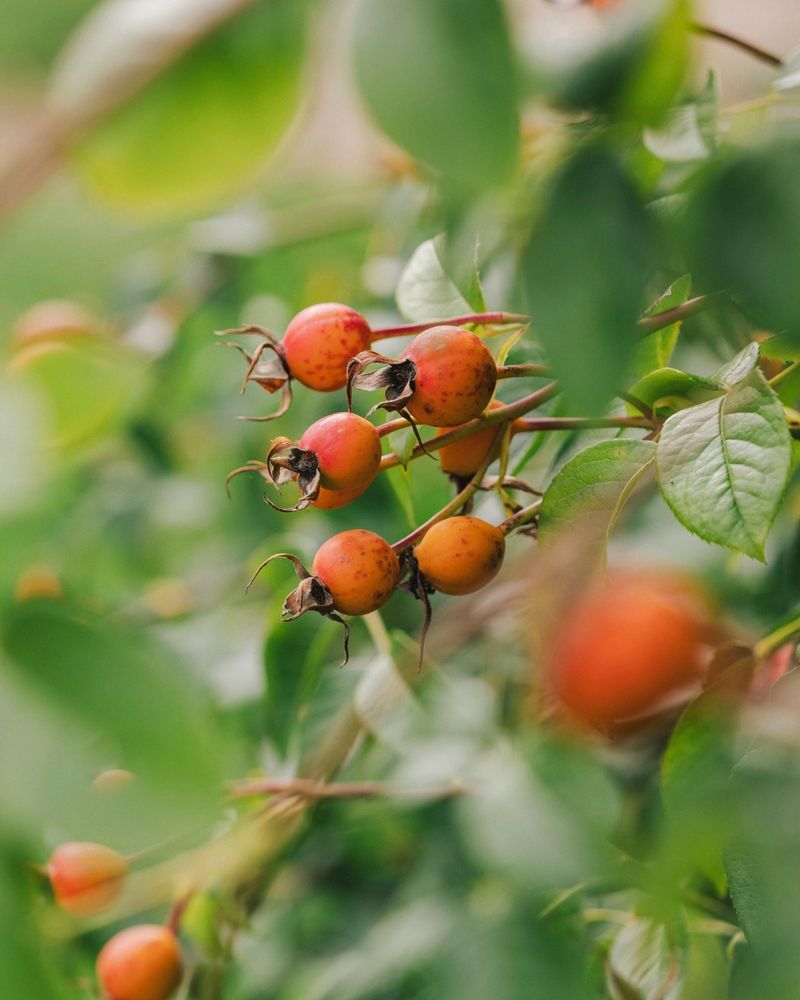
Here is the easiest chore on the list, because it means doing less. Put the pruners down and stop deadheading spent blooms about a month before your first hard frost.
When old flowers stay on the bush, they slowly swell into little round seed pods called rose hips. Those hips send a clear message to the plant that the growing season is over.
The rose then slows down and settles into dormancy instead of pushing out more buds that the cold will just wreck.
Fun fact: rose hips are packed with vitamin C, and people have brewed them into tea for centuries. Birds love them too, so you might get some feathered visitors this winter as a bonus.
3. Clean Up Fallen Leaves and Debris
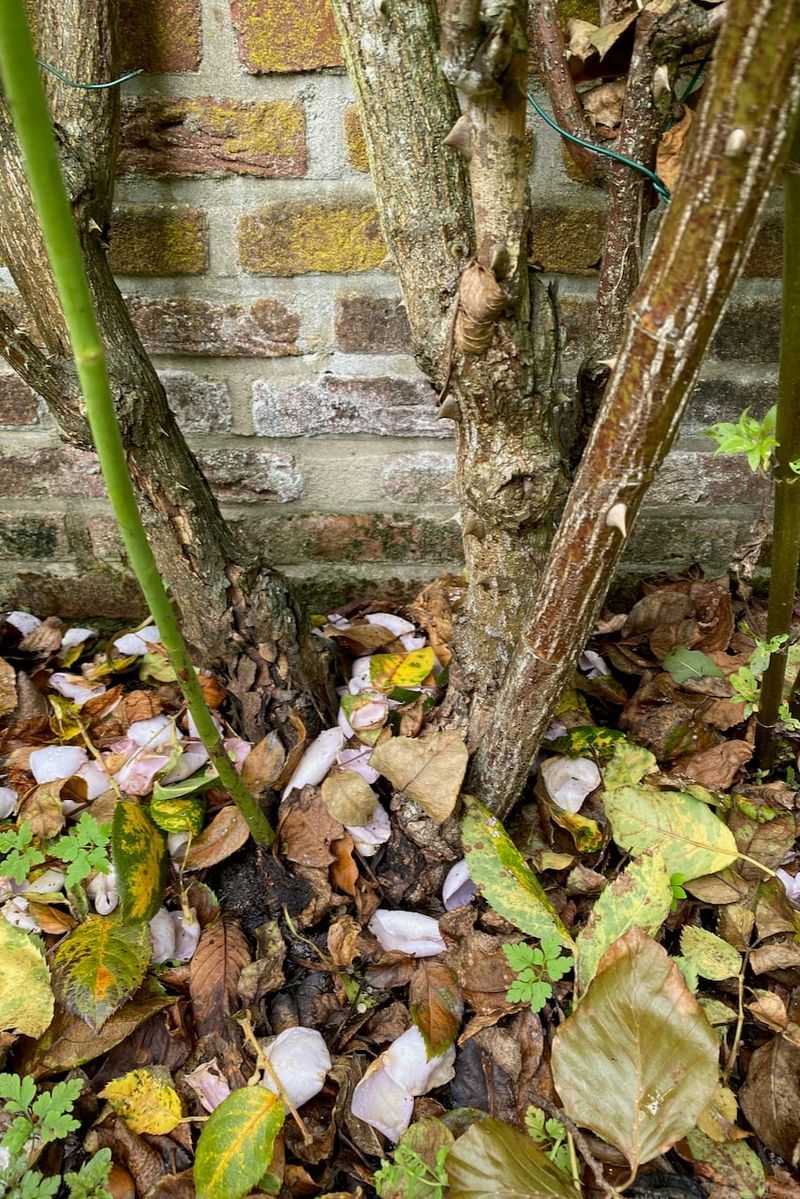
Did your roses get black spot or powdery mildew this year? If so, the trouble is probably still sitting right under the bush in those fallen leaves.
Fungal spores can spend the whole winter hiding in old foliage. When spring rain splashes them back onto fresh leaves, the cycle starts all over again.
Raking now may help reduce how much disease shows up next season.
Grab a rake and clear every leaf, petal, and twig from around the base. Bag up anything that looked spotty or sick and toss it in the trash.
Skip the compost pile for diseased leaves unless your pile gets truly hot. Most backyard bins never reach temperatures high enough to kill the spores, so you would just be saving the problem for later.
4. Water Deeply Before the Freeze

Winter can be surprisingly dry. Cold wind pulls moisture out of rose canes, and frozen ground keeps roots from drinking anything new.
That is why a good, deep soak before the freeze matters so much. Roots that go into winter with damp soil around them hold up much better than roots sitting in dust.
Let a hose trickle slowly at the base for a while so the water sinks deep instead of running off. Keep doing this about once a week if the weather stays dry, right up until the ground hardens.
Aim for soil that feels moist, not soggy or puddled.
5. Hill Up the Base With Soil or Mulch
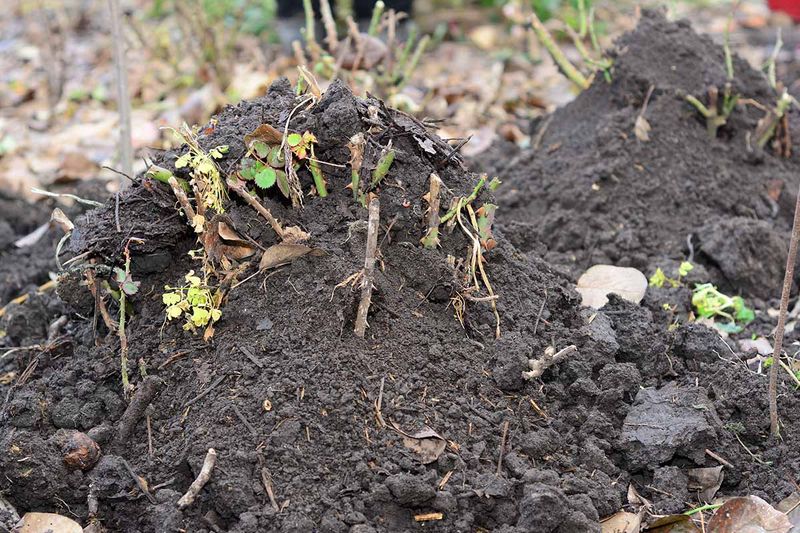
The most precious part of your rose is not the flowers or the canes. It is the crown, that knobby spot near the soil where the canes start, and on grafted roses, the graft union too.
If that spot gets damaged by freezing and thawing over and over, the whole bush can struggle or die. Hilling is your insurance policy.
After a few hard frosts, when the plant has gone dormant, pile six to twelve inches of compost, loose soil, or mulch around the base.
Here is the catch that trips people up. Bring that soil or compost in from somewhere else, like a bag or another bed.
Scraping it up from around the rose exposes the very roots you are trying to protect.
Come spring, once the hard freezes are over, gently pull the mound away and spread it out.
6. Trim Out Dead and Damaged Canes
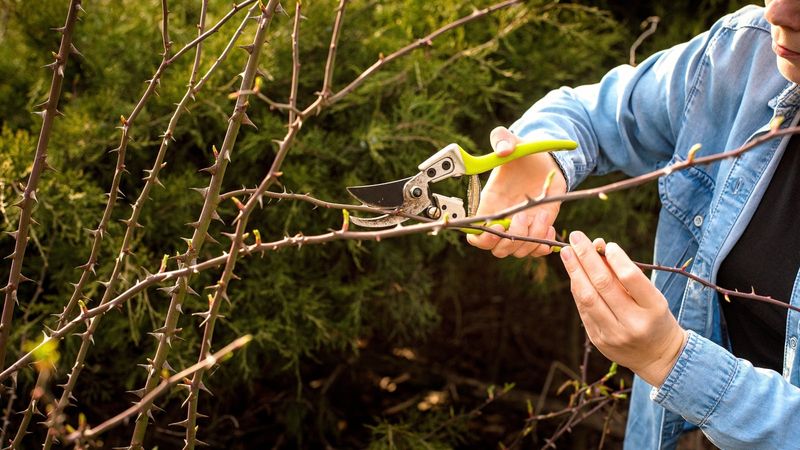
Think of this as a light tidy, not a haircut. Big pruning jobs belong in early spring, because heavy cuts now can wake the plant up at the worst possible time.
For fall, just look for canes that are brown, shriveled, cracked, or clearly sick. Snip those out with clean, sharp pruners.
Weak wood like that can give pests and disease a cozy place to spend the winter.
If you have extra-long canes whipping around in the wind, shorten them a little. That keeps winter storms from rocking the bush and loosening its roots.
Leave the rest alone and save the real shaping for spring.
7. Give Potted and Climbing Roses Extra Shelter
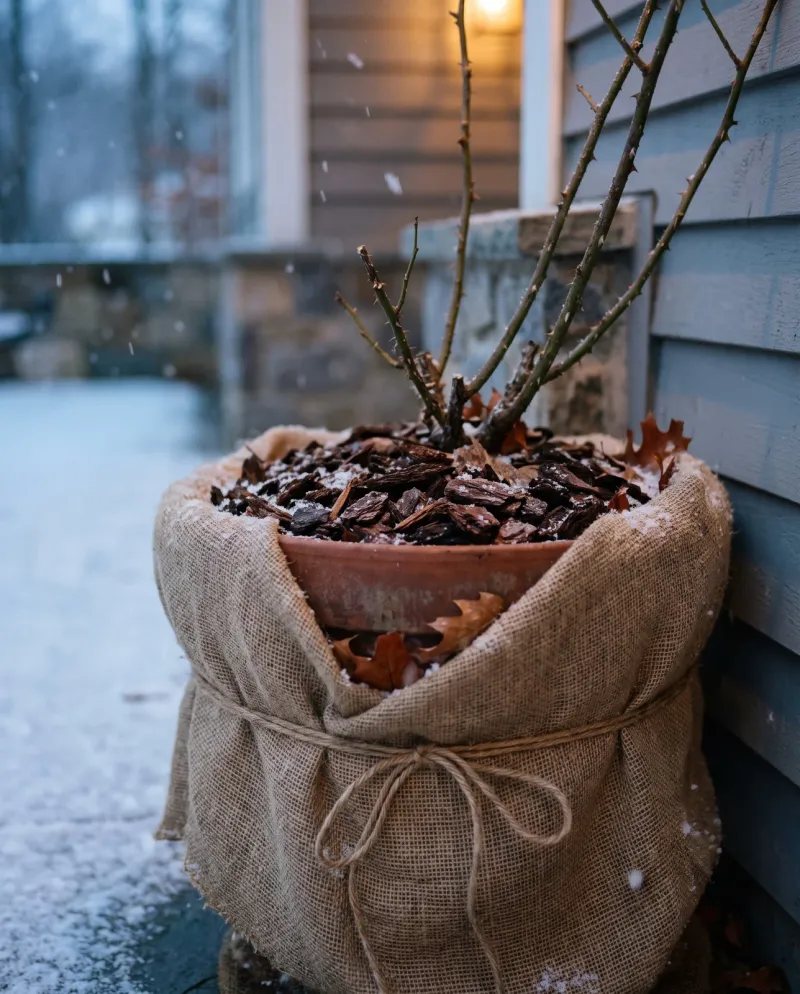
Roses in pots have it rough in winter. In the ground, soil wraps the roots like a blanket, but in a container the cold hits from every side.
Move potted roses into an unheated garage, a shed, or snug against a protected wall. Wrapping the pot in burlap or bubble wrap adds another layer of warmth.
Check them now and then, and give a small drink if the soil goes bone dry.
Climbers need a different kind of help. Loosely tie their long canes together or to their support so winter wind cannot whip them around.
In very cold areas, some gardeners wrap climbers in burlap or even lay the canes down and cover them with soil. A few minutes of effort here can save years of growth.