
Rosemary Cuttings In Water: An Optional Frost Precaution That May Give You Free Indoor Plants
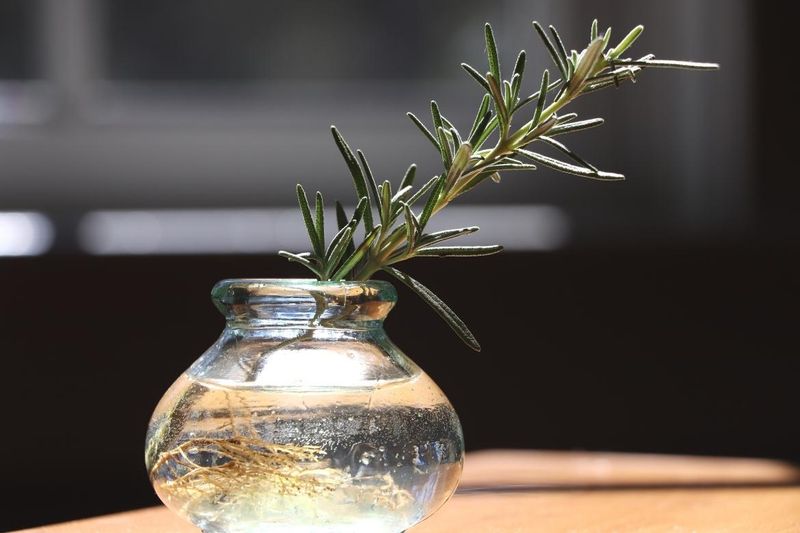
Your rosemary has been the sturdy herb by the back door for years, and now the nights are getting cold. Taking a few cuttings is an easy way to keep a backup copy of the plant you love.
All you need is a clean pair of clippers, a glass of water, and a bright window. Here is how it works, and what to expect once winter settles in.
A first frost is not a universal rosemary deadline
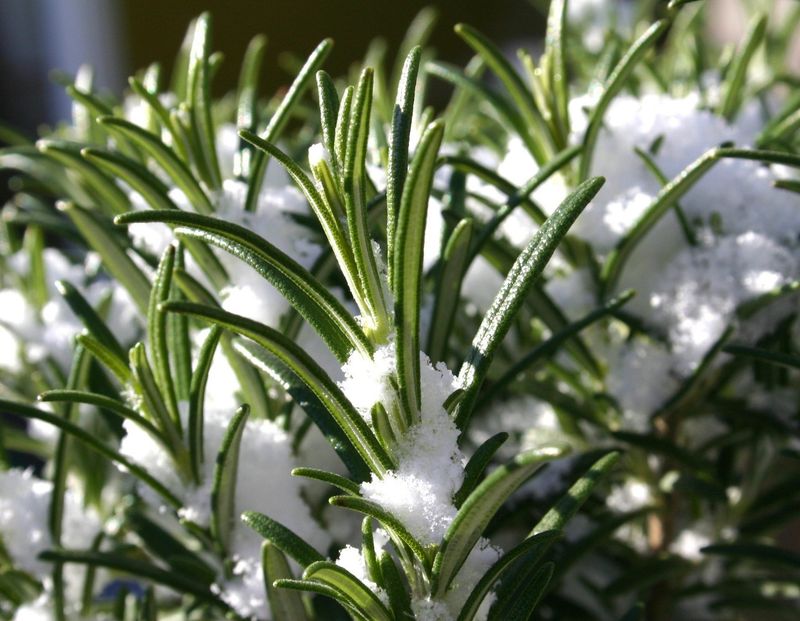
Staring at a forecast with frost in it can make any gardener nervous about a rosemary plant. Take a breath, because a first frost is not a death sentence for every rosemary.
Cold tolerance depends on the variety you grow and where you live.
Gardeners in milder places often leave rosemary outside all winter. UC Master Gardeners of Santa Clara County says rosemary can survive temperatures as low as 15°F.
That is a statement about one local climate, not a rule for everyone.
Colder regions tell a different story. Illinois Extension says rosemary is not reliably hardy in zone 6 or colder and suggests bringing it indoors just before frost.
Their advice fits a place where winters regularly turn harsh.
So think of cuttings as an optional precaution, not an emergency. If your winters are mild and your plant is tough, you may never need a backup.
If you live where rosemary struggles, or you simply want an insurance copy of a favorite plant, a few cuttings cost almost nothing.
Check your zone, think about how cold your last winter got, and look at how your plant fared. That quick review tells you how urgent this project really is.
Choose several healthy, nonflowering stems
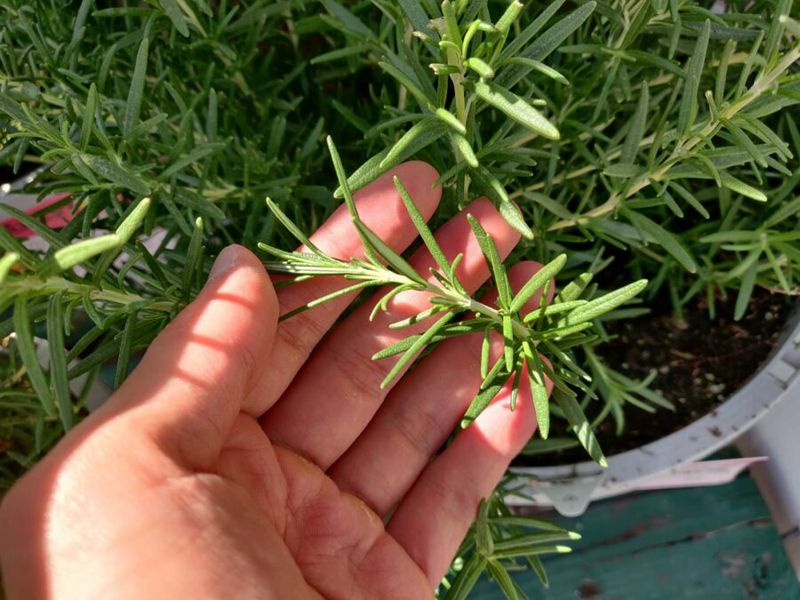
Walk around your plant and look for stems that are green, flexible, and fresh. Skip any stem with flowers or buds, and pass over woody, stiff growth near the base.
Soft new growth is what you want.
The UC Agriculture and Natural Resources rosemary fact sheet recommends cuttings 4 to 5 inches long from nonflowering, soft new growth. It also calls for disinfected clippers.
Wiping the blades with rubbing alcohol takes seconds and helps keep problems from spreading to the cut stem.
Plan on cutting more than one stem. Not every cutting will root, and a few spares make it far more likely you end up with a plant.
Four or five cuttings is a comfortable number for most windowsills.
N.C. Cooperative Extension advises taking two to three times as many cuttings as the plants you want.
That advice comes with its method of rooting in a growing medium, and its 30 to 50 percent rooting estimate belongs to that method. Nobody has given a matching success rate for water, so treat extra cuttings as a hedge, not a promise.
Take cuttings from a plant that looks healthy, and keep them from drying out. Move straight to the next step so the stems stay fresh.
Set up the cutting in water
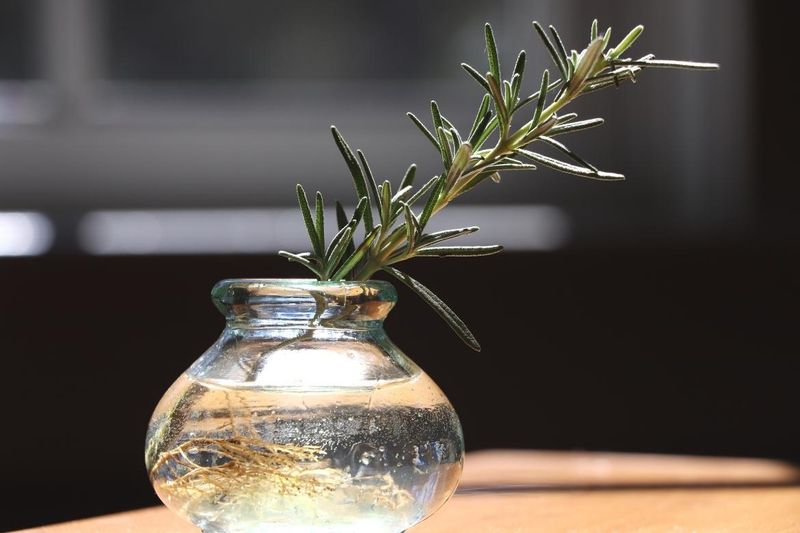
Grab a clean glass or jar and get ready for the easy part. Pull off the leaves from the lower 2 inches of each cutting, leaving a bare stem with leaves on top.
Leaves sitting in water tend to rot, so stripping them keeps the water cleaner.
Pour in about 2 inches of water and stand the bare stems in it. That setup comes from the UC rosemary fact sheet, which supports water as a way to start cuttings.
It is one workable method, not the only one and not clearly the best one.
Glance at the jar every few days. If the water turns cloudy or smells off, rinse the jar and add fresh water.
A clear glass lets you watch for roots.
Here is the key distinction: the water is only for starting the cutting. A rooted rosemary plant is a different story.
Illinois Extension warns that too much water indoors can cause root rot. Once your cutting lives in a pot, its soil should not stay saturated.
Label the jar with the date so you can track the weeks ahead. Then give it a bright spot and a little patience.
Allow weeks for roots to develop

Roots take their time. The UC fact sheet gives 2 to 5 weeks as the general range for softwood cuttings to root.
Some cuttings may take longer, and some may never root at all.
A cool, dim winter home can slow things down. Treat that range as a rough guide, not a guarantee for every cutting or every house.
If a week passes with no roots, nothing is necessarily wrong.
Watch for signs of trouble instead of counting days. A stem that turns black, mushy, or slimy is not coming back, so remove it and keep the healthier ones.
Firm green stems are a good sign.
Timing advice also varies by source because cuttings differ. UC points to late spring through early summer for softwood cuttings.
University of Georgia Extension lists fall and winter for 2 to 3 inch semi-hardwood rosemary cuttings, started in rooting hormone and sand or another well-drained medium.
Those are different cutting types and different methods, so neither one crowns a best season for water propagation. If you are taking cuttings now, you are simply working with the plant and the season you have.
Give water-started cuttings bright light
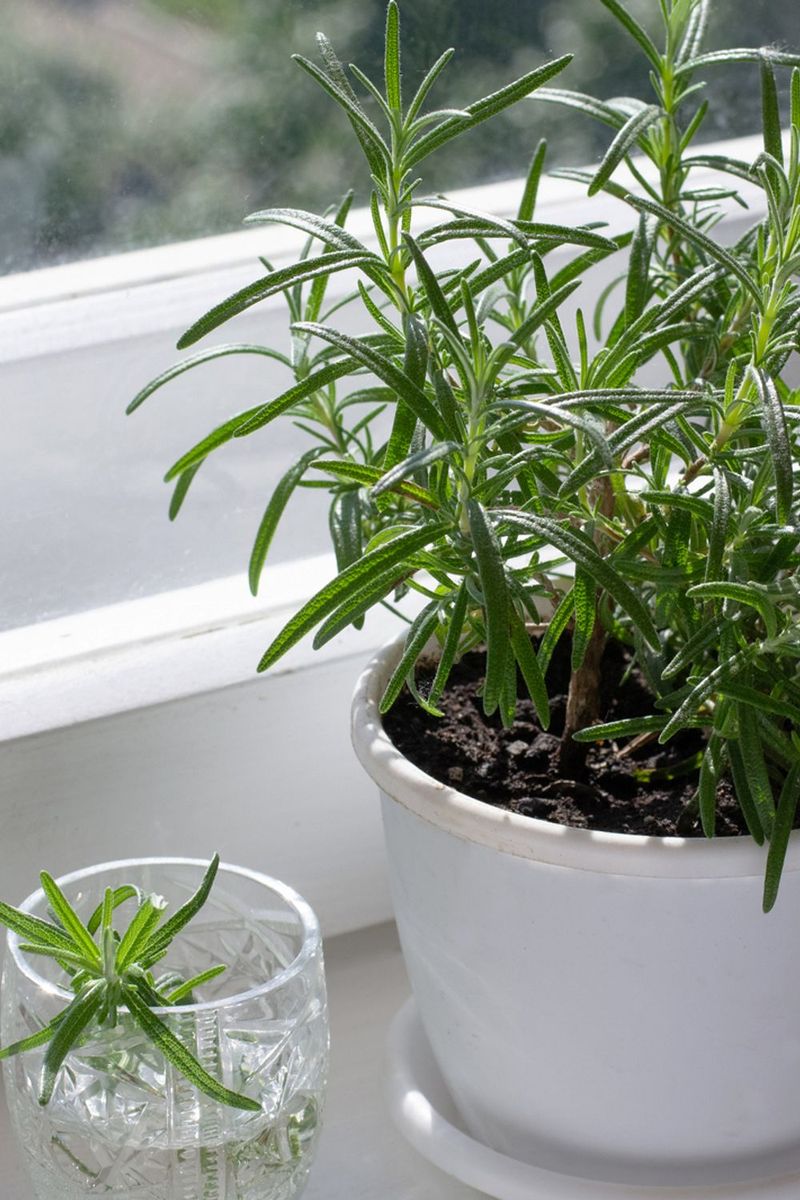
Light is the fuel for new roots and new growth. For cuttings started in water, the UC fact sheet calls for a sunny location receiving at least 6 hours of sun.
Look around your home and find the brightest window. South-facing windows usually get the most light in the fall and winter.
Spend a day noticing how long the sun actually hits that spot, since trees, porches, and short days can cut it down.
If your window falls short, the cuttings may root slowly or look weak. Moving the jar to a better spot is the simplest fix.
Keep the leaves from pressing against cold glass on freezing nights.
Keep this advice tied to the rooting stage. A bright sill helps a cutting get started, but it does not promise a healthy plant all winter.
Indoor light in the colder months is weaker than summer light, and growth can stall no matter how carefully you place the jar.
Treat the windowsill as a good start, and stay flexible. You will adjust the setup again once a rooted cutting moves into a pot.
Move established cuttings into a well-drained pot
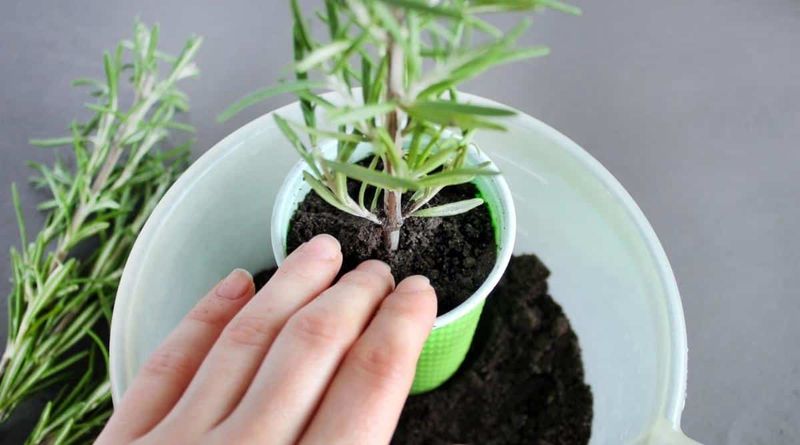
Eventually a cutting that has grown roots needs a real home. No source gives a perfect root length or a set day for transplanting water-rooted rosemary, so watch the plant instead of a ruler.
Healthy roots and fresh green growth are good signs it is ready.
Choose a small pot with drainage holes and fill it with a mix that drains quickly. N.C.
Cooperative Extension also recommends a clean pot with drainage and a well-draining soilless mix when rooting rosemary by its medium-based method. Good drainage matters whichever way you start the plant.
Make a hole, set the roots in gently, and firm the mix around them. Water lightly to settle things, then let excess water drain out.
Roots grown in water are tender, so handle them with care.
The jar and the pot play different roles. The UC fact sheet advises avoiding prolonged soil saturation, and Illinois Extension warns that excess water leads to root rot.
Never leave the pot sitting in a saucer of water.
Expect a little sulking after the move. Keep the pot in bright light and give it time to settle.
Care for potted rosemary indoors
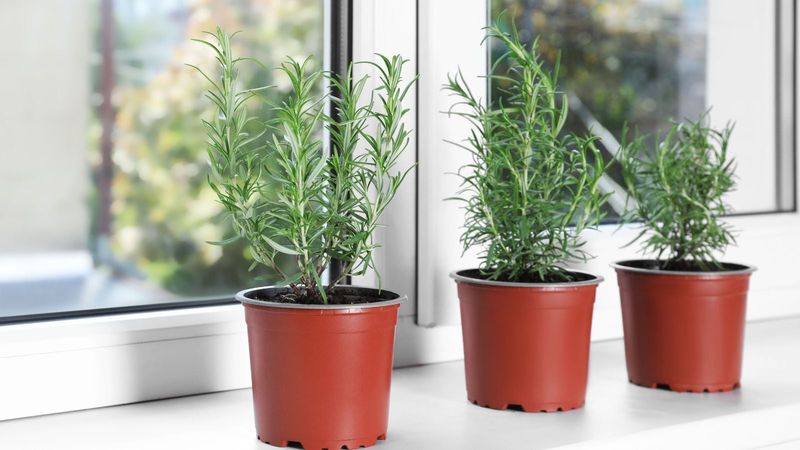
Once your rosemary is potted, its needs shift. UC Master Gardeners of Santa Clara County recommends at least 5 hours of bright light from a sunny window, or 14 to 16 hours under fluorescent or LED lights.
If your windows are dim, a basic grow light can fill the gap.
Cool and sunny is the sweet spot. Illinois Extension recommends a cool, sunny location.
A bright room away from heating vents is usually kinder than a warm, stuffy corner.
Water carefully. Let the top of the soil dry a bit before you water again, and empty any water that collects in the saucer.
Rosemary left soggy can develop root rot.
Expect slow growth in winter. Your plant may barely add a new leaf for weeks.
Dry-looking foliage in heated indoor air is not a reason to water more, so check the soil before you reach for the watering can.
Some plants simply do not thrive indoors, and that is a limit of winter conditions, not a failure on your part. A new green tip in February is a small victory worth enjoying.