
Saving Tomato Seeds From Your Best Plant So You Can Try Growing Them Next Spring
That one tomato plant that outproduced the rest of your garden this summer left something behind: seeds. Saving them costs nothing and only takes a few easy steps while the harvest is fresh.
A little care with ripening, cleaning, drying, and storage gives those seeds a fair shot at growing next season. Here is how to do it, and what to expect when spring arrives.
Start with fully ripe fruit from a healthy plant
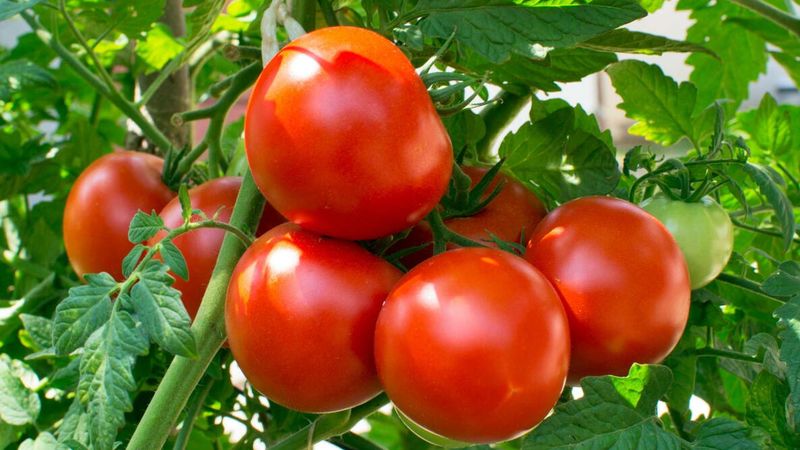
Walk your rows and look for the plant that stayed healthy all season. Leaves should look green and free of spots, and the fruit should be free of rot or odd markings.
Seed from a sick plant can carry problems into next year, so only save from fruit and plants that look good.
Let the tomato ripen fully on the vine. New Mexico State University guidance recommends leaving fruit on the plant until it is fully ripe, and Illinois Extension notes that seed maturity can come after the fruit is ready to eat.
So the tomato you would happily slice for a sandwich may not have fully finished its seeds yet. Give a saving candidate a few extra days of color and softness.
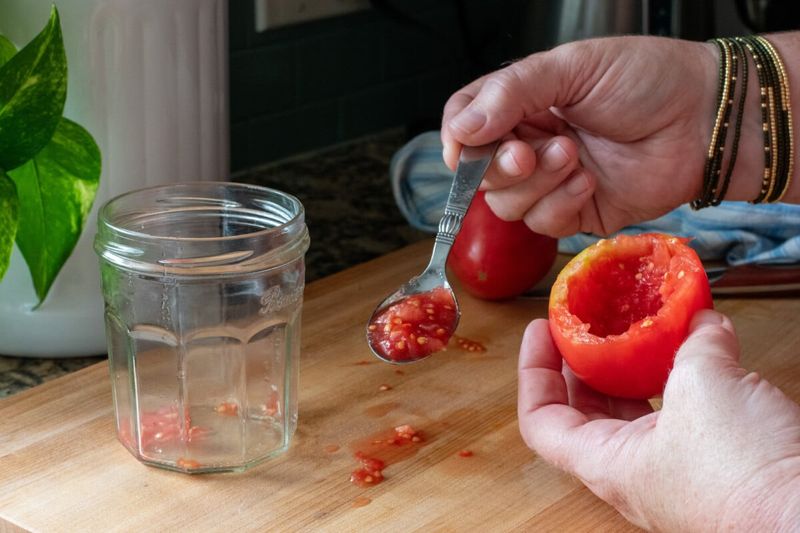
Once it is ready, cut the tomato open and scoop out the seeds along with their jelly-like pulp. This is the starting point for cleaning the seeds.
Keep in mind that one standout fruit is a fun experiment, not a promise of an equally great plant next year.
Will the seedlings resemble this year’s tomato?
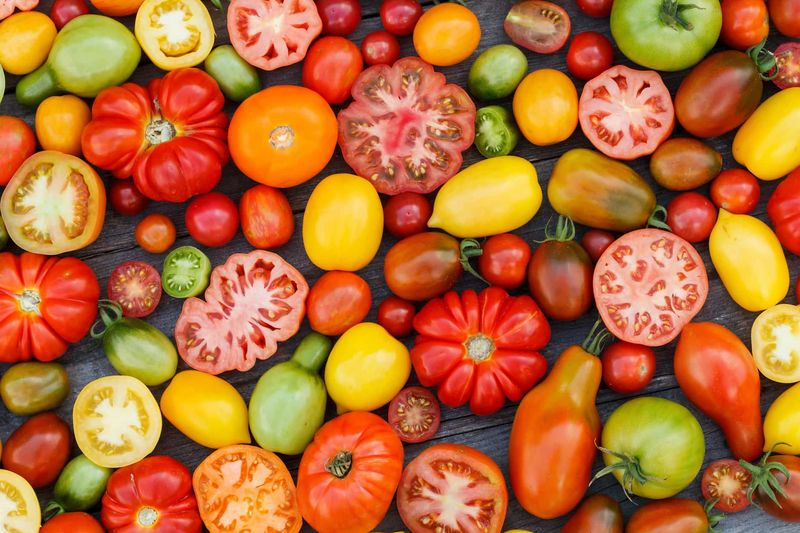
Before you invest time, check what kind of tomato you grew. Open-pollinated, non-hybrid varieties give you the best chance of seedlings that look like their parent.
Seeds from F1 hybrids can be viable, but as University of Minnesota Extension explains, the offspring may not match the hybrid parent.
That mismatch is the main catch with hybrids. The seeds may sprout just fine, but the plants can differ a lot in size, fruit shape, flavor, or yield.
University of Maryland Extension covers this under vegetables that do not come true to type.
Open-pollinated does not mean guaranteed identical, either. Tomatoes usually pollinate themselves, but some varieties have exposed stigmas, which makes cross-pollination by insects more likely, according to NMSU.
A seedling could carry traits from a neighboring plant.
Seed from a single fruit is fine for a home garden experiment. If you want to keep a variety going over the years, NMSU suggests collecting from several desirable plants when you can, which helps maintain the variety and its diversity.
Ferment the pulp to loosen the seed coating
Tomato seeds sit inside a slippery gel coating. Extension guidance commonly recommends a short fermentation to loosen it and clean the seeds.
Here is the routine from NMSU and University of Minnesota Extension.
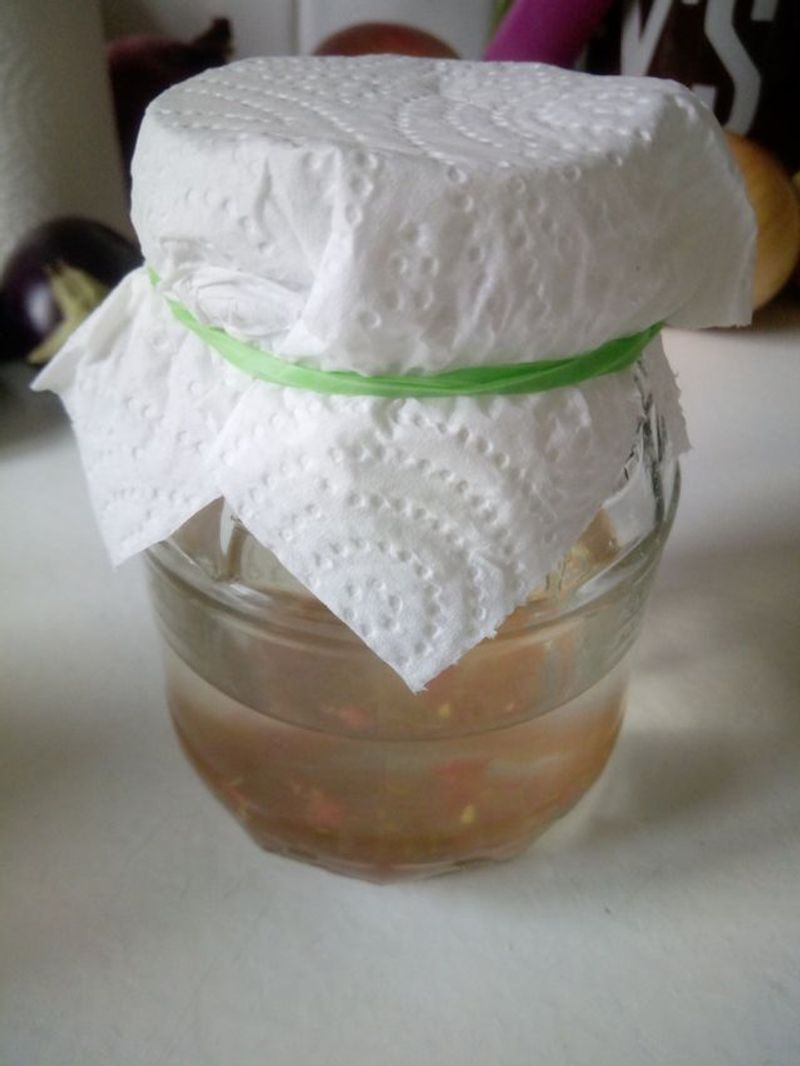
Squeeze the seeds and pulp into a jar or cup and add a little water. Cover it loosely, or use something air-permeable like a paper towel or cloth, so air can get in.
Set it at room temperature for about 2 to 3 days.
Stir once a day. The pulp will loosen and the mixture may smell a bit sour.
A layer of mold may form on the surface, which is expected with this method.
When the time is up, it is time to rinse the seeds thoroughly, which the drying section covers next. Do not leave the jar longer just to be safe.
Longer is not better here.
Fermentation is a cleaning step. It may knock back some disease-causing microorganisms, but it does not sterilize seed or guarantee it is disease-free.
That is why starting with healthy plants and fruit matters so much.
Fermentation is not a germination switch
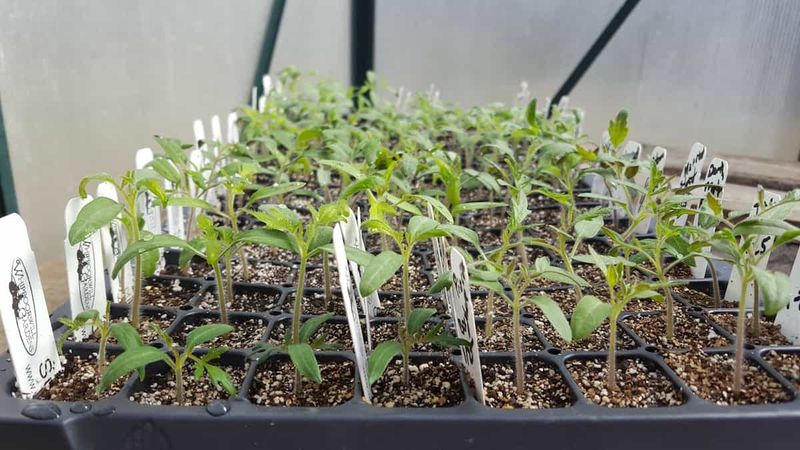
You may hear that tomato seeds will not sprout unless you ferment them. The research is more relaxed than that.
In a study comparing seed extraction methods on two tomato cultivars, the methods did not change germination percentage.
Another report, listed in the FAO AGRIS database, found that fermentation temperature and duration affected seed quality. Longer and hotter fermentation reduced it.
So a warm spot and an extra few days is the wrong way to go.
What does this mean for your jar? Fermenting is a useful, commonly recommended way to loosen the gel and clean the seeds, so it is still a good habit.
But these findings do not show that fermenting is required for seeds to sprout, and they do not guarantee a result either.
Treat it as one step among several. Seed quality, careful handling, and the parent variety all play a part in what comes up next spring.
Stick to the 2 to 3 day window at room temperature and you are in good shape.
Rinse the seeds, then dry them thoroughly
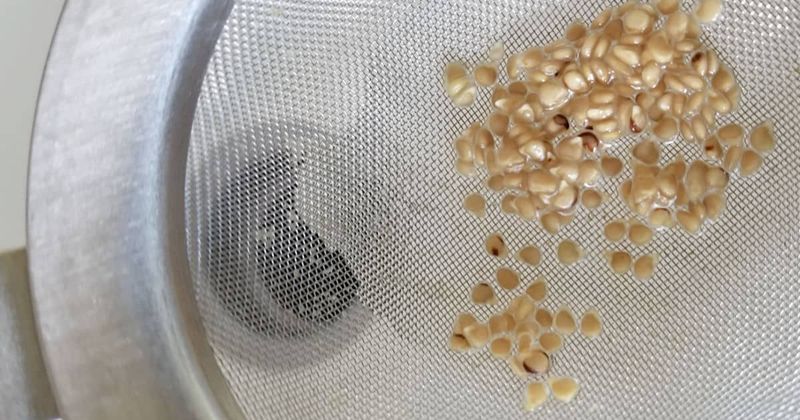
Pour off the mold and pulp, then rinse the seeds in a fine strainer under running water. Keep rinsing until the loosened pulp and gel wash away and the seeds look clean.
Spread them in a thin layer on a plate, screen, or other surface where they will not stick. Stir or turn them now and then so every seed dries evenly.
A thick clump stays damp inside.
Drying matters more than many people think. NMSU advises drying seeds where temperatures do not exceed 95°F, and warns that insufficiently dry seeds can mold in storage.
A shaded, airy spot indoors works well, and a sunny hot windowsill or car dashboard does not.
Give the seeds plenty of time, often a week or more depending on your room. Once they are fully dry, they should feel hard and not tacky.
Store dry seeds cool, dark, and labeled
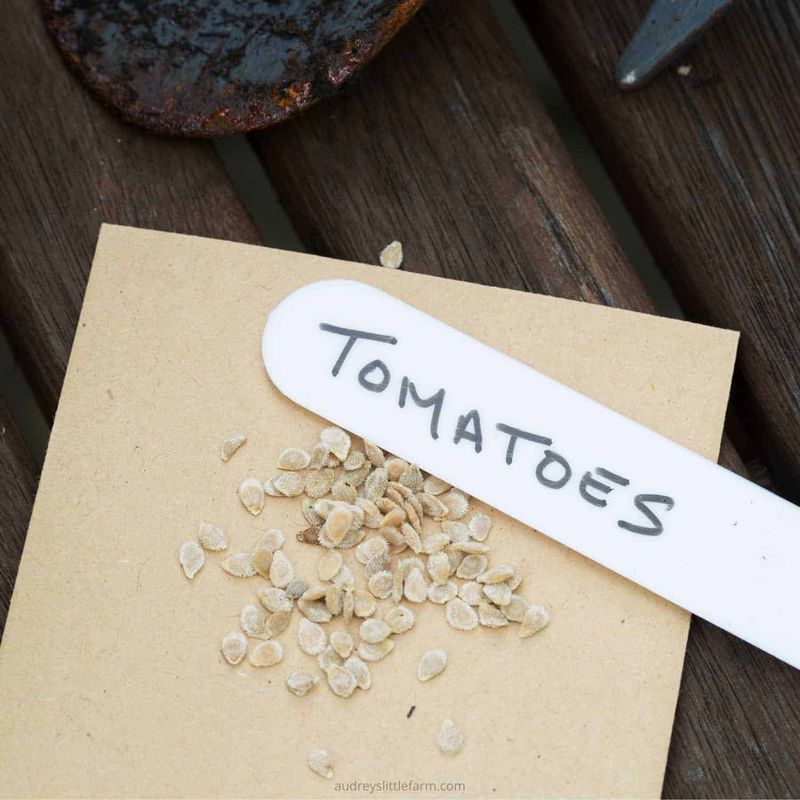
With the seeds fully dry, pick a home for them that stays cool, dry, and dark. A closet shelf or drawer away from the stove and windows is a good start.
Paper envelopes or small jars both work, as long as the seeds went in dry.
Skip the temptation to stash them in the garage or shed, where temperature swings and humidity can creep in. A steady spot is better than a fancy container.
NMSU guidance points to cool, dry, dark storage for saved seed.
Write the variety name and the harvest year on every container. Next spring you will be glad you did, since tomato seeds all look alike.
If you saved from more than one plant, add a note about which one it came from, plus anything you liked about it.
A simple label turns a mystery envelope into a useful record you can build on year after year.
Save the seed, but leave room for variation
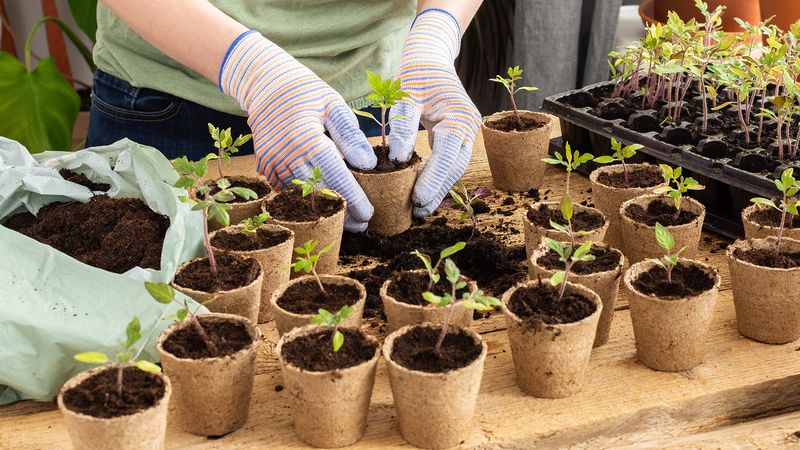
Saved tomato seed is a chance, not a promise. Some seeds may not sprout, and the plants that do may not match this year’s star.
That is part of the fun for many gardeners.
Fermenting helps clean the seeds, but genetics and how the seed is handled shape the outcome too, as NMSU’s guidance makes clear. Start a few extra seeds next spring so you have backups.
Your best tomato gave you something to try again. Even a surprise plant is a story worth tasting.