
Hummingbirds Gone For The Season? 11 Things To Do With Your Feeder Before You Pack It Away
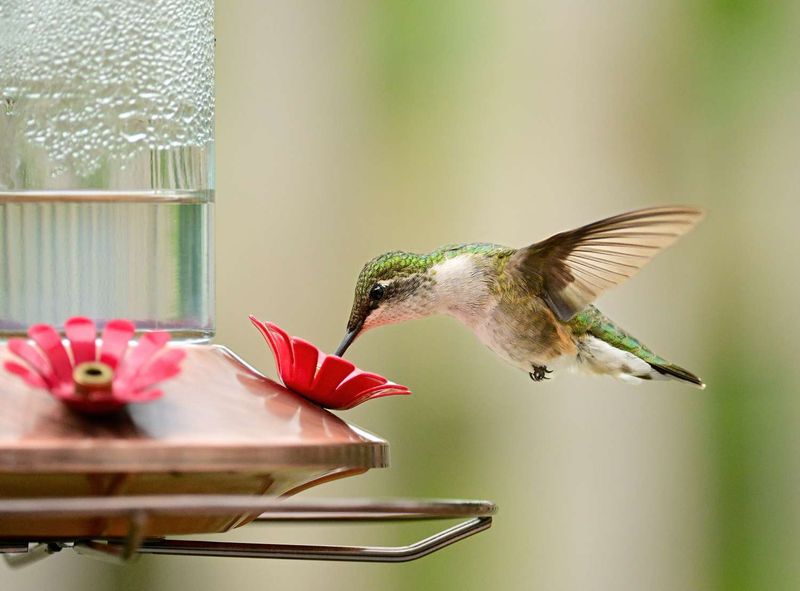
The yard feels a little quieter once the hummingbirds stop zipping past your window. Before you toss the feeder in a closet, a few easy steps can protect late travelers and keep your feeder safe for next spring.
Skipping them can leave mold, cracks, or sticky residue waiting for the birds when they return. Here is a simple checklist to wrap up the season the right way.
1. Wait Two Weeks After Your Last Sighting
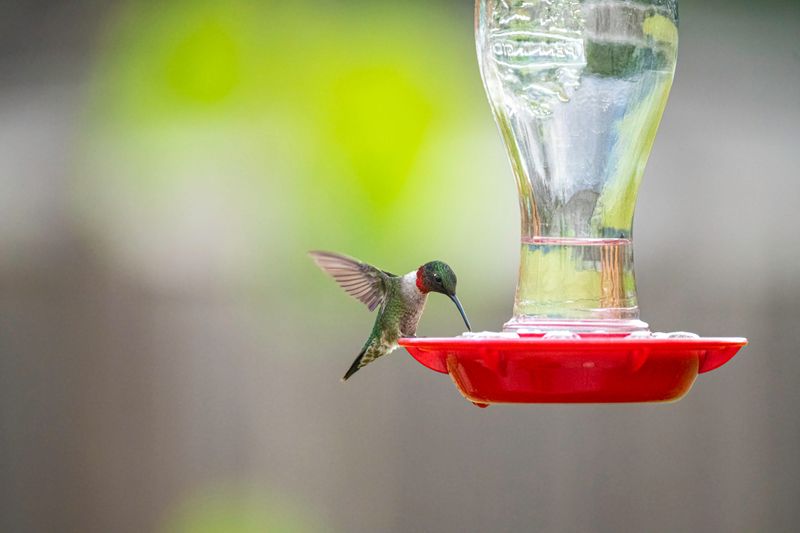
Picture a tired little bird flying hundreds of miles south, scanning backyards for a quick sip. Your feeder might be the one stop that gets it through the day.
Experts suggest leaving feeders up for at least two weeks after you see your last hummingbird. Late migrants from farther north often pass through after your local birds have left.
Keep the nectar fresh during those extra weeks, changing it every few days. A small effort now can make a big difference for a straggler on a long journey.
2. Check Your Region’s Timing
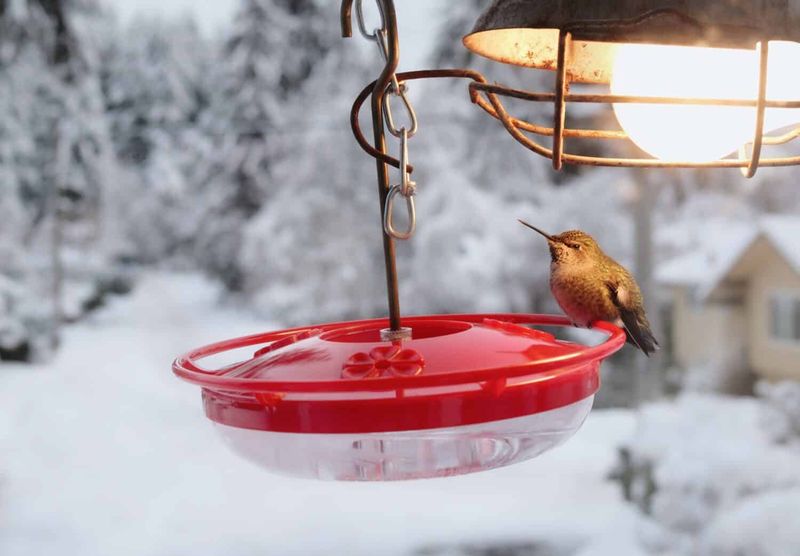
Not everyone in the US needs to pack up at all. Folks along the Pacific Coast, in the Desert Southwest, South Texas, and the Gulf Coast may see hummingbirds all winter long.
Anna’s hummingbirds live year-round in much of the West Coast. Some rufous hummingbirds even spend winter along the Gulf.
If you live in one of these warm spots, consider keeping one feeder up and cleaned through the cold months. Everyone else can follow the local calendar and plan storage once the two-week window passes.
3. Stop Worrying About Delaying Migration
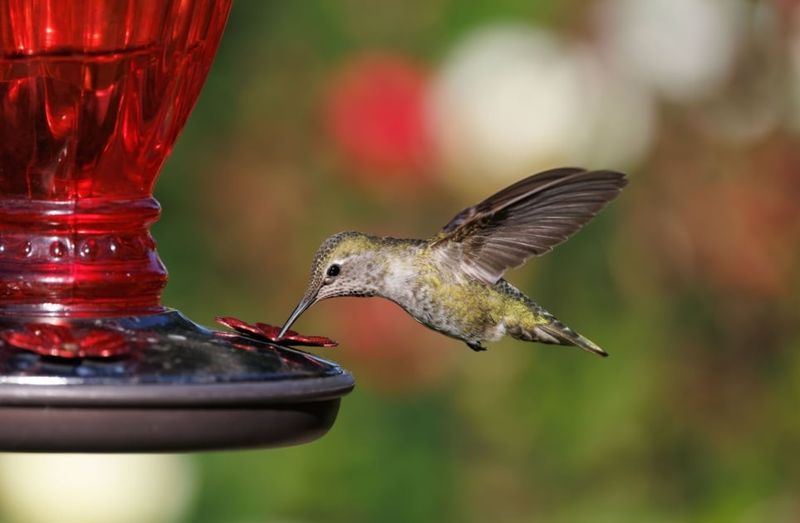
Here’s a myth that refuses to die: a full feeder will trick hummingbirds into staying too long. Thankfully, it simply isn’t true.
Migration is triggered by shorter days and changing hormones, not by how much food is around. When it is time to go, the birds go, feeder or no feeder.
So relax and leave it up without guilt. You are offering a snack bar, not a reason to skip the trip.
4. Dump Every Drop of Old Nectar
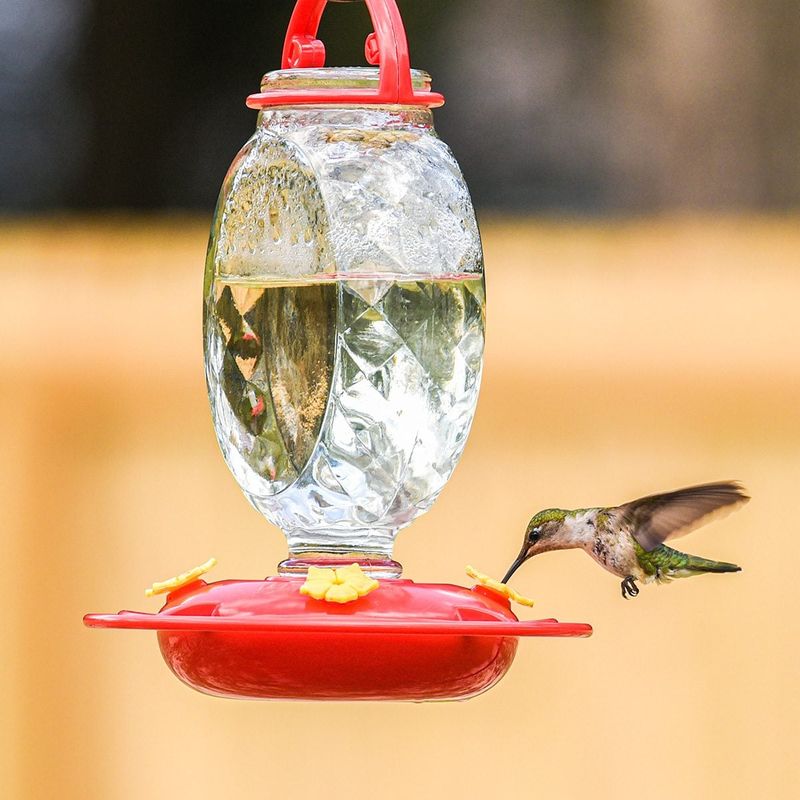
Cloudy nectar is a warning sign. Sugar water spoils fast, especially in warm fall afternoons, and can grow mold and bacteria.
Pour out every bit before you start cleaning. Never top off a half-full feeder, even mid-season, because fresh nectar mixed with old just spreads the problem.
Getting it all out also makes the rest of the cleanup easier. Sticky leftovers only harden in storage.
5. Take Every Part Apart
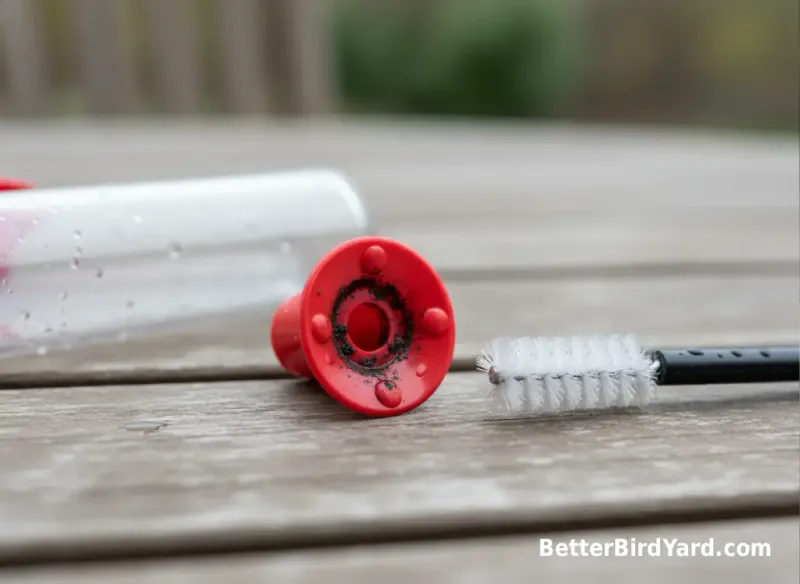
Feeders hide grime in places you can’t see when they’re assembled. The base, the little flower ports, the caps, and any bee guards all trap residue.
Pop off every removable piece and lay them out on a towel. Snapping a quick phone photo first helps when it is time to put things back together.
A full breakdown takes two minutes and means nothing gets missed. Black mold loves the spots people skip.
6. Soak in a Vinegar Solution
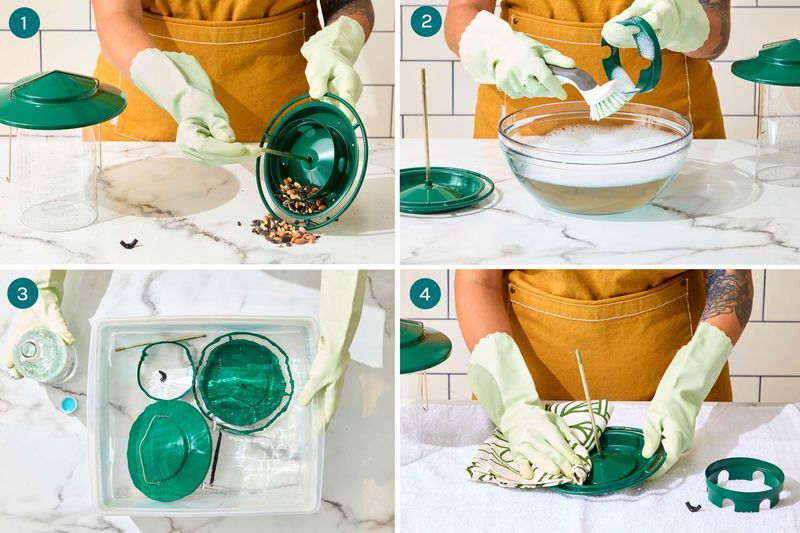
Your pantry already holds the best feeder cleaner. Plain white vinegar mixed with hot water cuts through sugar film and helps fight mold without harsh chemicals.
A common ratio is one part vinegar to four parts water. Let the parts soak for one to two hours, especially if you see dark spots.
Fun fact: many bird experts prefer vinegar over dish soap because soap can leave a film birds dislike. It is cheap, safe, and simple.
7. Scrub With the Right Brushes
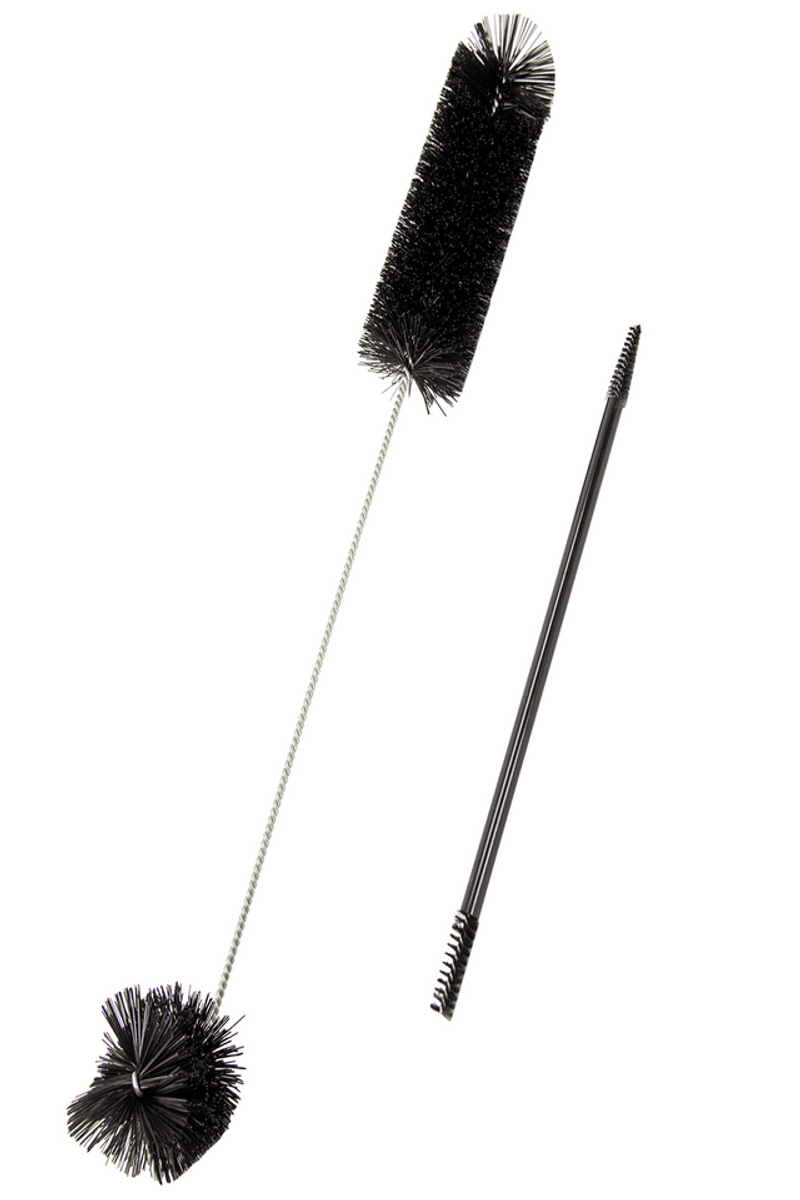
Soaking loosens gunk, but scrubbing actually removes it. Tiny feeding ports need tiny tools.
Use a bottle brush for the reservoir and micro brushes, straw cleaners, or pipe cleaners for the ports and crevices. Work each hole until no residue comes off.
Many feeder brush kits cost only a few dollars. Keep them just for feeders so kitchen grease never ends up near your birds.
8. Rinse Until Nothing Remains
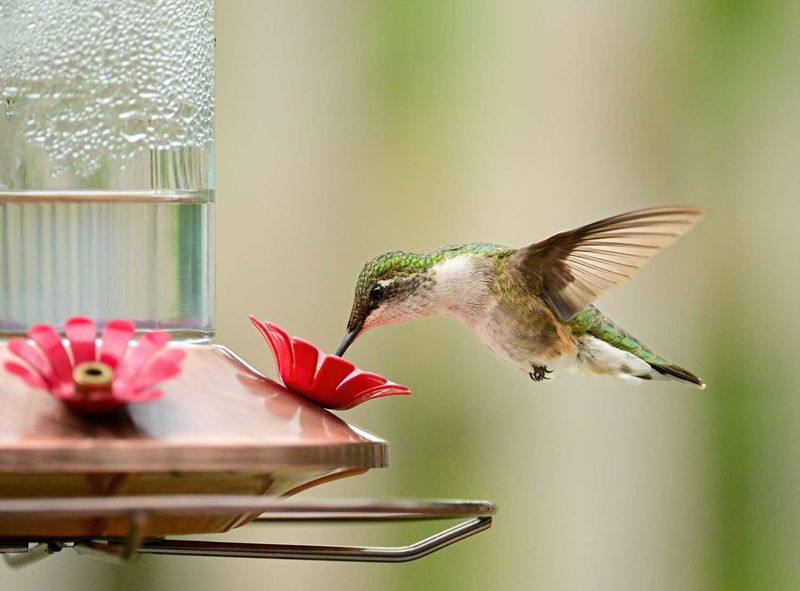
Think of rinsing as the step that protects next spring’s first visitors. Any leftover vinegar or soap can bother hummingbirds or change the taste of their nectar.
Run warm water over every piece, inside and out. Rinse the ports twice, since solution likes to hide there.
When nothing smells of vinegar anymore, you are done.
9. Let It Dry Completely
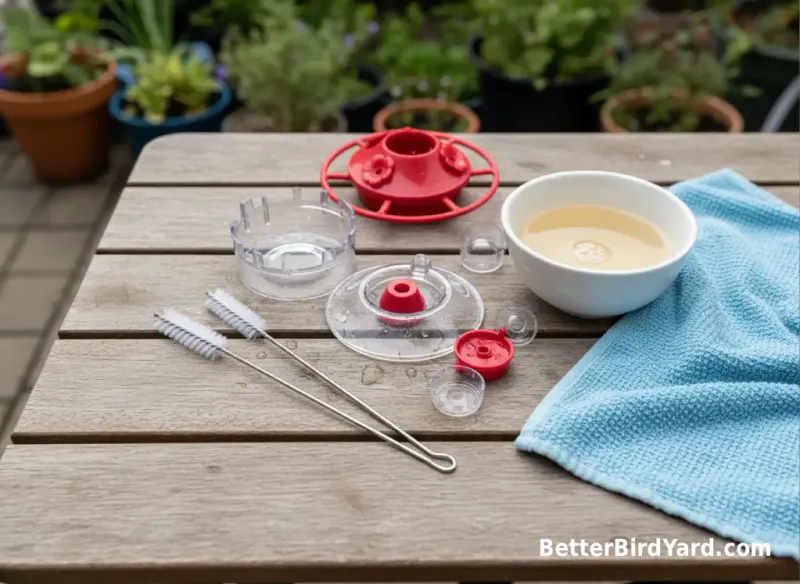
Patience pays off here. Packing a damp feeder into a box is like inviting mold to move in for the winter.
Set the parts on a dish rack and let them air dry fully, ideally overnight. Flip pieces so water does not pool in crevices.
Only reassemble or store once everything feels bone dry. That way you open a clean feeder in spring, not a fuzzy surprise.
10. Inspect for Cracks and Wear
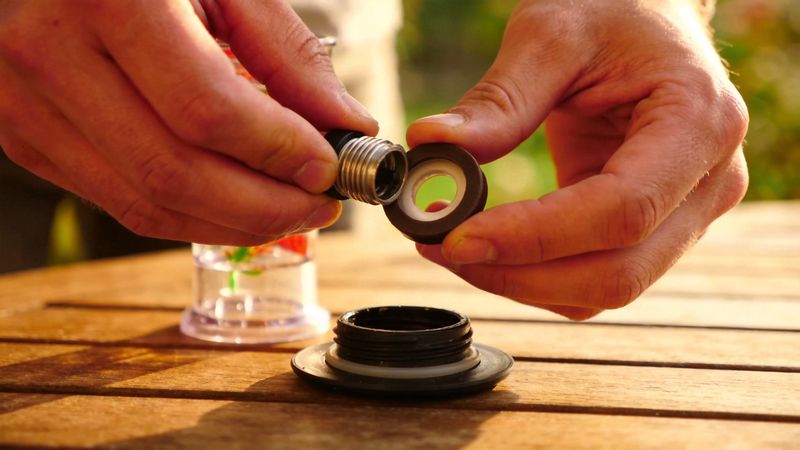
Sun and seasons are tough on plastic. After a summer outdoors, feeders can turn brittle, faded, or cracked.
Hold each piece up to the light and look for chips, leaks, or stains that will not scrub out. Pitted plastic with permanent mold marks is a sign it may be time for a replacement.
Finding problems now gives you all winter to shop for a new feeder. Glass models often last longer and clean more easily.
11. Store It in a Cool, Dry Spot
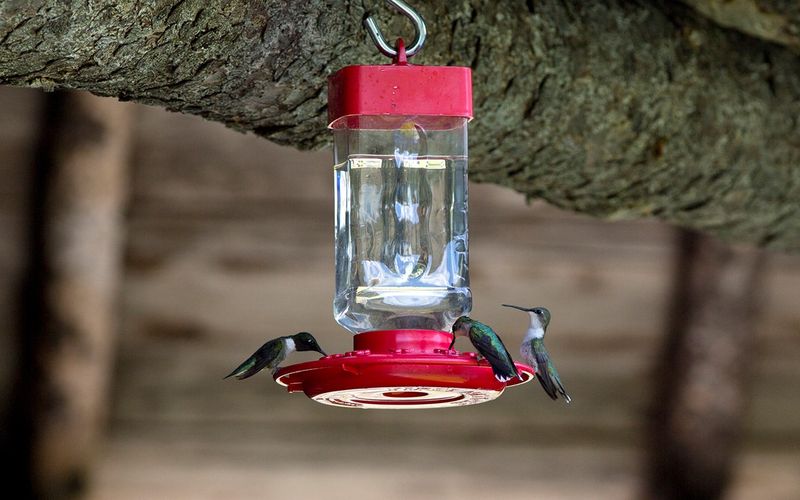
Last step, and the easiest. Pick a cool, dry spot out of direct sunlight, like a closet shelf or a cabinet.
Tuck the feeder into a labeled box or bag with the brushes so everything is ready together. Avoid humid basements or hot attics that warp plastic.
Set a calendar reminder for early spring to hang it back up. Early birds will thank you.